or Call Us at 1-800-776-2228
or Call Us at 1-800-776-2228
When life gets a little stressful, it's easy to forget how truly blessed we are for all the amazing things we have in our life, isn't it?
Life will always have projects with deadlines, stressful events, laundry to fold, rugs to vacuum, bills to pay, customers to serve — you name it. Sometimes, we need to take a step back, put our calls on silent, shut down Facebook, and just relish the most important things we're thankful for.
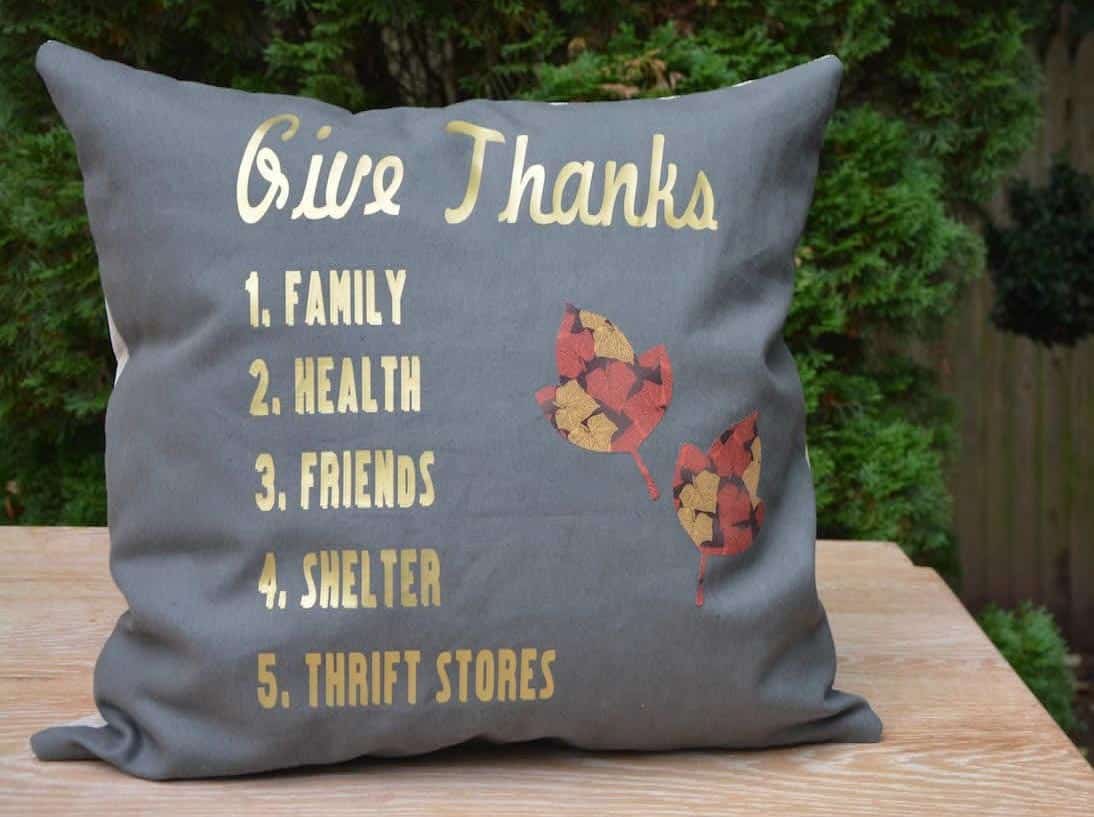
We also have to have a little fun. Which is why I've put all my thankful things on a pillow — including my beloved thrift stores!
Here’s how you can make your own iron-on Thanksgiving pillow so you can show your gratitude, too.
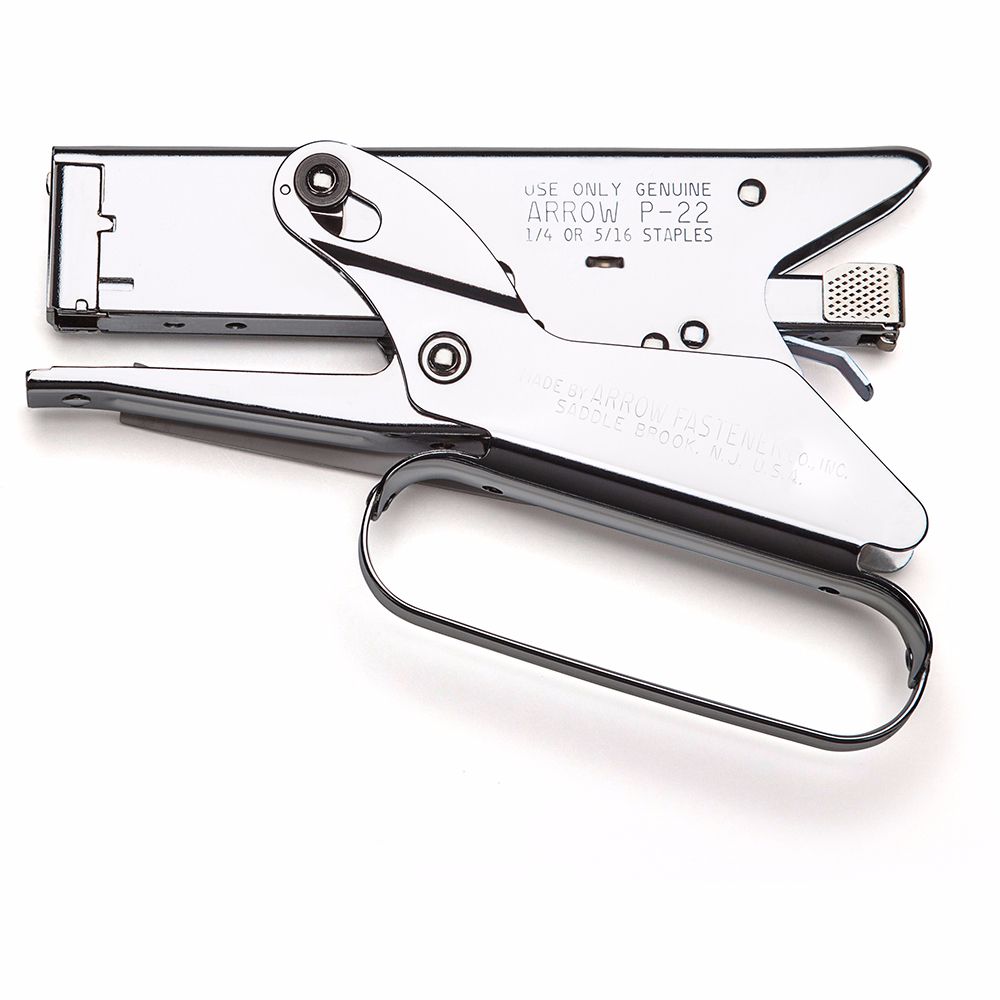
Plier Stapler
Measure and cut fabric to fit the measurements of your pillow form, adding 1″ all around for the seam allowance.
Measure and cut fabric to fit the measurements of your pillow form, adding 1″ all around for the seam allowance.
You may decorate your iron-on Thanksgiving pillow however you’d like! For this project, we’re using iron-on lettering, but stencils and fabric markers are also fun to use. I used a personal cutting machine to create iron-on lettering and fabric leaves to use as appliques.
Iron-on can be applied with the help of a hot iron or a heat press. Be sure to follow the instructions on how to safely and securely adhere iron-on.
A plier stapler is typically used for paper (up to 40 sheets), plastic, cardboard, and more — both in the home and office.
But an Arrow P22 plier stapler can also be used for holding fabric together when sewing. Straight pins can prick your fingers, as well as easily fall onto the floor, creating a stepping hazard for you, your family, and pets. Be sure to secure the fabric close to the edge of the fabric.
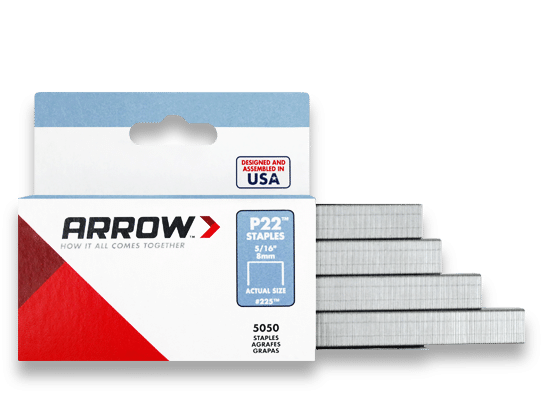
The sewing industry standard is generally 1/2” to 5/8″ seam allowances. For this pillow, however, the seam allowance is 1”. This allows for trimming the excess seam allowance to remove the staples and to remove any unnecessary bulk in the pillow. (NOTE: Be sure to leave a 6” gap so the fabric may be turned right-side out).
When done sewing, carefully trim the seam allowances with the staples. There will be no need to use a staple remover!
Turn the iron-on Thanksgiving pillow right-side out. Once the pillow is turned right-side out, gently insert the pillow form, being careful not to rip the stitching at the opening.
To close the opening, use iron-on tape or hand-stitch it closed.
Turn the iron-on Thanksgiving pillow right-side out. Once the pillow is turned right-side out, gently insert the pillow form, being careful not to rip the stitching at the opening.
To close the opening, use iron-on tape or hand-stitch it closed.
When you’re done, you’ll have a fun, new iron-on Thanksgiving pillow that will tell your friends and family how important they are to you — along with the other things you absolutely adore!
Get Arrow tips, tricks, projects and promos in your inbox!
Hey there! We’ve updated our Privacy and Cookie Policies at the request of some of our friends in Europe. Click Accept to let us know you’re okay with the updates. Thanks!
View Cookie Policy Accept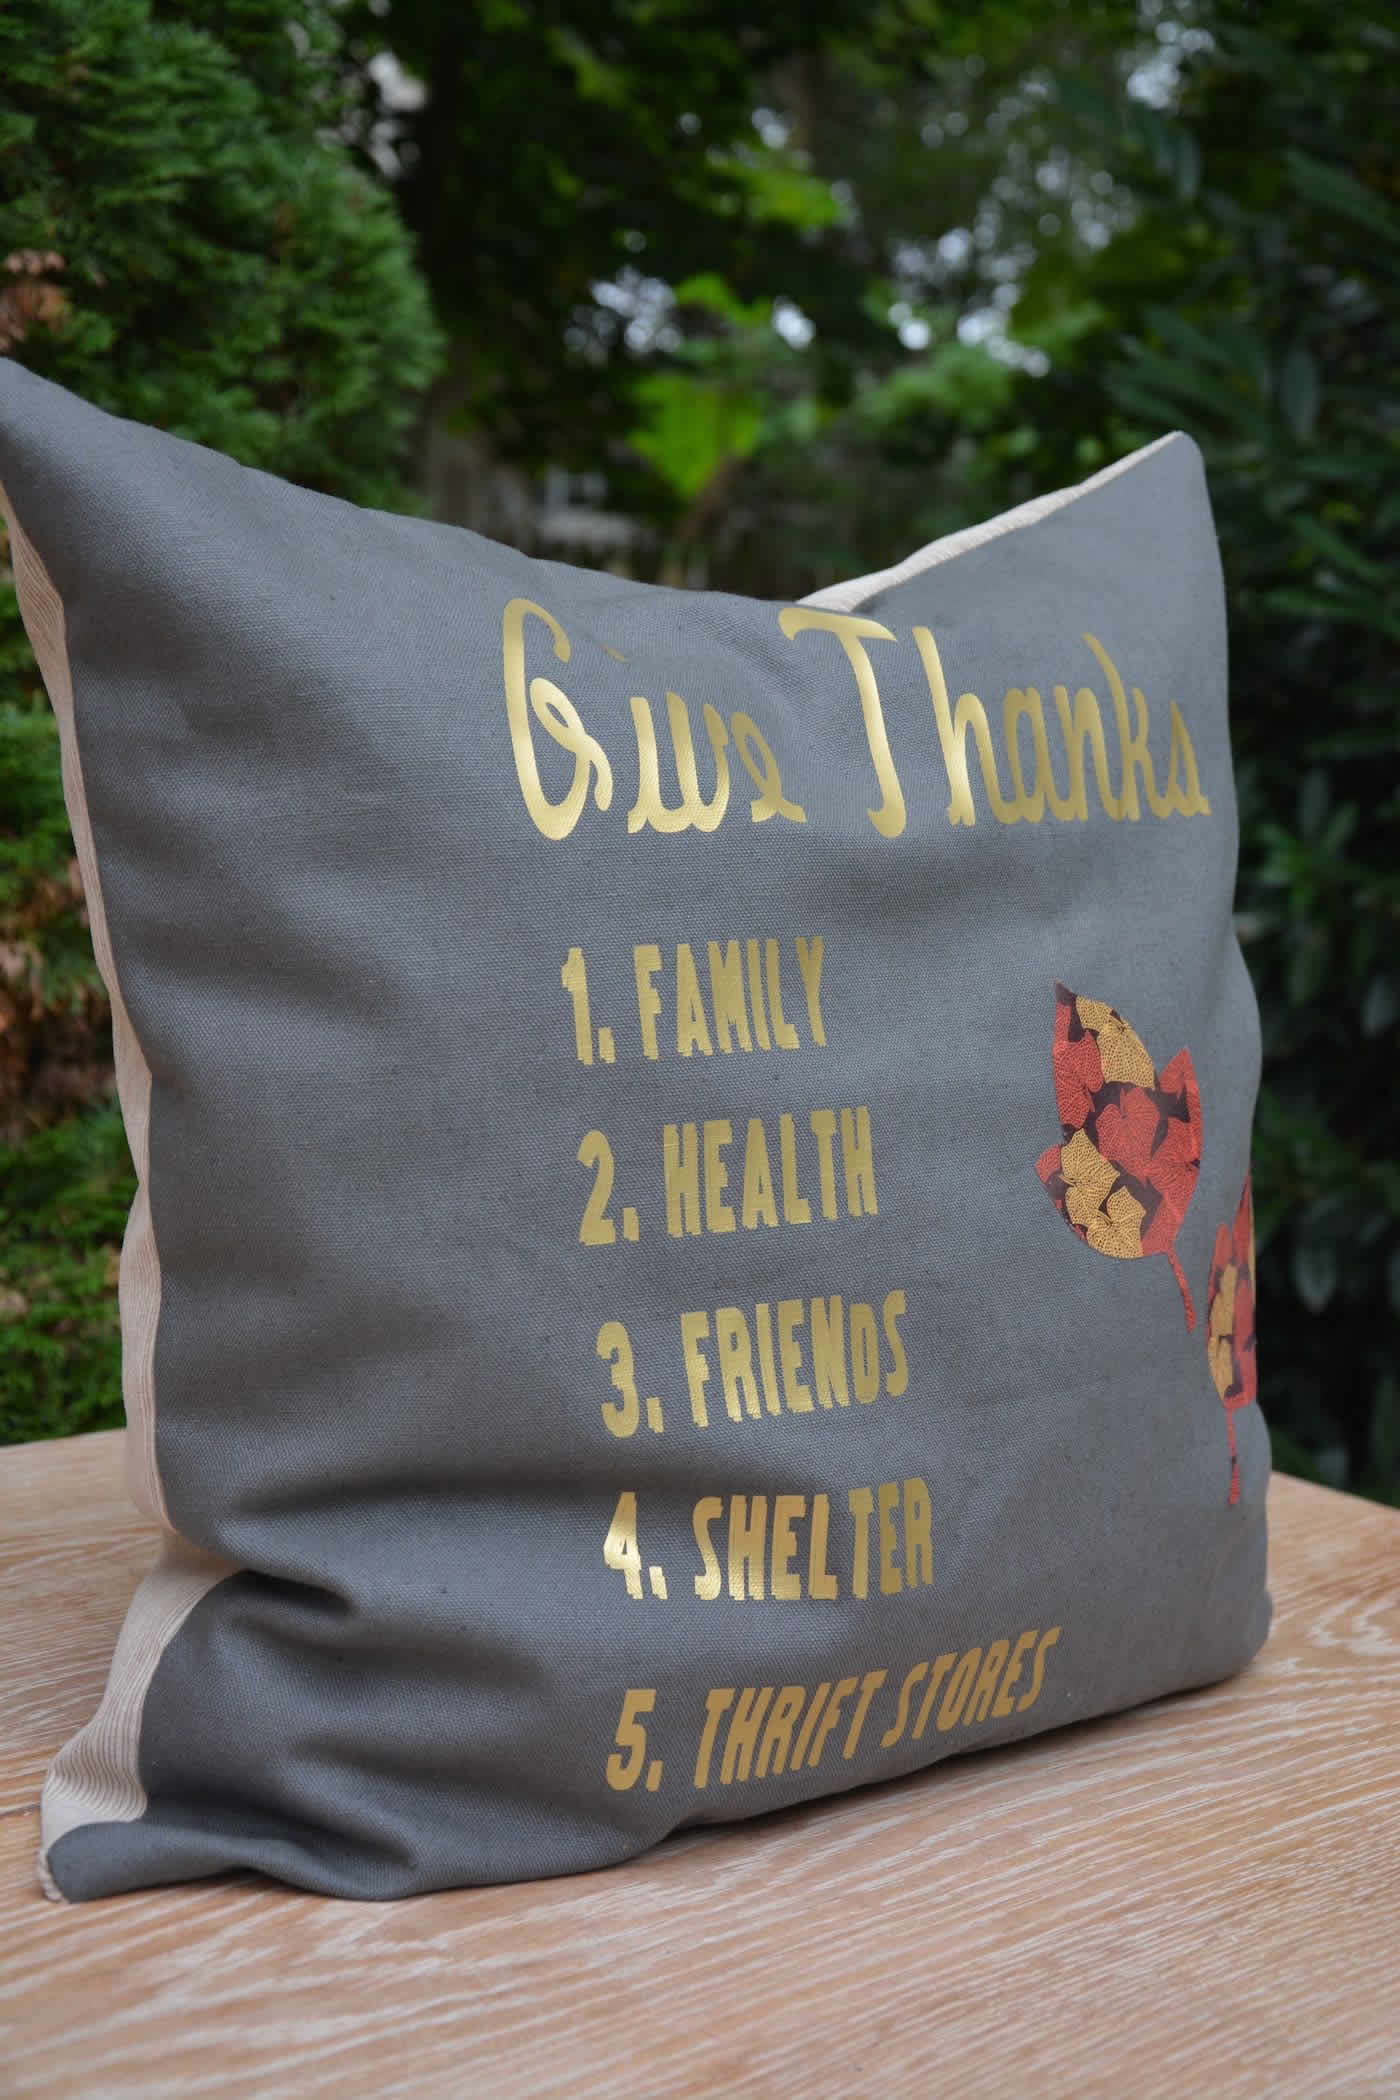