or Call Us at 1-800-776-2228


or Call Us at 1-800-776-2228


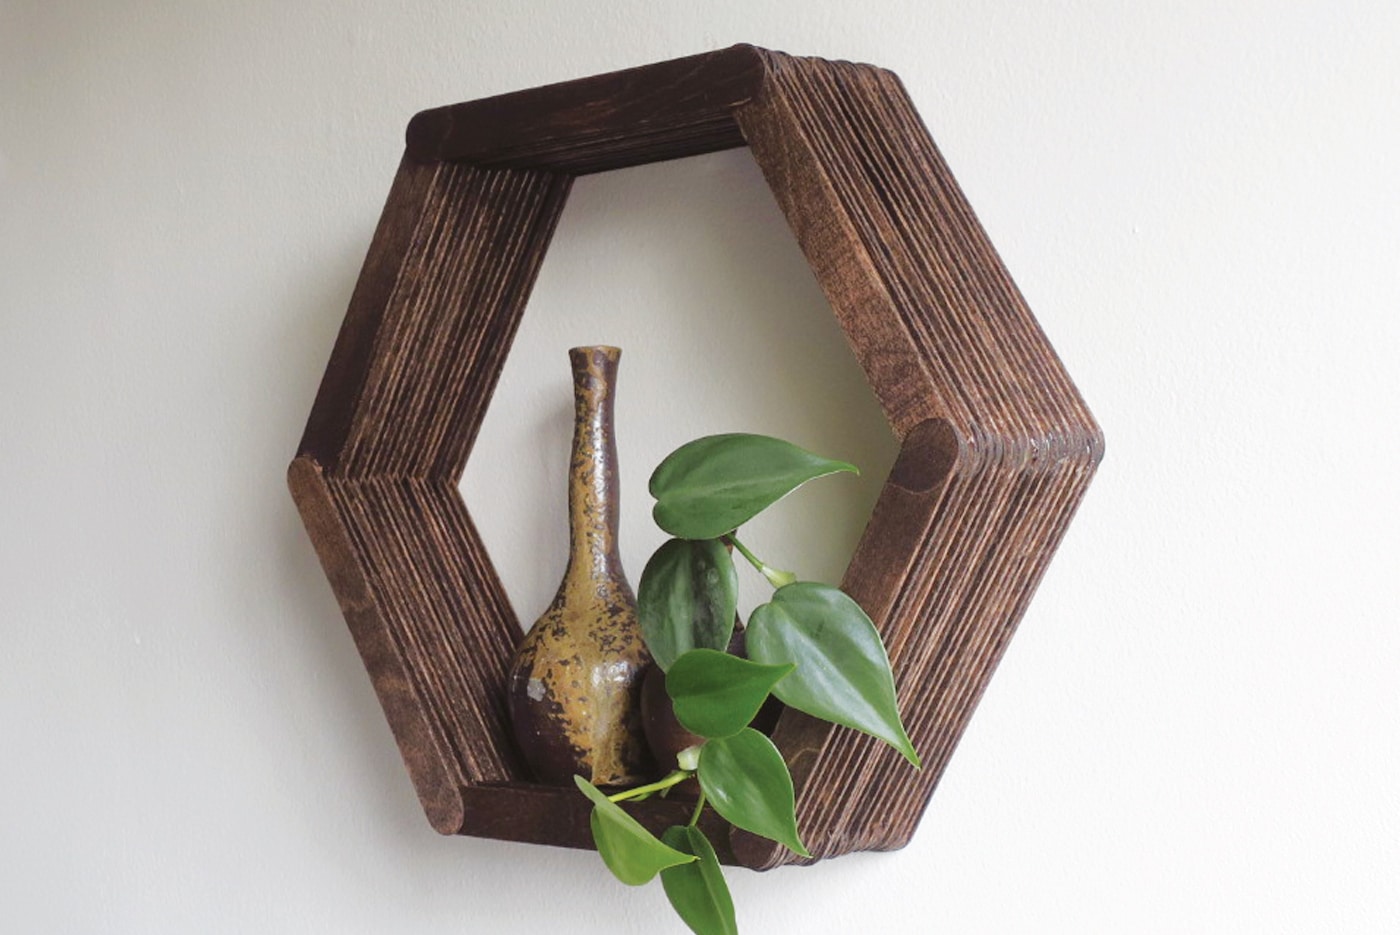
We’re loving this hexagon shelf project! This is a great option to have the kids help with too. Grab your GT30Li cordless glue gun and let’s get to work.
Print out the hexagon template – this will ensure your shelf is symmetrical. You can download the template we used here.
Then, place three craft sticks along opposite edges of the template. Add three more sticks to complete the hexagon, and place a dab of glue on the end of each stick using your GT30Li cordless glue gun. Gently press the ends together to secure the sticks in place, being careful not to glue to the paper.
Continue to glue the sticks around the hexagon in the same fashion until you reach your desired thickness. (Our shelf is approximately 2 ¾″ deep, which required 17 layers of sticks.)
Use a hair dryer to remove any extra strands of glue.
Time to stain or paint your shelf in the color of your choice! Be sure to use a paintbrush to get in between the sticks, then set aside to dry.
If you’re using a frame hanger, attach it to the back edge of the shelf or simply use a nail to hang it.
Once your shelf has been hung, decorate it as you wish! You could use it as a space to show off your green thumb or display your favorite family photo.
We’d love to see how your DIY hexagon shelf turned out! Share your creation with us on Facebook and Instagram by tagging @ArrowFastener or using #MadeWithArrow.

Get Arrow tips, tricks, projects and promos in your inbox!
Hey there! We’ve updated our Privacy and Cookie Policies at the request of some of our friends in Europe. Click Accept to let us know you’re okay with the updates. Thanks!
View Cookie Policy Accept