or Call Us at 1-800-776-2228
or Call Us at 1-800-776-2228
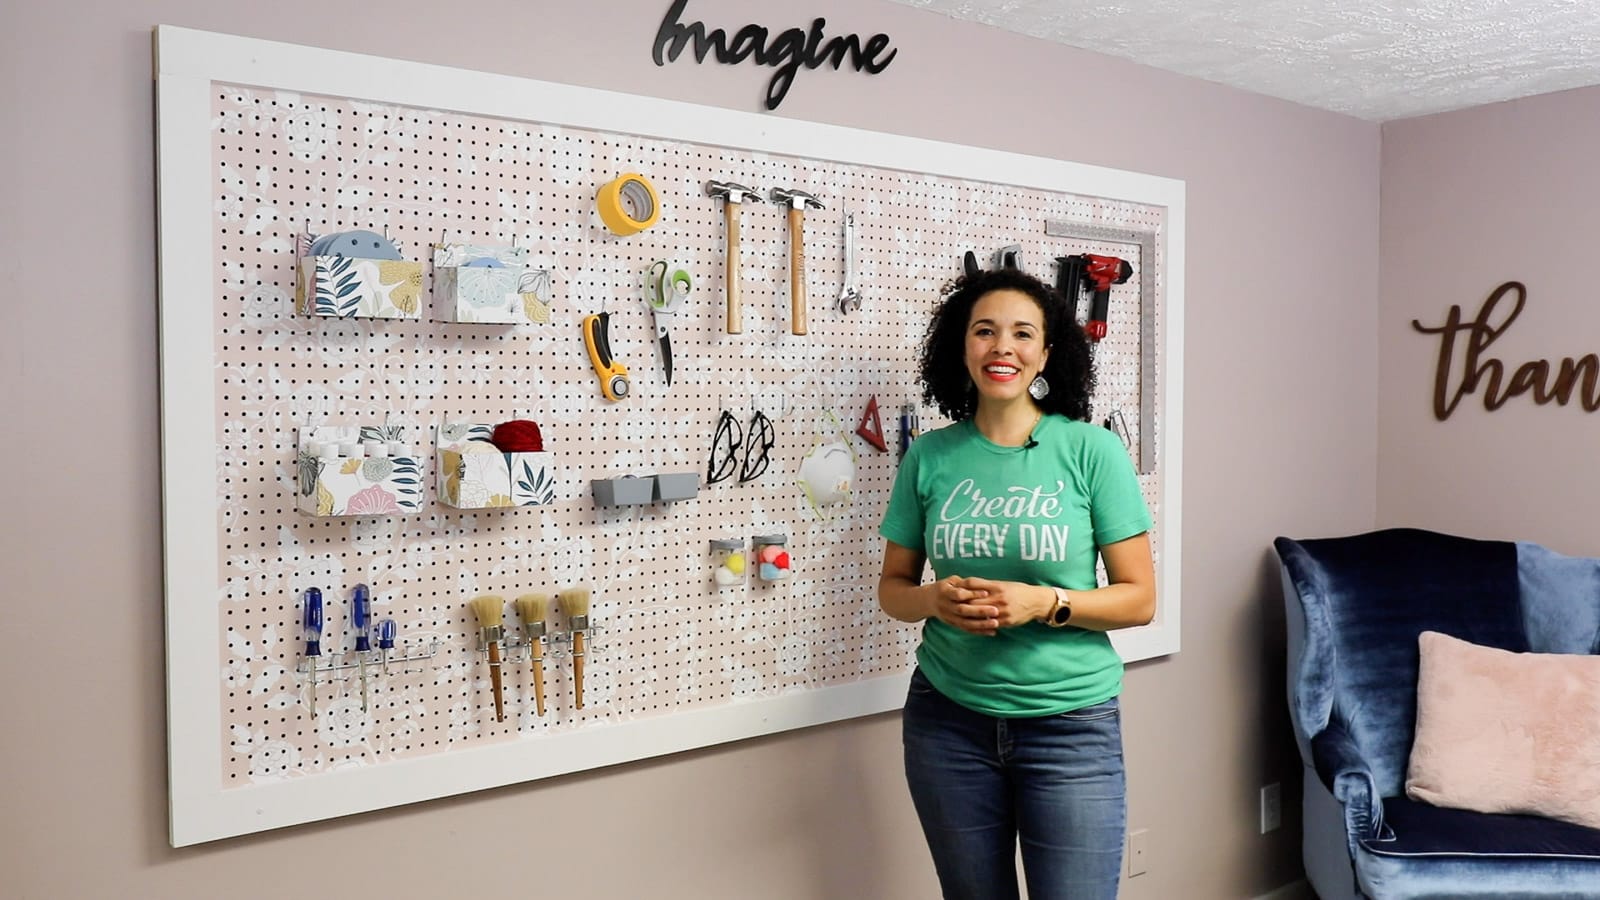
Could your workshop or craft room use a little organization? If so, this DIY framed pegboard project is for you! Equipped with custom wood organizers and adorned with stenciled patterns, your new wall will be just as pretty as it is practical. Now, choose some paint colors and stencils you love, grab your Arrow PT18G pneumatic brad nailer, and let’s get to work!

Pneumatic Brad Nailer
Start by painting your pegboard a solid color all over. Use a small foam roller to apply two coats, letting the coats dry in between.
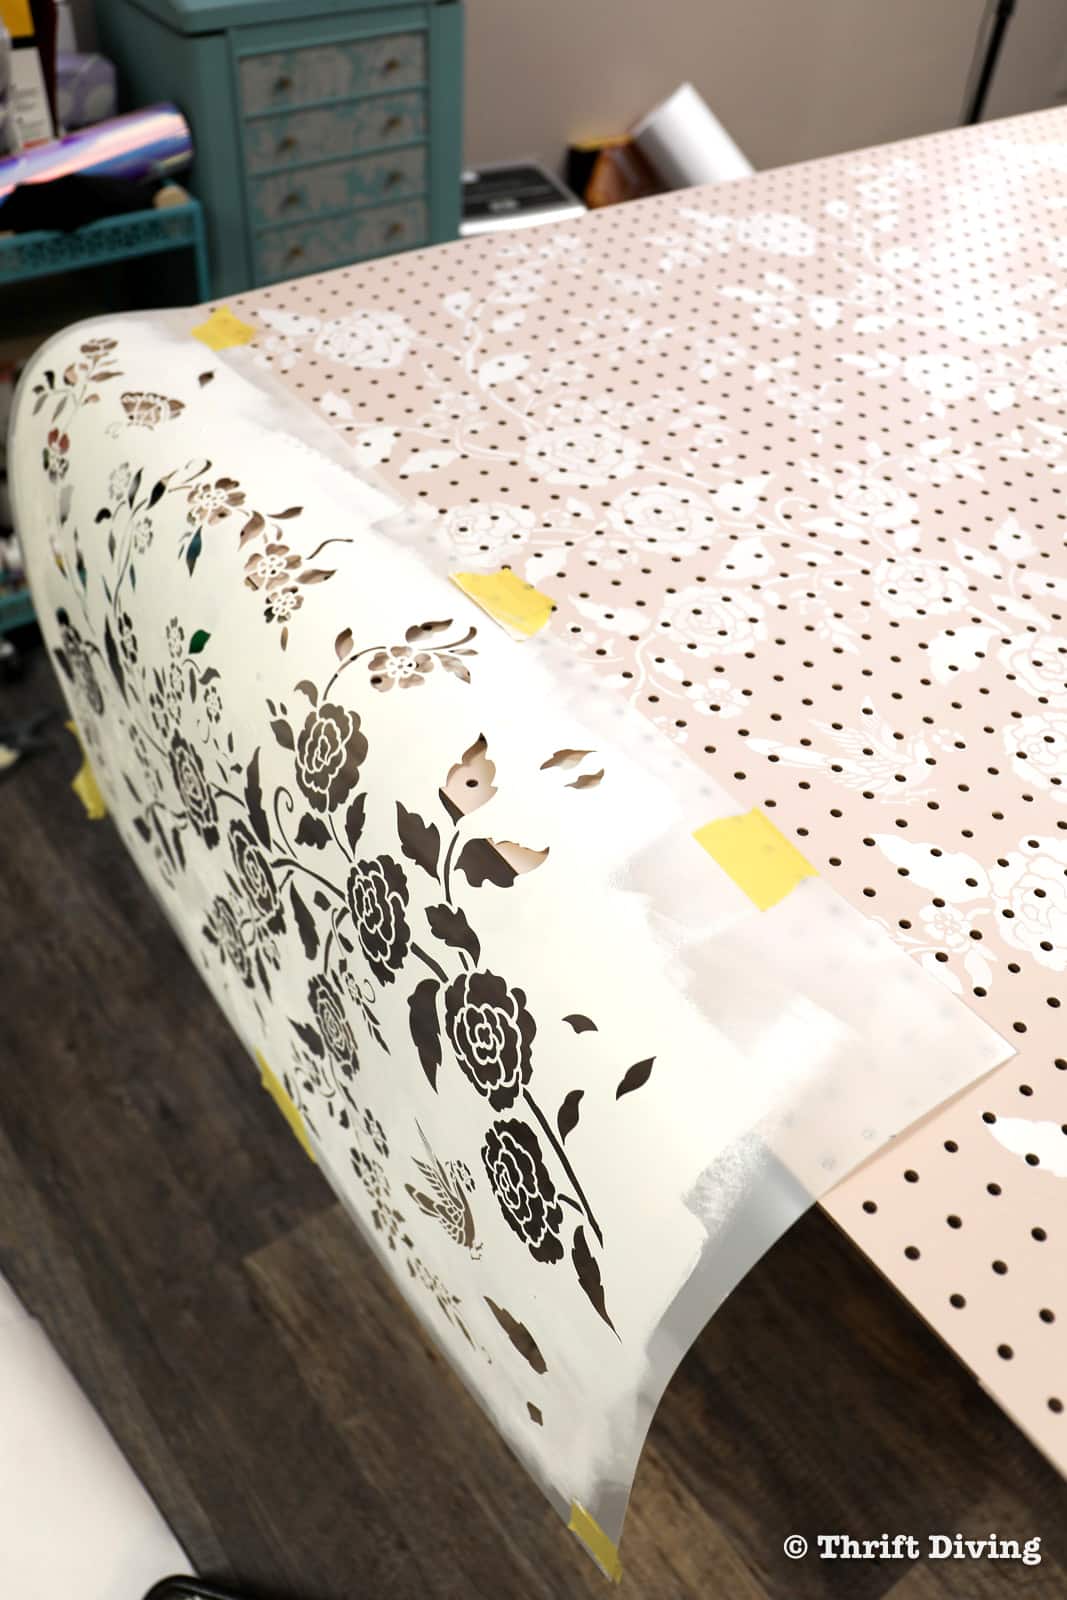
Now for the fun part – stencils! We chose to use floral stencils, but you can pick any pattern you’d like or skip this step altogether.
Once the second coat of your base color has dried, lay the stencil on the pegboard, starting at a corner. Use your sensitive surface painter’s tape to hold the stencil in place before applying just a bit of paint to a clean foam roller. But before you do this, make sure you off-load the excess paint into the roller tray, because the more paint you use, the more likely you’ll get bleeding under the stencil. That’s why it’s always better to do two light coats rather than one coat that’s too heavy.
Next, gently roll the foam roller over the stencil, ensuring that it doesn’t shift. Once the section is done, carefully lift the stencil. Then, use the repeat reference marks on the stencil to align it over the next section and tape it in place before using the foam roller again. Repeat until the entire surface of the pegboard is stenciled. The pattern should come out nice and crisp.
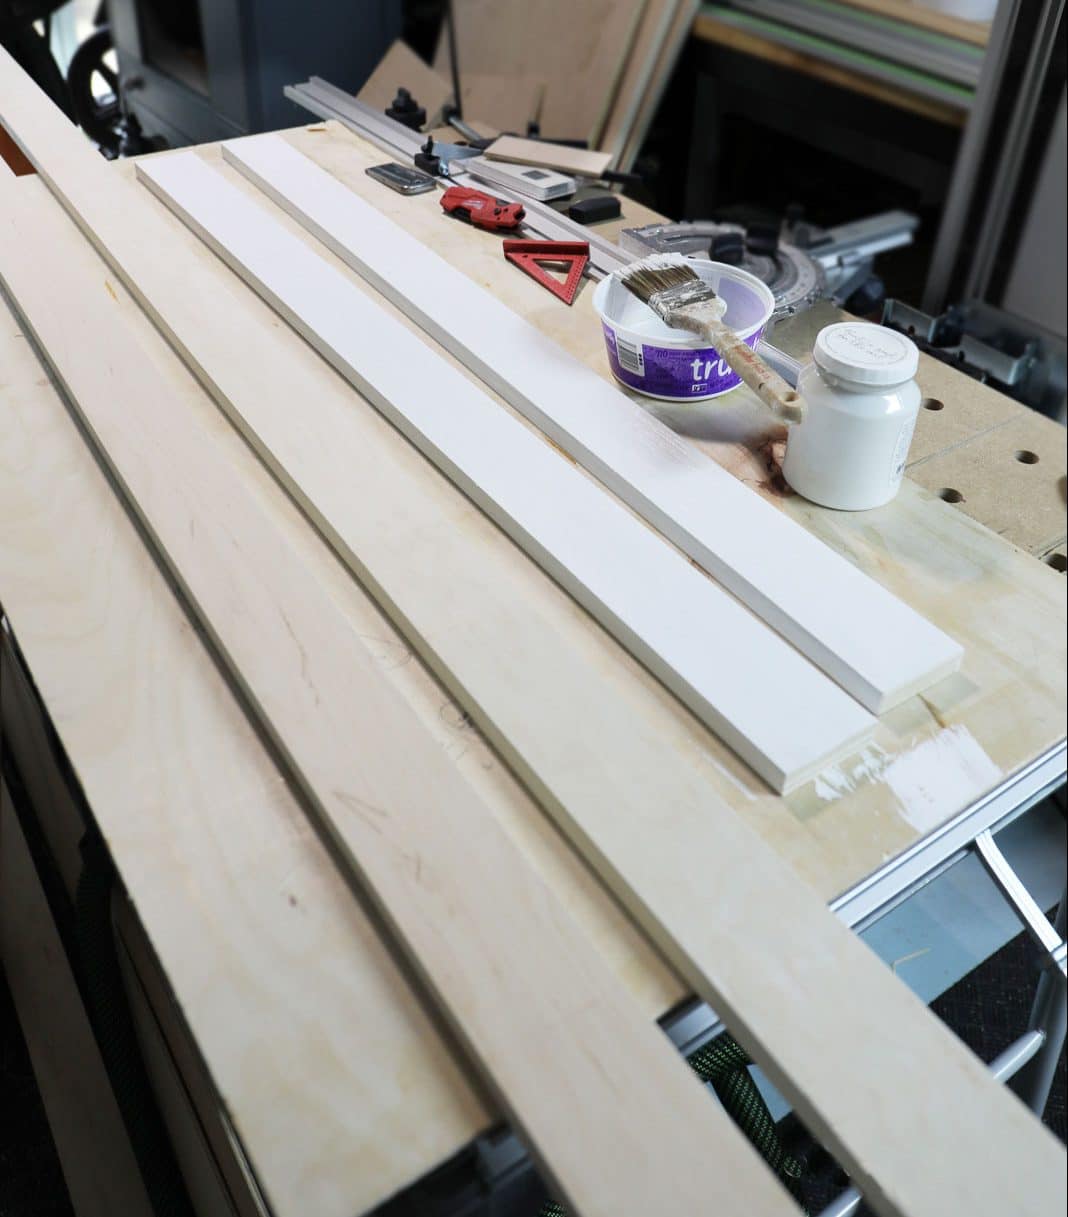
To create the frame for your pegboard, you will need three 8′ pine boards. You can paint or stain these pieces if you wish. Two of them will be full length for the top and bottom, and the third will need to be cut to fit on the sides of the pegboard to complete the frame. For the sides, measure and cut them to length. You can make the cuts with a jigsaw, using a speed square as a makeshift fence so that you get a straight and even cut.
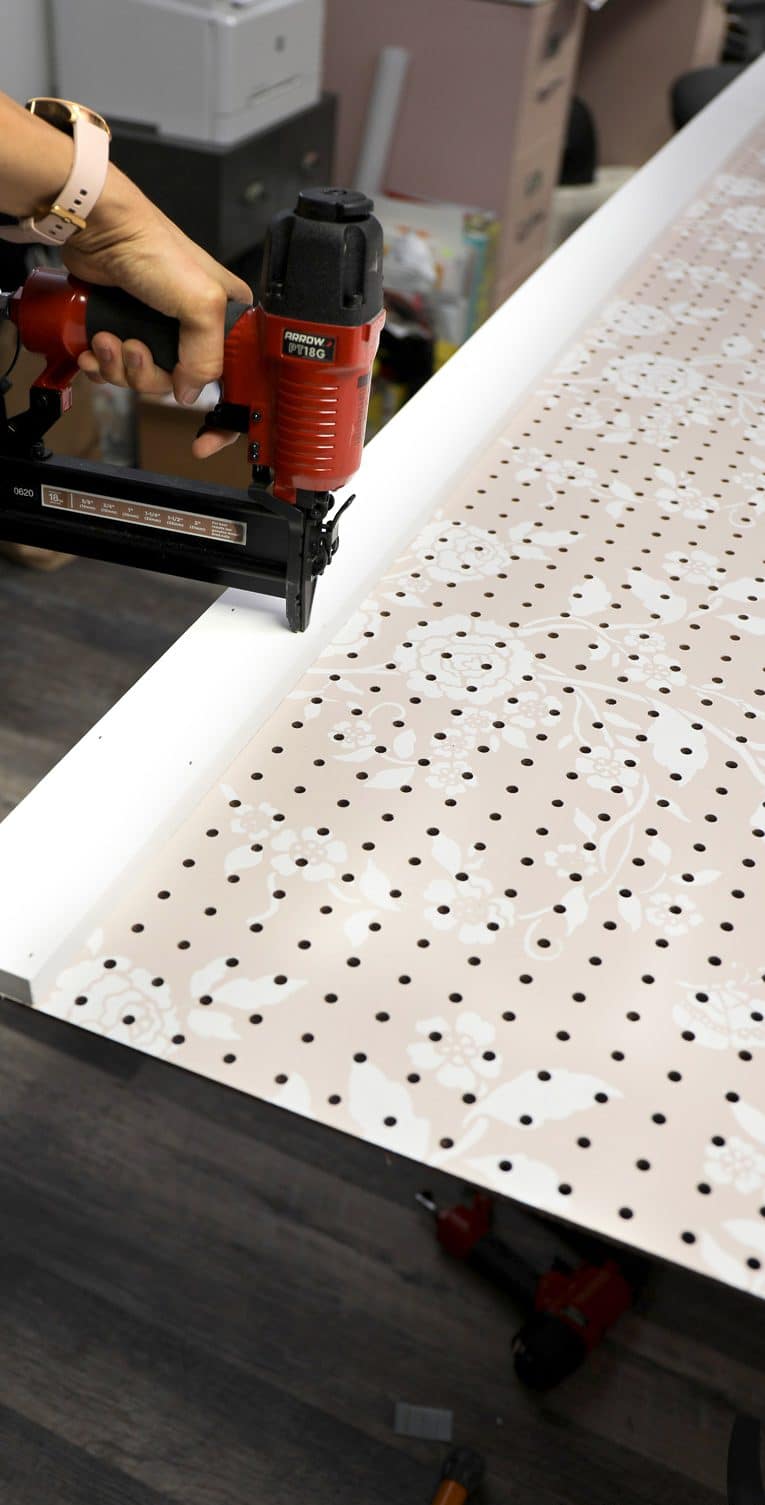
Apply wood glue in between the pegboard holes where one of the pine boards will go, place the board on top, and clamp along the board to hold everything in place. Once the glue dries a little, use the Arrow PT18G pneumatic brad nailer to secure the wooden frame to the pegboard every 12″ or so. Repeat on all sides.
Use a bit of wood filler to fill the holes from the brad nails and any gaps between the frame boards. Allow it to dry, then sand it smooth with fine sandpaper.
Then add another coat or two of paint or stain to the frame to disguise the filled holes and gaps where the boards meet.
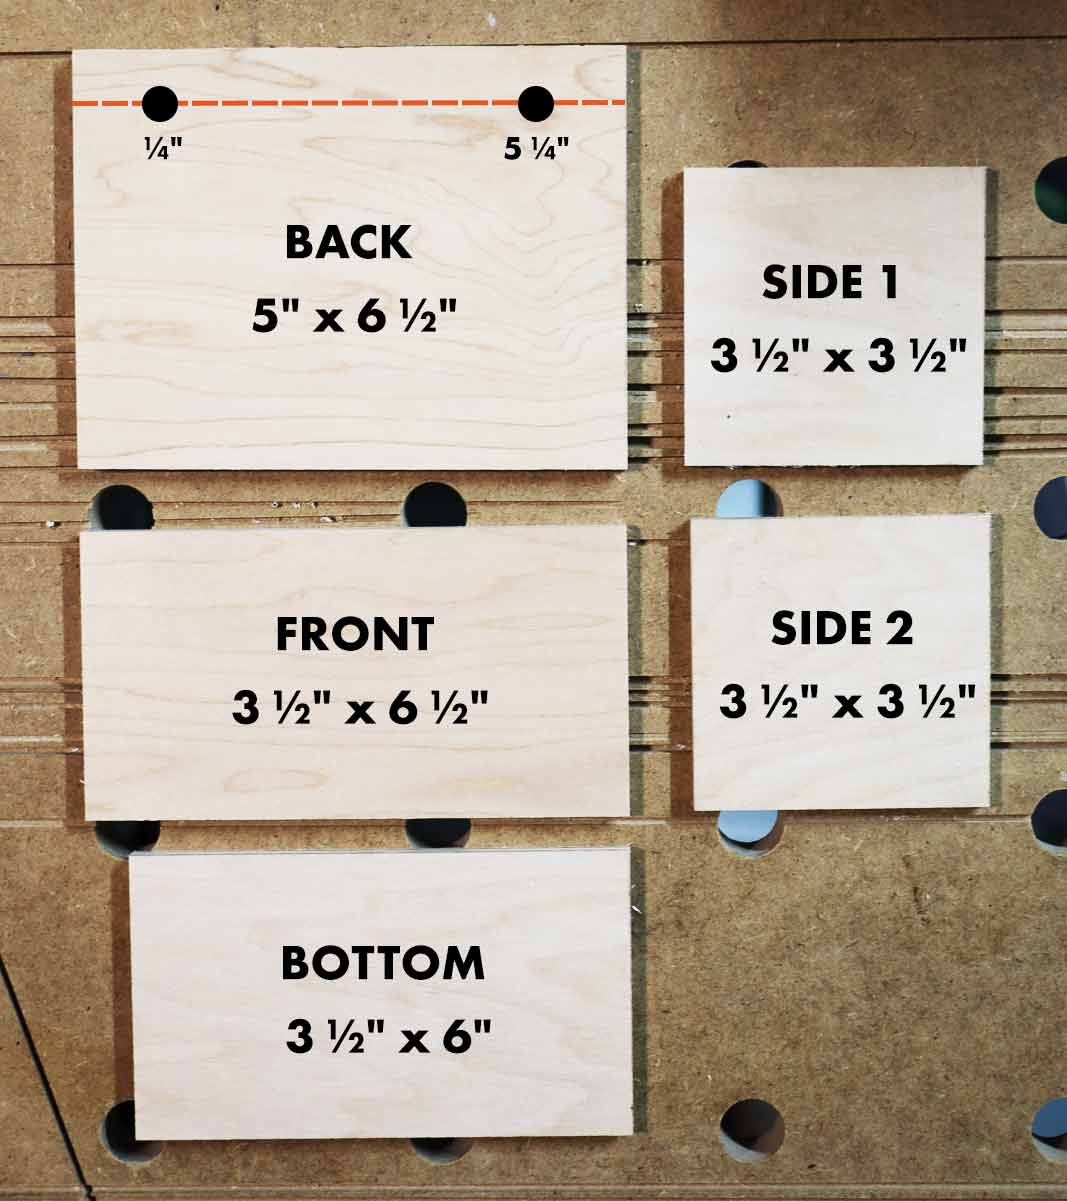
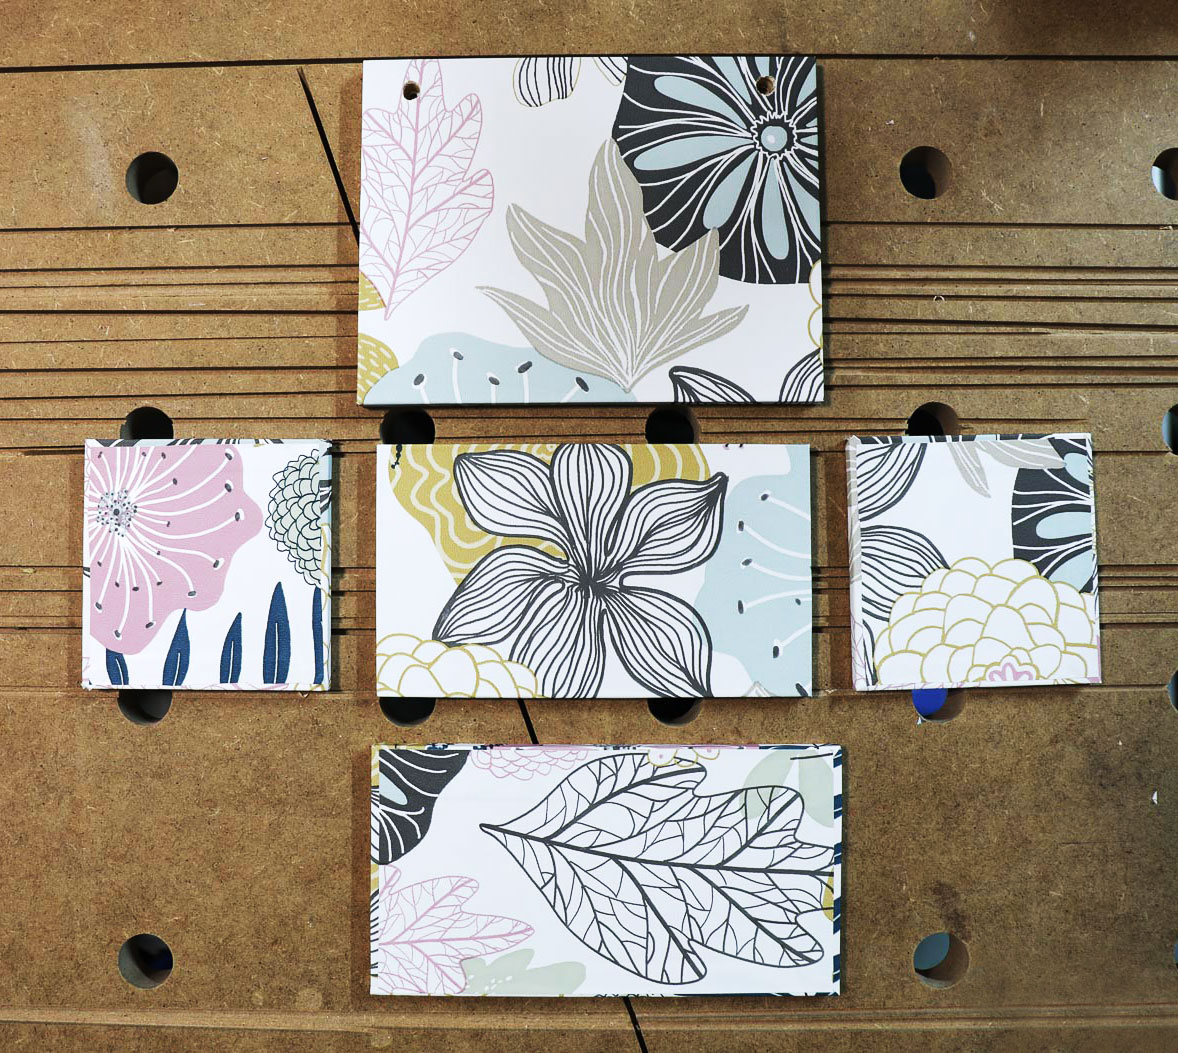
Now it’s time to cut the pieces for your custom organizers.
Organizer dimensions
To cut the pieces, you can use a jigsaw since it’s perfect for quick, easy cuts. We recommend using a speed square as a makeshift fence to keep the saw straight while making your cuts.
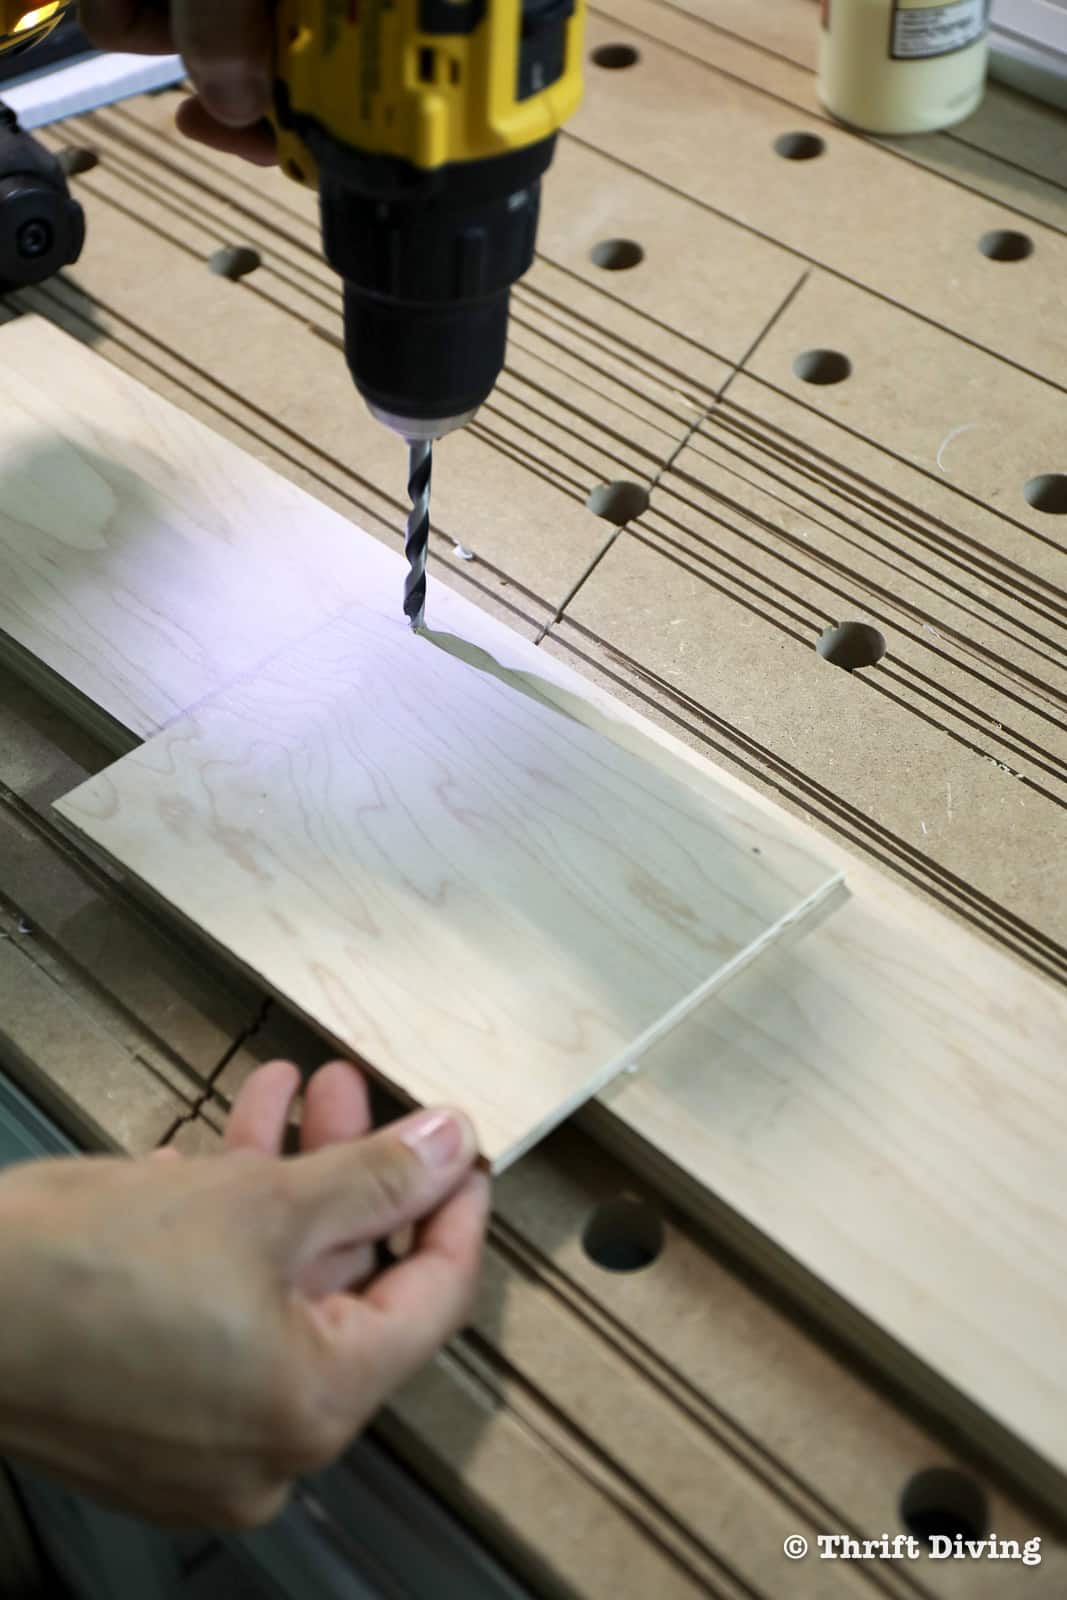
If you’re not covering your organizers, drill each of the back pieces of the organizers first. It’s much easier to do this step when you can lay the pieces flat.
Place a sacrificial board underneath the wood. This helps prevent tear-out when drilling holes so that you’ll have a clean hole in the front and back of the wood. Use a brad point drill bit, which also helps create clean holes. The holes should be placed at ¼” and 5 ¼” along the top and approximately ¼” down from the top. Keep these consistent so that your organizers line up nicely on your framed pegboard.
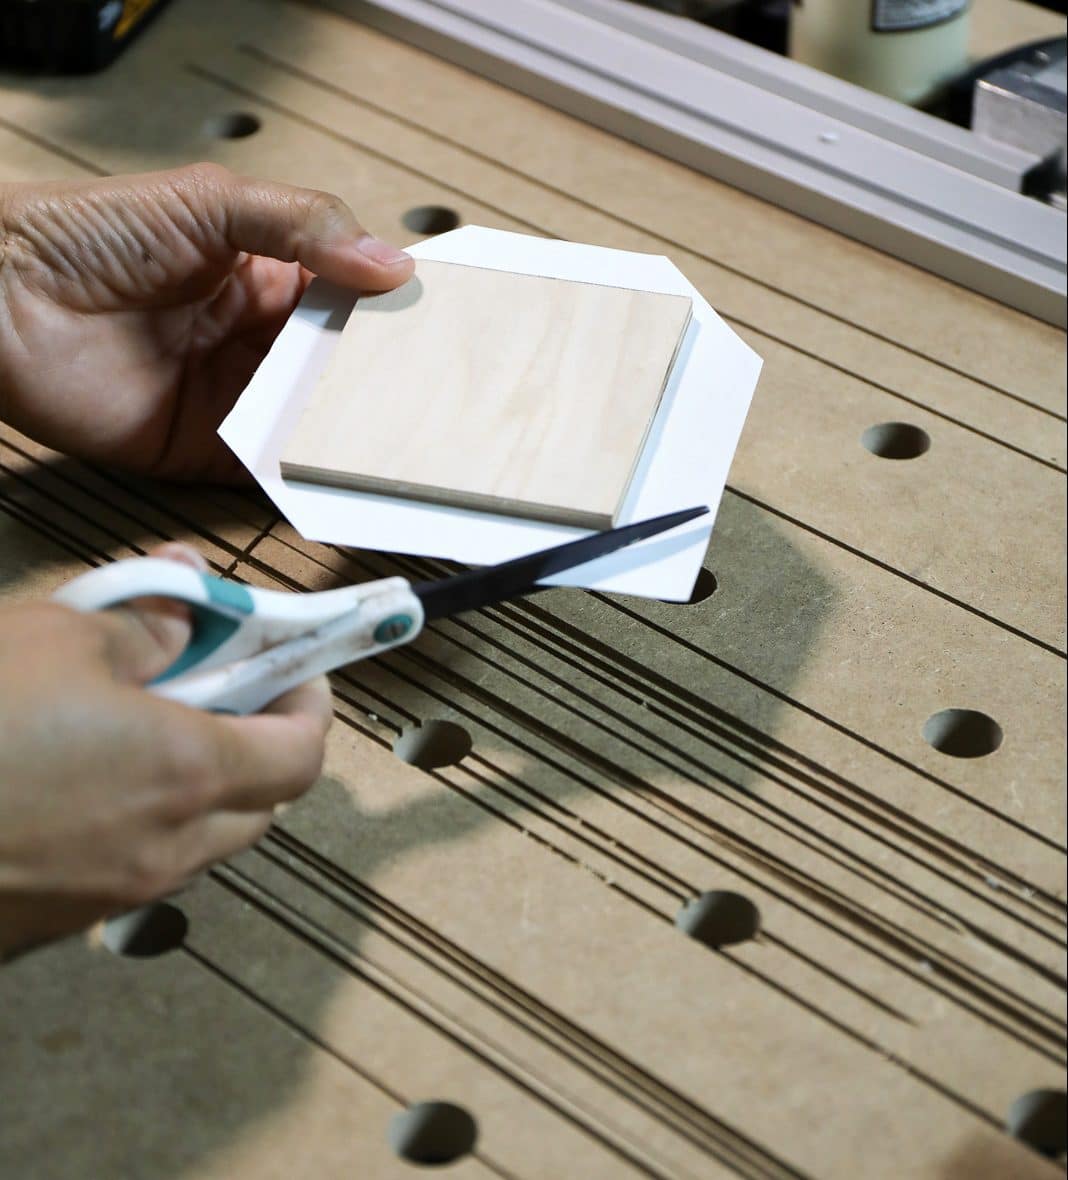
Back to the fun part – assembling and decorating the organizers! To garnish the organizers with wallpaper, lay out each of the five pieces onto the wallpaper and cut around each piece, leaving about 1″ around the perimeter. To attach the piece of wooden organizer, peel off the backing of the wallpaper and press the wooden piece into the center of the sticky side to attach it. Trim each wallpaper corner by clipping it with scissors.
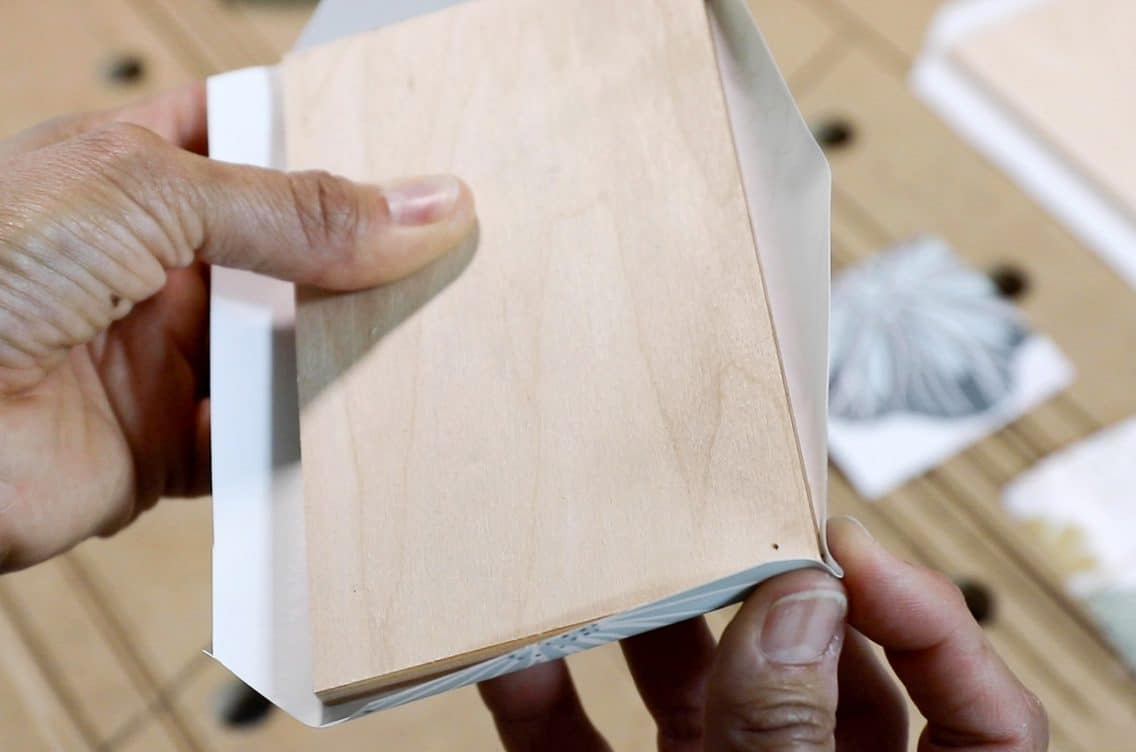
Next, use your fingers to pinch each corner together to create a crease. After each corner is pinched, fold each edge toward the back, pressing firmly. Then, trim each of the pinched corners.
Finally, cut a piece of wallpaper slightly smaller than the piece of wood and place it over the exposed wood on the back of each piece – this will cover the raw edges of the wallpaper. Use the brad point drill bit to cut the holes on the back before assembling the wallpaper-wrapped organizer pieces.
Once all five pieces have been cut and covered, assemble as follows:
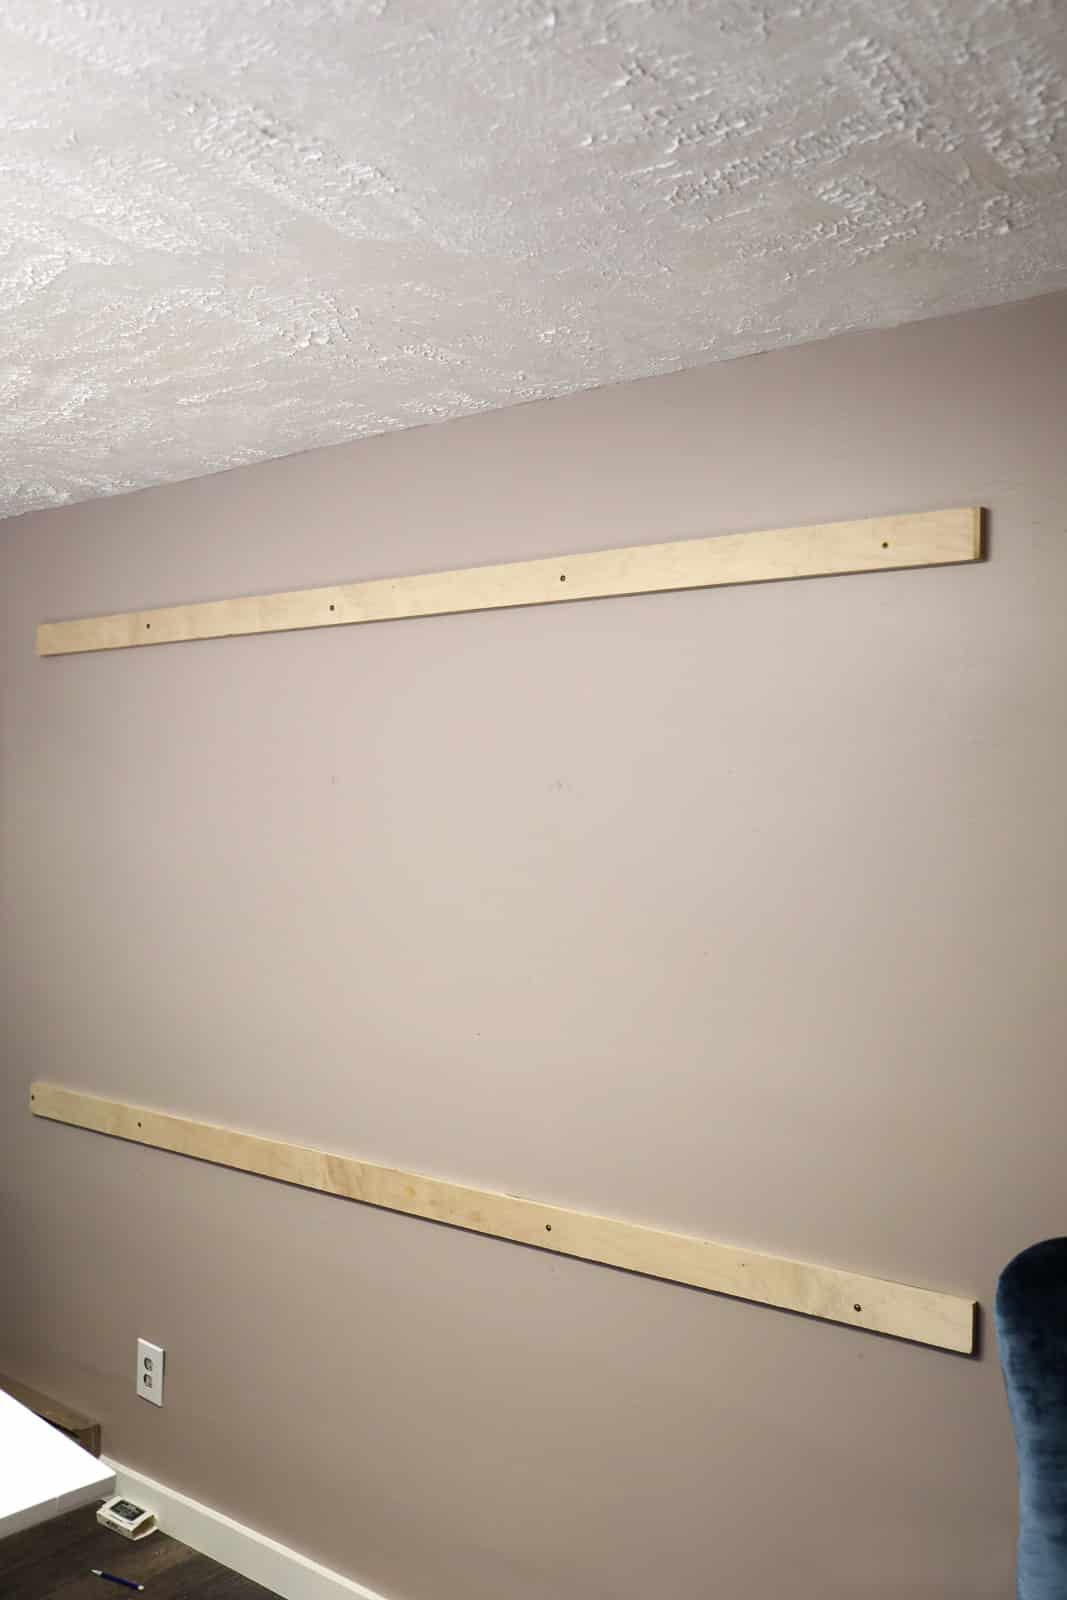
It’s finally time to hang your pegboard! When making a large framed pegboard to hang on your wall, you need to leave space behind the pegboard so that the little prongs of the metal hooks have enough room. To create a surface for the pegboard to be attached to, you’ll need to install some braces to the wall.
But first, you’ll need to use a stud finder to find and mark their locations.
Once you’ve found the studs, use a power drill and 2 ½” screws (with a level to make sure the boards are parallel) to secure the boards (top and bottom, evenly spaced 4′ apart) to the wall. You may want to hang a few vertical boards as well to help support the pegboard. Keep in mind that the vertical braces will reduce the number of holes available to hang things but will give your pegboard more stability in the middle.
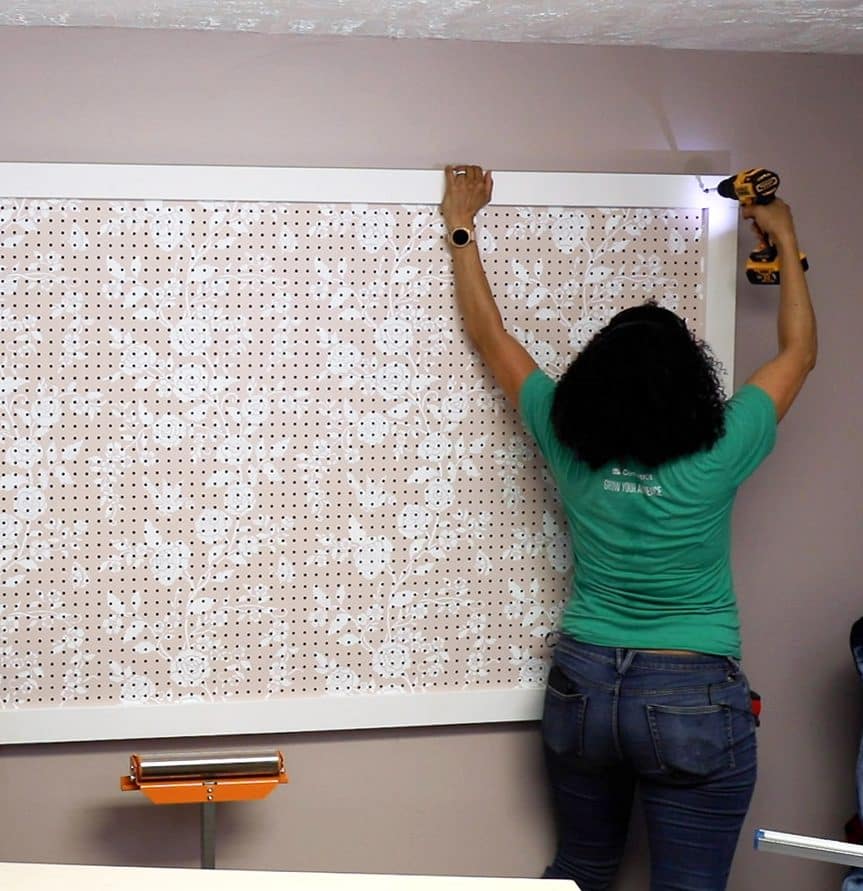
Next, use screws to attach the framed pegboard to the braces. Use paint to lightly cover over the screws to disguise them.
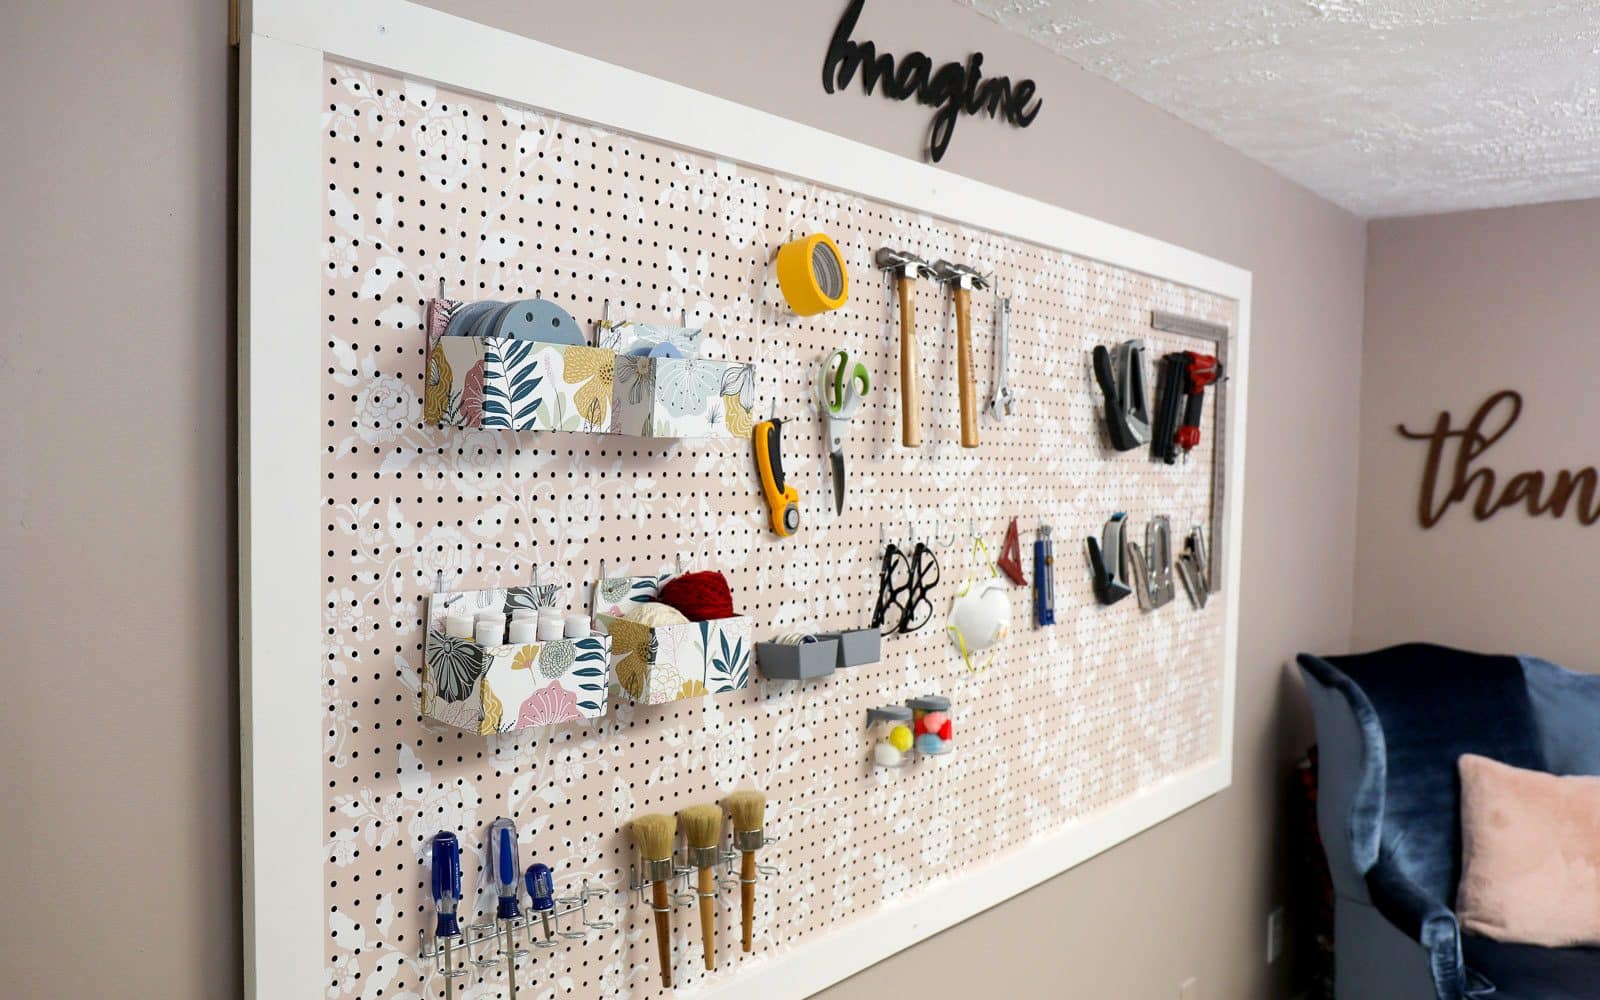
Once the framed pegboard is securely in place, it’s time to decorate! Additional pegboard hooks can be purchased from home improvement stores or online. This is the perfect time to put your own special touch on the project.
Now everything – from your safety glasses to your screwdrivers – has a home. We can’t wait to see what you use a DIY framed pegboard for and how you decorate it!
Share your work with us on Facebook and Instagram by tagging @ArrowFastener or using #MadeWithArrow.
Get Arrow tips, tricks, projects and promos in your inbox!
Hey there! We’ve updated our Privacy and Cookie Policies at the request of some of our friends in Europe. Click Accept to let us know you’re okay with the updates. Thanks!
View Cookie Policy Accept