or Call Us at 1-800-776-2228
or Call Us at 1-800-776-2228

The sun is shining, the skies are blue, and your backyard could use a little more green! Whether you’ve been thinking about starting an herb garden or you just want to plant some flowers, this garden wall is the perfect project to spruce up your space.
Heavy-Duty Staple Gun
It’s time to prep your pallet! Start by sanding down any rough spots.
If the back of your pallet isn’t well supported, find some scrap wood roughly 3″ to 4″ wide and as thick as the pallet’s supports. Cut it down to the width of your pallet and attach it to the back using a hammer and nails.
Roll out the landscaping fabric over your pallet. Tack a staple in the top two corners using your T50 heavy-duty staple gun to help hold the fabric in place as you roll it out. Add another layer or two to ensure it’s thick enough to support the soil.
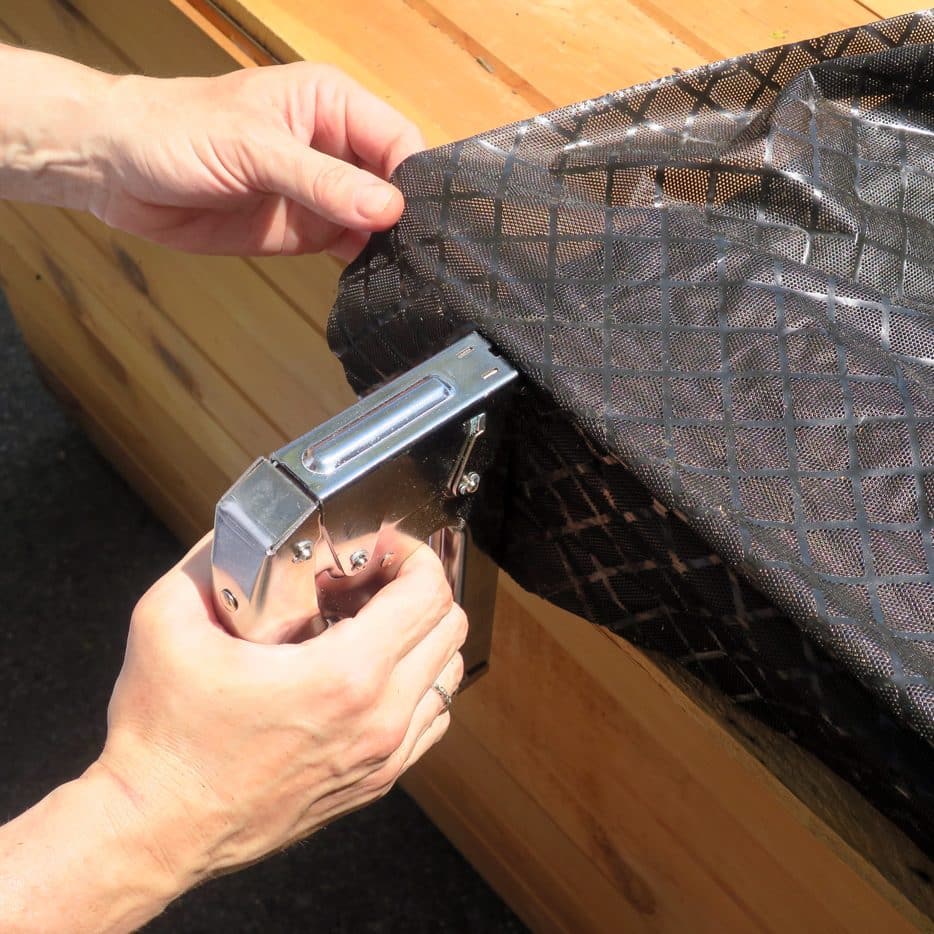
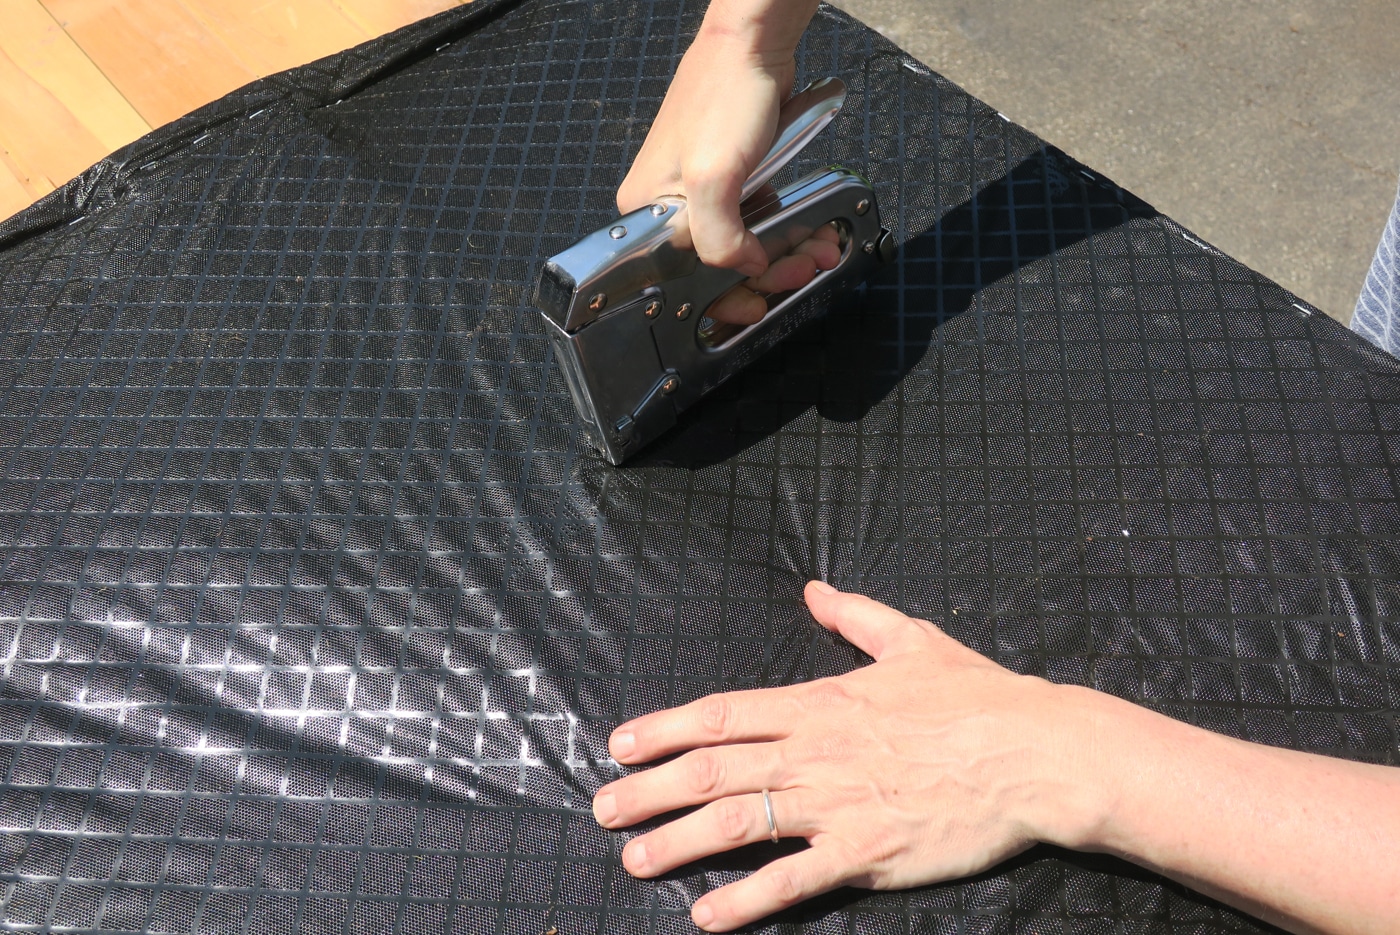
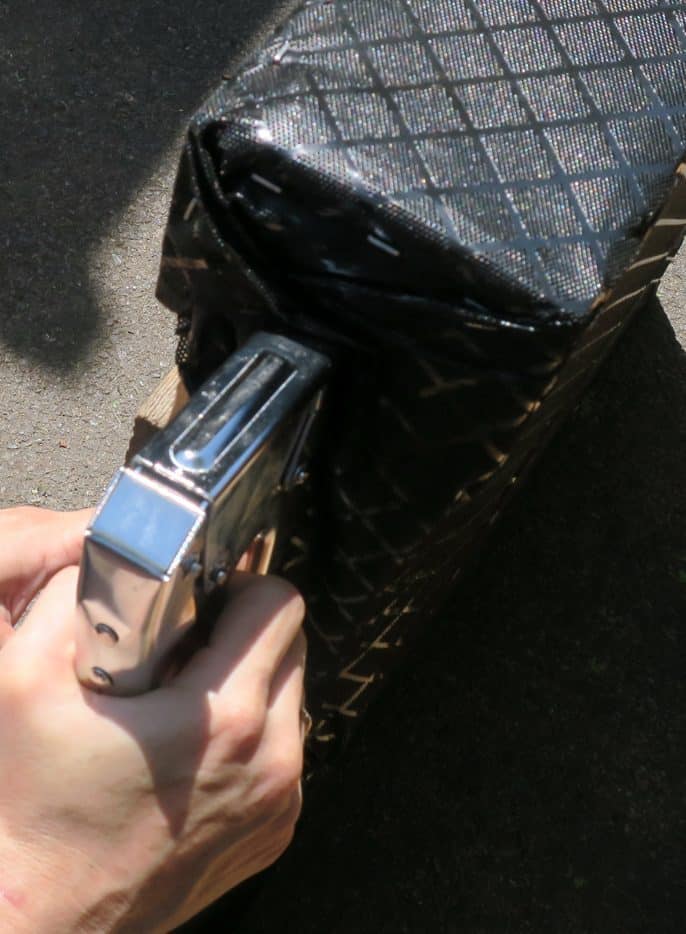
Staple the landscaping fabric along the back supports, bottom, and sides of the pallet, leaving the top of the pallet open for planting. Be sure to fold in the fabric at the corners so the soil won’t spill out.
Lay the pallet flat again, this time with the slats facing up, and pour your potting soil through the slats. Press the soil down firmly and remember to leave enough room for your herbs and flowers.
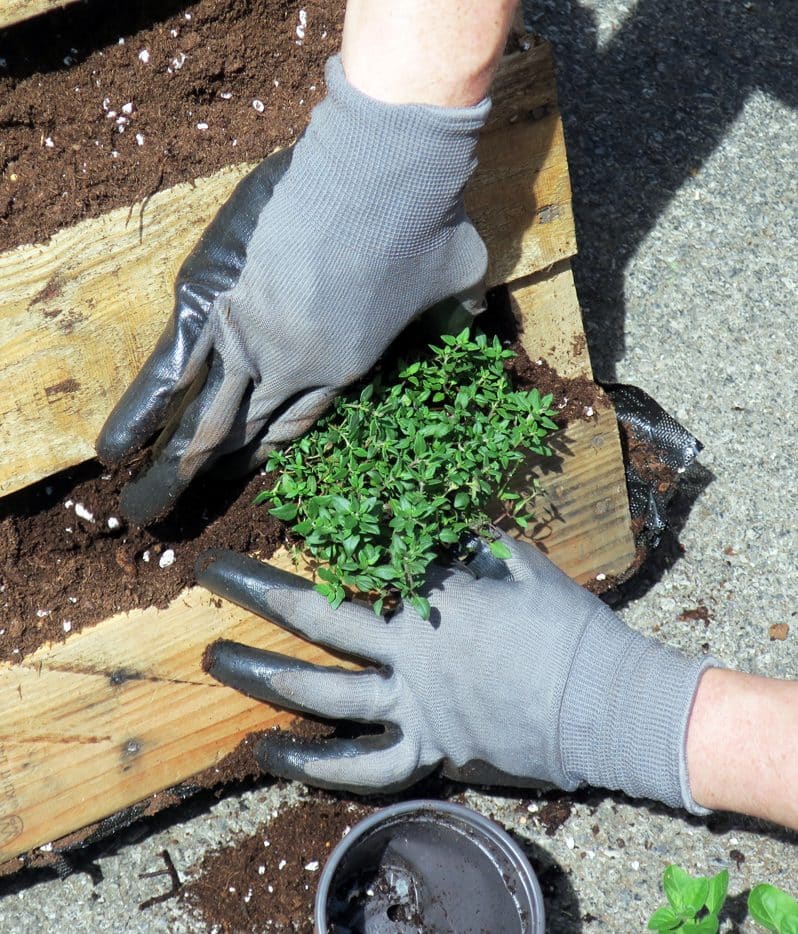
Turn your pallet upright to allow the soil to settle. Start adding your herbs, working from the bottom of the pallet to the top.
We fit two herb plants in each section (four per slat row). And for added color, we planted six annual flowers in the top row of our garden wall.
Time to show off the newest addition to your backyard! If you have a covered patio, you could try using succulents for this project instead.
We’d love to see how your garden wall turned out! Share your work with us on Facebook and Instagram by tagging @ArrowFastener or using #MadeWithArrow.
Get Arrow tips, tricks, projects and promos in your inbox!
Hey there! We’ve updated our Privacy and Cookie Policies at the request of some of our friends in Europe. Click Accept to let us know you’re okay with the updates. Thanks!
View Cookie Policy Accept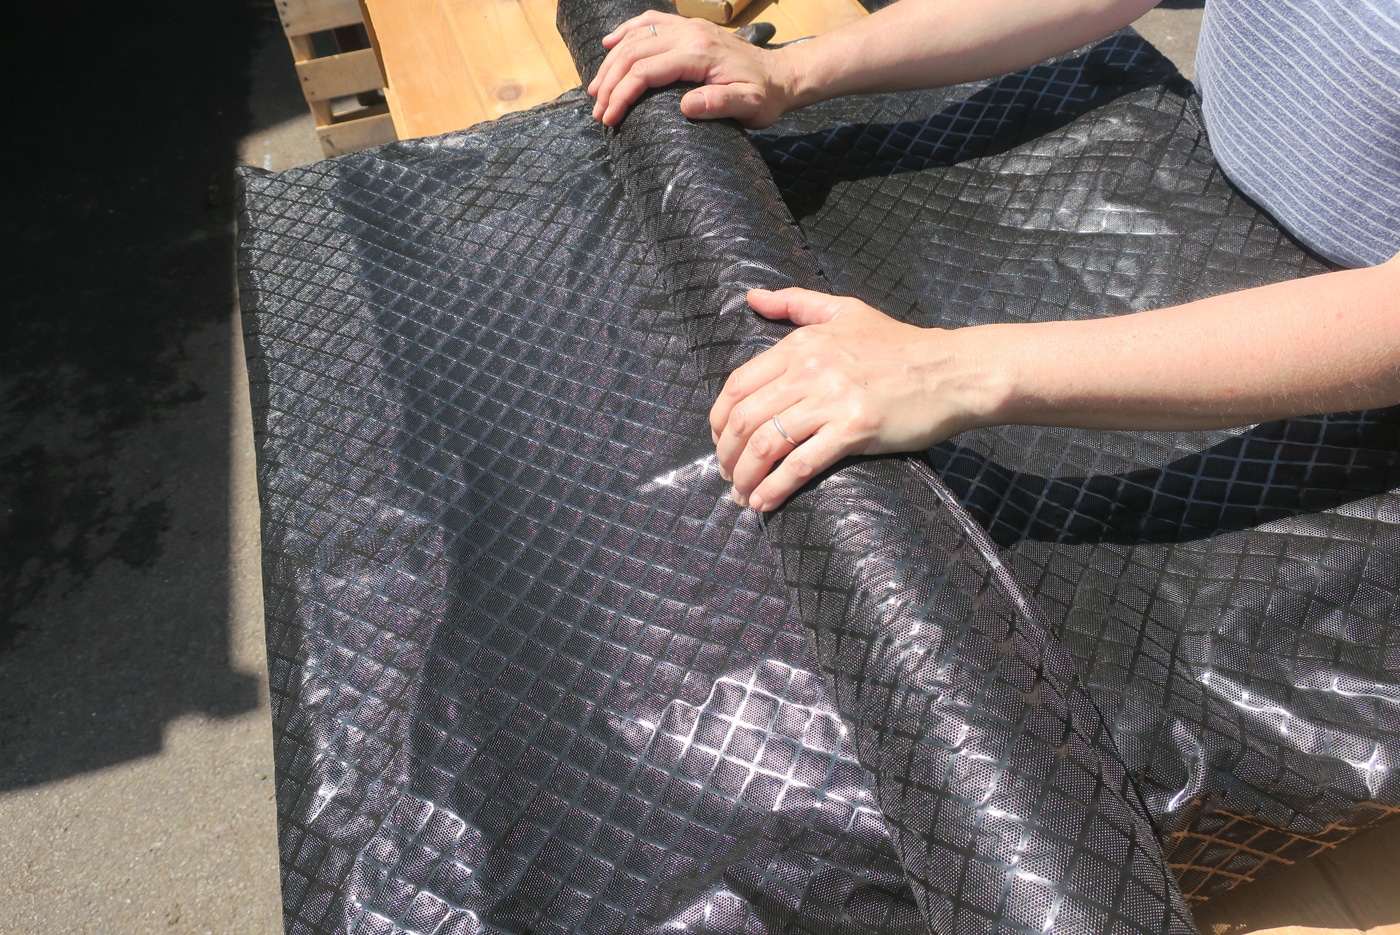