or Call Us at 1-800-776-2228
or Call Us at 1-800-776-2228
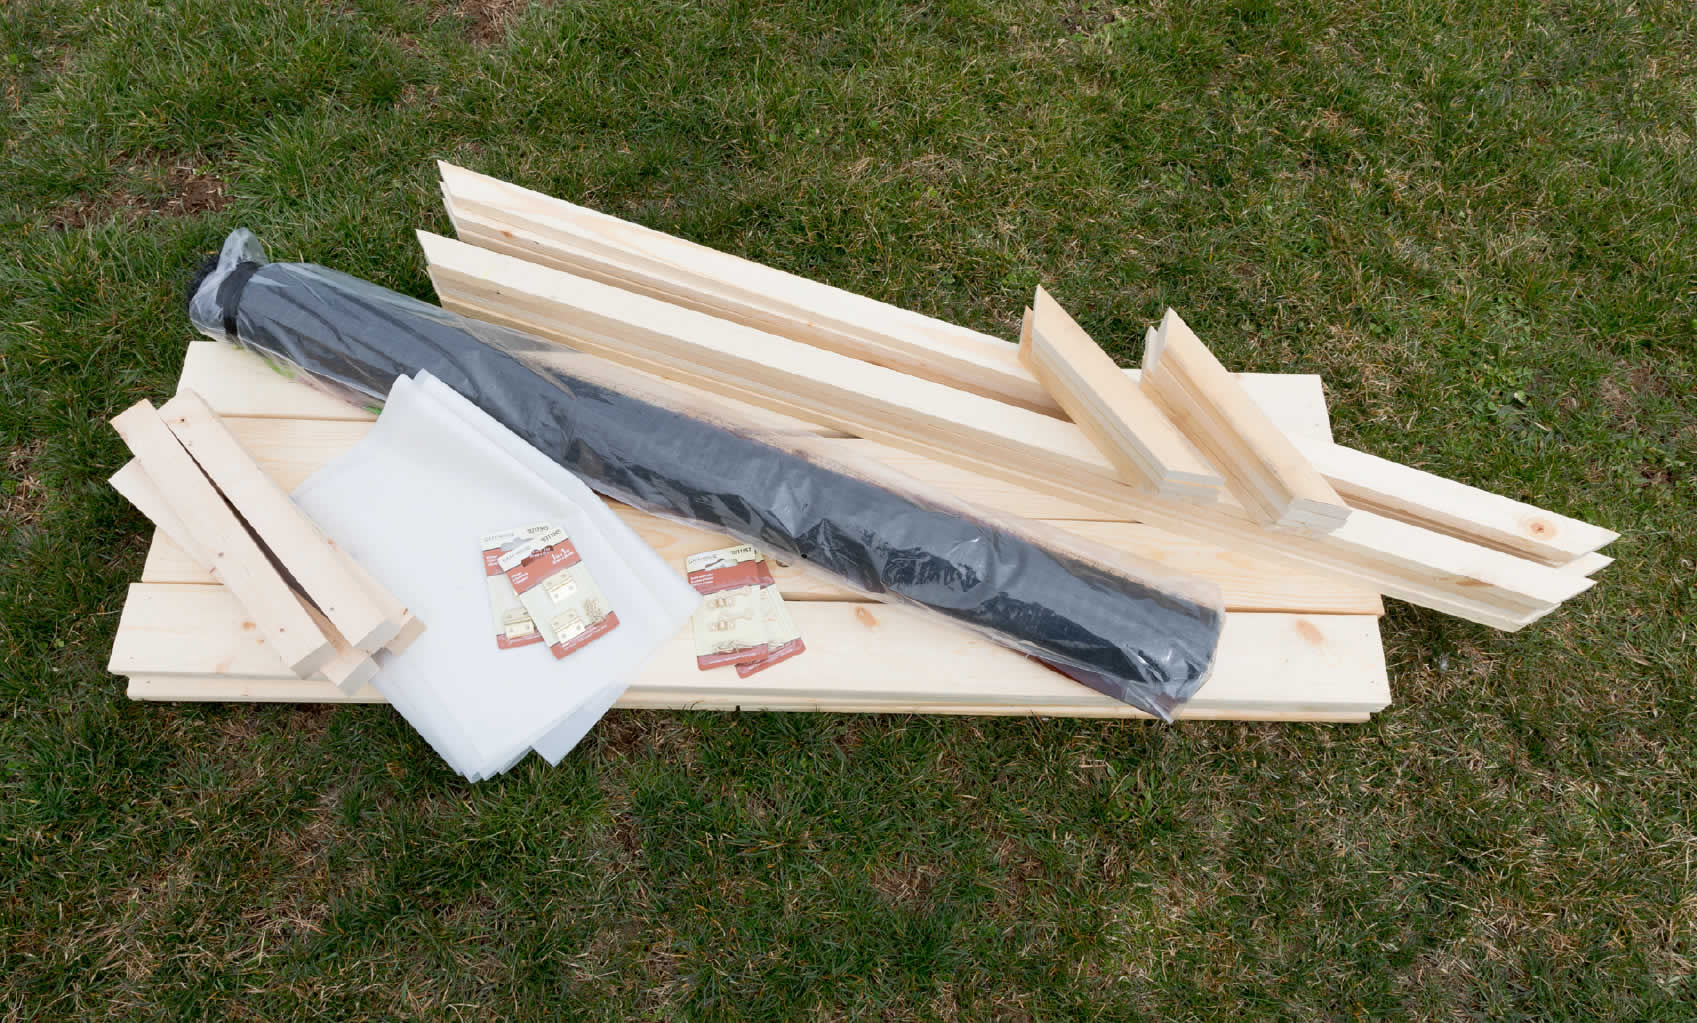
Build a raised garden bed with a fence using the T50 Staple Gun and PT18G Pneumatic Brad Nailer so your green space is ready for the planting season. You can celebrate Earth Day by building a raised garden bed in just a few simple steps. Use these instructions to build a 4’ x 4’ x 2’ bed and get ready for the planting season. The directions can be altered to sizes that better fit your garden.
Heavy-Duty Staple Gun

Pneumatic Brad Nailer
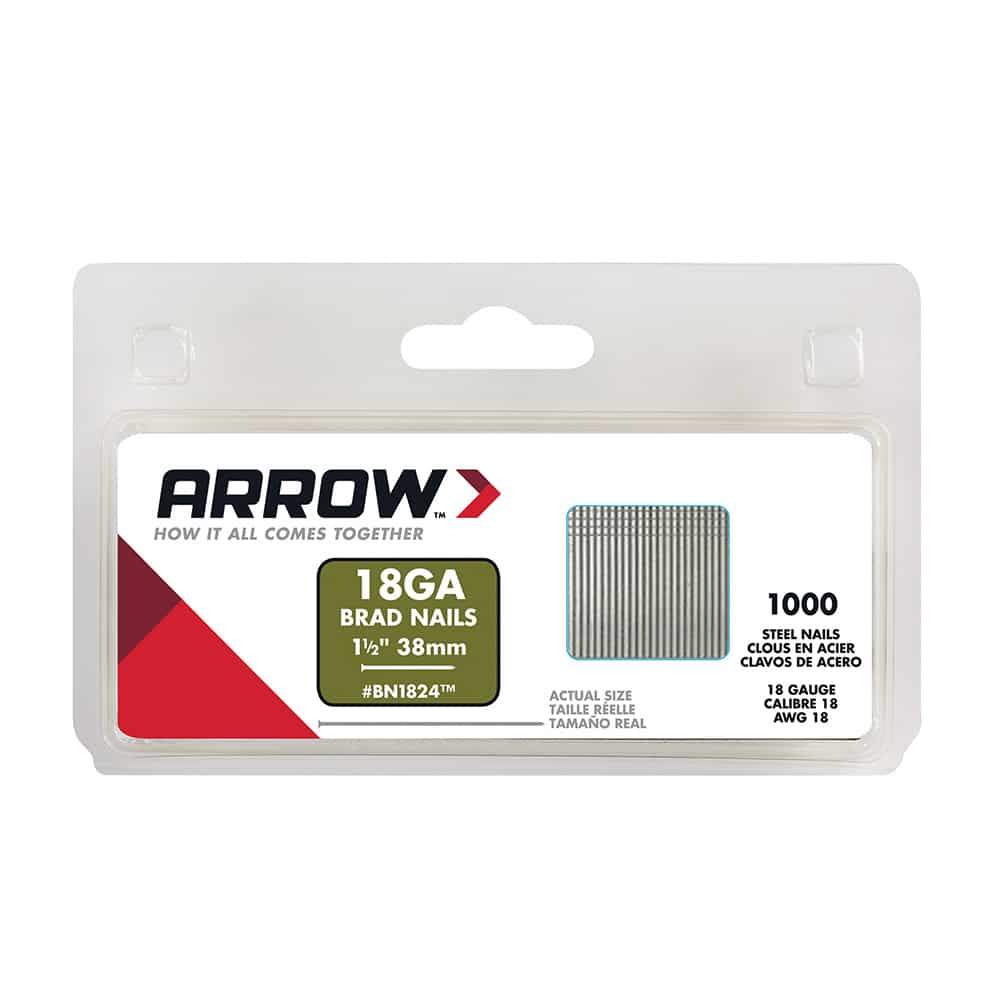
Place square on corner of work table. Set two corner posts on table with one on the square. Next, place four bed sides on top of the two corner posts and align with edge of square. Use the Arrow PT18G Pneumatic Brad Nailer and 2” Arrow Brad Nails to secure bed sides to corner posts. (See image) Repeat once.
Place square on corner of work table. Set two corner posts on table with one on the square. Next, place four bed sides on top of the two corner posts and align with edge of square. Use the Arrow PT18G Pneumatic Brad Nailer and 2” Arrow Brad Nails to secure bed sides to corner posts. (See image) Repeat once.
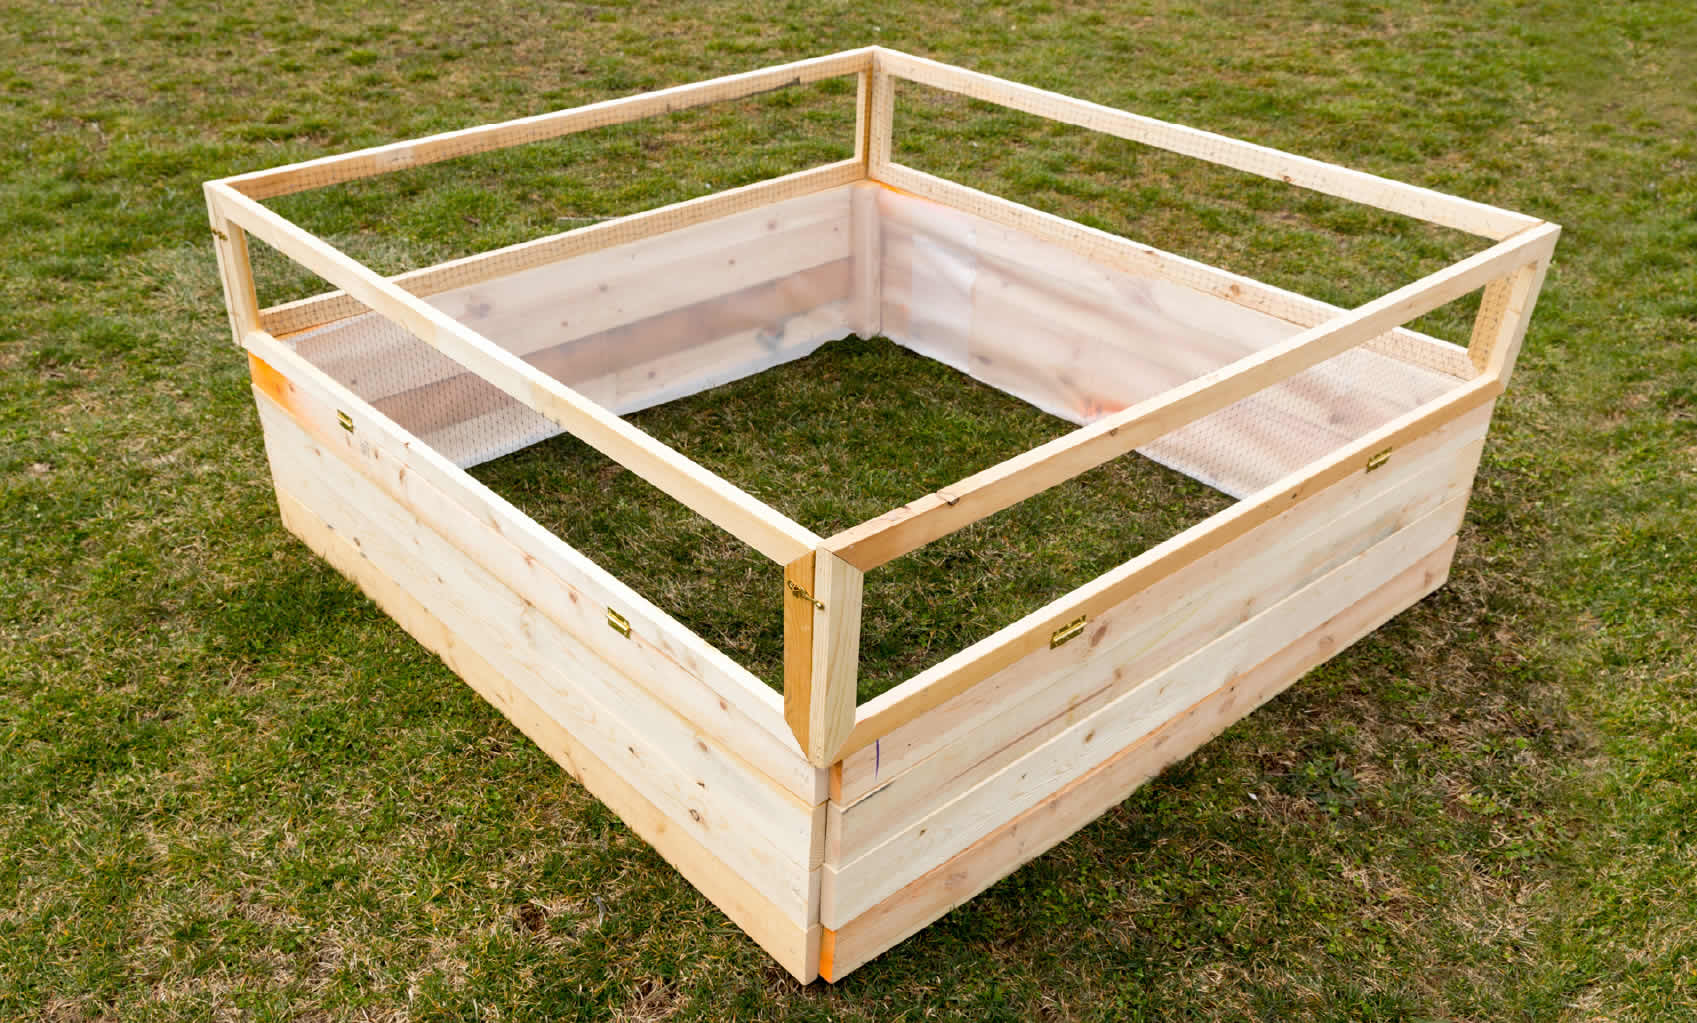
Next, place one assembled side upright on table. Secure the next four bed sides, one-by-one, starting at the bottom with brad nails. (See image) Repeat on opposite side of assembled piece with four more bed sides. Take remaining assembled side and secure with brad nails to complete the four sides of the garden bed.
Next, place one assembled side upright on table. Secure the next four bed sides, one-by-one, starting at the bottom with brad nails. (See image) Repeat on opposite side of assembled piece with four more bed sides. Take remaining assembled side and secure with brad nails to complete the four sides of the garden bed.
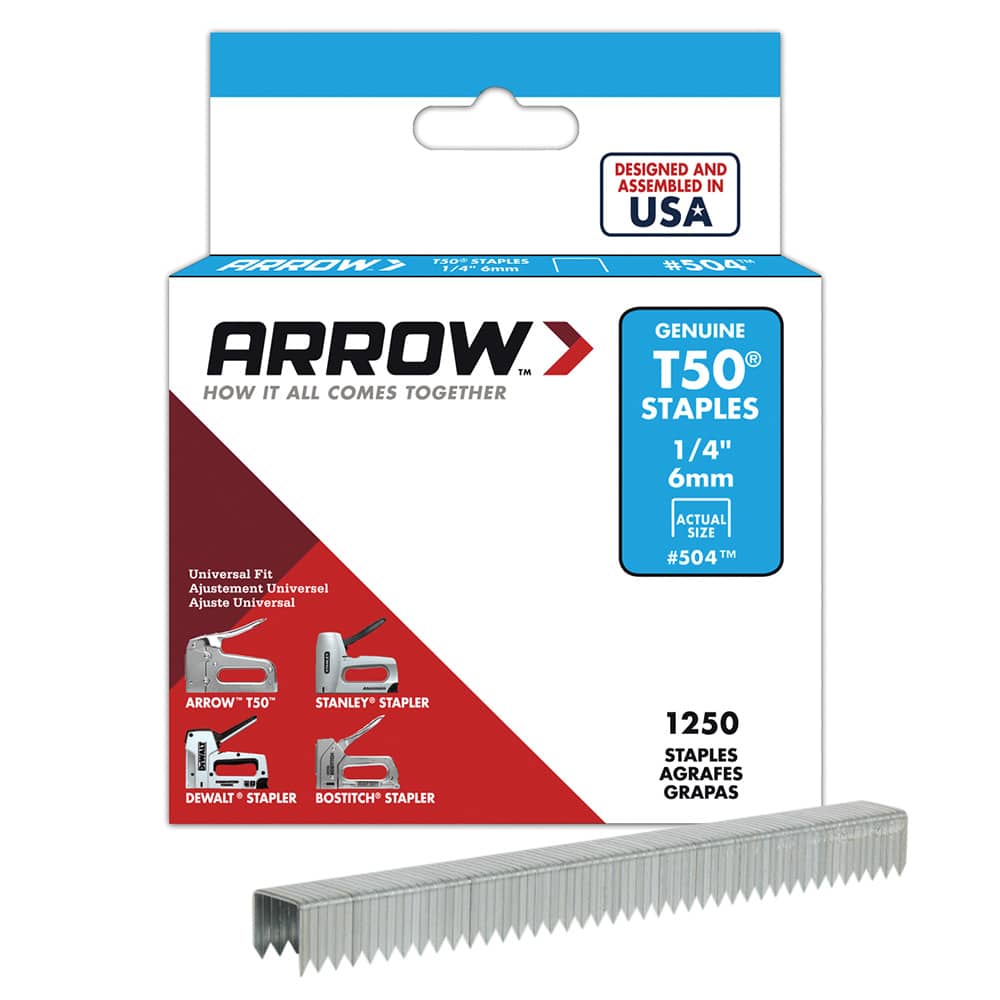
Place garden bed on its side on the ground. Use the Arrow T50 Staple Gun and Arrow T50 504M1 1/4” staples; attach the 5’ x 5’ mesh to the bottom of the bed. The mesh will allow for earthworms to get in and help keep the weeds out. Use scissors to trim excess mesh. The 504M1 monel staples are rustproof and are rated for outdoor use.
Place garden bed on its side on the ground. Use the Arrow T50 Staple Gun and Arrow T50 504M1 1/4” staples; attach the 5’ x 5’ mesh to the bottom of the bed. The mesh will allow for earthworms to get in and help keep the weeds out. Use scissors to trim excess mesh. The 504M1 monel staples are rustproof and are rated for outdoor use.
Next, staple the plastic to the inside of the bed walls. Raised garden beds last a little longer with the plastic in place. Set garden bed aside.
Next, staple the plastic to the inside of the bed walls. Raised garden beds last a little longer with the plastic in place. Set garden bed aside.
Build the fence frames with the Arrow PT18G Pneumatic Brad Nailer and 2” Arrow Brad Nails. Use the clamps and the square in this step. See image. When built, there should be two frames 10” x 48” and two frames 10” x 49 1/2”.
Build the fence frames with the Arrow PT18G Pneumatic Brad Nailer and 2” Arrow Brad Nails. Use the clamps and the square in this step. See image. When built, there should be two frames 10” x 48” and two frames 10” x 49 1/2”.
Next, attach a 12” x 50” piece of mesh to one side of the frame with staples. Repeat 3 more times. Trim with scissors any excess mesh.
Next, attach a 12” x 50” piece of mesh to one side of the frame with staples. Repeat 3 more times. Trim with scissors any excess mesh.
Place raised garden bed on table. Measure in on each side of bed 12” for hinge placement. Secure hinge with drill. Continue on all four sides of garden bed.
Place raised garden bed on table. Measure in on each side of bed 12” for hinge placement. Secure hinge with drill. Continue on all four sides of garden bed.
Set smaller fence frame on top of garden bed. Attach to hinge. Repeat on opposite side of garden bed. Take the longer fence frame and attach to hinge. Continue on opposite side.
Set smaller fence frame on top of garden bed. Attach to hinge. Repeat on opposite side of garden bed. Take the longer fence frame and attach to hinge. Continue on opposite side.
Line up latches (see image). Attach latches with drill, two on each side of garden bed. The latches allow for easy access to your plants.
Line up latches (see image). Attach latches with drill, two on each side of garden bed. The latches allow for easy access to your plants.
The garden bed is now ready to use. Fill with soil and plant your favorite flowers or vegetables.
The garden bed is now ready to use. Fill with soil and plant your favorite flowers or vegetables.
We’d love to see how your DIY Raised Garden Bed project turned out! Share your results with us on Facebook, Instagram or X by tagging #MadeWithArrow.
Get Arrow tips, tricks, projects and promos in your inbox!
Hey there! We’ve updated our Privacy and Cookie Policies at the request of some of our friends in Europe. Click Accept to let us know you’re okay with the updates. Thanks!
View Cookie Policy AcceptNotifications