or Call Us at 1-800-776-2228
or Call Us at 1-800-776-2228
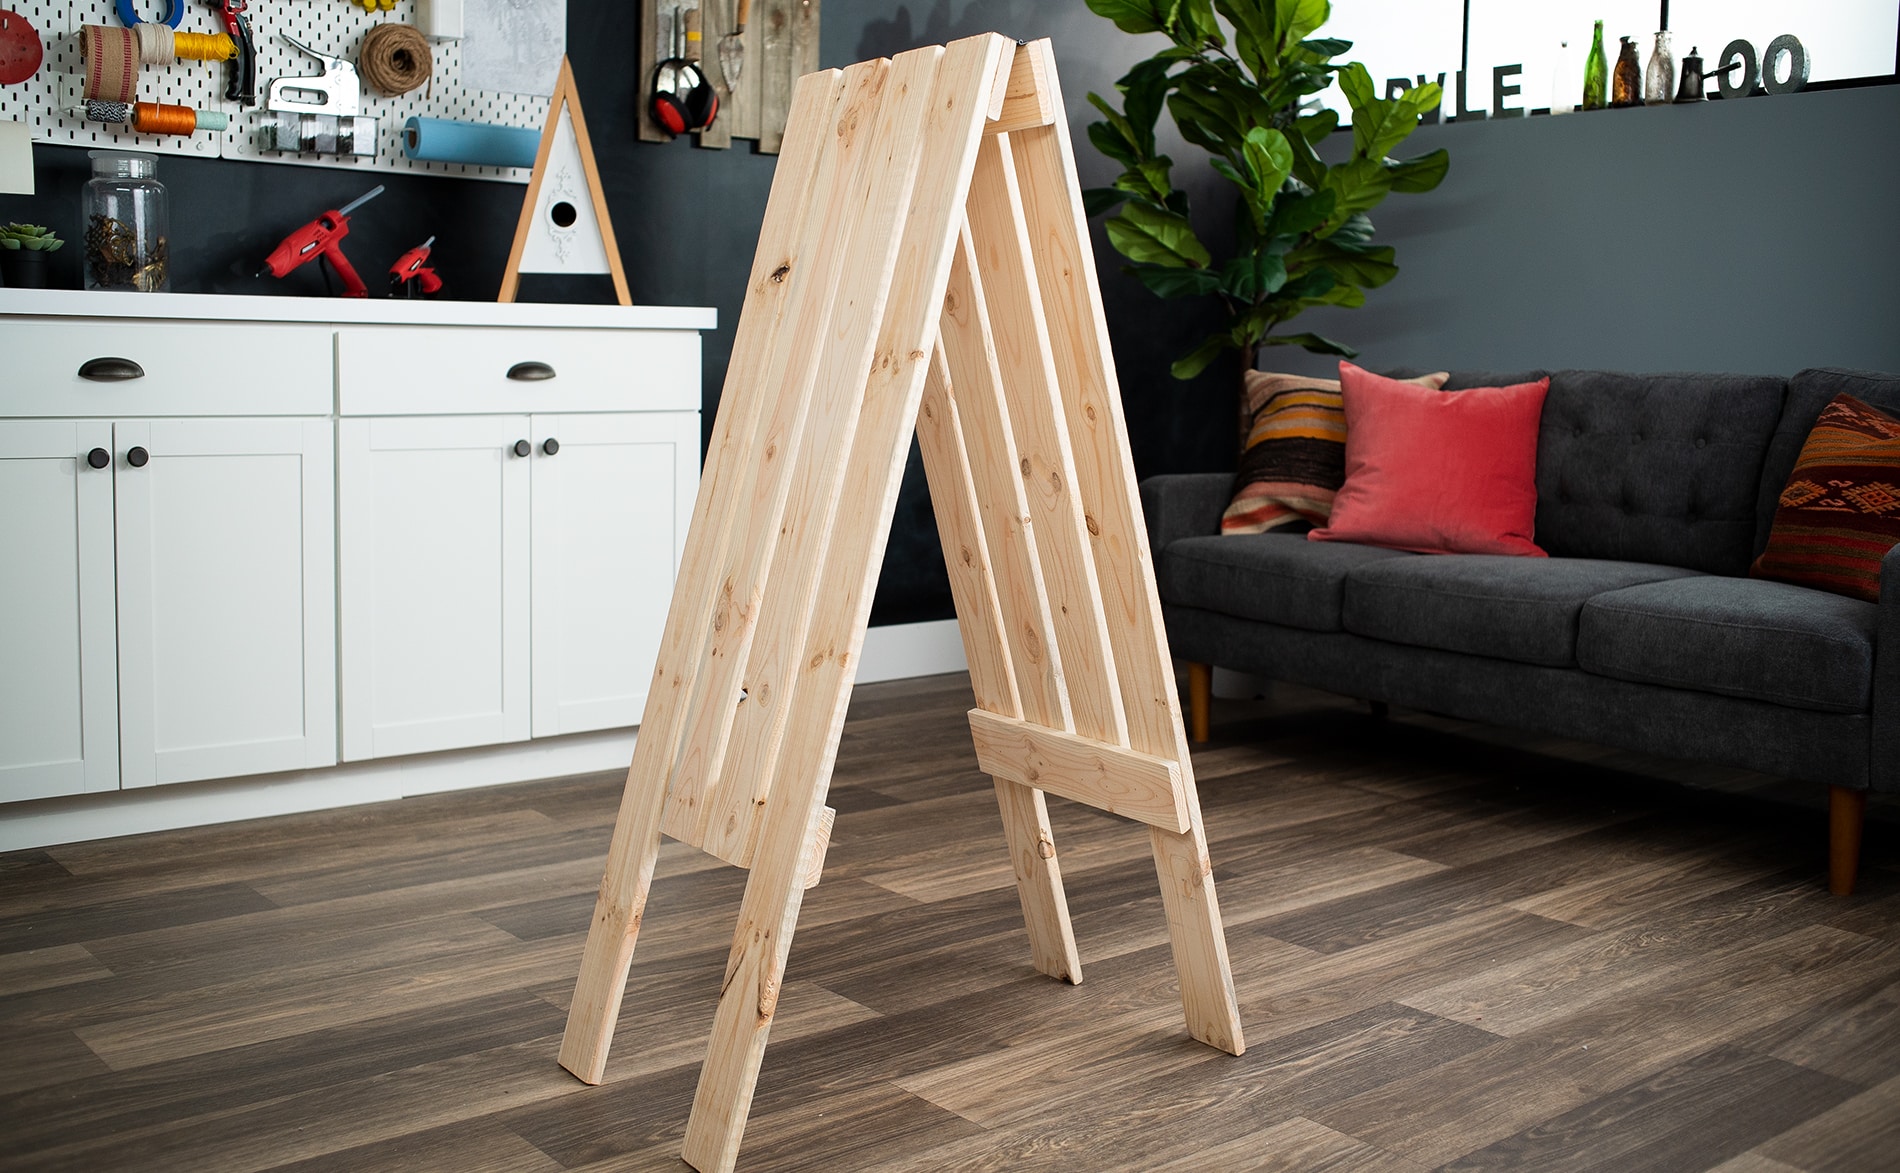
Winter is coming. Is your yard ready? Lucky for you, this DIY shrub protector project is a much simpler task than covering your pool for the season. And your foliage will be safe from the snow and ice! So grab your Arrow PT18G pneumatic brad nailer and let’s get started.

Pneumatic Brad Nailer
First, cut down your 1″ x 4″ boards into the following lengths and quantities:
(A): Four 4′ pieces
(B): Four 3′ pieces
(C): Four 16″ pieces
Or you can make your shrub protectors any size you’d like using a similar ratio. Don’t forget to sand down any rough edges after cutting.
Now let’s begin assembling! Start with two of your A pieces and one of your C pieces. Align the C piece to the top of the A pieces, moving the A pieces to the very edges of the C piece (as shown below). Use your PT18G pneumatic brad nailer to nail the C piece to the A pieces, making sure to keep everything square as you nail.
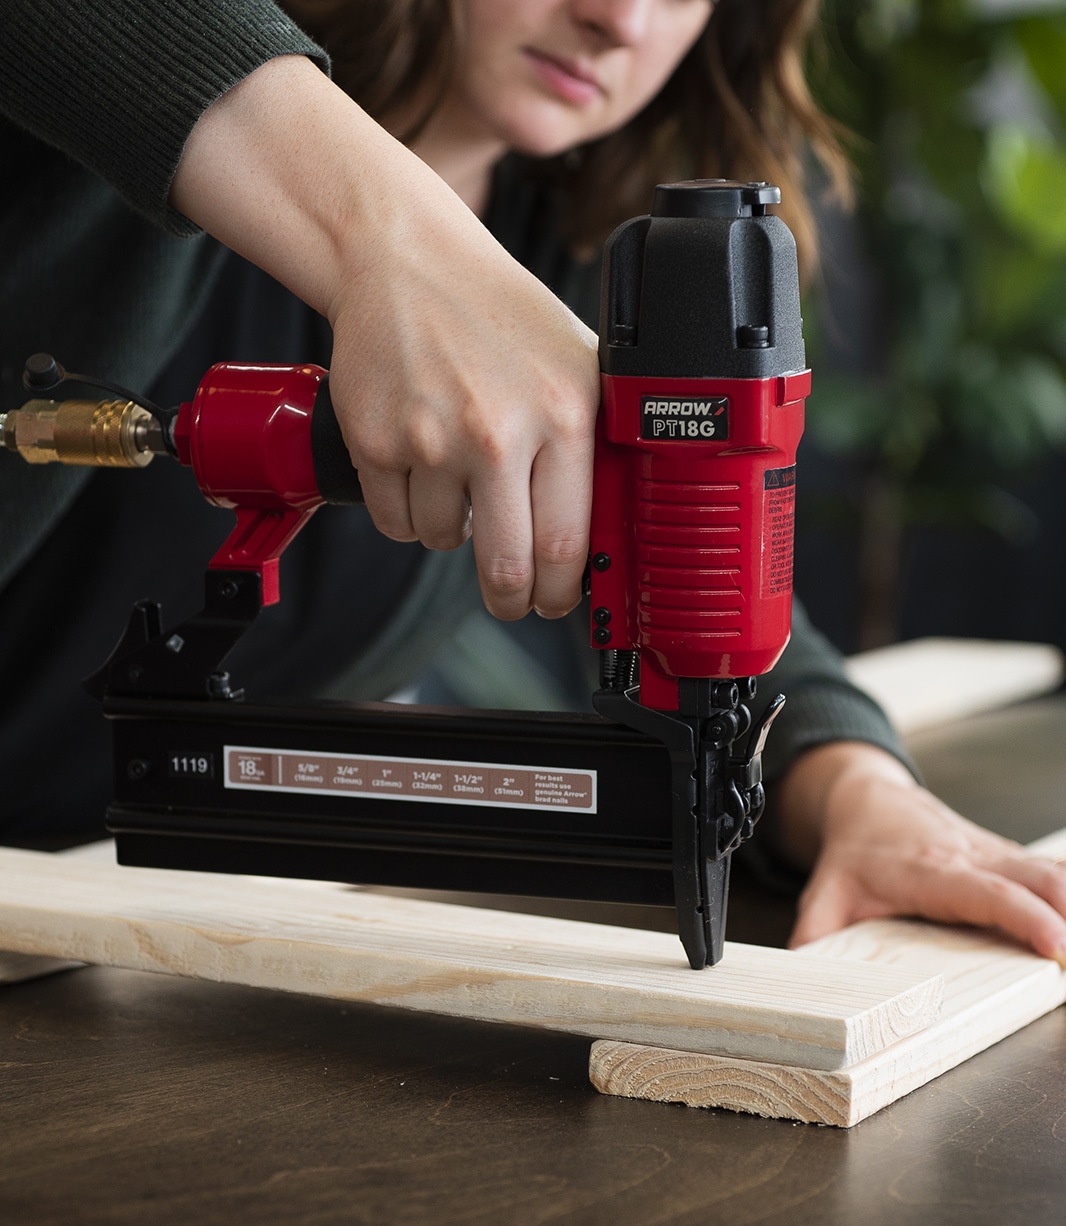
Next, flip the unit over so the C piece is facing down and the A pieces are facing up. Take two of your B pieces and place them evenly between the two A pieces. Nail the B pieces to the C piece using your PT18G nailer.
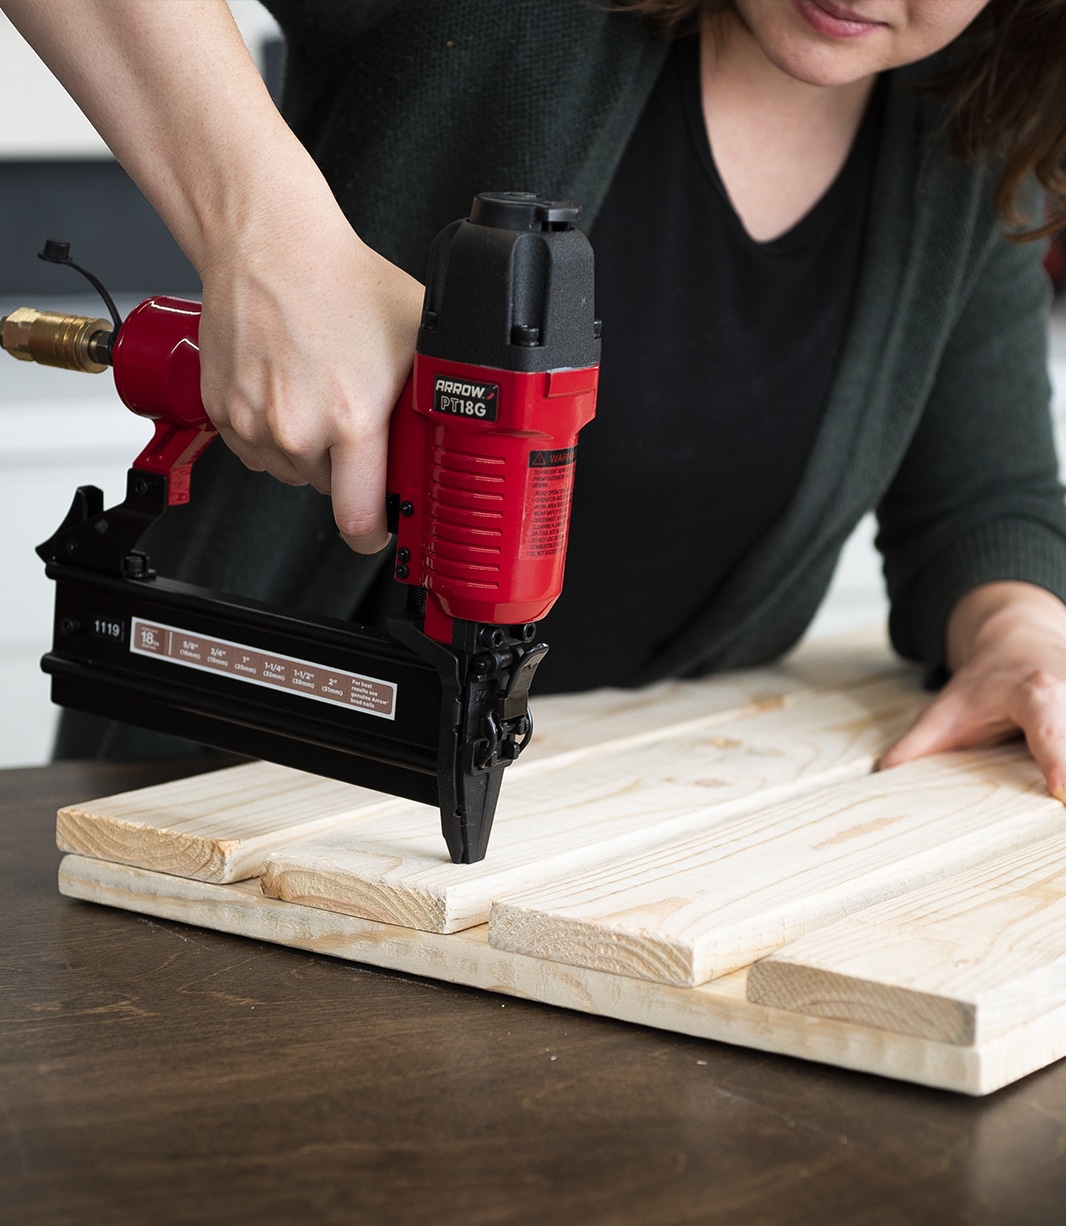
Flip the boards over again, so the A and B pieces are facing down and the C piece is facing up. Take your second C piece and align it to the bottom of the B pieces. Use your PT18G brad nailer to attach the C piece to the A and B pieces, placing two nails in every board.
You should now have one completed side that looks like the photo below.
Repeat steps 2 through 4 to create a second unit.
On the top edge of one C piece, place the first hinge on the left edge. Drill in the screws to secure the hinge. Now take the second hinge and place it on the right edge of the same C piece. Drill in the screws to secure the hinge.
Take your second unit and place it on top of the first, which has the hinges, making sure the outside board edges line up evenly (the C pieces of the two units should be facing in). Hold the top unit in place above the bottom unit and attach the hinges to the top unit by drilling screws into the top C piece.
Create as many protectors as you need to keep your fragile shrubs or trees safe – especially near the perimeter of your house where snow and ice sliding off the roof could cause costly damage.
We’d love to see how your DIY shrub protector turned out! Share your work with us on Facebook and Instagram by tagging @ArrowFastener or using #MadeWithArrow.
Get Arrow tips, tricks, projects and promos in your inbox!
Hey there! We’ve updated our Privacy and Cookie Policies at the request of some of our friends in Europe. Click Accept to let us know you’re okay with the updates. Thanks!
View Cookie Policy Accept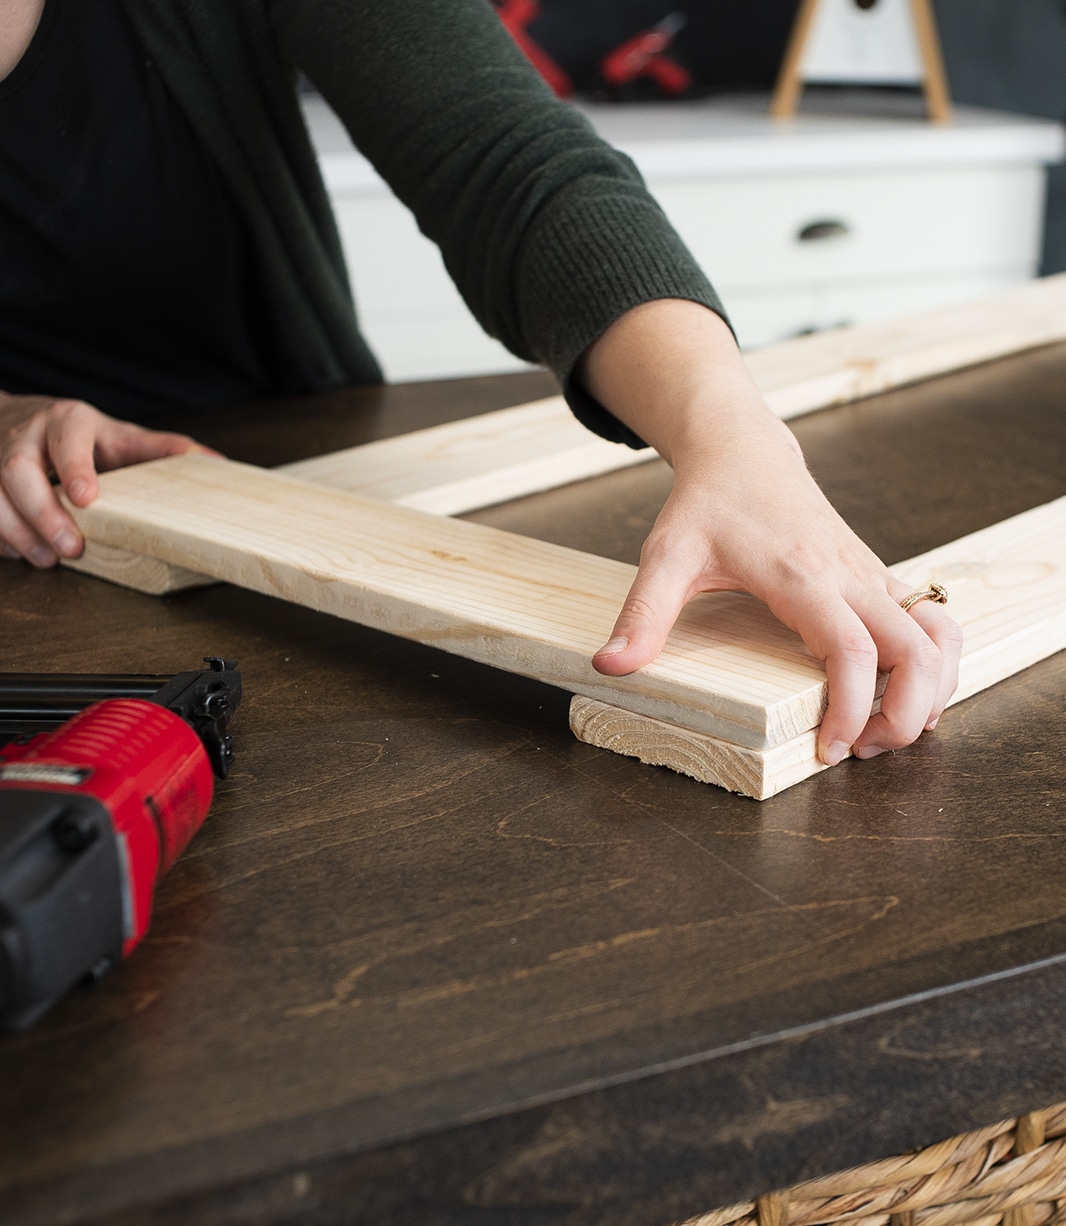