or Call Us at 1-800-776-2228
or Call Us at 1-800-776-2228
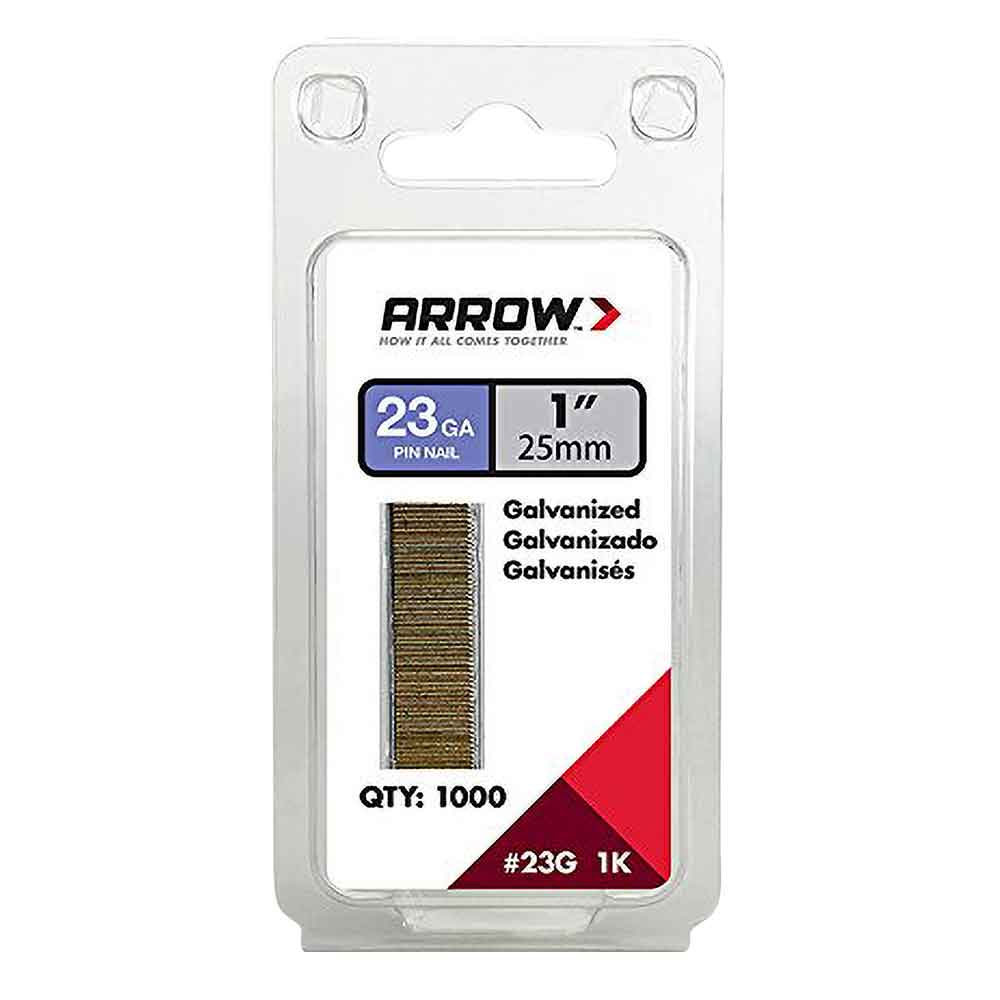
Upgrading a backsplash is a great way to enhance your kitchen and add value to your home. We selected teak wood panels for their natural beauty. Teak is inherently waterproof, making it a good choice for kitchen use. The process to make a kitchen backsplash is easy. We will show you how using a Goldblatt trowel, the Arrow PT23G Pneumatic Pin Nailer and Arrow 23G25-1K 1" Pin Nails. Don’t forget your gloves and safety goggles. State, local and municipal codes for home improvements vary by location, so check the requirements for your area before beginning your residential project.
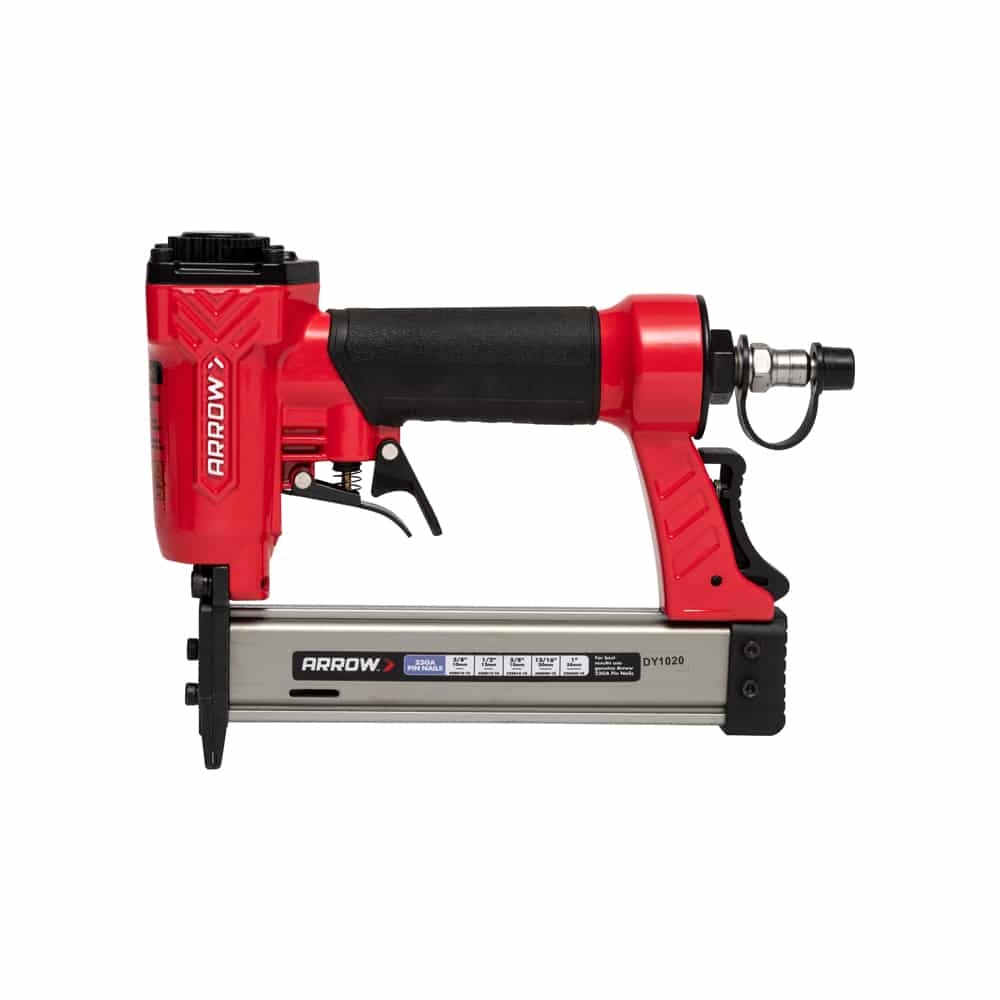
Pneumatic Pin Nailer
The existing backsplash will need to be removed before the new backsplash can be installed. We were fortunate that the electrical outlets in the kitchen were located under the cabinets.
The existing backsplash will need to be removed before the new backsplash can be installed. We were fortunate that the electrical outlets in the kitchen were located under the cabinets.
Start at one end of the counter and gently tap a wood shim between the wall and backsplash. The backsplash should move away from the wall as you tap the shim.
Start at one end of the counter and gently tap a wood shim between the wall and backsplash. The backsplash should move away from the wall as you tap the shim.
Tap another shim between the backsplash and wall approximately 12 – 16 inches away from the previous shim.
Tap another shim between the backsplash and wall approximately 12 – 16 inches away from the previous shim.
Gently pull the backsplash away from the wall. Minimize damage by removing the backsplash carefully.
Gently pull the backsplash away from the wall. Minimize damage by removing the backsplash carefully.
Use a putty knife to remove any excess glue and smooth out any damaged areas on the surface of the wall.
Use a putty knife to remove any excess glue and smooth out any damaged areas on the surface of the wall.
Lightly sand the surface until it is smooth. ARROW TIP: Using a sanding device that includes a hose connected to a shop vacuum will limit the amount of cleanup needed after sanding.
Lightly sand the surface until it is smooth. ARROW TIP: Using a sanding device that includes a hose connected to a shop vacuum will limit the amount of cleanup needed after sanding.
The wall must be free of dust or grease in order for the backsplash adhesive to adhere. Clean the wall with a rag and all-purpose cleaner and allow enough time for it to completely dry.
The wall must be free of dust or grease in order for the backsplash adhesive to adhere. Clean the wall with a rag and all-purpose cleaner and allow enough time for it to completely dry.
Measure the areas that the replacement backsplash will cover. It is critical to get an accurate measurement so you know exactly what size to cut your backsplash material.
Measure the areas that the replacement backsplash will cover. It is critical to get an accurate measurement so you know exactly what size to cut your backsplash material.
Mark the measurements on the Aspen Lodge teak wood panel.
Mark the measurements on the Aspen Lodge teak wood panel.
Cut the backsplash material with the circular saw.
Cut the backsplash material with the circular saw.
Apply a generous amount of adhesive to the wall. Use the Goldblatt G02424 Pro-Grip Notched Trowel to spread the adhesive evenly across an area that is the same size as the 12” x 24” wood panels.
Apply a generous amount of adhesive to the wall. Use the Goldblatt G02424 Pro-Grip Notched Trowel to spread the adhesive evenly across an area that is the same size as the 12” x 24” wood panels.
Press the backsplash material onto the adhesive on the wall. Use the level to make sure it is straight.
Press the backsplash material onto the adhesive on the wall. Use the level to make sure it is straight.
Nail the backsplash to the wall using the Arrow PT23G Pneumatic Pin Nailer and Arrow 23G25-1K 1” Pin Nails. Fire pin nails randomly throughout the 12” x 24” section.
Nail the backsplash to the wall using the Arrow PT23G Pneumatic Pin Nailer and Arrow 23G25-1K 1” Pin Nails. Fire pin nails randomly throughout the 12” x 24” section.
Repeat the process for the remaining sections of backsplash.
Repeat the process for the remaining sections of backsplash.
Lastly, apply a fine bead of clear caulk at the junction point of the backsplash and the counter.
Lastly, apply a fine bead of clear caulk at the junction point of the backsplash and the counter.
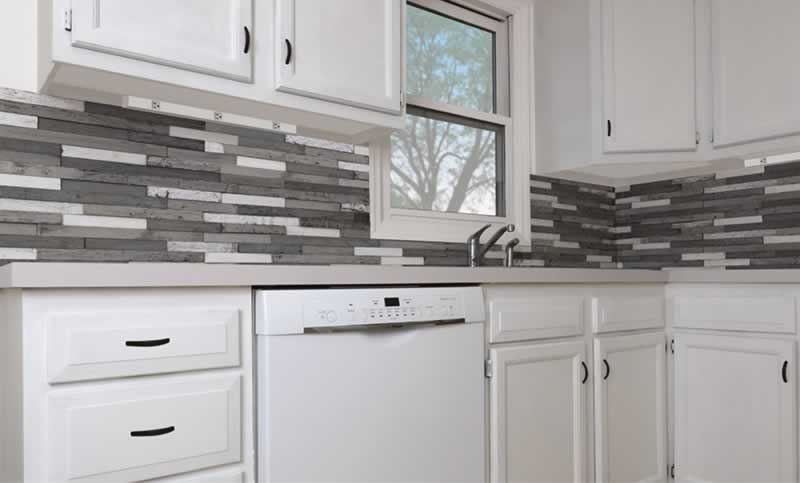
Enjoy your new kitchen backsplash!
Enjoy your new kitchen backsplash!
We'd love to see how your upgraded kitchen backsplash turned out! Share your project pictures on Facebook, Instagram or X by using #MadeWithArrow or tagging Arrow Fastener.
Get Arrow tips, tricks, projects and promos in your inbox!
Hey there! We’ve updated our Privacy and Cookie Policies at the request of some of our friends in Europe. Click Accept to let us know you’re okay with the updates. Thanks!
View Cookie Policy Accept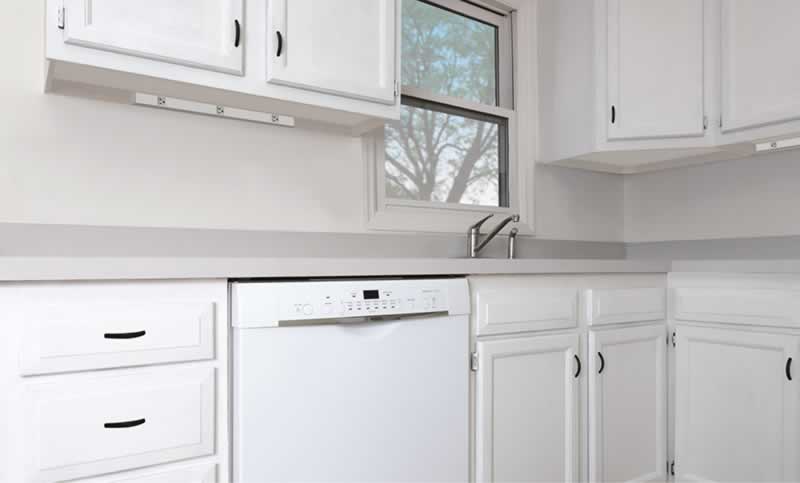