or Call Us at 1-800-776-2228
or Call Us at 1-800-776-2228
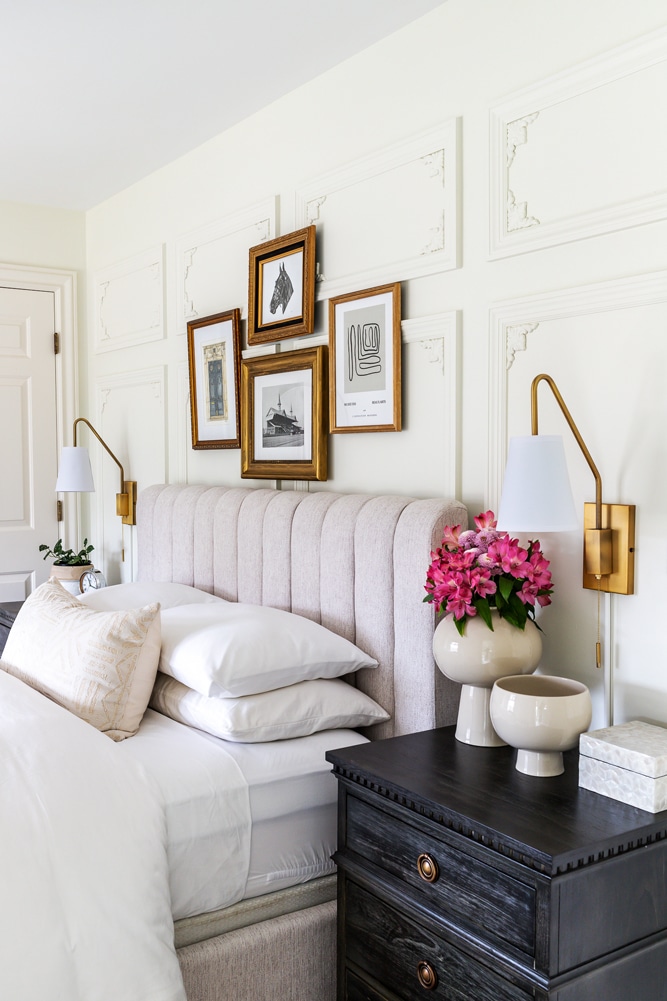
If you have a room in your home that could use a little more character, add a touch of European elegance with this DIY picture frame molding project. Grab your Arrow PT18G pneumatic brad nailer and let’s get to work!

Pneumatic Brad Nailer
To get started, it’s important to plan your layout. For this project, we landed on four large picture frame boxes centered on the wall with four small boxes at the top and 4″ spacing everywhere.
We created a 4″ square template out of cardboard to use as a reference point. For example, starting on the main focal wall, we placed the template in the bottom-right corner – where the baseboard and door casing meet – and made a mark. That way we knew we had 4″ from the baseboard and 4″ from the door casing, and from that we could start marking where each box should go. This little template came in super handy!
Now that you have a game plan in place, it’s time to transfer it to the room, starting in the corner we marked with the 4″ template. We used a level and drew out all the boxes on the walls, then double-checked our work with a laser level. Be sure to draw the picture frame boxes level and don’t go off of the baseboards or ceilings, as these are often not level, square, or true.
Next, it’s time to hunker down in the workshop to make your mitered cuts! We set the miter saw deck to 45° and started making the cuts. It’s a good idea to “sneak up on the cut,” meaning you should cut your pieces long and then shave off a little bit at a time until you get the exact measurement you need. This lowers your chances of making a mistake and cutting a piece too short.
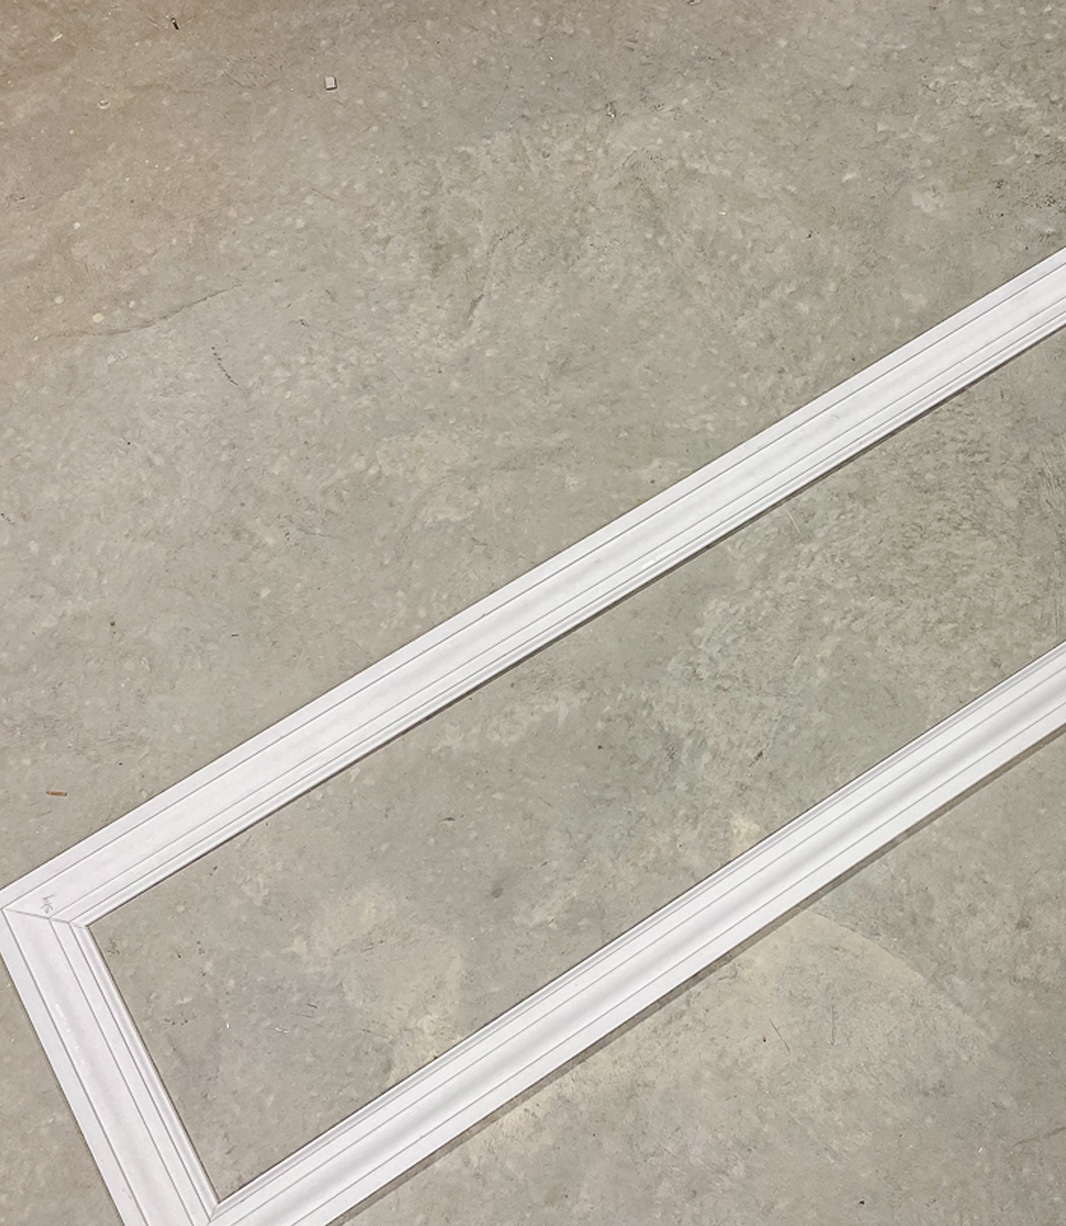
Both ends of each piece are mitered so that they’re not parallel. That way when two pieces are put together, they form a picture frame corner. After all the cuts were made, we dry-fit the pieces together to see how it would look. You should cut the longest pieces first to ensure you’re not wasting any material.
To attach the molding to the wall, we used a construction adhesive and brad nails. First, we fastened the vertical pieces all around the room with the adhesive by simply lining them up along the pencil marks. Then we used the PT18G pneumatic brad nailer to secure them to the wall. If you’re adding ornamental corner moldings to your frames, now’s the time to nail those in place.
After installing the remaining trim, we caulked all the seams and joints with silicon trim sealant and filled the nail holes with painter’s putty. Then a few coats of fresh paint went up on the walls and voilà!
Installing DIY picture frame molding completely transformed this space. It’s a super-easy and affordable project that you can tackle in a weekend.
We’d love to see how your picture frame molding project turned out! Share your work with us on Facebook and Instagram by tagging @ArrowFastener or using #MadeWithArrow.
Get Arrow tips, tricks, projects and promos in your inbox!
Hey there! We’ve updated our Privacy and Cookie Policies at the request of some of our friends in Europe. Click Accept to let us know you’re okay with the updates. Thanks!
View Cookie Policy Accept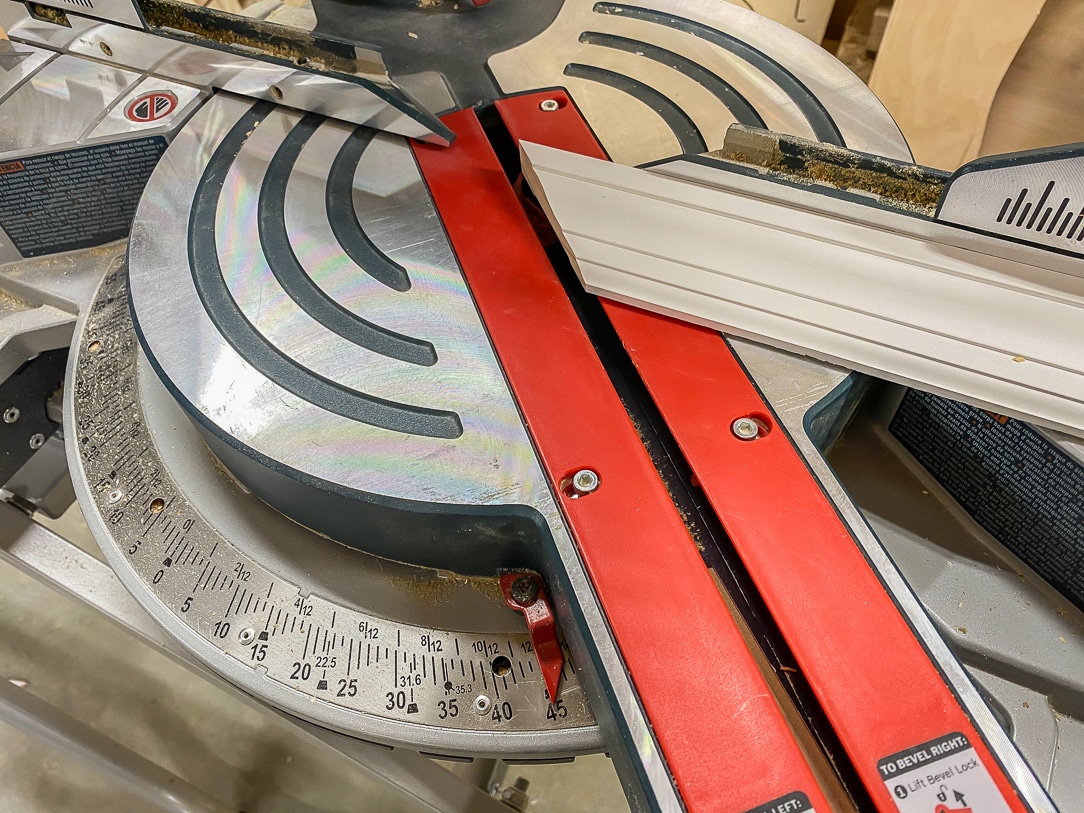