or Call Us at 1-800-776-2228
or Call Us at 1-800-776-2228
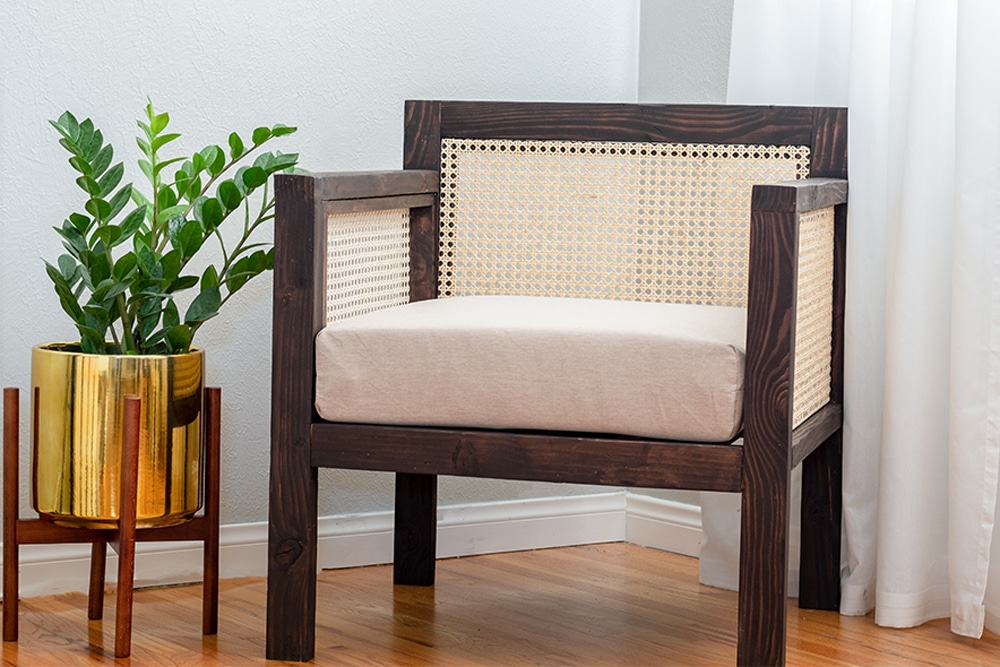
Haven’t you heard? Cane webbing furniture is all the rage right now. Get in on the trend with this fun DIY cane chair project. You’ll need an Arrow T50 heavy-duty staple gun, an Arrow ET200BN professional electric nailer, lumber, cane webbing (of course), and a few other tools and materials to get started.
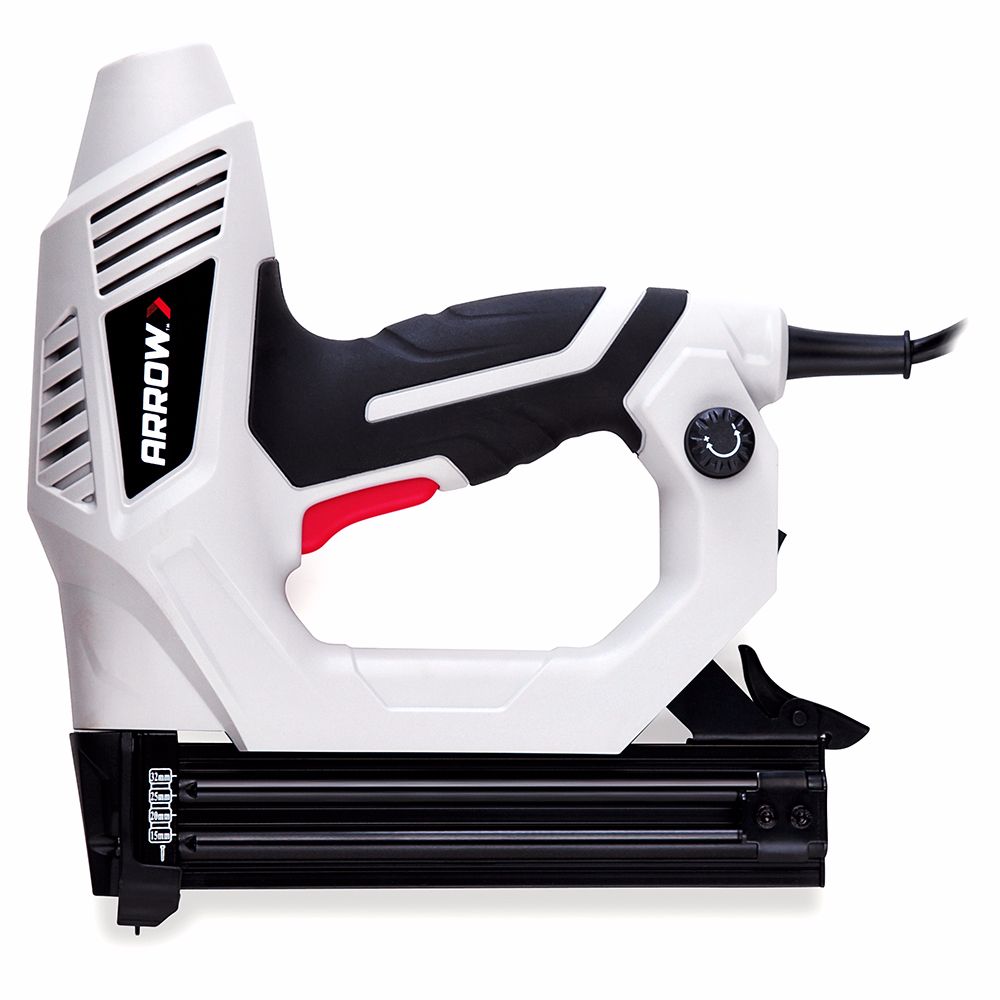
Heavy-Duty Staple Gun
Professional Electric Nailer
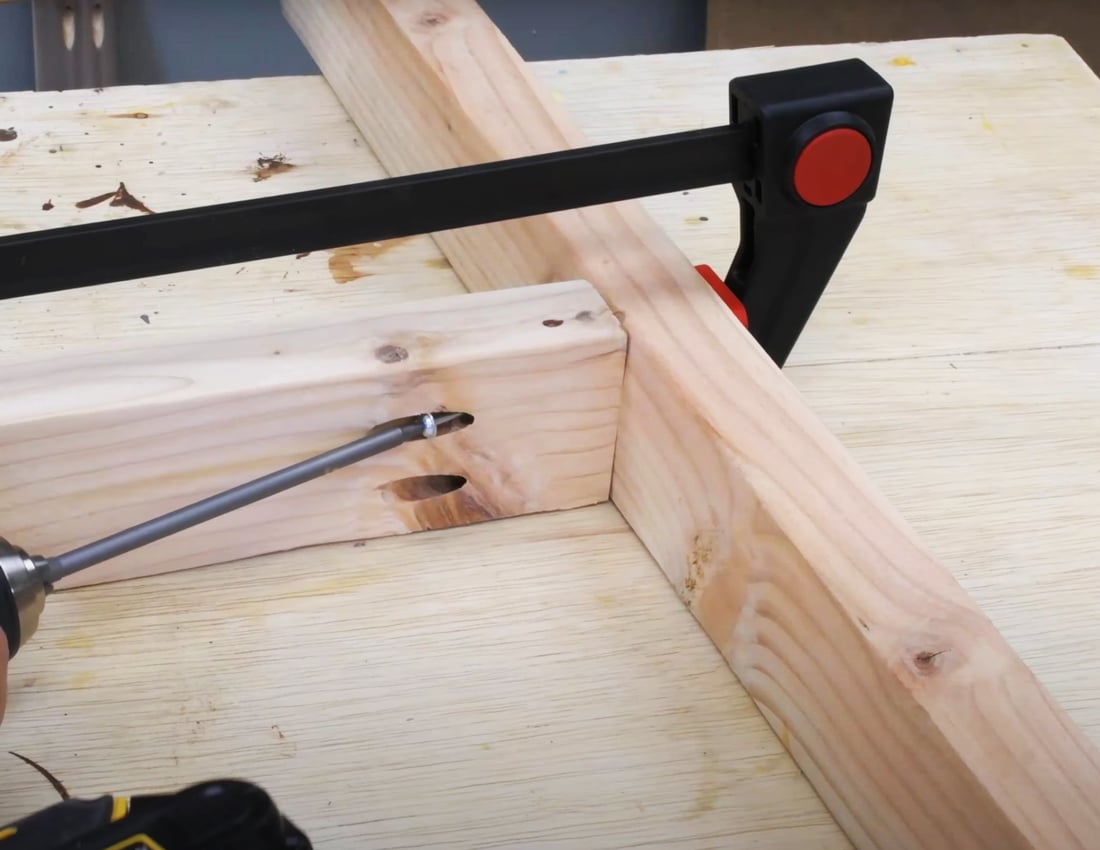
First, use the miter saw to cut your 2″ x 3″ x 8′ wood planks into arm rails, aprons, a back support, legs, and seat slats (lengths listed below). They will remain at their original width. Once your chair frame pieces are cut, use a Kreg Jig at the 1 ½” setting to make two pocket holes on each side of the arm rails and on one side of the long apron.
Chair frame lengths
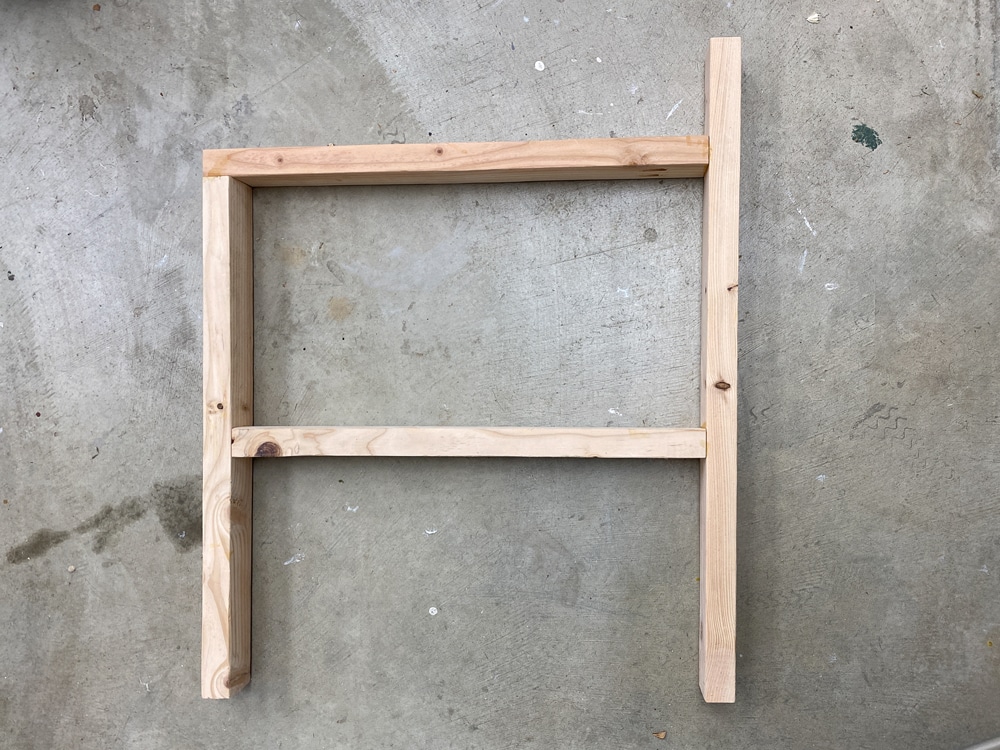
Then cut the cane webbing frames for your cane chair’s arms and back out of the 1″ x 2″ x 8′ wood planks. Their widths will also remain the same. After you have cut your cane frame pieces, make one pocket hole at each end of the long arms and long back pieces with the Kreg Jig at the ¾” setting.
Cane frame lengths
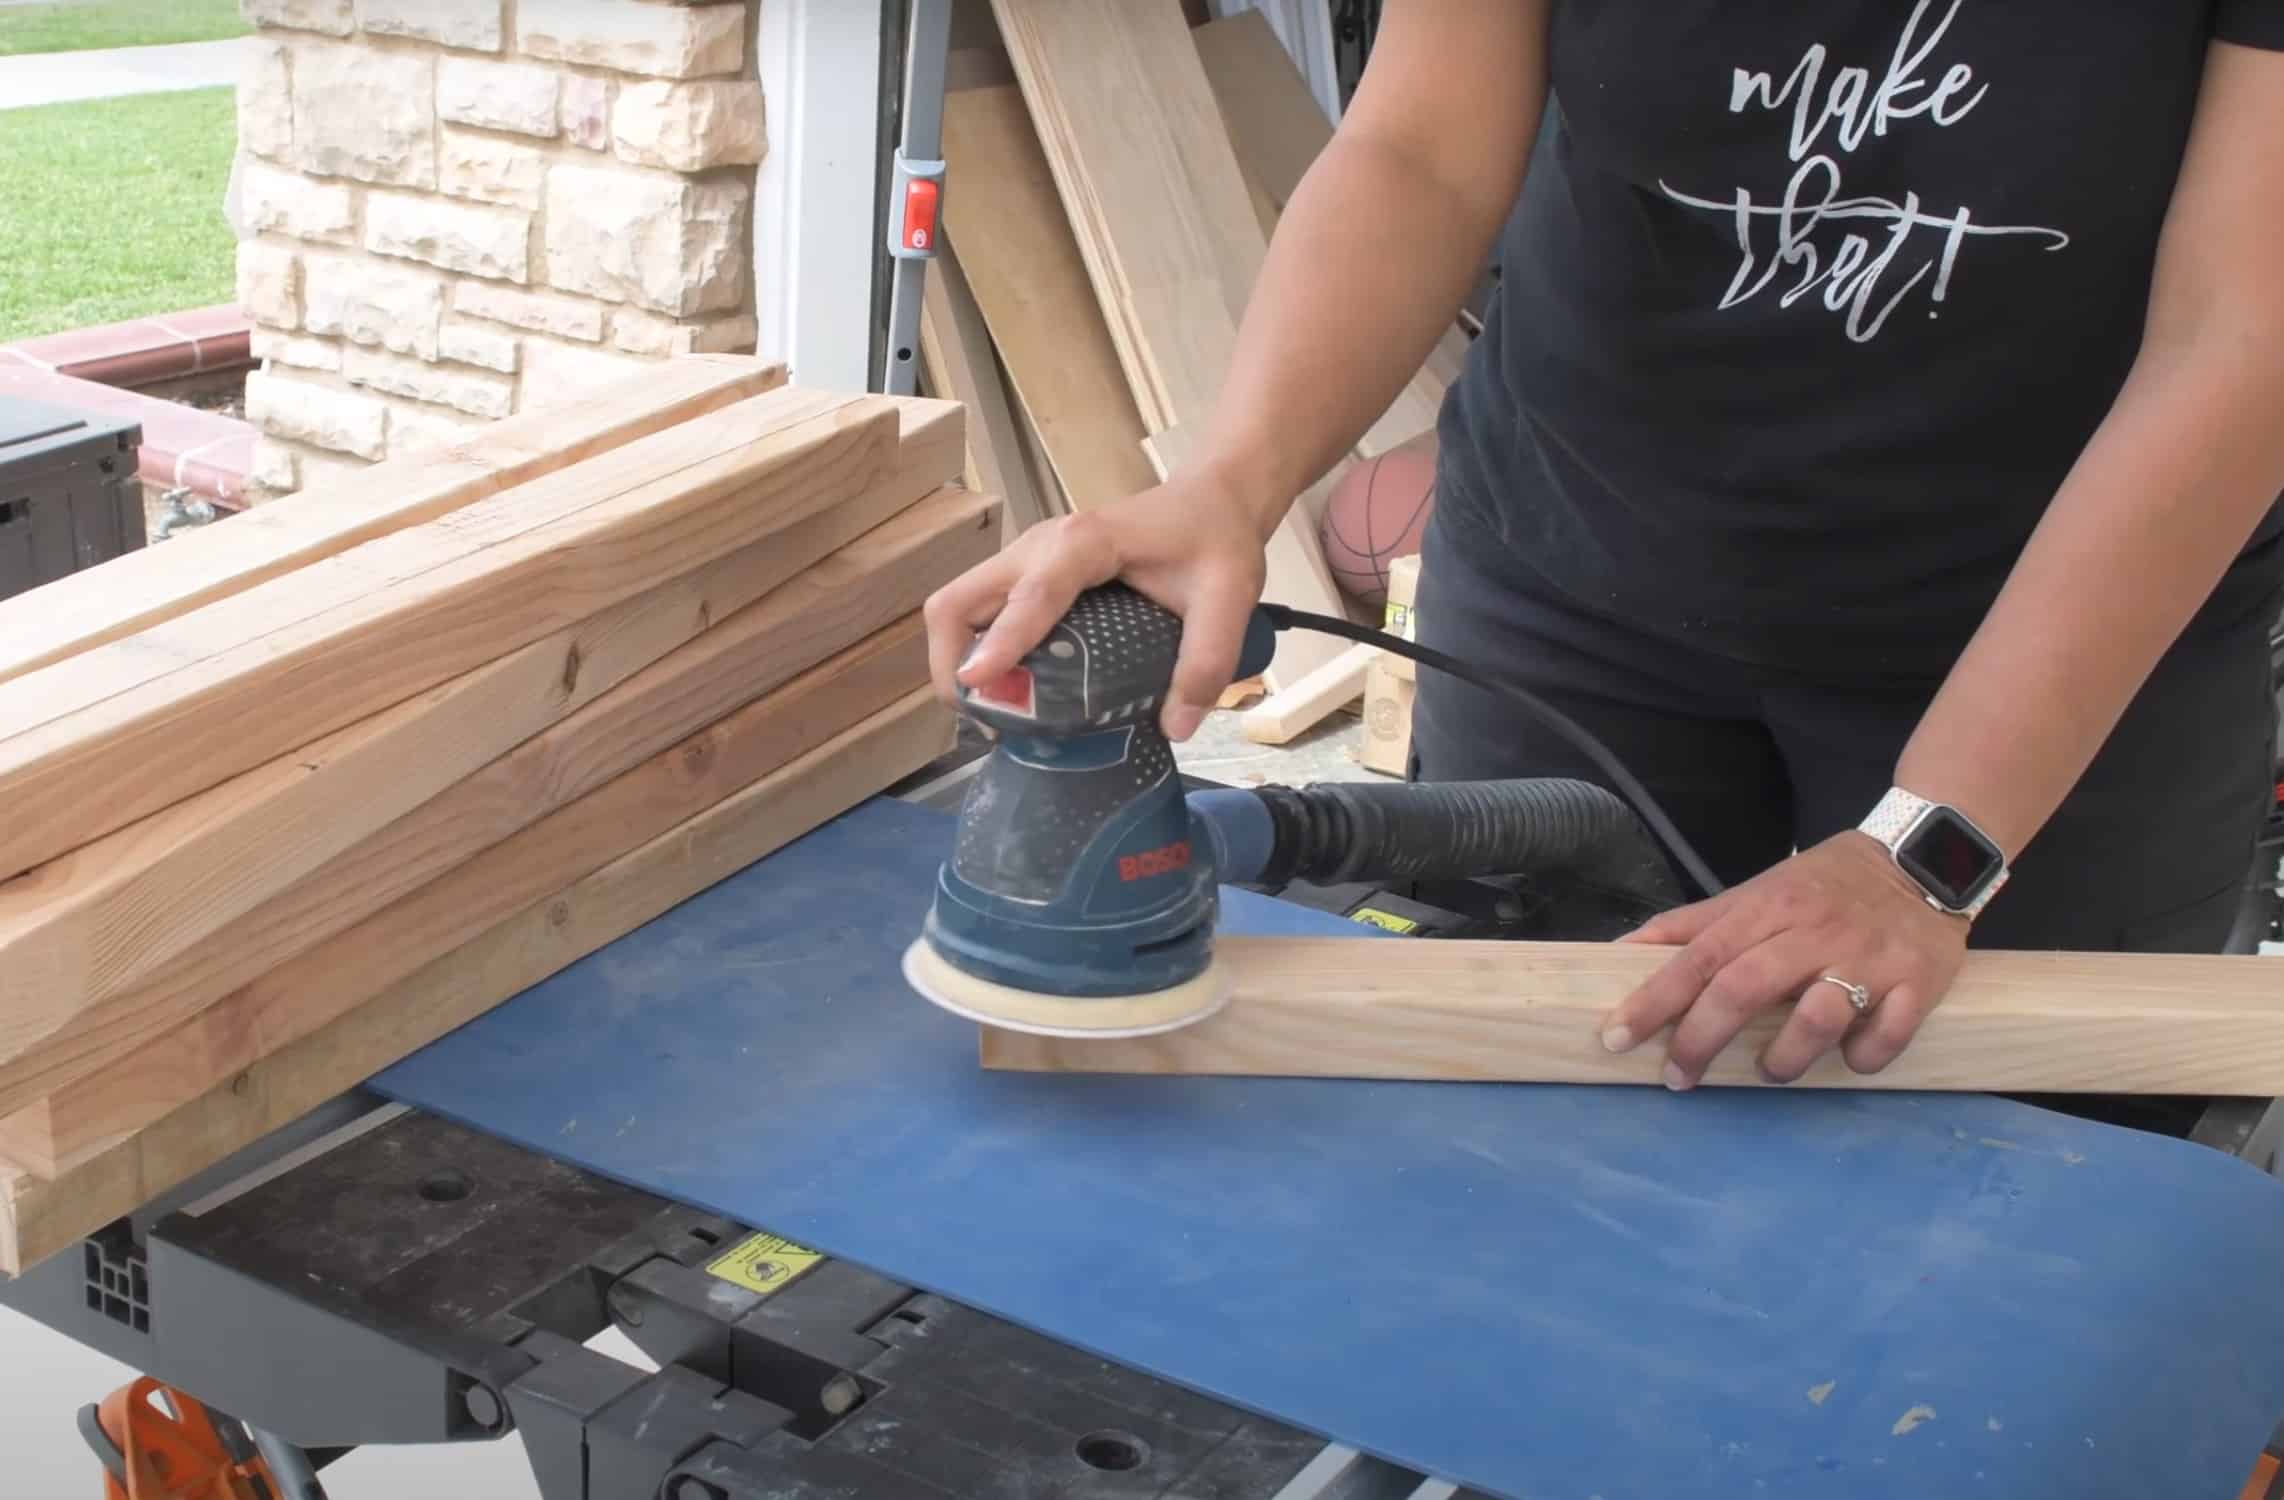
Sand all your cut pieces till smooth.
Download this printable guide for the detailed cut list and step-by-step illustrations.
Download Build GuideTo assemble one arm frame, attach the arm and long apron to the front and back legs by first using wood clamps to the wood glue in place, then drill in 2 ½” pocket hole screws. The front of the armrest is attached by a countersunk regular wood screw from the top. Repeat to assemble the second arm frame.
Connect the two arm frames by attaching the first short apron (making this the front apron) using wood glue and drilling in 2 ½” pocket hole screws. The pocket holes should face inward.
To build the seat, drill two pocket holes at each end of the four 23″ slats and to the back apron (the second short apron piece). The pocket holes should be facing outward as you arrange the slats perpendicular to the inside of the back apron, aligning them with the bottom edge. Attach using wood glue and drilling in 2 ½” pocket hole screws.
Secure the seat slats from step 4 between the arm frames by drilling in the back apron to the back legs, then wood glue the slats to the front apron first before drilling in 2 ½” pocket hole screws. To complete the frame of your chair, attach the 24″ back support using wood glue and drilling in 2 ½” pocket hole screws. The pocket holes on the back support should face outward.
Now that the frame is ready, you can fill in any pocket hole gaps with wooden dowels or wood filler and sand till smooth. After this, it’s finally time to apply stain or paint to the chair frame in the color of your choice using a lint-free rag. Once dry after roughly 24 hours, apply the topcoat or sealer.
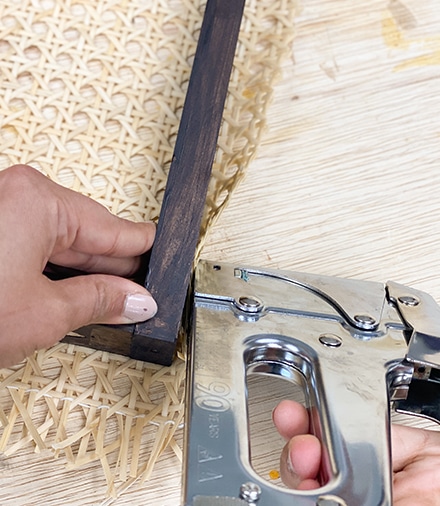
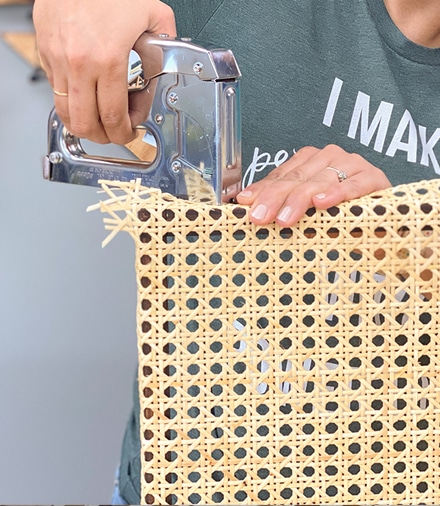
It’s time to tackle the cane webbing! The webbing will be attached to the outside of frames before being inserted into the arms and back. To begin, assemble the cane frame pieces into rectangles for both arms and the back. Secure first with wood glue, then drill in the 1 ¼” pocket hole screws. These are designed to be ¼” smaller than the openings on all sides to accommodate the cane webbing. You may need to make this gap larger or smaller based on the thickness of your cane webbing, so be sure to check the thickness of your webbing material.
Since cane webbing comes in a roll, it can be very stiff and difficult to work with – so it needs to be prepped. First, cut your cane webbing to the lengths needed to wrap around each of the three frames leaving roughly 2″ around. Then soak the webbing pieces in warm water for at least an hour to make them more flexible and easier to stretch.
While the webbing soaks, stain or paint the three frames to match the chair frame.
Now you can “upholster” the frames by wrapping each one in your cane webbing. Use the Arrow T50 heavy-duty staple gun and Arrow ⁵⁄₁₆” staples to attach. Make sure you use enough staples to keep the fibers from unraveling. For the corners, fold and staple the webbing onto the adjoining side like you are wrapping a present. Once the webbing dries, it will be taut with no wrinkles.
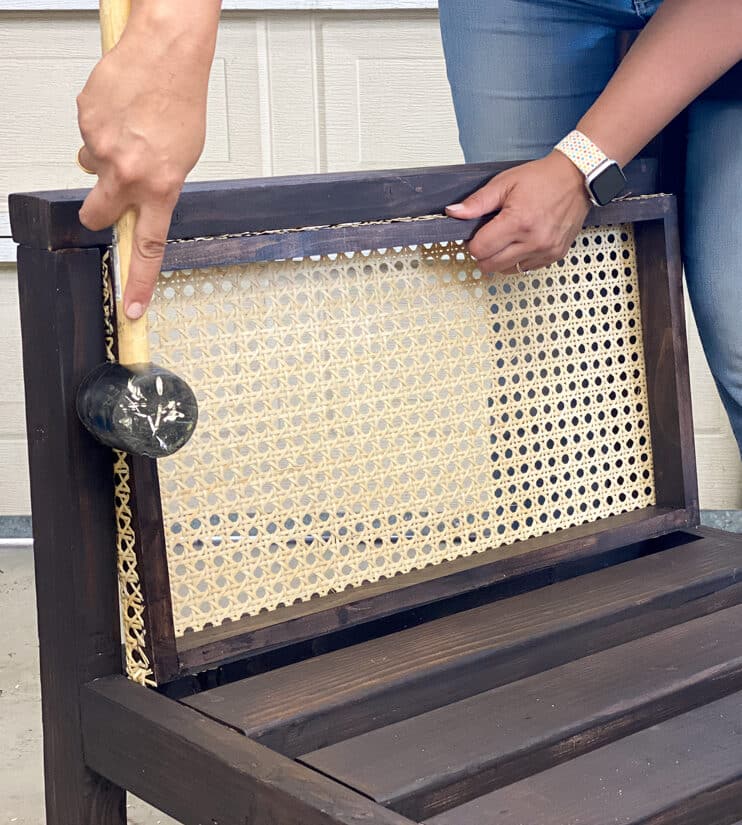
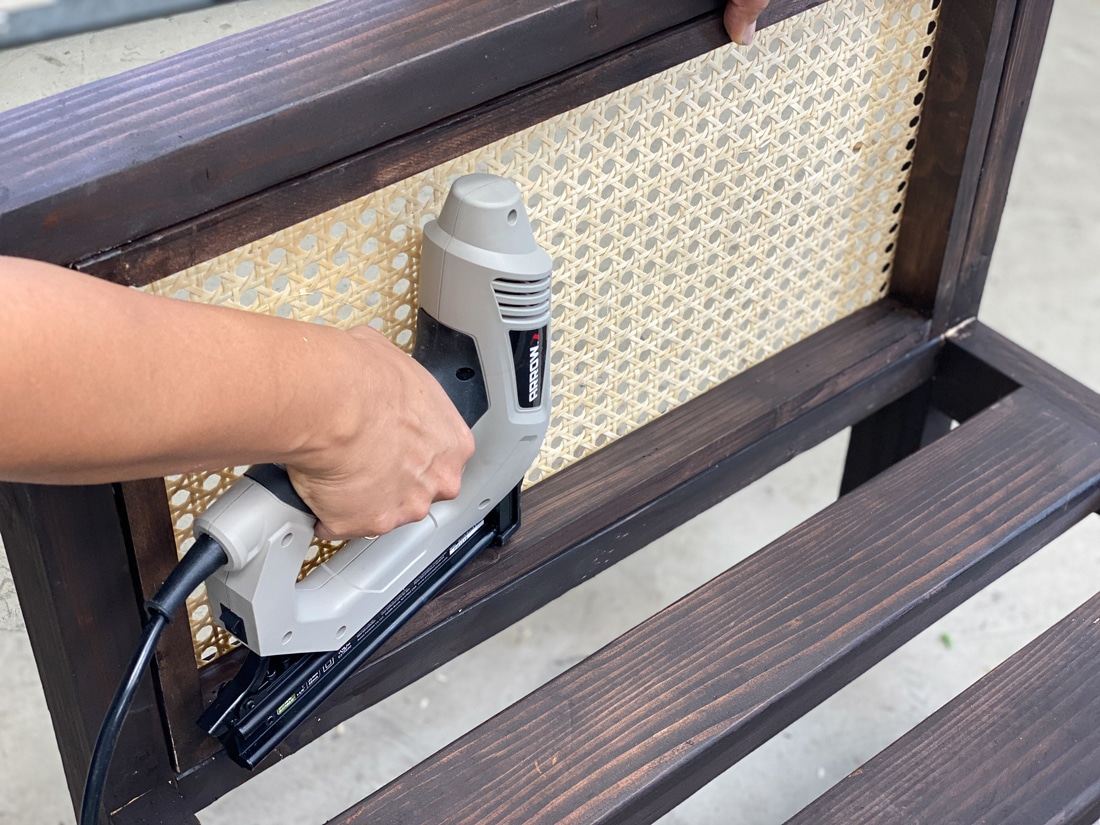
To finish it all up, insert the webbed frames for the arms from the inside of the chair and insert the webbed frame for the back from the back of the chair. You may need a rubber mallet to tap the frames into place – they should fit snugly. Once inserted, use the Arrow ET200BN professional electric nailer and Arrow 1 ¼” brad nails to fasten each webbed frame to the chair.
Time to make it your own! Pick out a comfy 24" x 24" cushion for the seat, throw in an accent blanket, and this DIY cane chair is the perfect addition to your living room.
Share your work with us on Facebook and Instagram by tagging @ArrowFastener or using #MadeWithArrow.
Get Arrow tips, tricks, projects and promos in your inbox!
Hey there! We’ve updated our Privacy and Cookie Policies at the request of some of our friends in Europe. Click Accept to let us know you’re okay with the updates. Thanks!
View Cookie Policy Accept