or Call Us at 1-800-776-2228
or Call Us at 1-800-776-2228
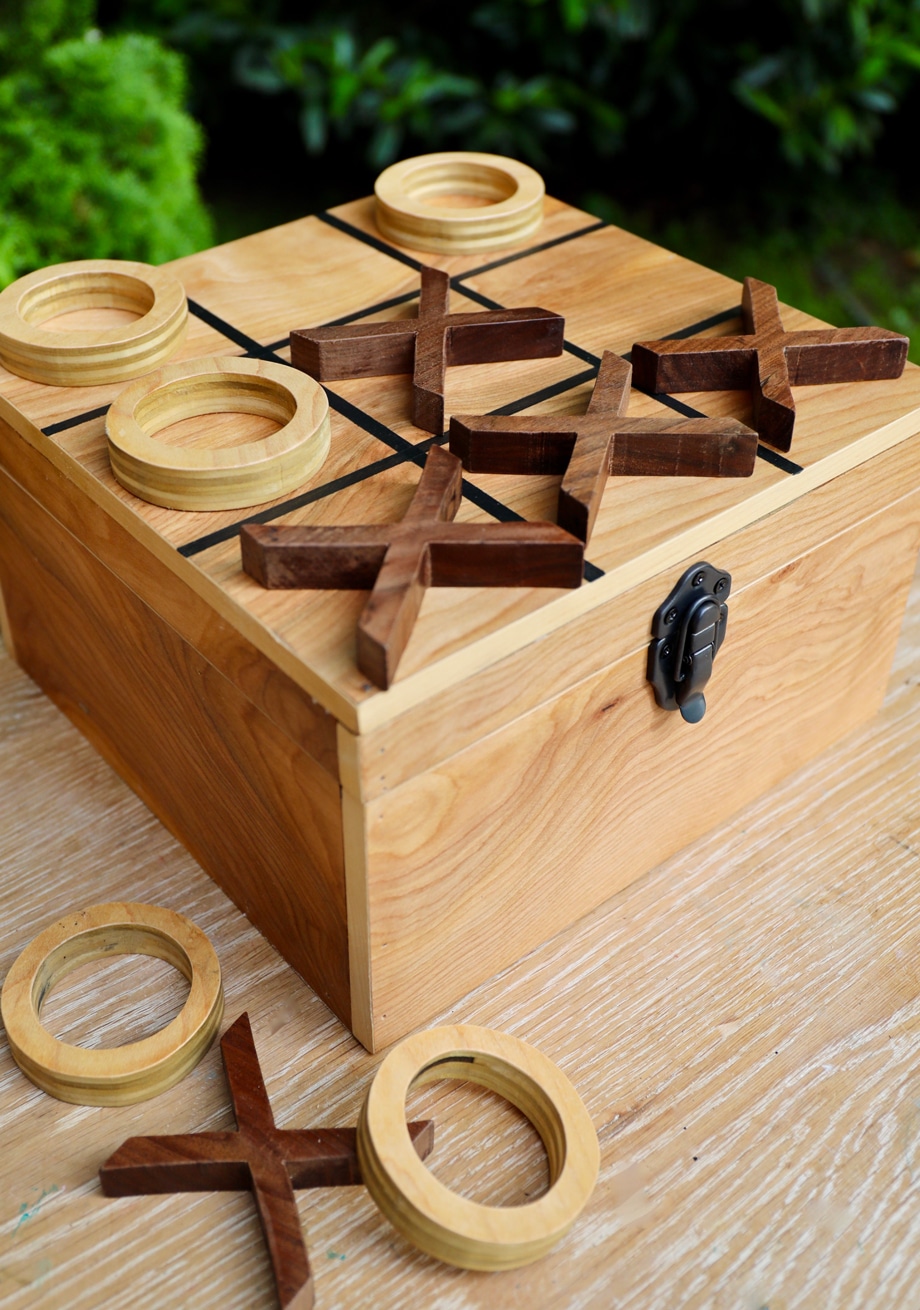
What’s your tic-tac-toe strategy? Aiming for the corners? Always going second? Either way, you can become a tic-tac-toe pro with this fun summer project. So toss out your pens and scrap paper, and let’s get to work on this wooden game board. For this DIY tic-tac-toe board, you’ll need your Arrow T50 Elite™ staple gun and brad nailer and your Arrow GT300 professional high-temp glue gun.
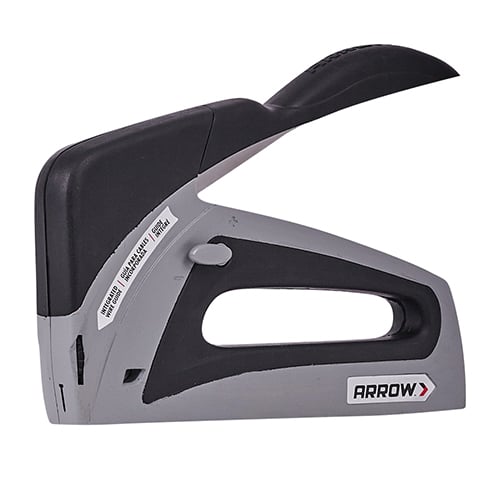
Staple Gun and Brad Nailer
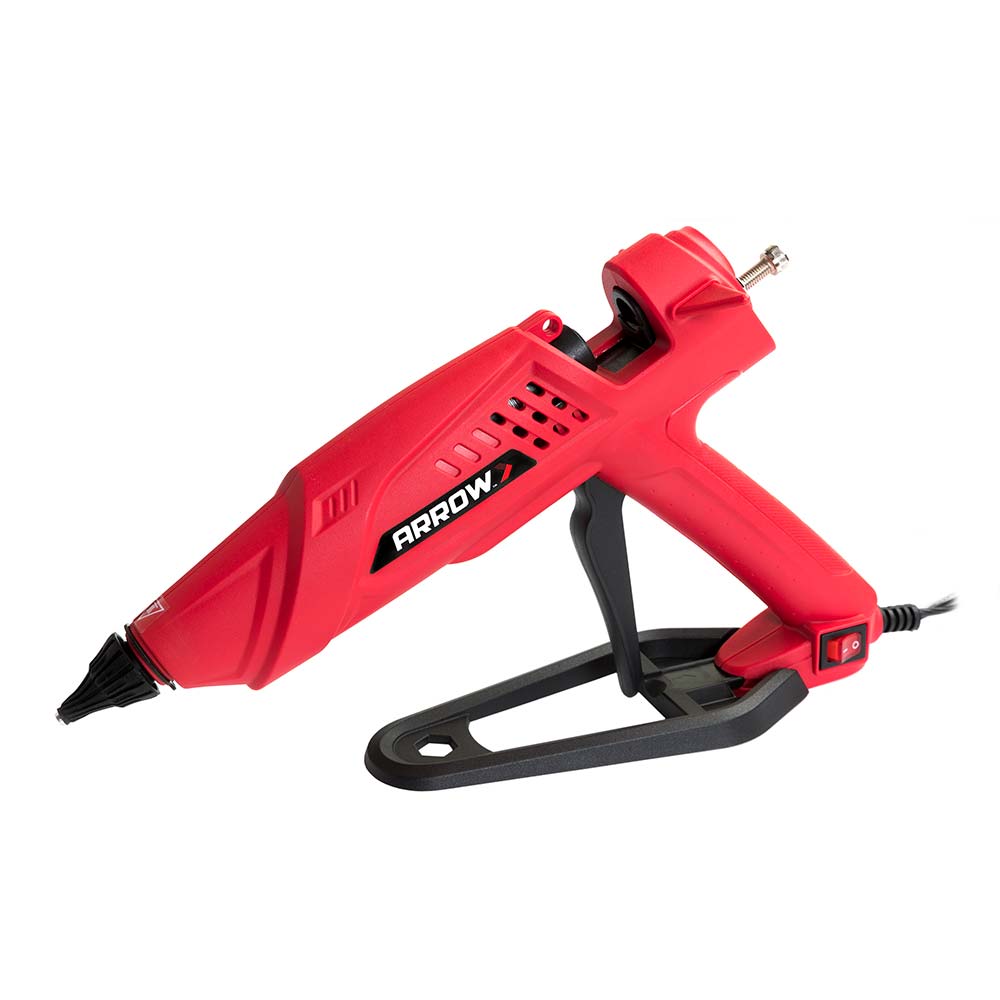
Professional High-Temp Glue Gun
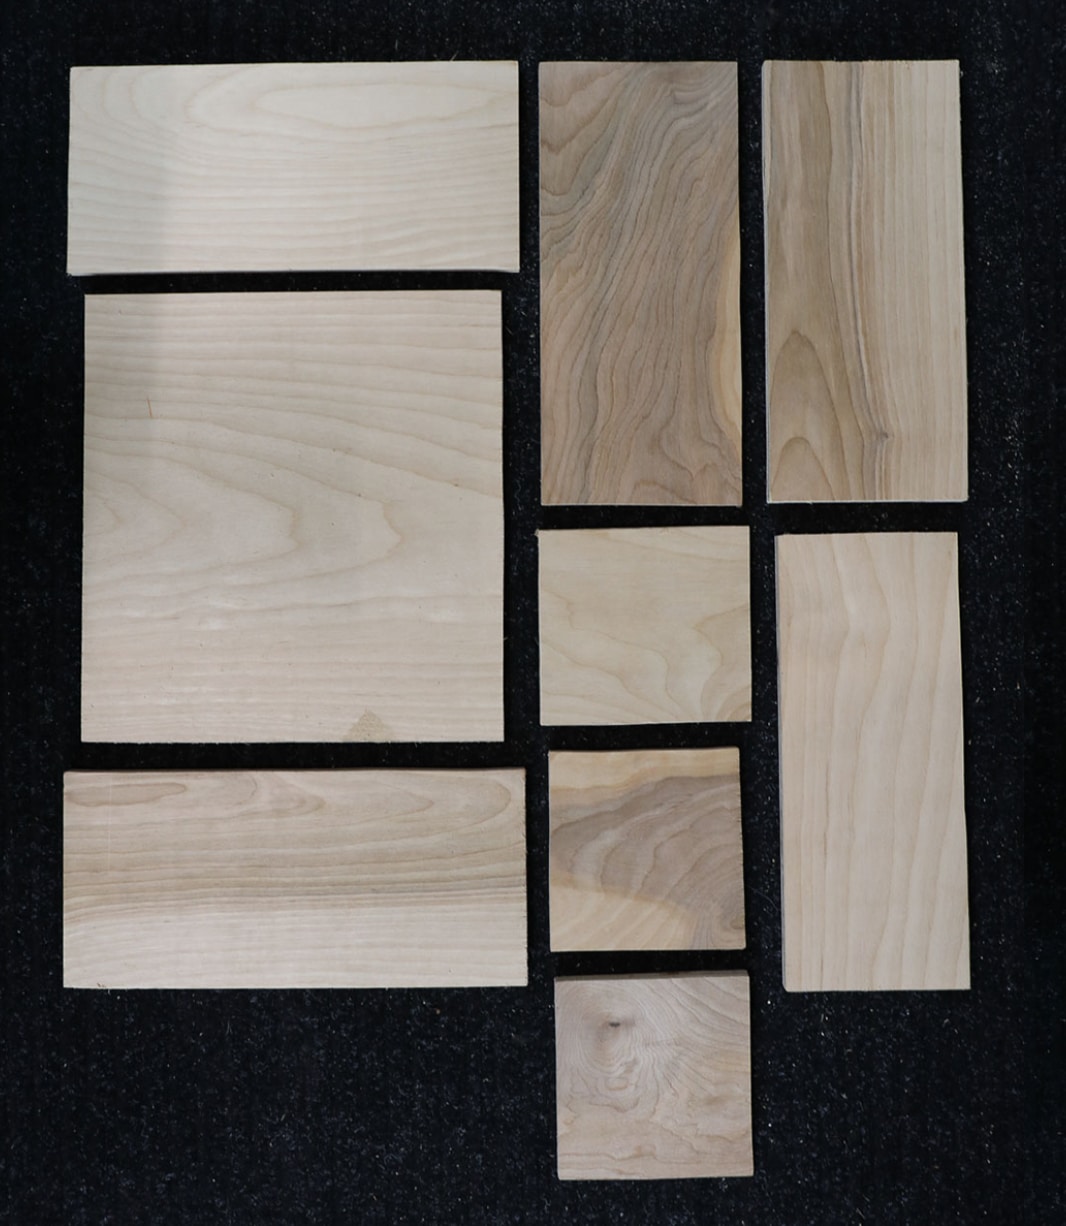
First, use your jigsaw or scroll saw to cut your birch plywood to the following measurements:
Game board
Storage box
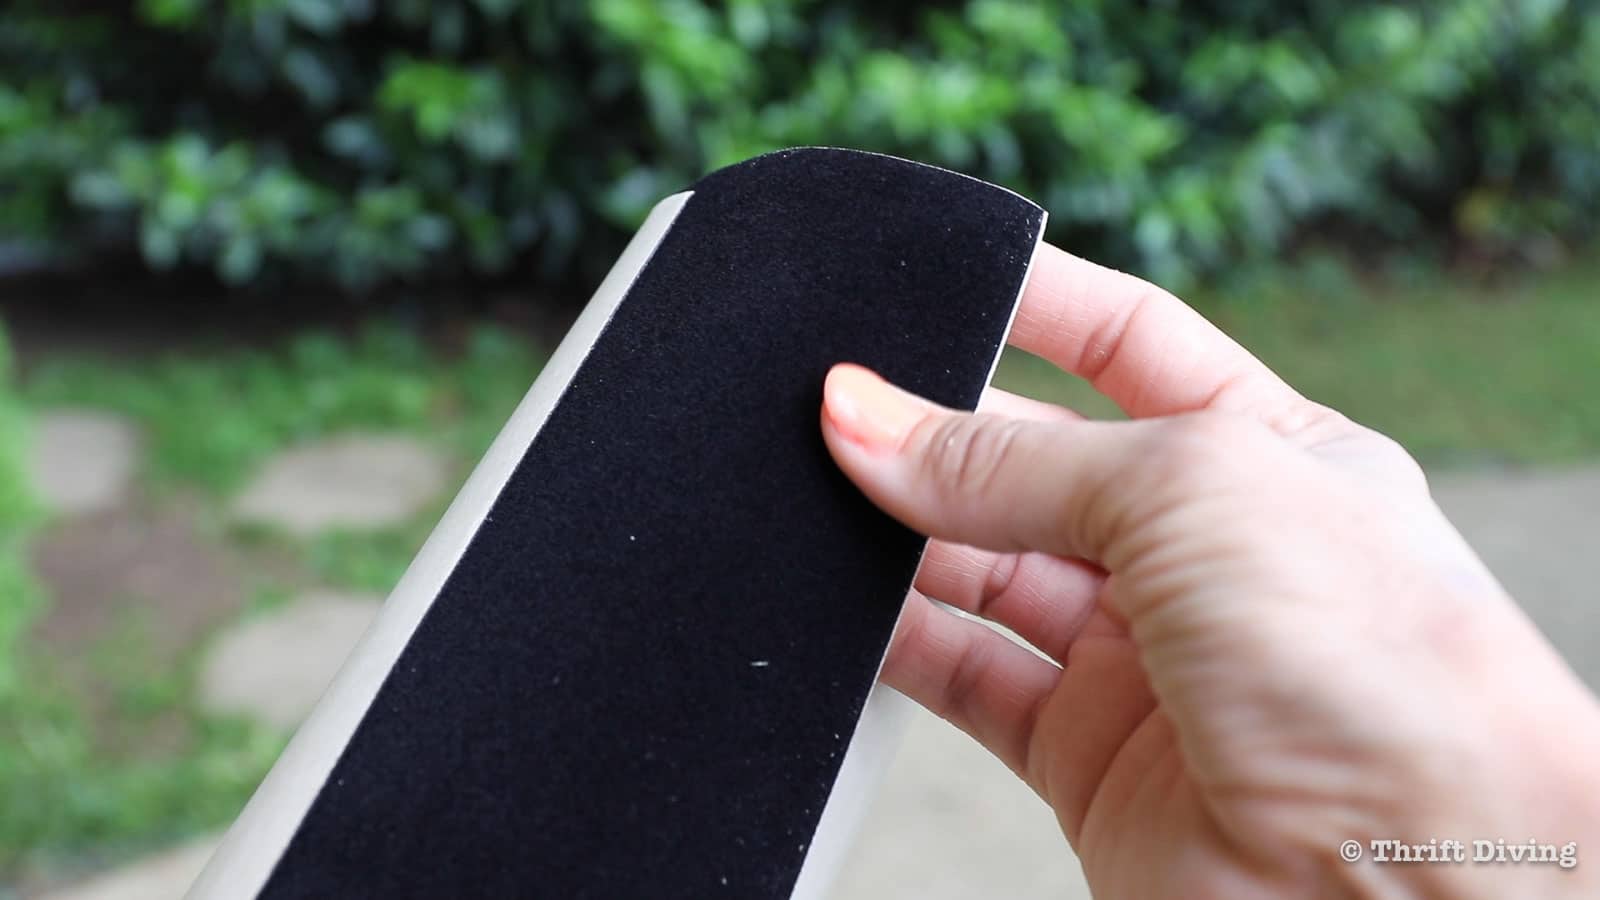
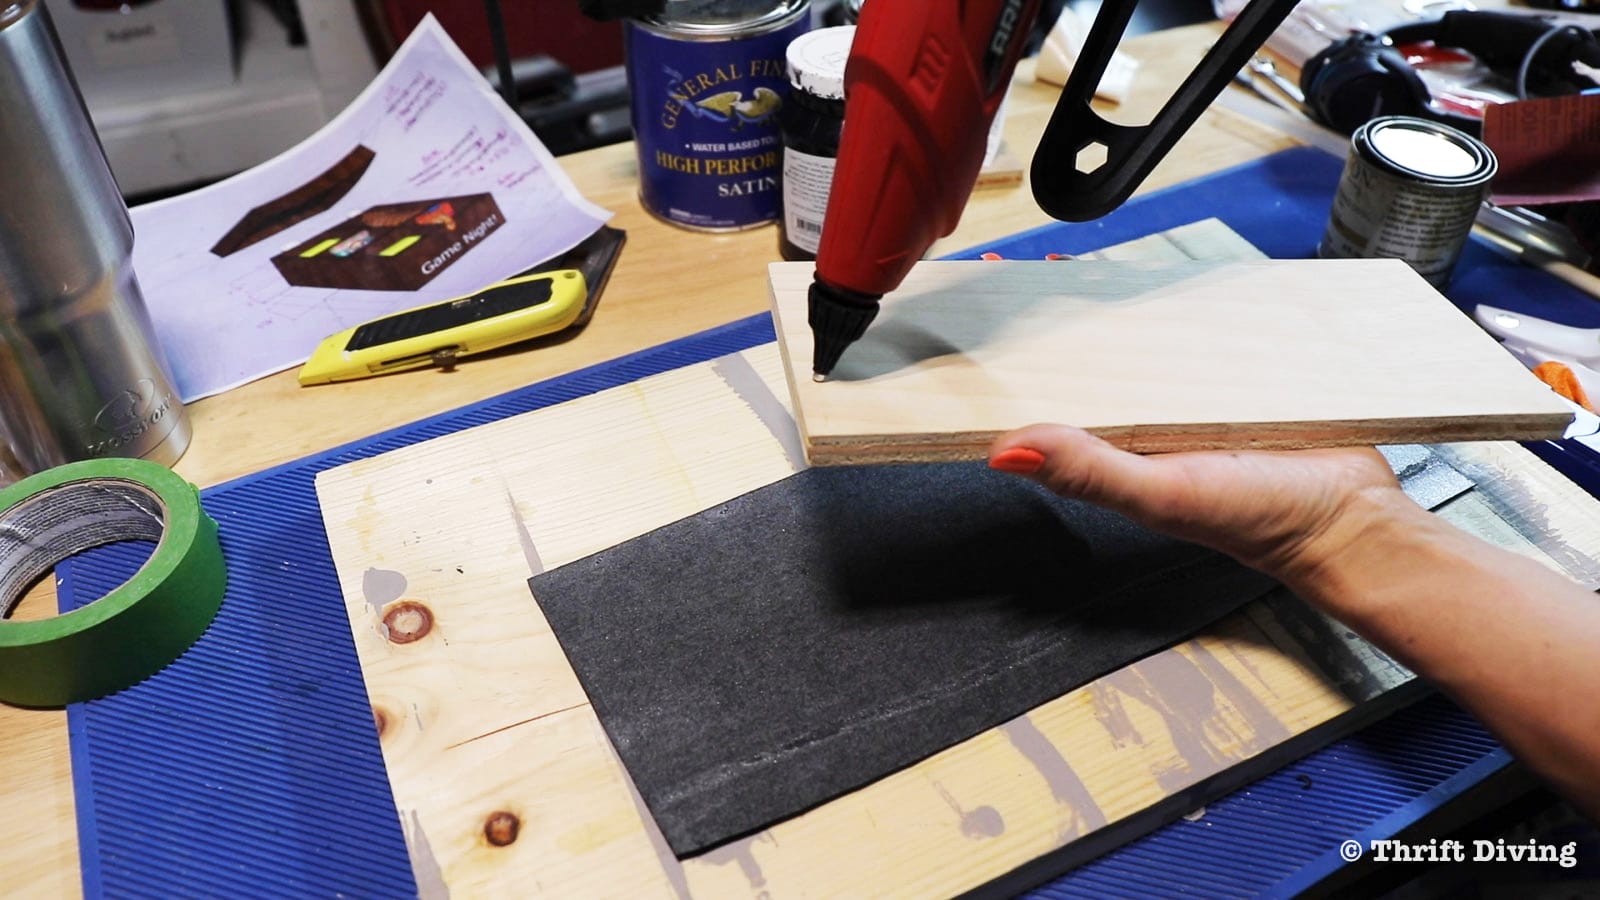
To create the game pieces, cover the scrap wood or plywood with painter’s tape. Use spray adhesive to adhere the Xs and Os from the template to the tape. This step is so you can easily remove the paper Xs and Os without damaging the wood or leaving residue behind. Then using your jigsaw and scroll blade or scroll saw, cut out the game pieces and smooth the edges with sandpaper.
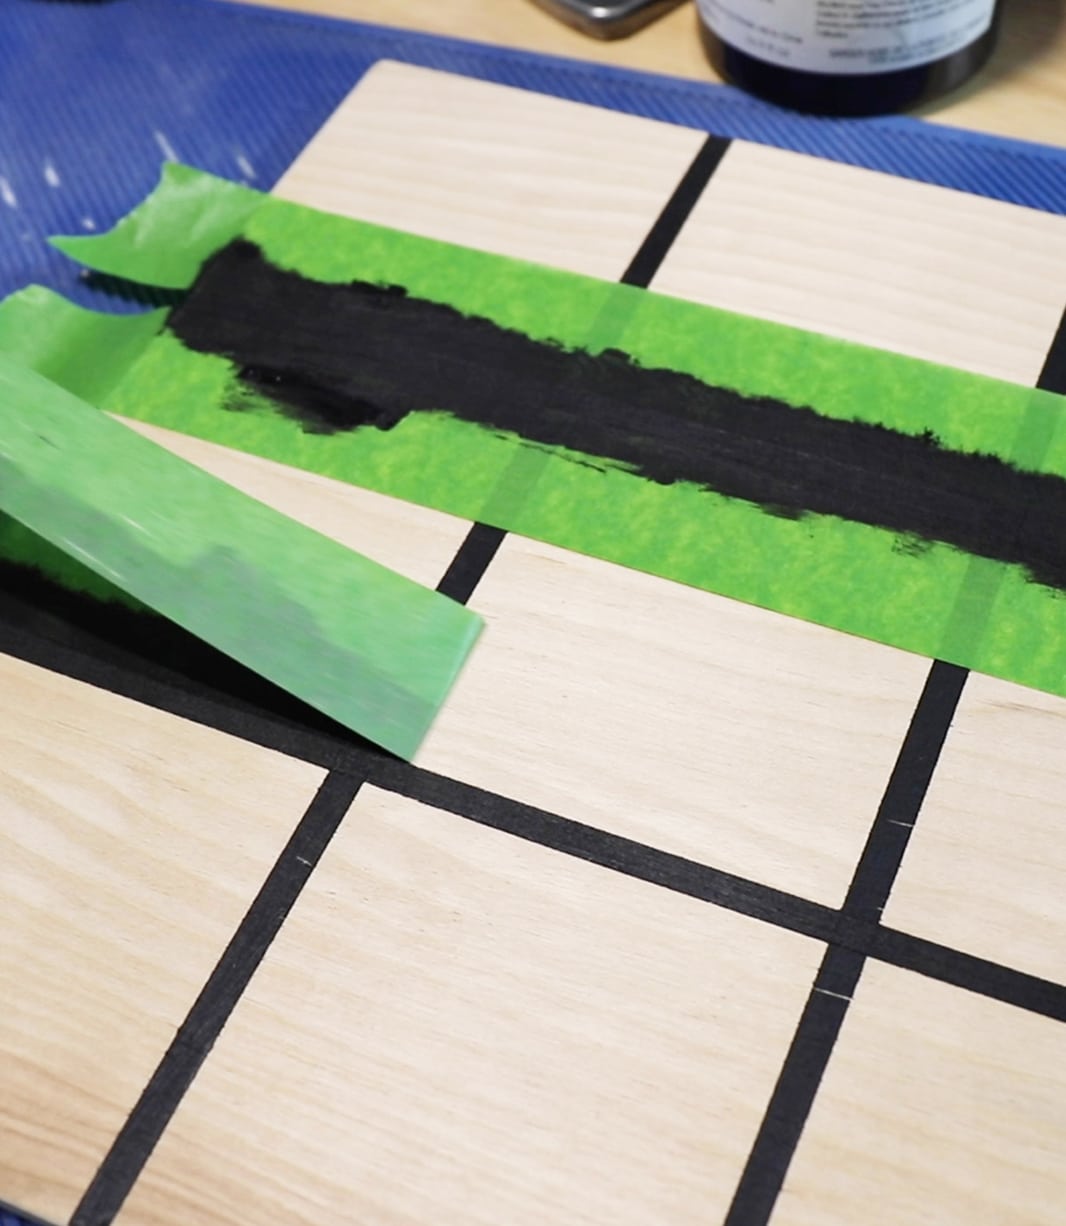
Time for fun and games! For the tic-tac-toe game board, use your tape measure to create a quarter-inch-thick grid out of painter’s tape at the 4″ and 8″ marks on the 12″ x 12″ top panel. Be sure to press down firmly on the tape to ensure a tight seal, which will keep the paint from bleeding through. Then use craft paint and a foam brush to paint the first half of your game board grid.
Once the paint is dry, peel off your tape and create two identical grid marks horizontally at the 4″ and 8″ points on the square, completing the grid of nine squares like a classic tic-tac-toe game.
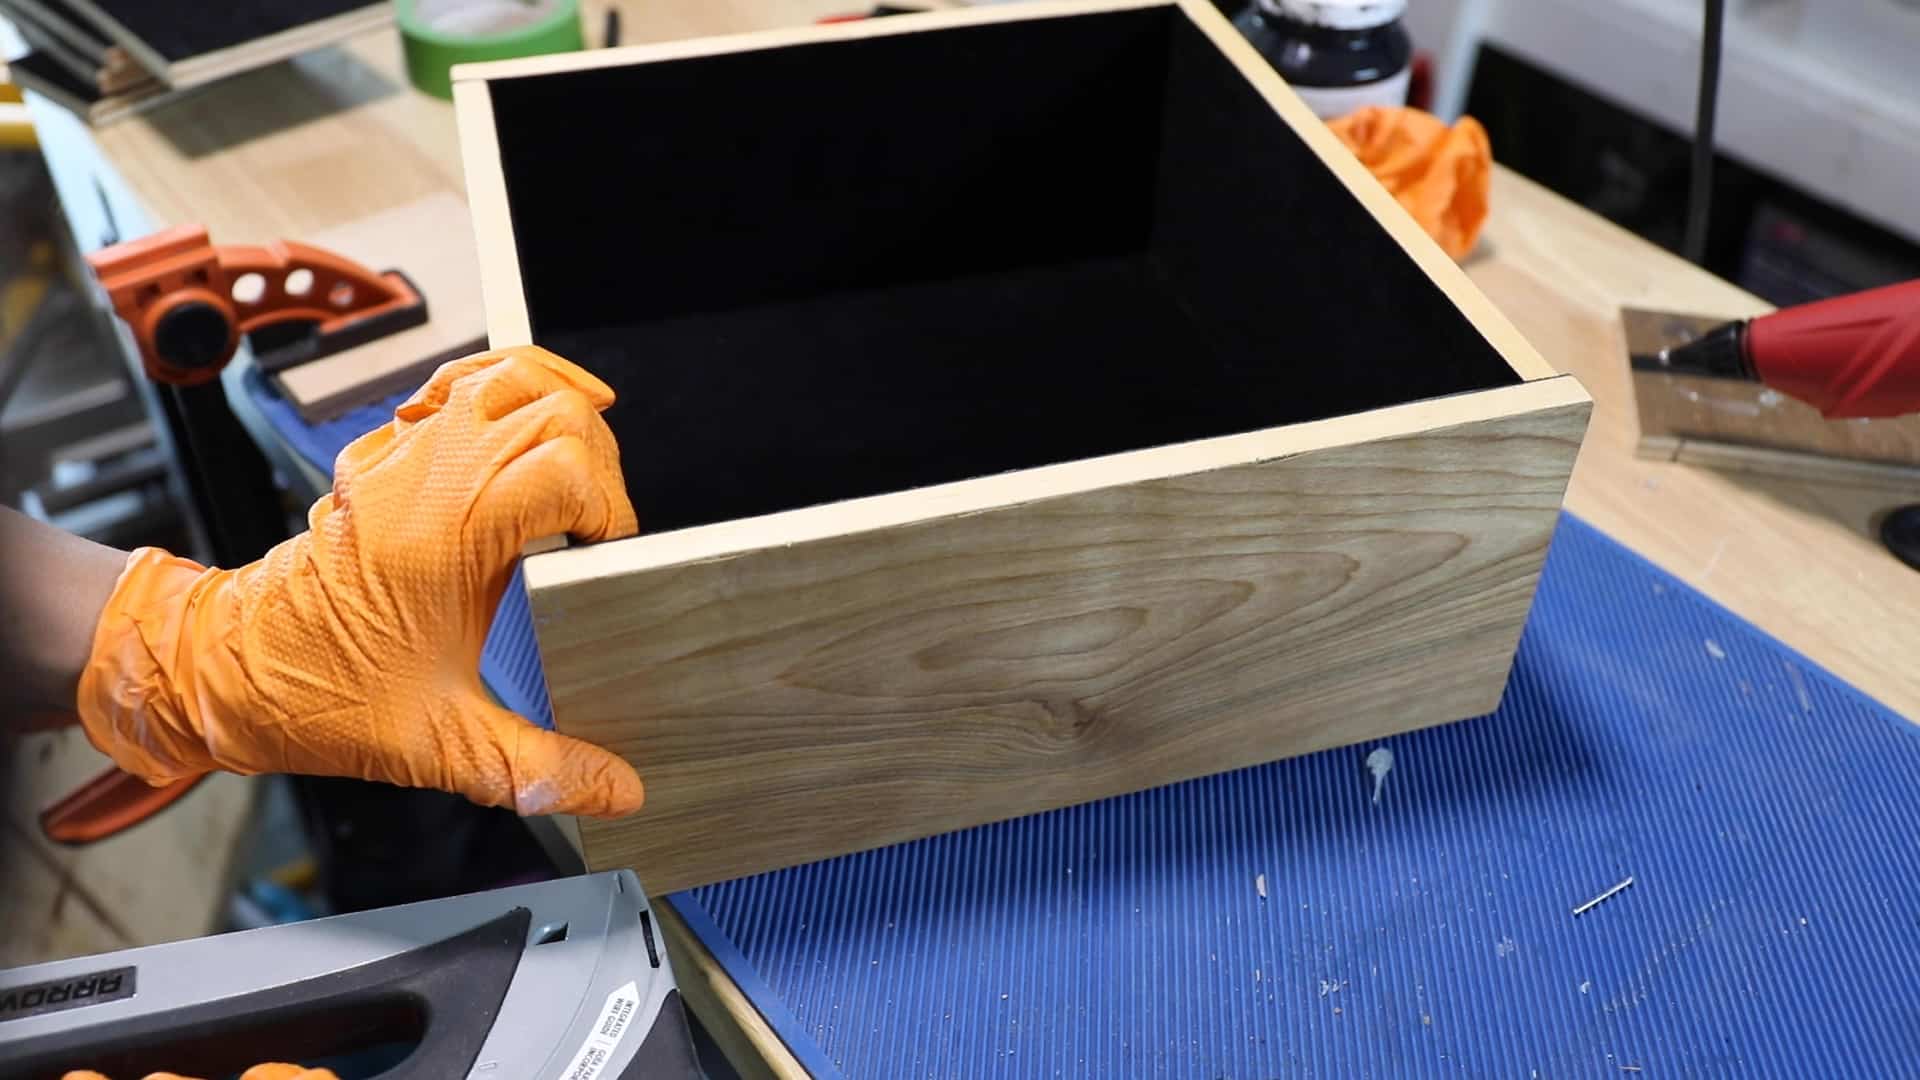
If you would like to create a contrast between the Xs and Os, stain only the Xs, then allow them to fully dry. Since this game board can travel anywhere, you need to protect it from the elements! Apply a couple of layers of topcoat or finishing oil to the exterior sides of the game board and storage box, then wipe off. Repeat this step to finish all of the other wood pieces.
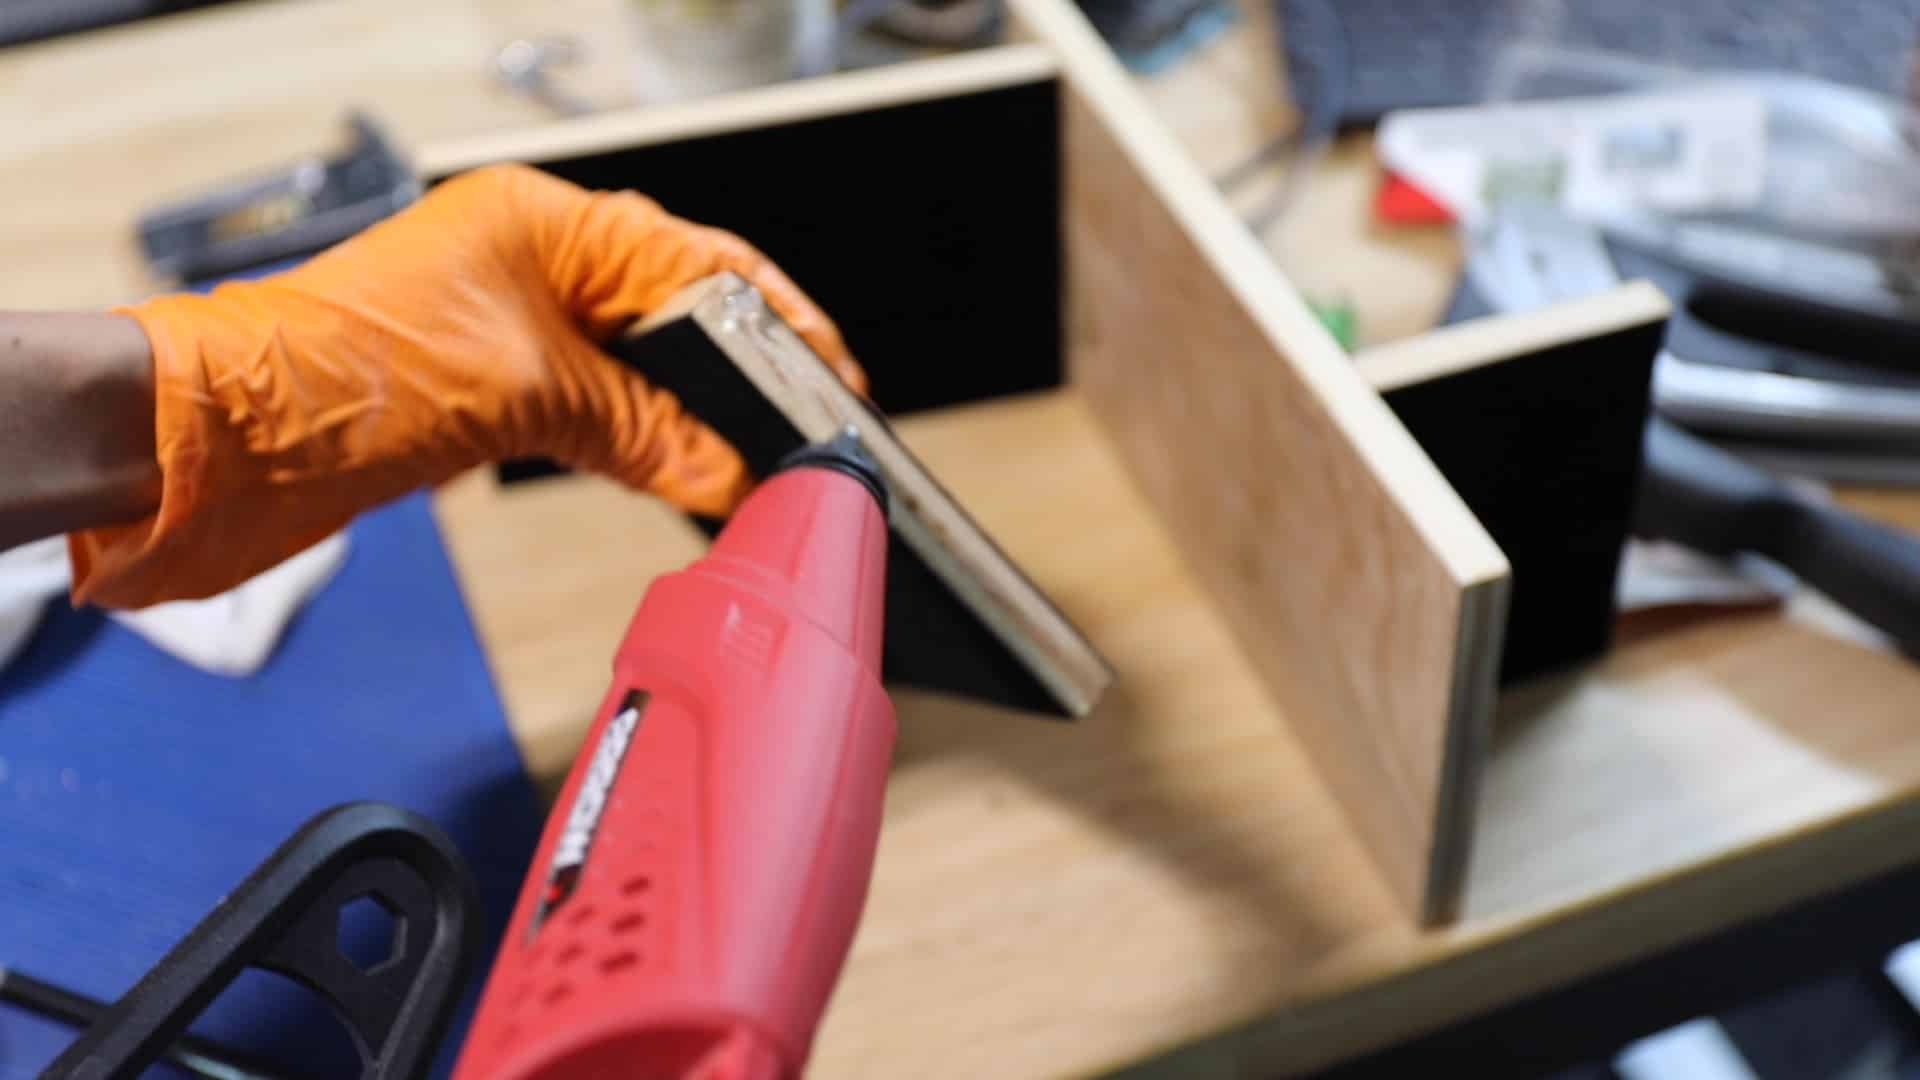
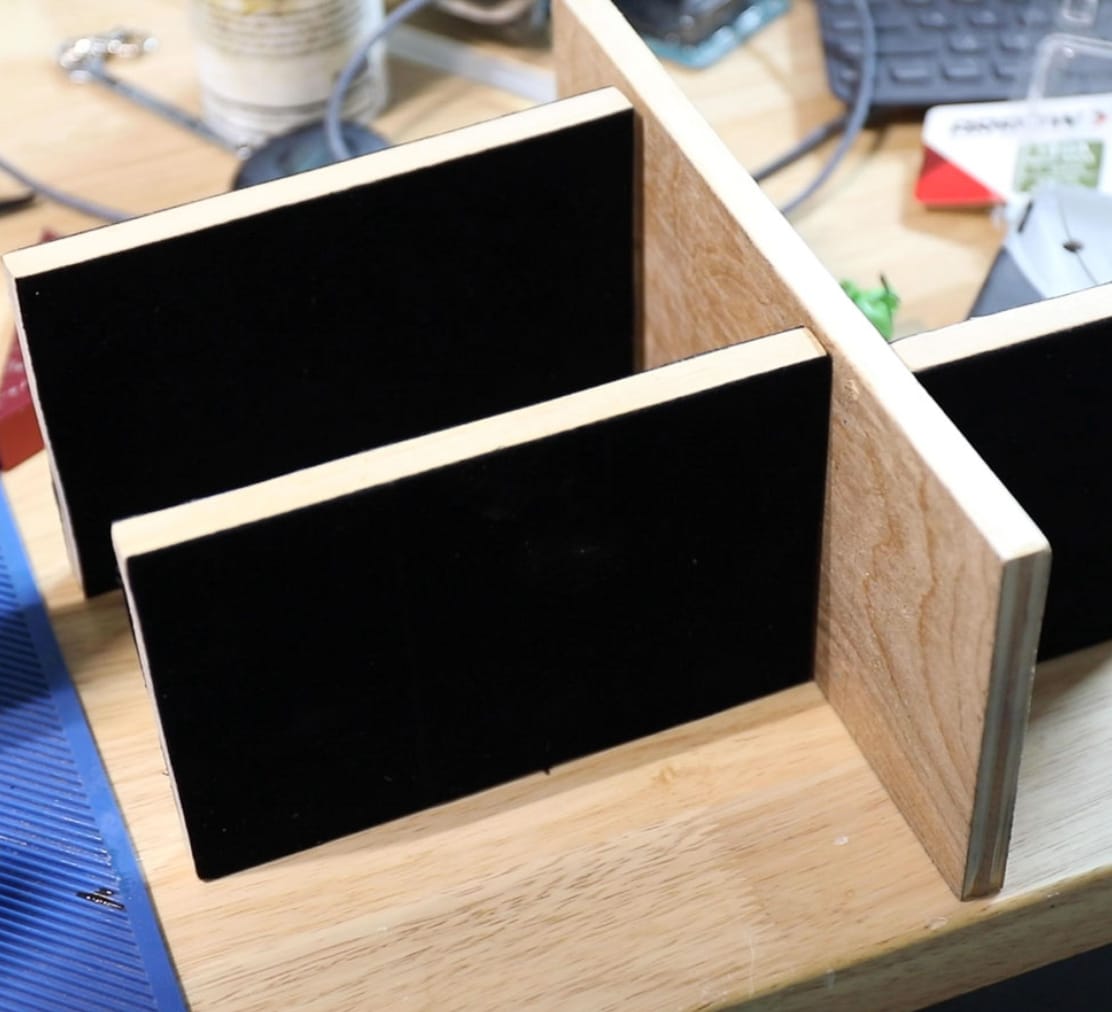
Now it’s up to you if you want to get fancy! Before putting all the parts together, cut and apply the velvet flocking to the interior sides of the pieces that will make up the storage box, including the partitions and the underside of the 12″ x 12″ top panel. Leave about ½” of wood around the perimeter of the underside of the lid and storage box for a better fit. To ensure a stronger hold, use your GT300 professional high-temp glue gun to secure the flocking. Use a utility knife to trim the excess flocking from the pieces of wood.
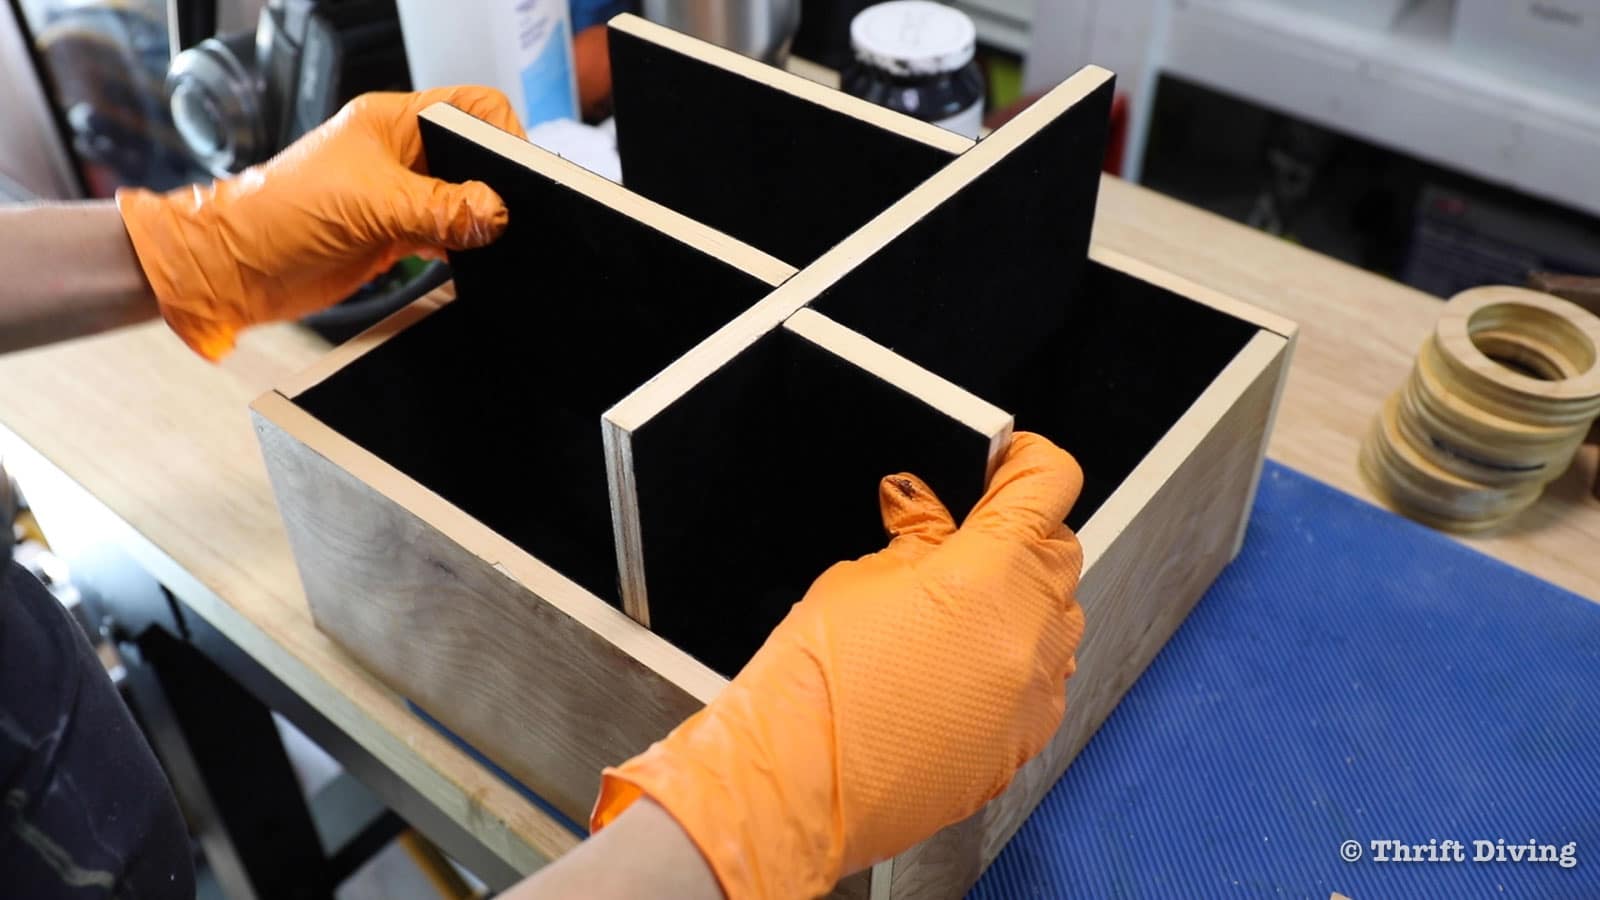
With the velvet flocking in place, start constructing the inside partitions. Use your GT300 professional high-temp glue gun to hold the partitions in place, and then use the T50 Elite staple gun and brad nailer to reinforce them from the opposite side.
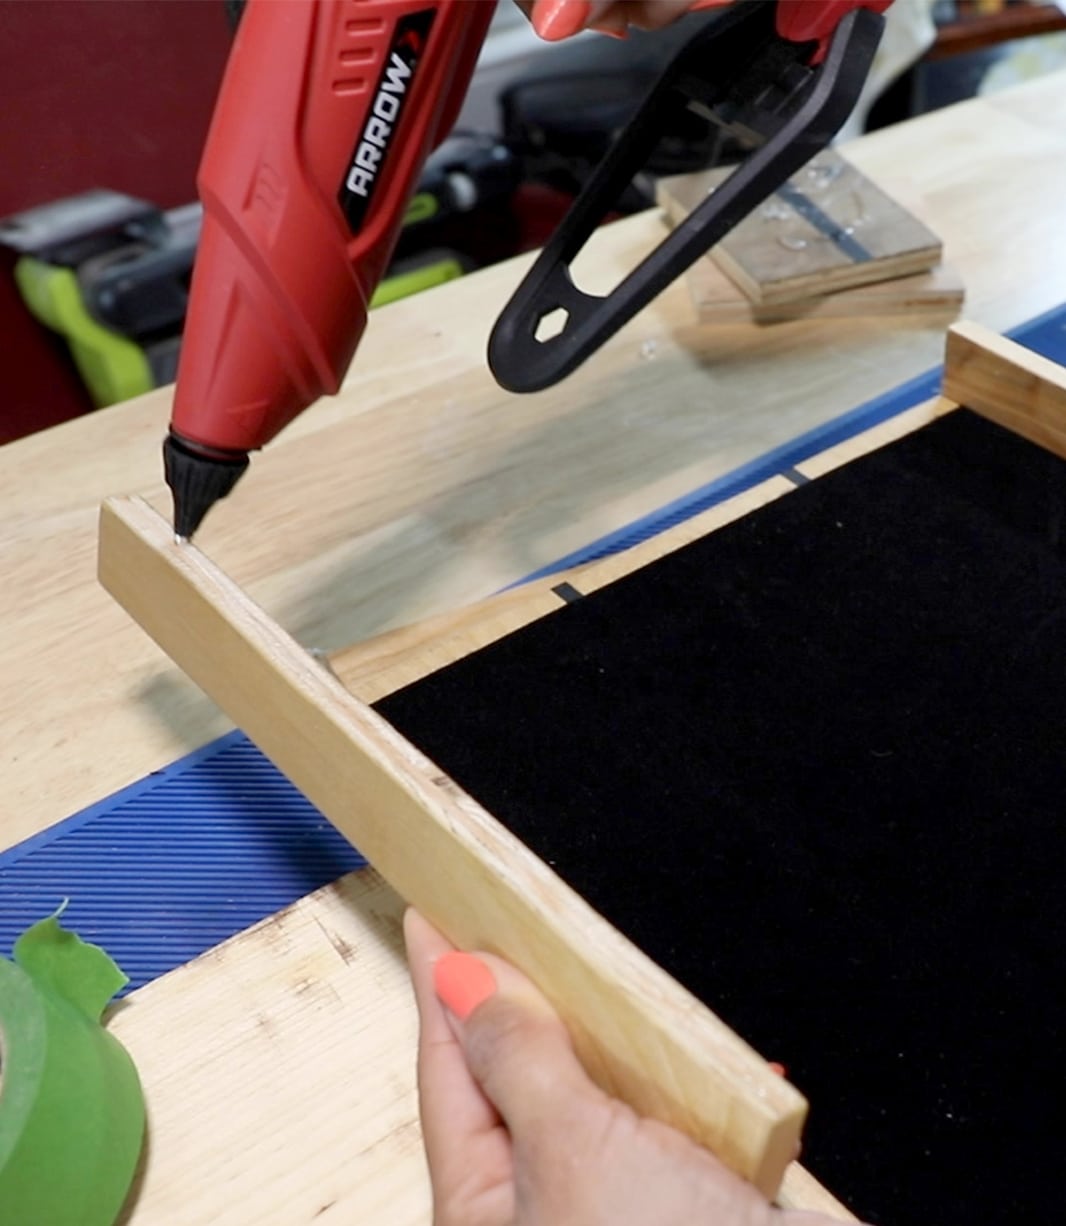
Time to construct the lid. Use your GT300 professional high-temp glue gun to glue the sides of the lid in place. Then use your T50 Elite staple gun and brad nailer to secure the lid with 1″ brad nails. Use a hammer to set the brad nails flush with the wood.
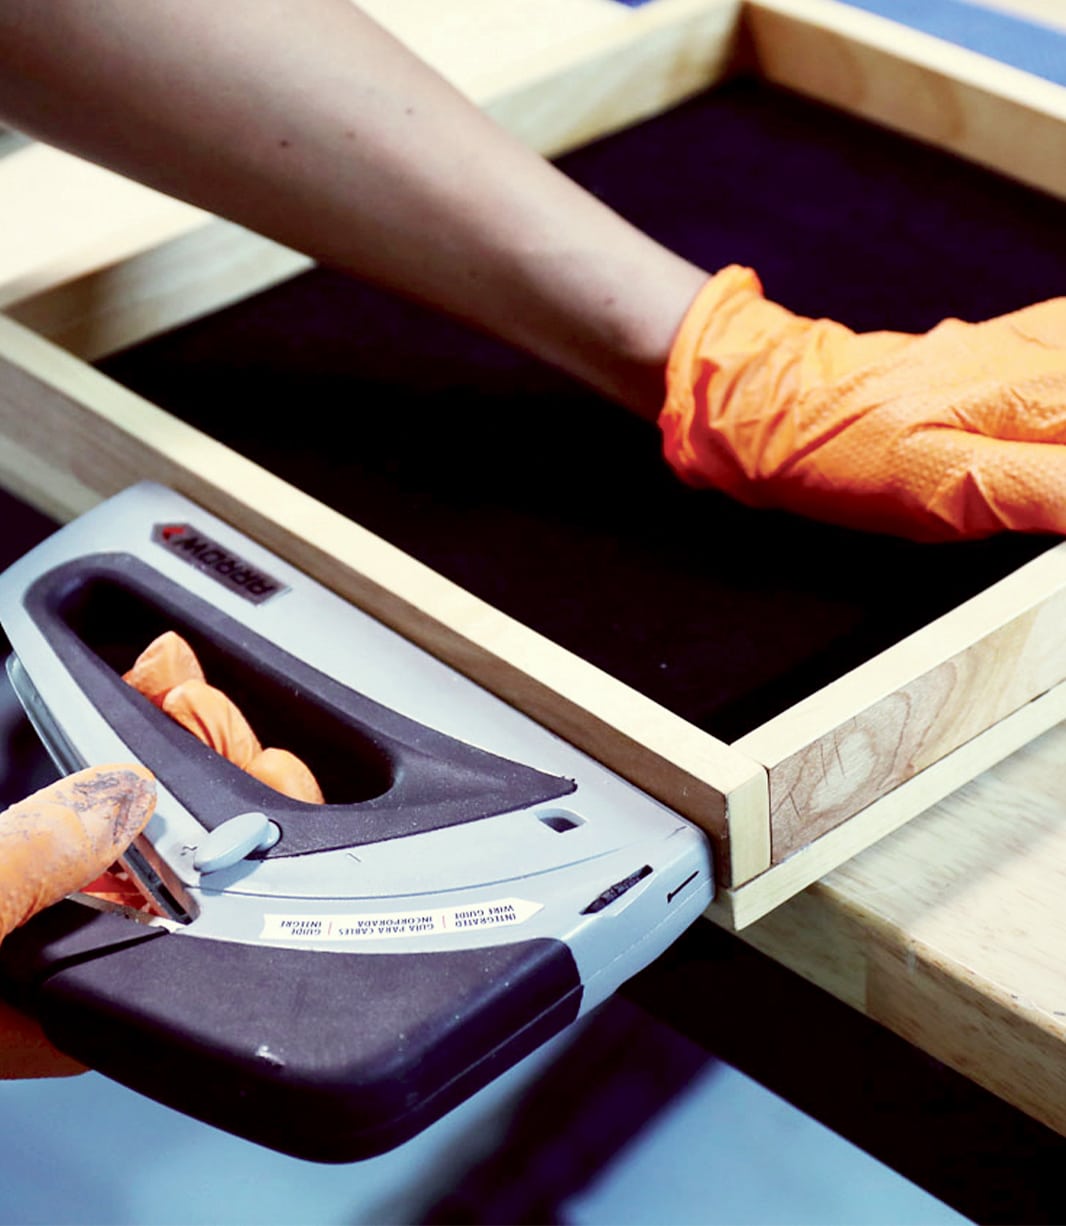
Now let’s put it all together. Make sure that the body of the storage box forms clean right angles, and nail the sides together using the T50 Elite staple gun and brad nailer. Then insert the partitions and nail them in place from the bottom.
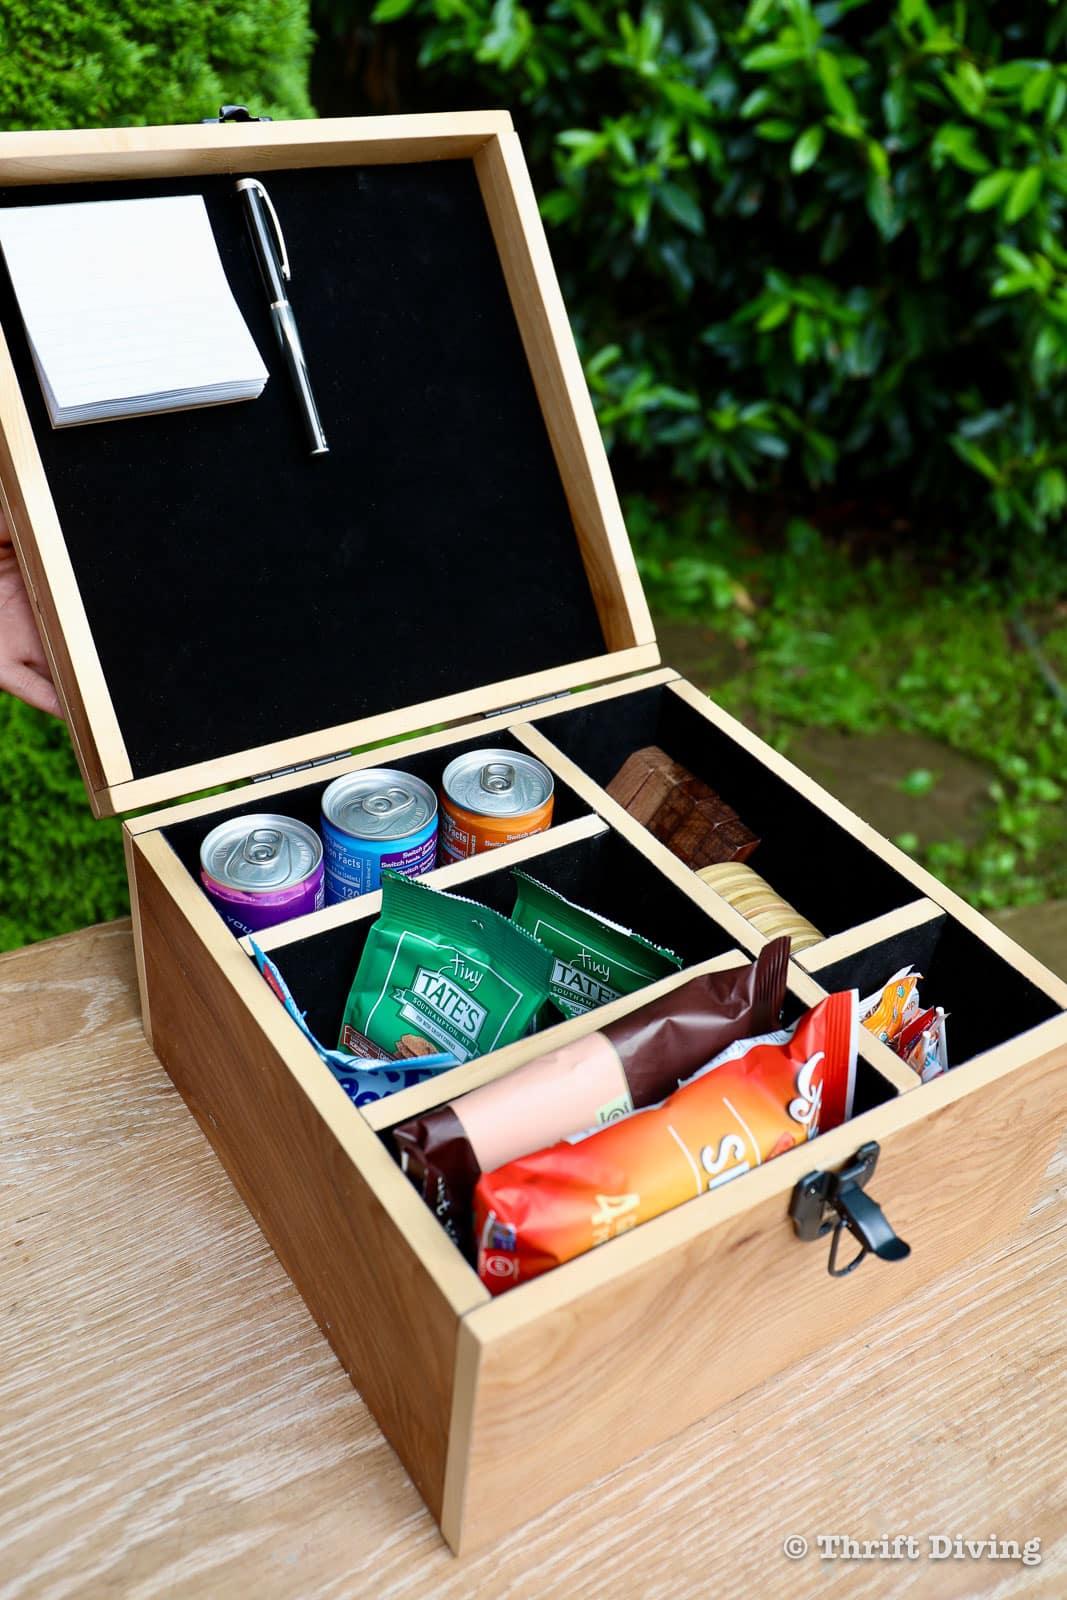
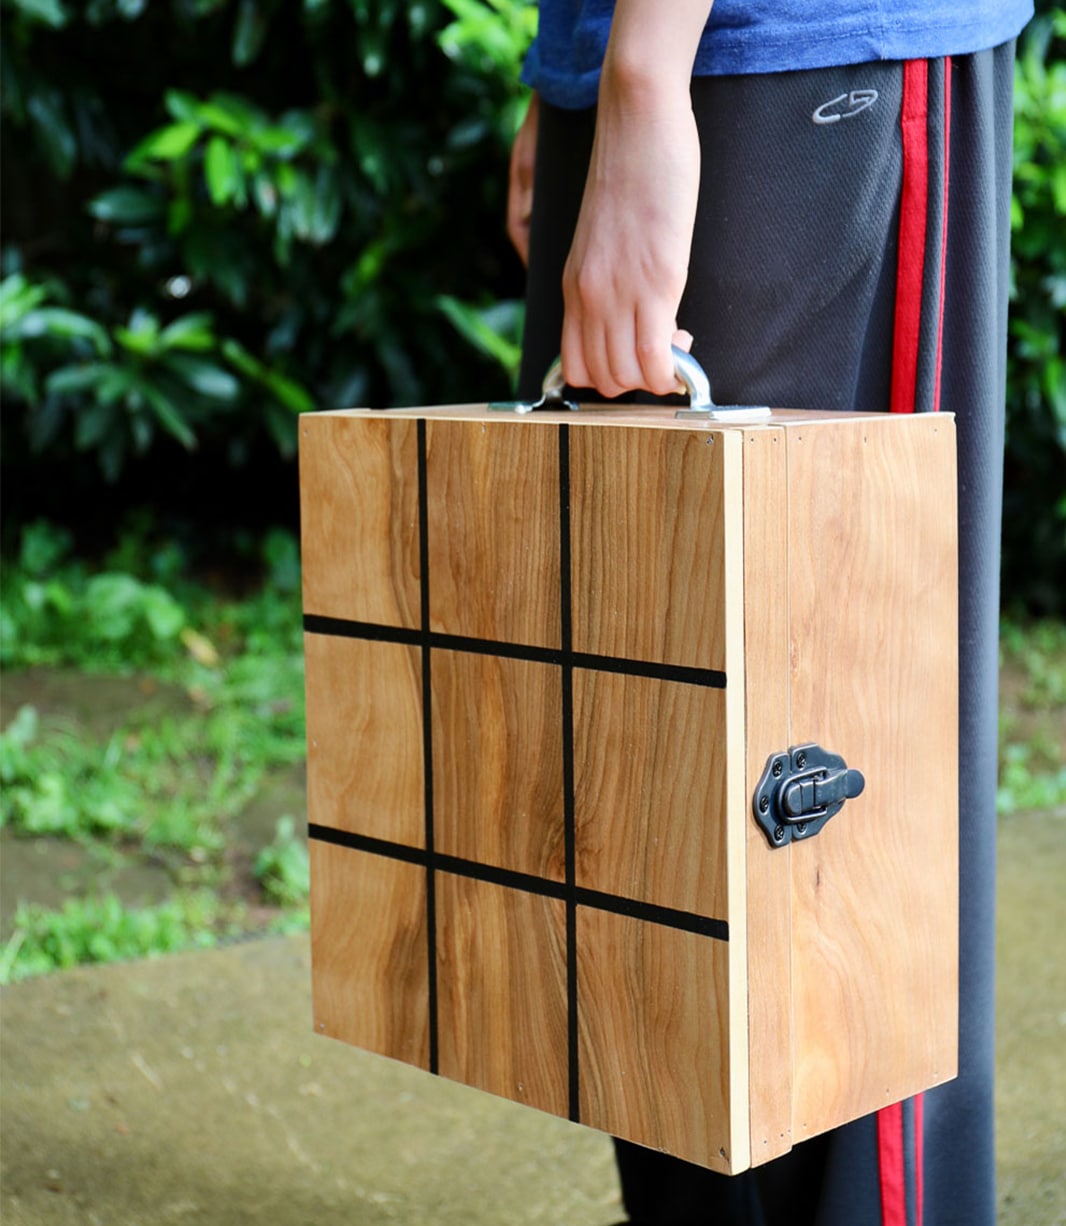
Finally, attach your hinges, lock, and handle and fill with your favorite snacks so you can hit the beach, the park, or even your backyard!
This project is the perfect picnic companion. With plenty of storage for snacks and drinks, you can stay and play all day.
We’d love to see your DIY tic-tac-toe board! Share your work with us on Facebook and Instagram by tagging @ArrowFastener or using #MadeWithArrow.
Get Arrow tips, tricks, projects and promos in your inbox!
Hey there! We’ve updated our Privacy and Cookie Policies at the request of some of our friends in Europe. Click Accept to let us know you’re okay with the updates. Thanks!
View Cookie Policy Accept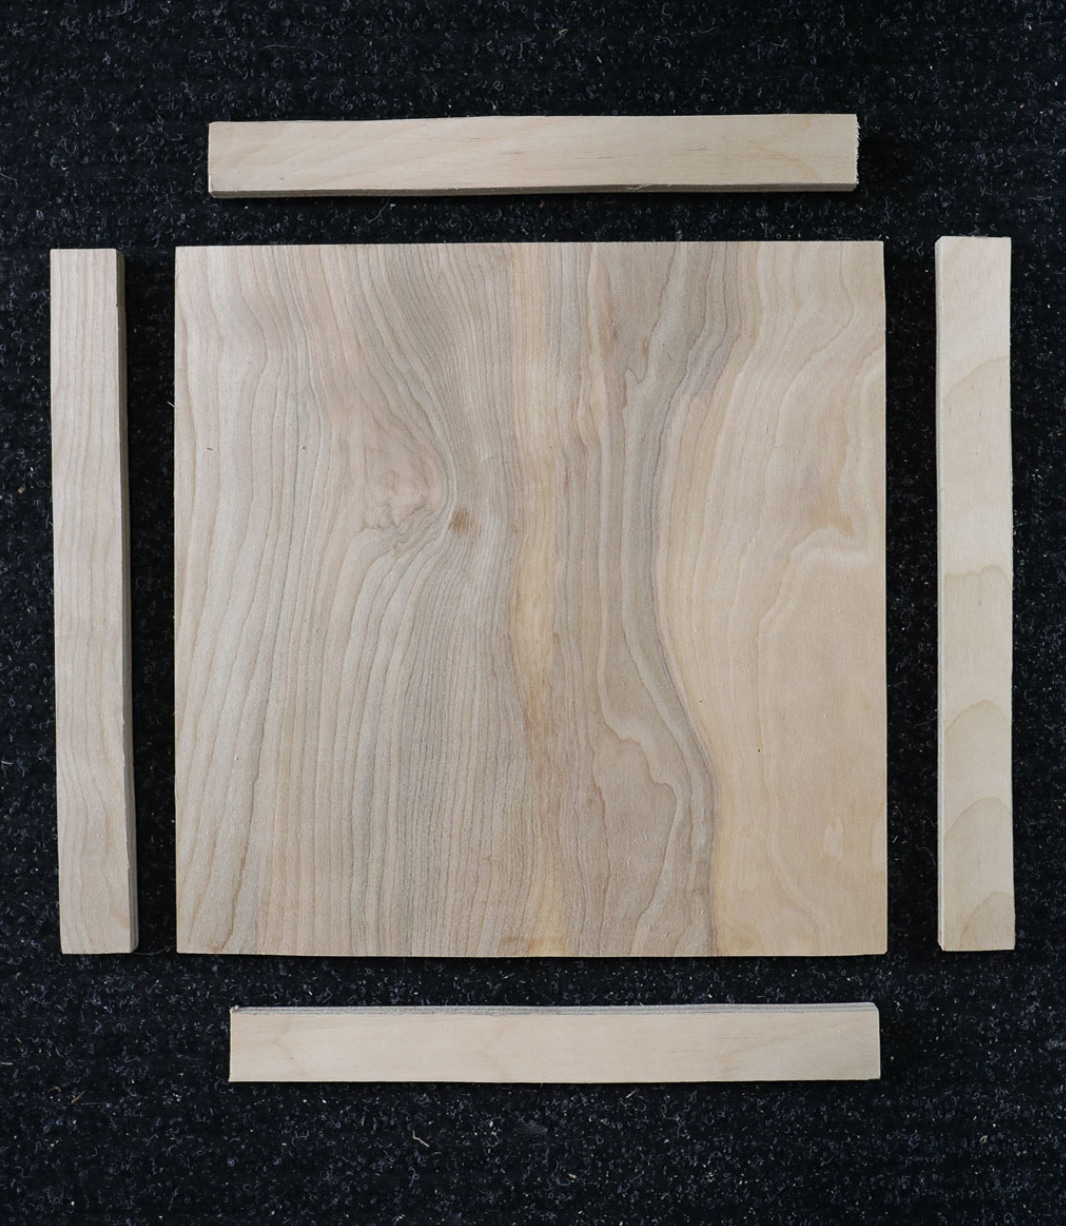