or Call Us at 1-800-776-2228
or Call Us at 1-800-776-2228
Do you have a damaged doorway transition in your home? We will show you a quick DIY door transition repair using the Arrow ET200BN Brad Nailer. Don’t forget to grab a pair of safety goggles and gloves (optional) before getting started!
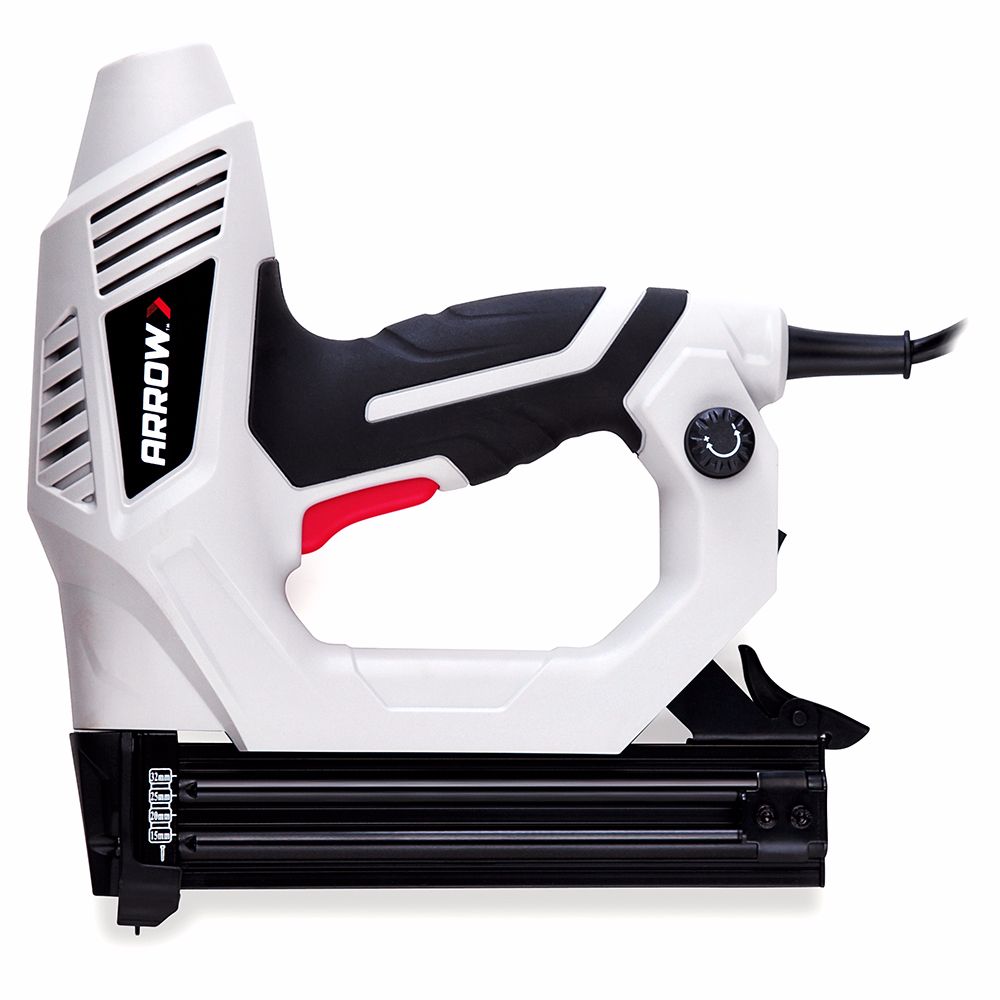
Professional Electric Nailer
Remove the damaged transition by inserting a putty knife and gently working it up and down to create a space large enough to insert the pry bar.
Remove the damaged transition by inserting a putty knife and gently working it up and down to create a space large enough to insert the pry bar.
Gently tap the pry bar in between the floor and threshold. Pull back slowly to lift the damaged transition from the floor. Repeat as needed along the length of the transition.
Gently tap the pry bar in between the floor and threshold. Pull back slowly to lift the damaged transition from the floor. Repeat as needed along the length of the transition.
Use the hammer to remove any existing nails protruding from the floor.
Use the hammer to remove any existing nails protruding from the floor.
Next, measure the length of the old transition between the two longest points and mark the proper measurements on the new transition. Arrow Tip: Make sure the height of the new transition matches the old one so your door will close properly after installation.
Next, measure the length of the old transition between the two longest points and mark the proper measurements on the new transition. Arrow Tip: Make sure the height of the new transition matches the old one so your door will close properly after installation.
Cut the new transition to the proper length with the hand saw. To get the straight-end cut for this project, we used a Pony miter box. Arrow Tip: Place a piece of tape on the back side of the wood prior to cutting to prevent splintering.
Cut the new transition to the proper length with the hand saw. To get the straight-end cut for this project, we used a Pony miter box. Arrow Tip: Place a piece of tape on the back side of the wood prior to cutting to prevent splintering.
Unless the frame of your door is square, you will need to cut notches for the new transition to fit snugly. Use the old transition as a template to mark the notches.
Unless the frame of your door is square, you will need to cut notches for the new transition to fit snugly. Use the old transition as a template to mark the notches.
Cut the notches using the jigsaw.
Cut the notches using the jigsaw.
For a smooth finish, gently sand the ends of the transition using sandpaper or a sanding block with a fine grit between 360-600.
For a smooth finish, gently sand the ends of the transition using sandpaper or a sanding block with a fine grit between 360-600.
Stain the new transition to match the previous transition. If you’re concerned the stain may not match, test it by staining the back of the transition. Once stained, make sure to let the transition dry the recommended amount of time. Our transition needed 1 hour to dry.
Stain the new transition to match the previous transition. If you’re concerned the stain may not match, test it by staining the back of the transition. Once stained, make sure to let the transition dry the recommended amount of time. Our transition needed 1 hour to dry.
After the stain is dry, protect the finish with a clear varnish and allow for the appropriate time to dry. We waited 1 hour for the varnish to dry.
After the stain is dry, protect the finish with a clear varnish and allow for the appropriate time to dry. We waited 1 hour for the varnish to dry.
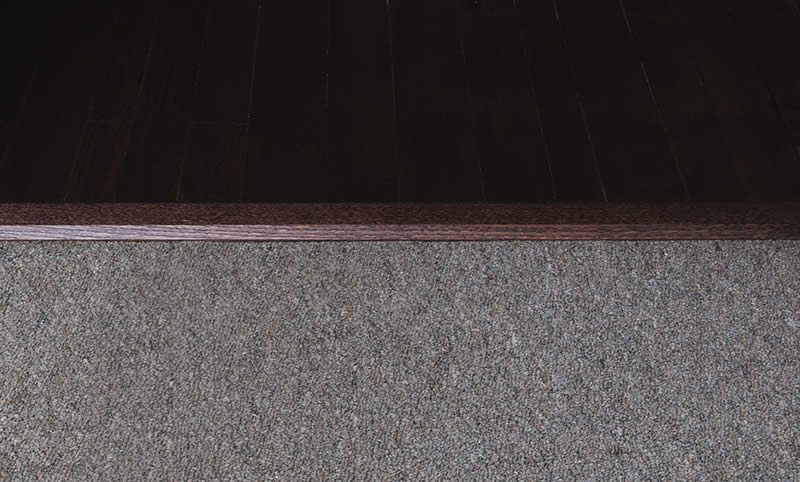
Next, apply wood glue to the underside of your new transition where it will touch the wood floor. Our transition is hardwood to carpet, so there is a 1/4” height transition to accommodate the extra height of the carpet. Apply the glue to the thicker half of the transition.
Next, apply wood glue to the underside of your new transition where it will touch the wood floor. Our transition is hardwood to carpet, so there is a 1/4” height transition to accommodate the extra height of the carpet. Apply the glue to the thicker half of the transition.
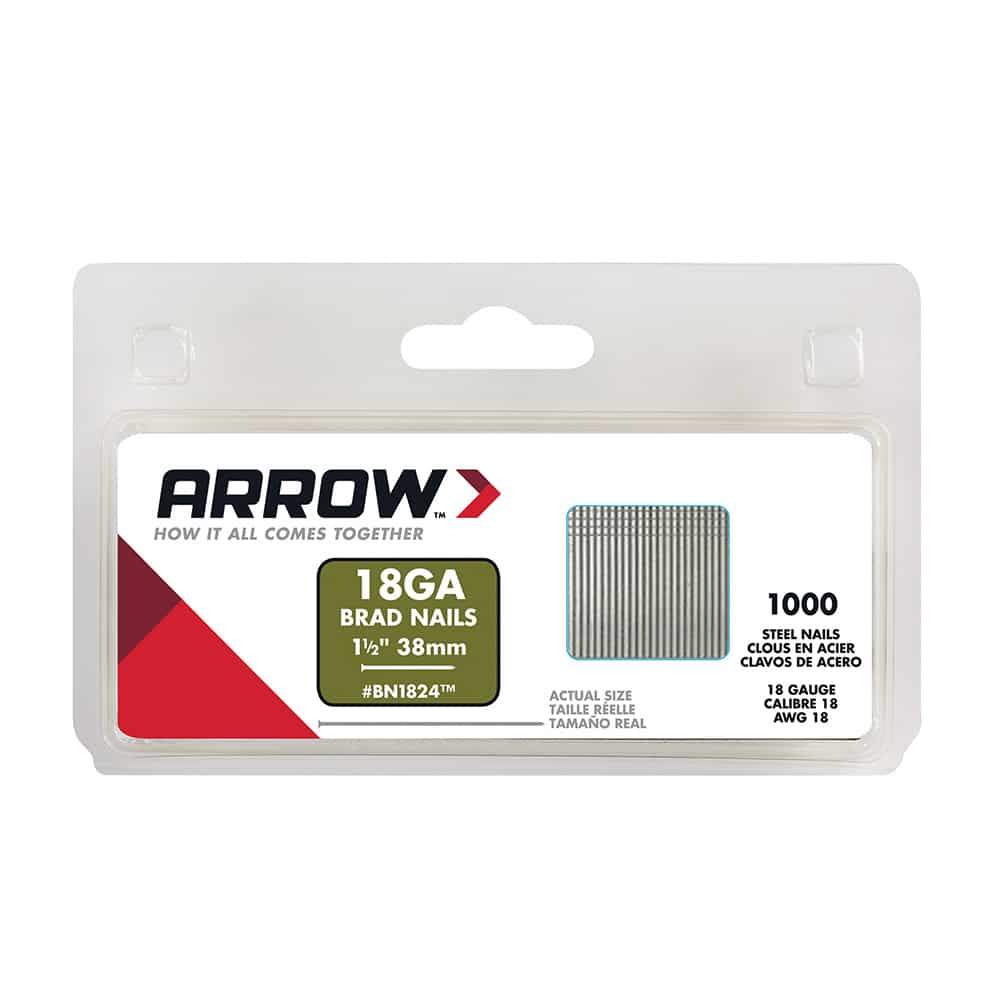
Hold the transition in place and attach using the Arrow ET200BN Professional Electric Brad Nailer and Arrow brad nails. Fire a brad nail every 2-3 inches along the length of the transition. If you are attaching to a hardwood floor, make sure you are not firing a brad nail into the grooves between the boards.
Hold the transition in place and attach using the Arrow ET200BN Professional Electric Brad Nailer and Arrow brad nails. Fire a brad nail every 2-3 inches along the length of the transition. If you are attaching to a hardwood floor, make sure you are not firing a brad nail into the grooves between the boards.
Enjoy your new door transition repair and stop worrying about tripping over a damaged one!
We’d love to see how your doorway transition project turned out! Share your project pictures on Facebook, Instagram or X by using #MadeWithArrow or tagging Arrow Fastener.
Get Arrow tips, tricks, projects and promos in your inbox!
Hey there! We’ve updated our Privacy and Cookie Policies at the request of some of our friends in Europe. Click Accept to let us know you’re okay with the updates. Thanks!
View Cookie Policy Accept