or Call Us at 1-800-776-2228
or Call Us at 1-800-776-2228
If you have your own staple gun factory like us, you’ve probably got a few large wire spools laying around. And if not, you can find them at home improvement stores, or you can even try to contact a utility or construction company and see if you can get one from them. In this tutorial, we’ll show you how you can turn a wire spool into a wire spool seat. You'll have a unique piece of furniture using your Arrow T50ACD and your Arrow Staple Lifter.
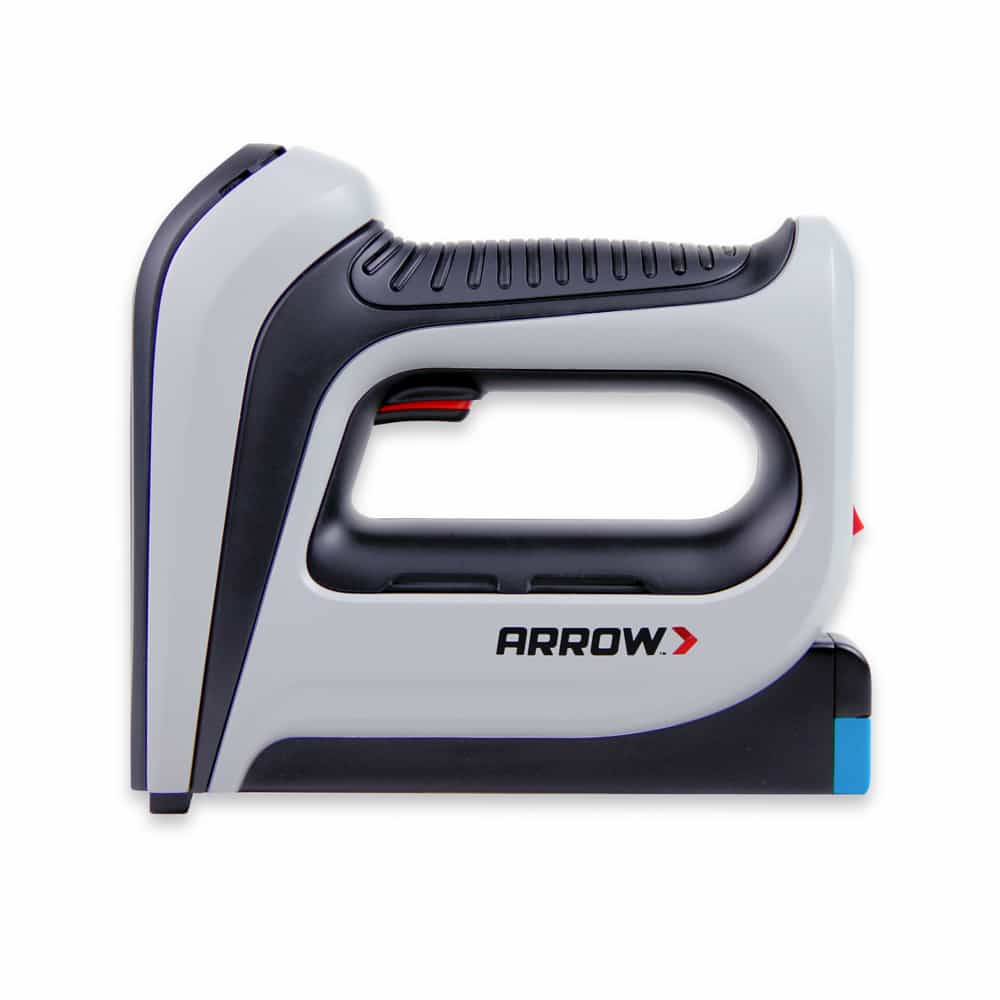
Cordless Staple Gun
The first step in creating your wire spool seat is to paint your wire spool. Once you’ve done that, lay out your foam and place the wire spool on it. The spool should be flipped, so that the side you want to be the top of the seat is faced down on the foam. Use your marker to trace the spool. Cut the foam along the line. It’s okay if it isn’t perfect because the foam will be covered up anyway.
The first step in creating your wire spool seat is to paint your wire spool. Once you’ve done that, lay out your foam and place the wire spool on it. The spool should be flipped, so that the side you want to be the top of the seat is faced down on the foam. Use your marker to trace the spool. Cut the foam along the line. It’s okay if it isn’t perfect because the foam will be covered up anyway.
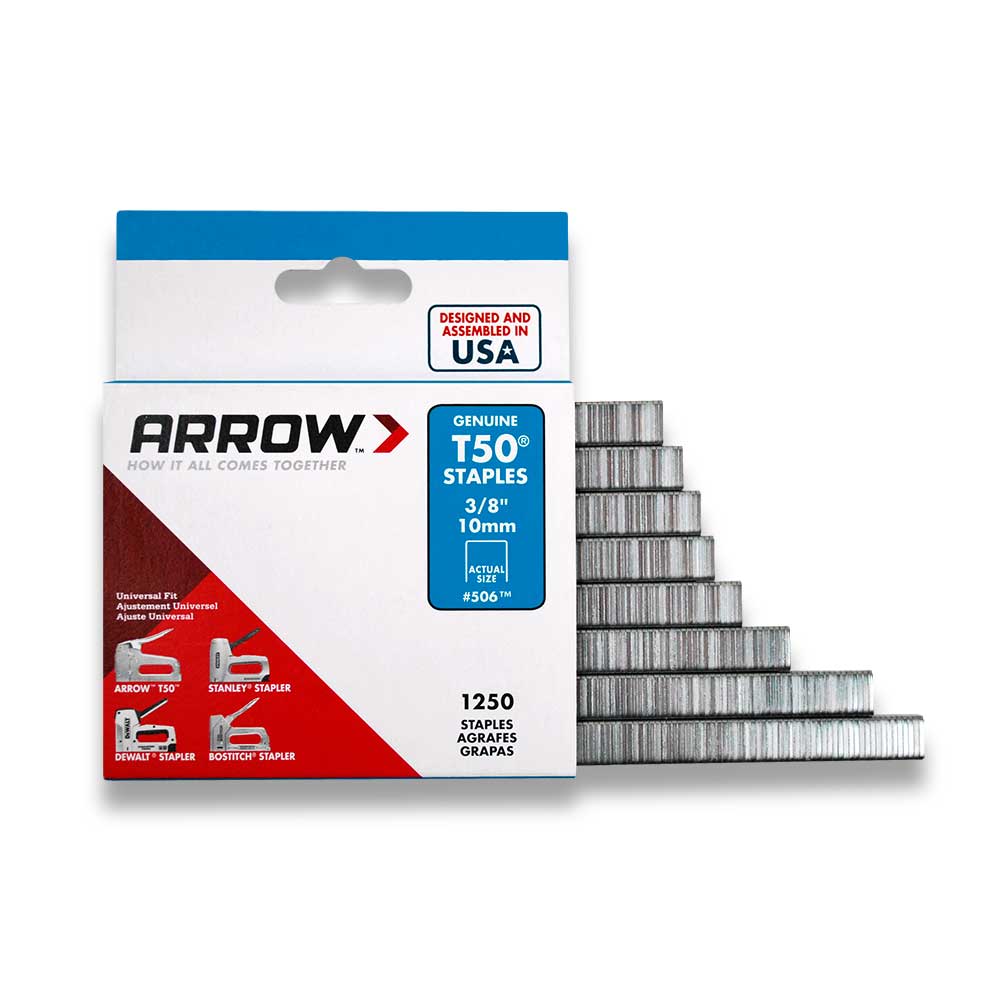
Place the foam onto the batting and the spool on top of the foam. The spool should still be facing top down. Fold the batting around the foam and staple it to the spool using your T50DCD Cordless Staple Gun with 3/8 inch T50 staples. Make your way around the spool until the foam is fully covered.
Place the foam onto the batting and the spool on top of the foam. The spool should still be facing top down. Fold the batting around the foam and staple it to the spool using your T50DCD Cordless Staple Gun with 3/8 inch T50 staples. Make your way around the spool until the foam is fully covered.
Trim the excess batting off of the spool.
Trim the excess batting off of the spool.
Place the cable spool with the batting down on the fabric. Fold the fabric around the batting and staple it to the spool, again using your T50DCD Cordless Staple Gun with 3/8 inch T50 Staples. Make your way around the spool until the batting is fully covered.
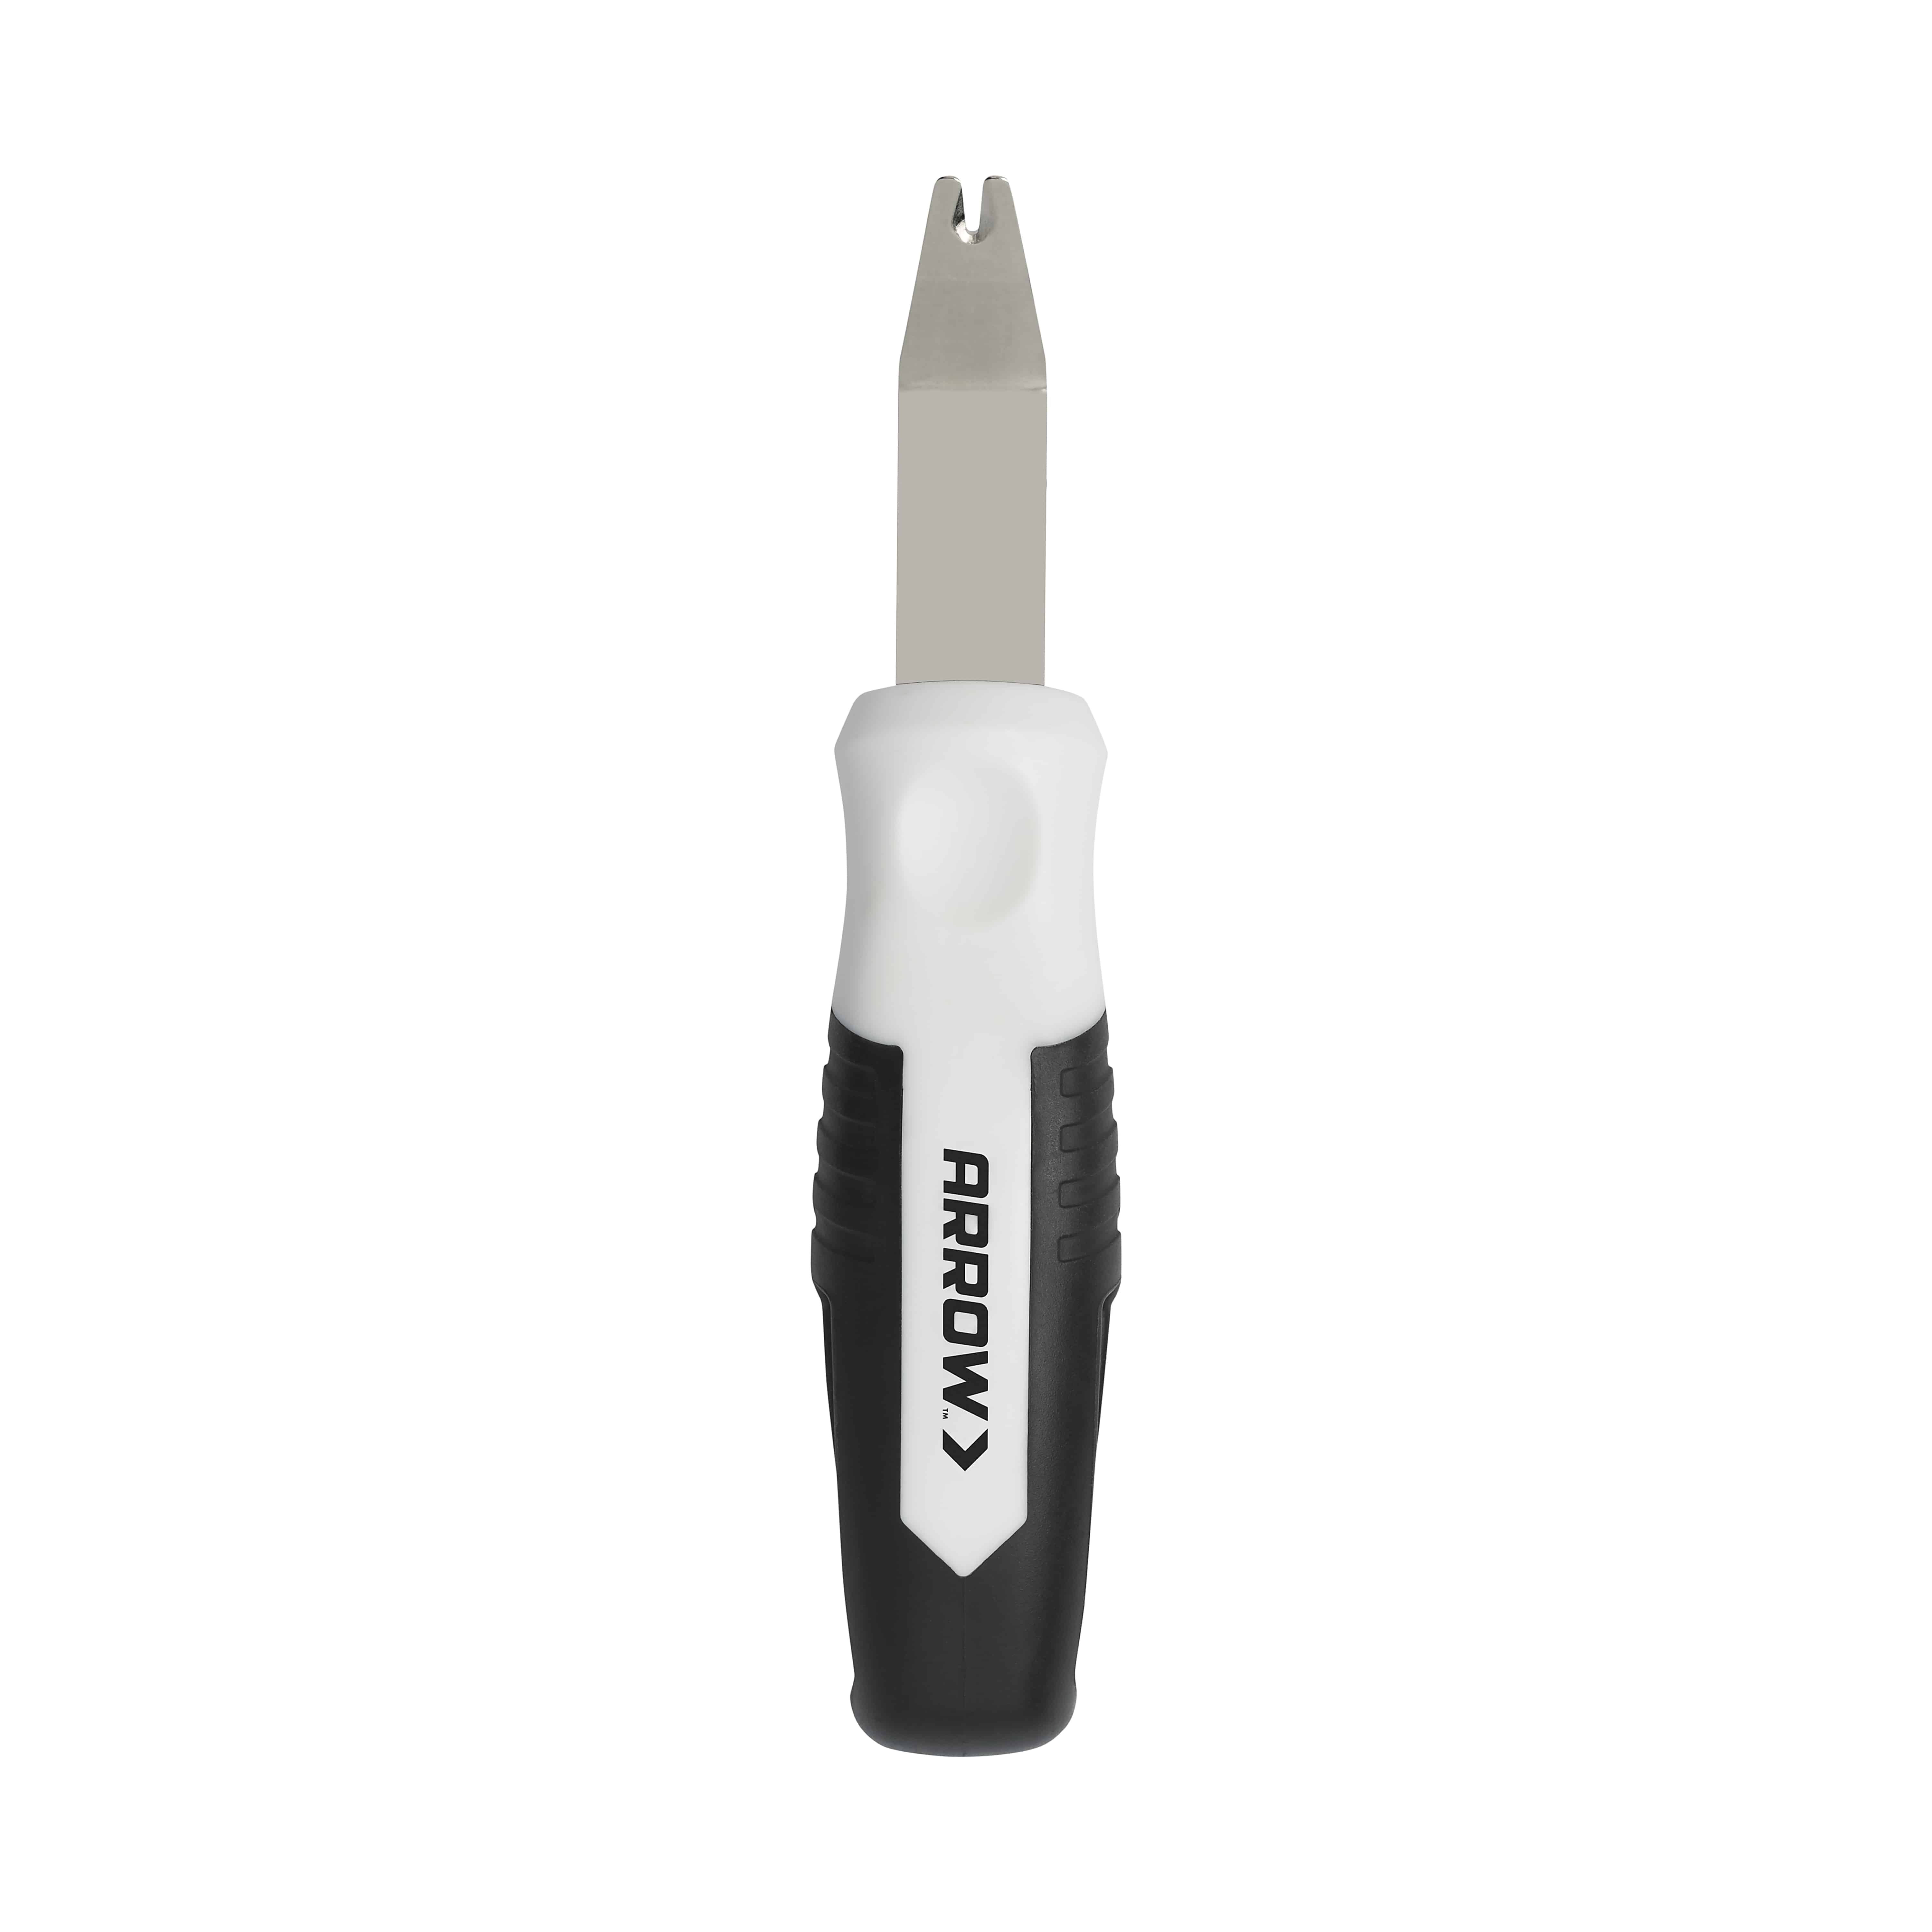
This can be tedious. Pull the fabric as tight as possible to avoid wrinkles. You may have to remove staples with your Arrow Staple Lifter and redo them a few times to get it right. Take your time on this step.
Place the cable spool with the batting down on the fabric. Fold the fabric around the batting and staple it to the spool, again using your T50DCD Cordless Staple Gun with 3/8 inch T50 Staples. Make your way around the spool until the batting is fully covered.
This can be tedious. Pull the fabric as tight as possible to avoid wrinkles. You may have to remove staples with your Arrow Staple Lifter and redo them a few times to get it right. Take your time on this step.
Trim the excess fabric off of the spool.
Trim the excess fabric off of the spool.
Add self-adhesive foam pads to the bottom of the seat so that it won’t scratch your floors.
Add self-adhesive foam pads to the bottom of the seat so that it won’t scratch your floors.
We’d love to see how your Wire Spool Seat project turned out! Share your project pictures on Facebook, Instagram or X by using #ArrowStrong or by tagging Arrow Fastener.
Get Arrow tips, tricks, projects and promos in your inbox!
Hey there! We’ve updated our Privacy and Cookie Policies at the request of some of our friends in Europe. Click Accept to let us know you’re okay with the updates. Thanks!
View Cookie Policy Accept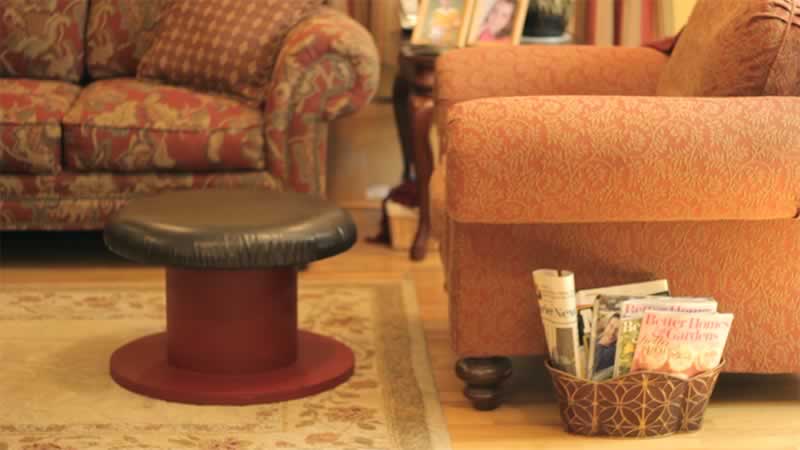