or Call Us at 1-800-776-2228
or Call Us at 1-800-776-2228
Decorating your home for the holiday season can be a lot of fun! Have you ever wanted to decorate holiday mantles without damaging them?
Use this simple DIY idea to flawlessly arrange garland and decorations while still protecting your mantel. Remember to wear safety goggles at all times, and to wear gloves when using the saw.

TruTac™ Light Duty Forward Action Stapler
To get started, create a template for the mantel. Place cardboard on top of the mantel and mark the ends. Creating a template is especially helpful when working with a mantel that has decorative edges, like ours does.
To get started, create a template for the mantel. Place cardboard on top of the mantel and mark the ends. Creating a template is especially helpful when working with a mantel that has decorative edges, like ours does.
Use the utility knife to cut out the cardboard template, following the marked lines. Once finished, double-check your template by measuring the length and width of the mantel and comparing it to the measurements of the cardboard template.
Use the utility knife to cut out the cardboard template, following the marked lines. Once finished, double-check your template by measuring the length and width of the mantel and comparing it to the measurements of the cardboard template.
Now place the cardboard template on top of your unfinished lumber and trace the contour. We chose a thinner lumber to help the board blend into the mantel more easily.
Now place the cardboard template on top of your unfinished lumber and trace the contour. We chose a thinner lumber to help the board blend into the mantel more easily.
Once the board is marked, use the saw to cut the shape from the lumber.
Once the board is marked, use the saw to cut the shape from the lumber.
Next, paint or stain the piece of lumber. We recommend picking a color that matches your existing mantel, but any paint or stain is fine.
Next, paint or stain the piece of lumber. We recommend picking a color that matches your existing mantel, but any paint or stain is fine.
Cut a thin, soft piece of fabric or carpet slip to your mantel’s shape to use on top of your mantel. This fabric will protect the surface of your mantel before you place the painted piece of lumber on top.
Cut a thin, soft piece of fabric or carpet slip to your mantel’s shape to use on top of your mantel. This fabric will protect the surface of your mantel before you place the painted piece of lumber on top.
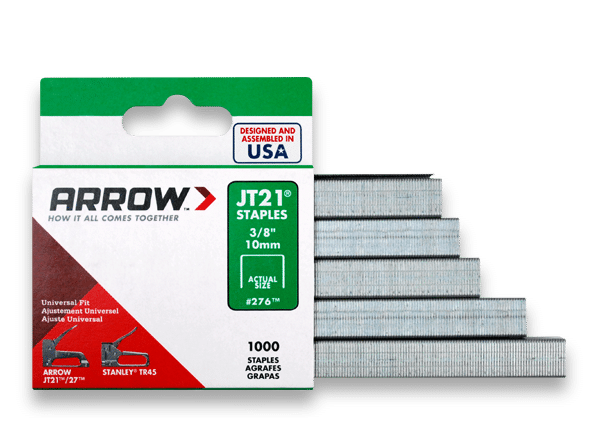
Now for the fun part! Secure the garland to the board using Arrow’s TruTac TT21 stapler. The thickness of your garland strand will determine what size staple to use for your mantel. For our mantel, we used JT21 3/8” staples for the garland and the shorter JT21 1/4” staples for thinner decorations. We recommend stapling every 5 to 6 inches.
Now for the fun part! Secure the garland to the board using Arrow’s TruTac TT21 stapler. The thickness of your garland strand will determine what size staple to use for your mantel. For our mantel, we used JT21 3/8” staples for the garland and the shorter JT21 1/4” staples for thinner decorations. We recommend stapling every 5 to 6 inches.
Continue to place and fasten decorations as desired, securing with the TruTac.
Continue to place and fasten decorations as desired, securing with the TruTac.
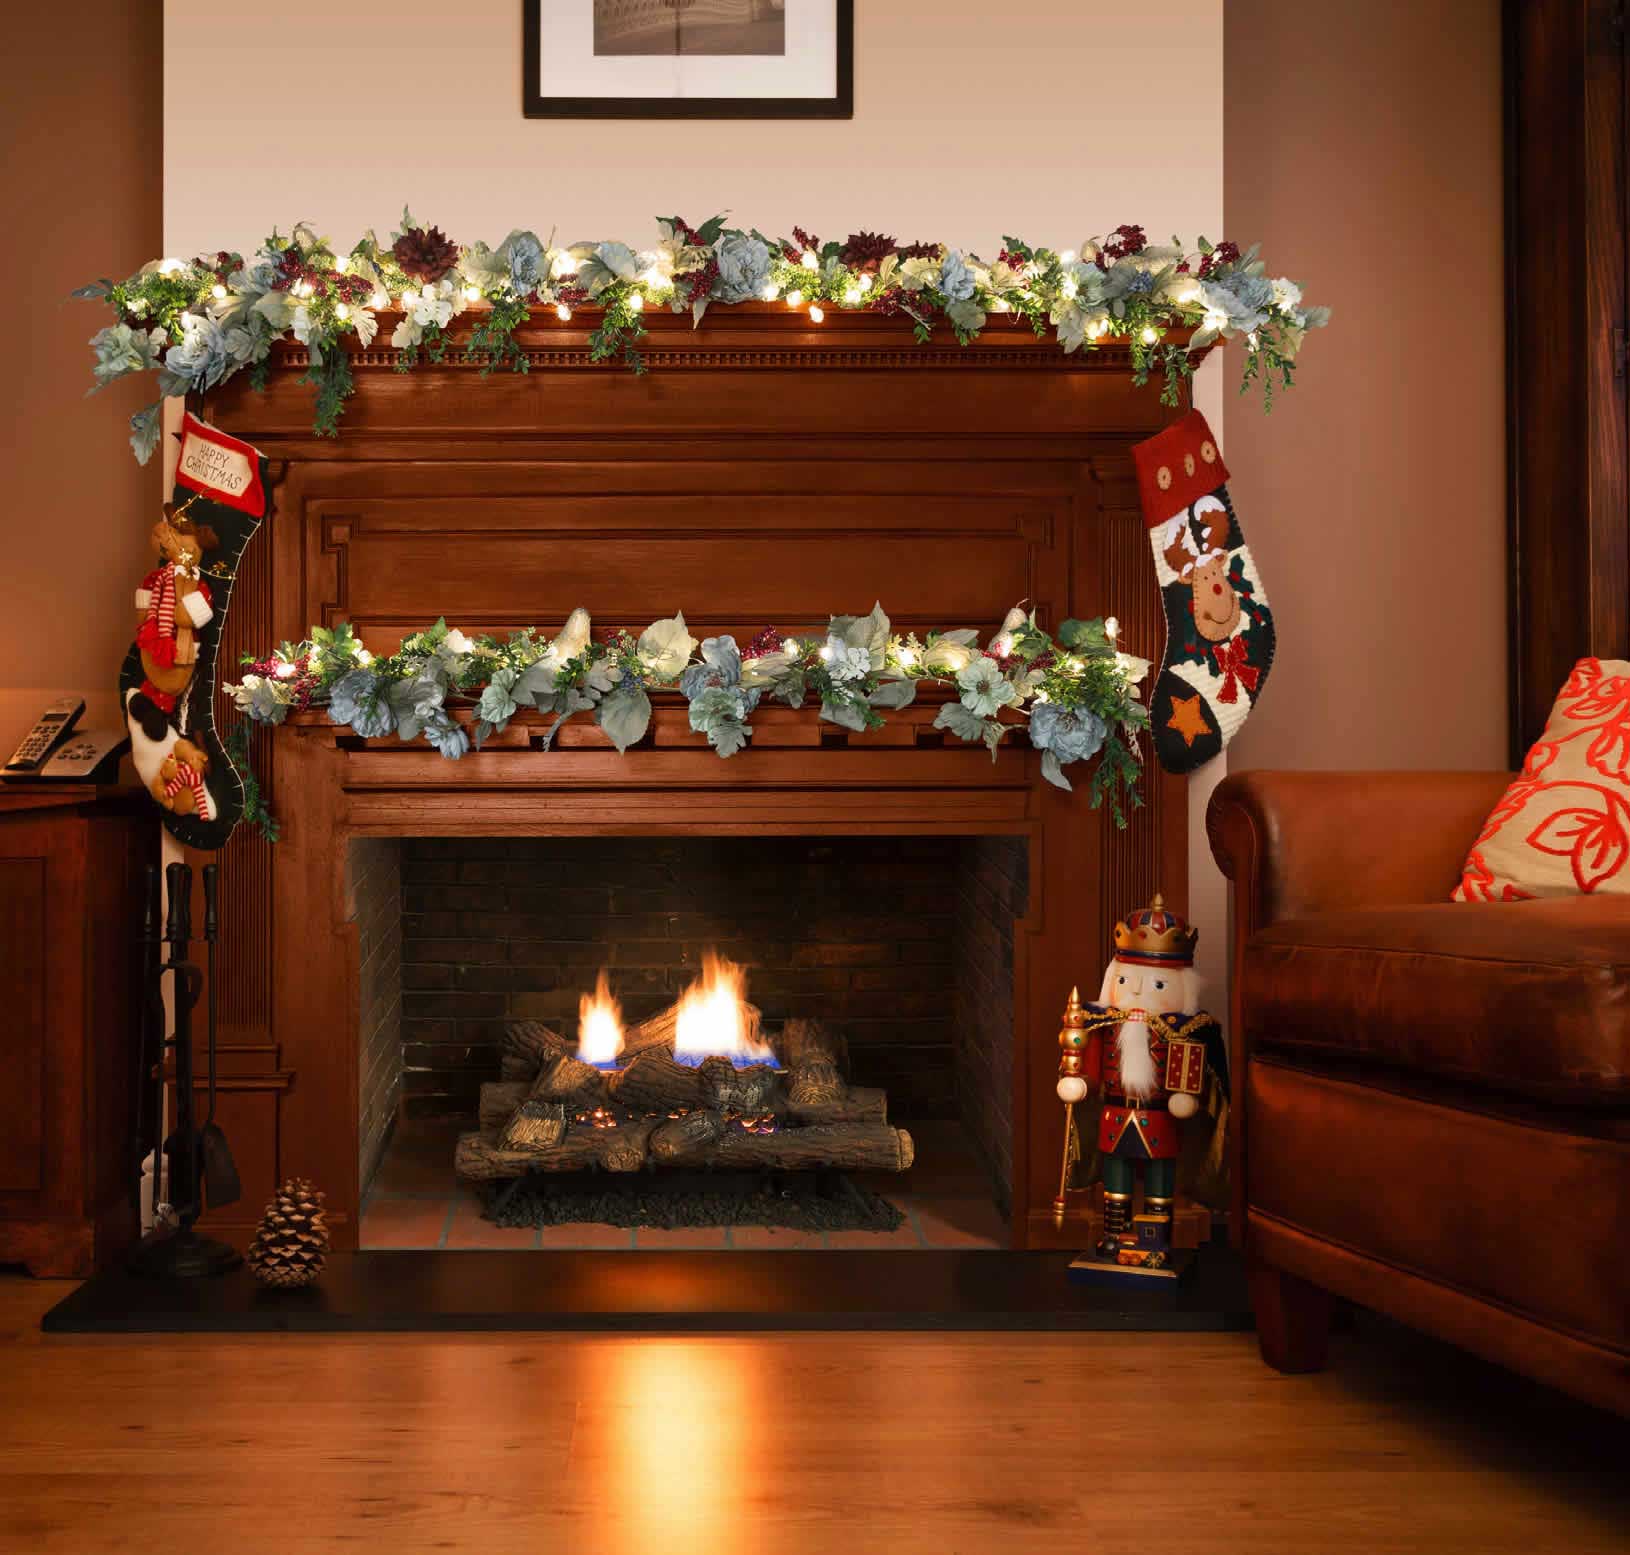
Finally, add some lights for a classic and festive appearance. We chose battery-operated lights to keep our mantelpiece tidy and cord-free. We placed two 8’ light strands on the top portion of the mantel and one on the middle ledge.
Enjoy your decorated mantel throughout the holiday season knowing that you haven’t damaged your mantel!
We’d love to see how your mantel display turned out! Share your results on Facebook, Instagram or X by using #MadeWithArrow or tagging Arrow Fastener.
Get Arrow tips, tricks, projects and promos in your inbox!
Hey there! We’ve updated our Privacy and Cookie Policies at the request of some of our friends in Europe. Click Accept to let us know you’re okay with the updates. Thanks!
View Cookie Policy Accept