or Call Us at 1-800-776-2228
or Call Us at 1-800-776-2228
Broken or damaged mailbox numbers can hurt your home’s curb appeal, make it difficult for visitors to find you and lead to lost mail. Learn how to replace mailbox numbers with the Arrow RT187M One-Handed Rivet Tool. We selected this tool over a traditional pop rivet gun because it can be easily operated with one hand, making it ideal for DIY home repairs. Don’t forget to grab a pair of gloves and safety goggles (optional). State, local and municipal codes vary for home improvements depending upon your location, so please check before proceeding with your residential repair.
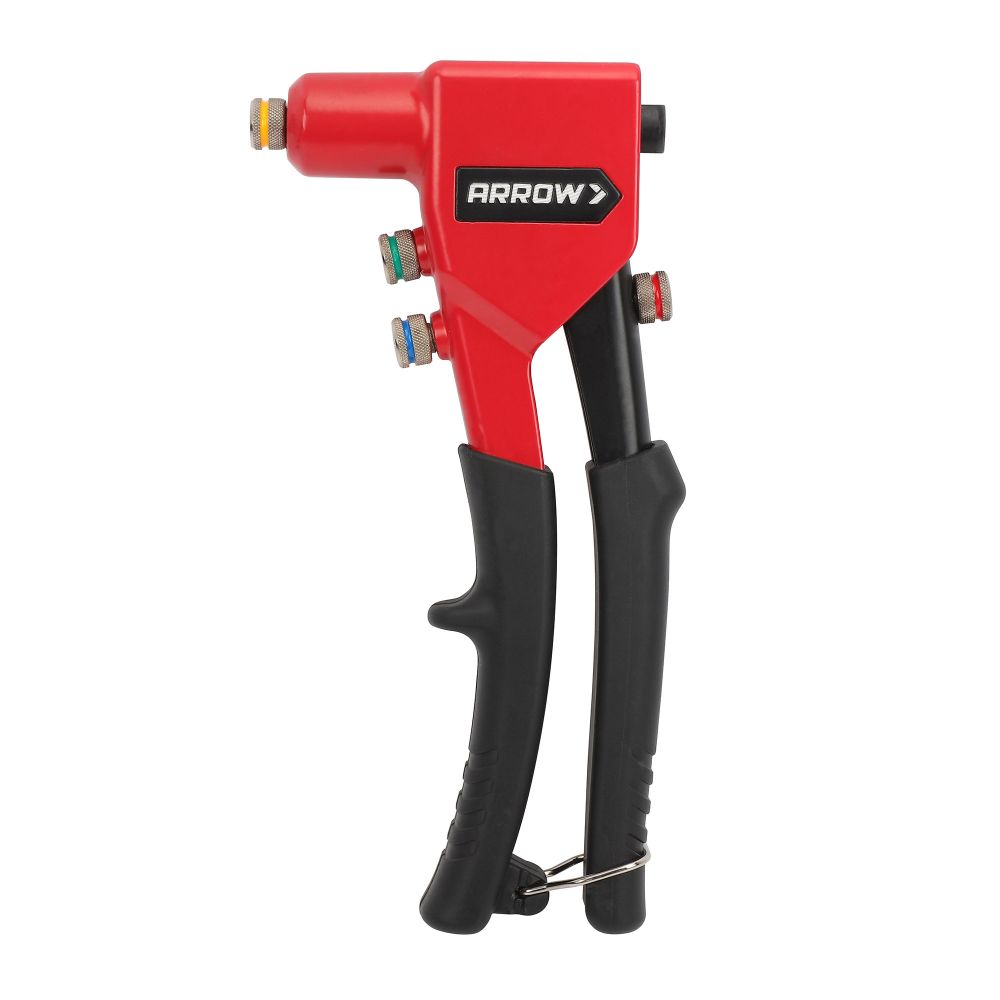
One-Handed Head Riveter
This mailbox had two loose numbers. One was damaged and needed to be replaced, so a new one was purchased to match the existing numbers. First, remove the damaged number. We were able to use the existing holes for the replacement number, so we positioned it on the mailbox in the exact spot of the previous number. We used a pencil inside the mailbox to mark the hole on the back of the number.
This mailbox had two loose numbers. One was damaged and needed to be replaced, so a new one was purchased to match the existing numbers. First, remove the damaged number. We were able to use the existing holes for the replacement number, so we positioned it on the mailbox in the exact spot of the previous number. We used a pencil inside the mailbox to mark the hole on the back of the number.
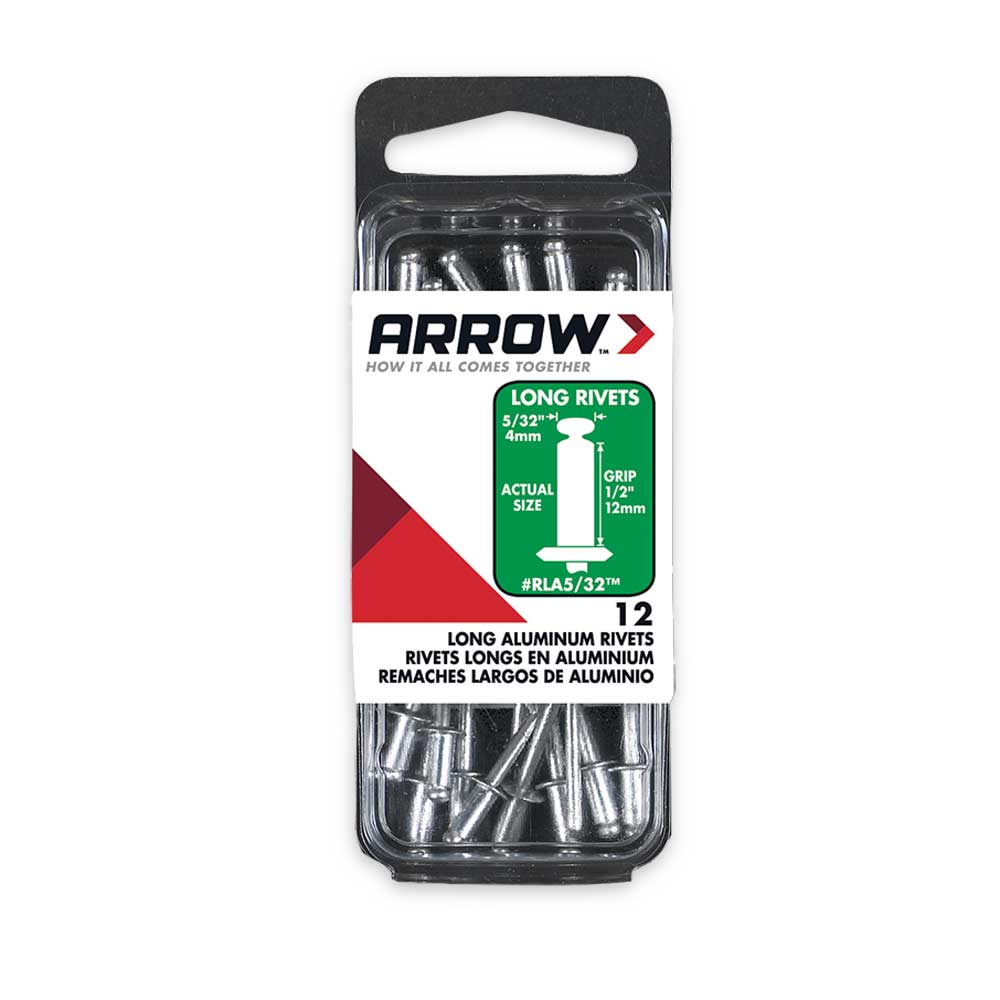
Drill holes in the replacement number using the cordless drill and 5/32” drill bit. We used a vise with vise jaw liners to avoid any damage to the surface of the number. Make certain that the number is firmly secured before drilling the holes.
Drill holes in the replacement number using the cordless drill and 5/32” drill bit. We used a vise with vise jaw liners to avoid any damage to the surface of the number. Make certain that the number is firmly secured before drilling the holes.
The Arrow RT187M One-Handed Rivet Tool is packaged with the 3/16” nosepiece installed. Since this project uses RLA5/32 rivets, turn the nosepiece counterclockwise to remove it. Next, unscrew the 5/32” nosepiece from the back of the tool’s handle and screw it into the rivet head. Store the removed 3/16” nosepiece in the handle to avoid misplacement.
The Arrow RT187M One-Handed Rivet Tool is packaged with the 3/16” nosepiece installed. Since this project uses RLA5/32 rivets, turn the nosepiece counterclockwise to remove it. Next, unscrew the 5/32” nosepiece from the back of the tool’s handle and screw it into the rivet head. Store the removed 3/16” nosepiece in the handle to avoid misplacement.
Place the thinner end, or the mandrel, of the rivet into the head of the RT187M tool. Line up the holes of the number with the holes in the mailbox. Next, insert the fatter end of the rivet into the hole. Squeeze the handle until the mandrel snaps off of the rivet head. Usually 3 or 4 times is sufficient.
Arrow Tip: Make sure the tool is positioned tightly against the rivet after each squeeze to ensure it grips the mandrel properly. Otherwise the mandrel may snap off above the actual rivet.
For the undamaged loose number, realign it with the existing hole. Repeat Step 3 to secure the number to the mailbox.
For the undamaged loose number, realign it with the existing hole. Repeat Step 3 to secure the number to the mailbox.
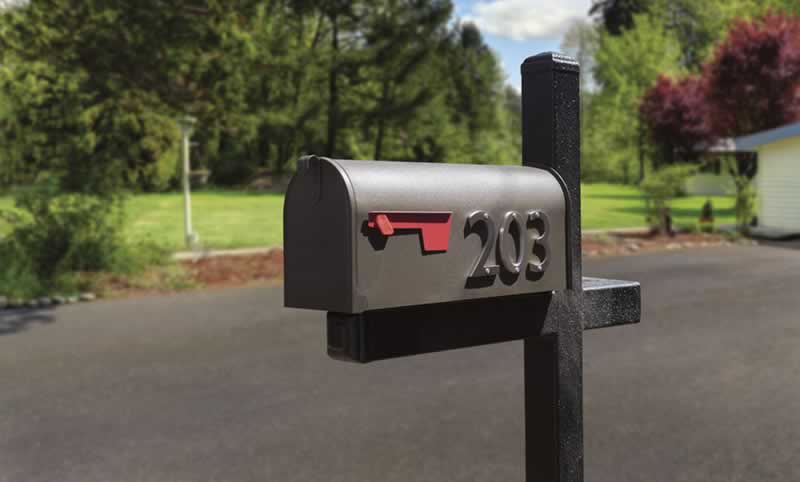
Wipe the inside and outside of the mailbox of any dirt or metal particles created from the drilling process. Then step back and admire your repaired mailbox!
Wipe the inside and outside of the mailbox of any dirt or metal particles created from the drilling process. Then step back and admire your repaired mailbox!
We’d love to see how your mailbox repair project turned out! Share your project pictures on Facebook, Instagram or X by using #MadeWithArrow or tagging Arrow Fastener.
Get Arrow tips, tricks, projects and promos in your inbox!
Hey there! We’ve updated our Privacy and Cookie Policies at the request of some of our friends in Europe. Click Accept to let us know you’re okay with the updates. Thanks!
View Cookie Policy Accept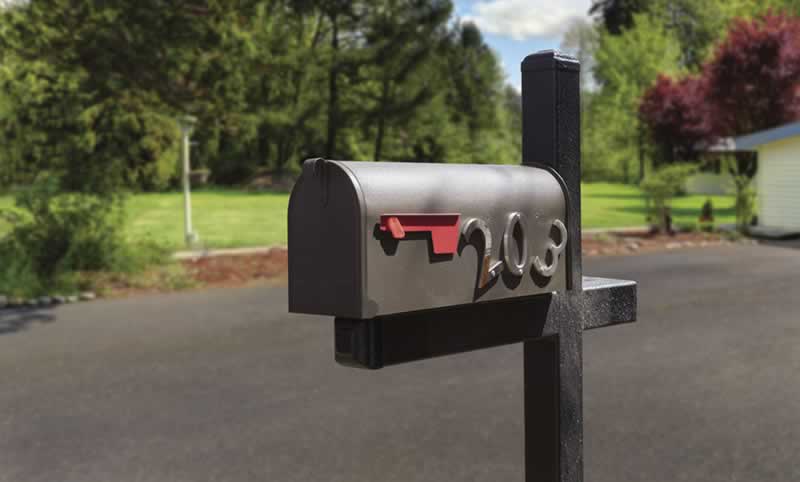