or Call Us at 1-800-776-2228
or Call Us at 1-800-776-2228
Damaged weather stripping can make your home colder in the winter and hotter in the summer by allowing heat or air conditioning to seep out. Learn how to replace weather stripping on your door easily with the Arrow T50HS PowerShot Advanced Professional Staple Gun, and add a new door sweep to double down on an airtight fit that will eliminate drafts.
Take a close look at your door before purchasing the weather stripping. Weather stripping is available in many different types based on the application but they all provide the same benefits. For this project, we used weather stripping that was specifically designed for use in slotted doorstops. Remember to grab a pair of safety goggles and gloves (optional) before getting started. State, local and municipal codes vary depending upon your location so please check before proceeding with your residential repair.
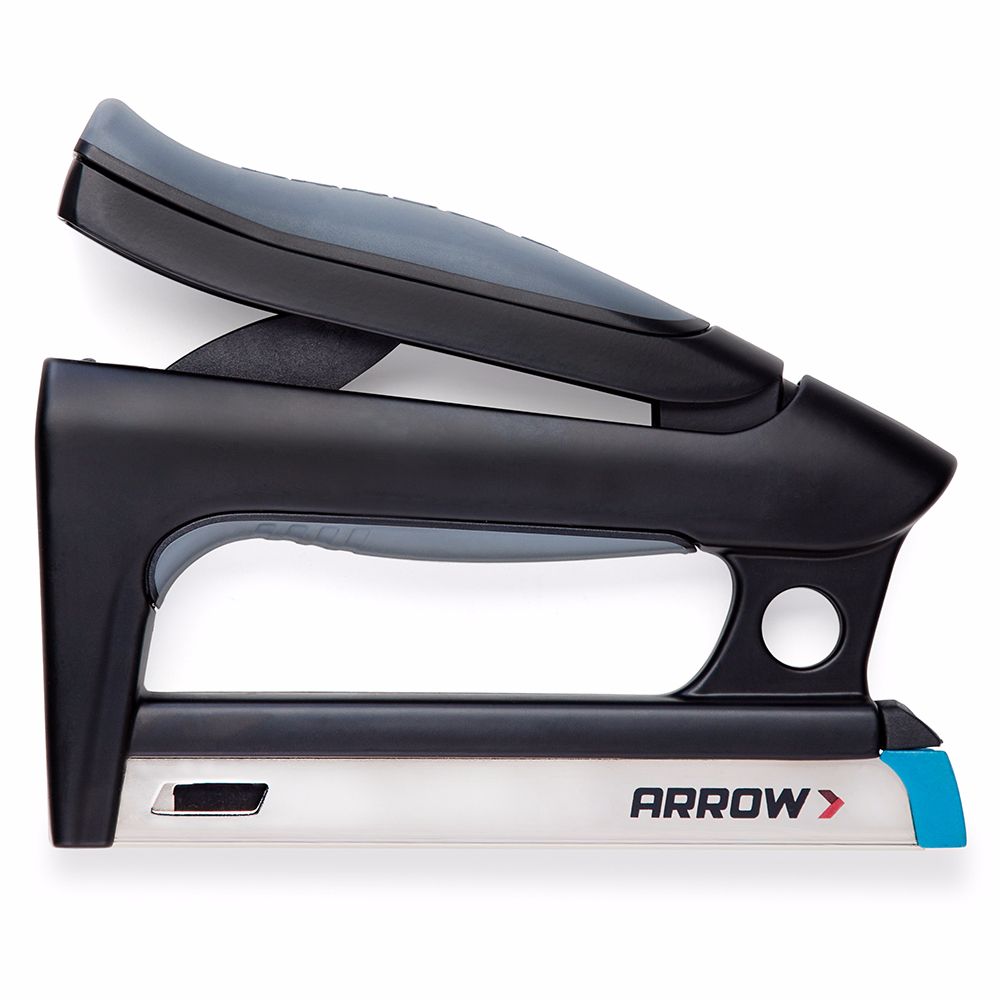
Professional Staple Gun and Nailer
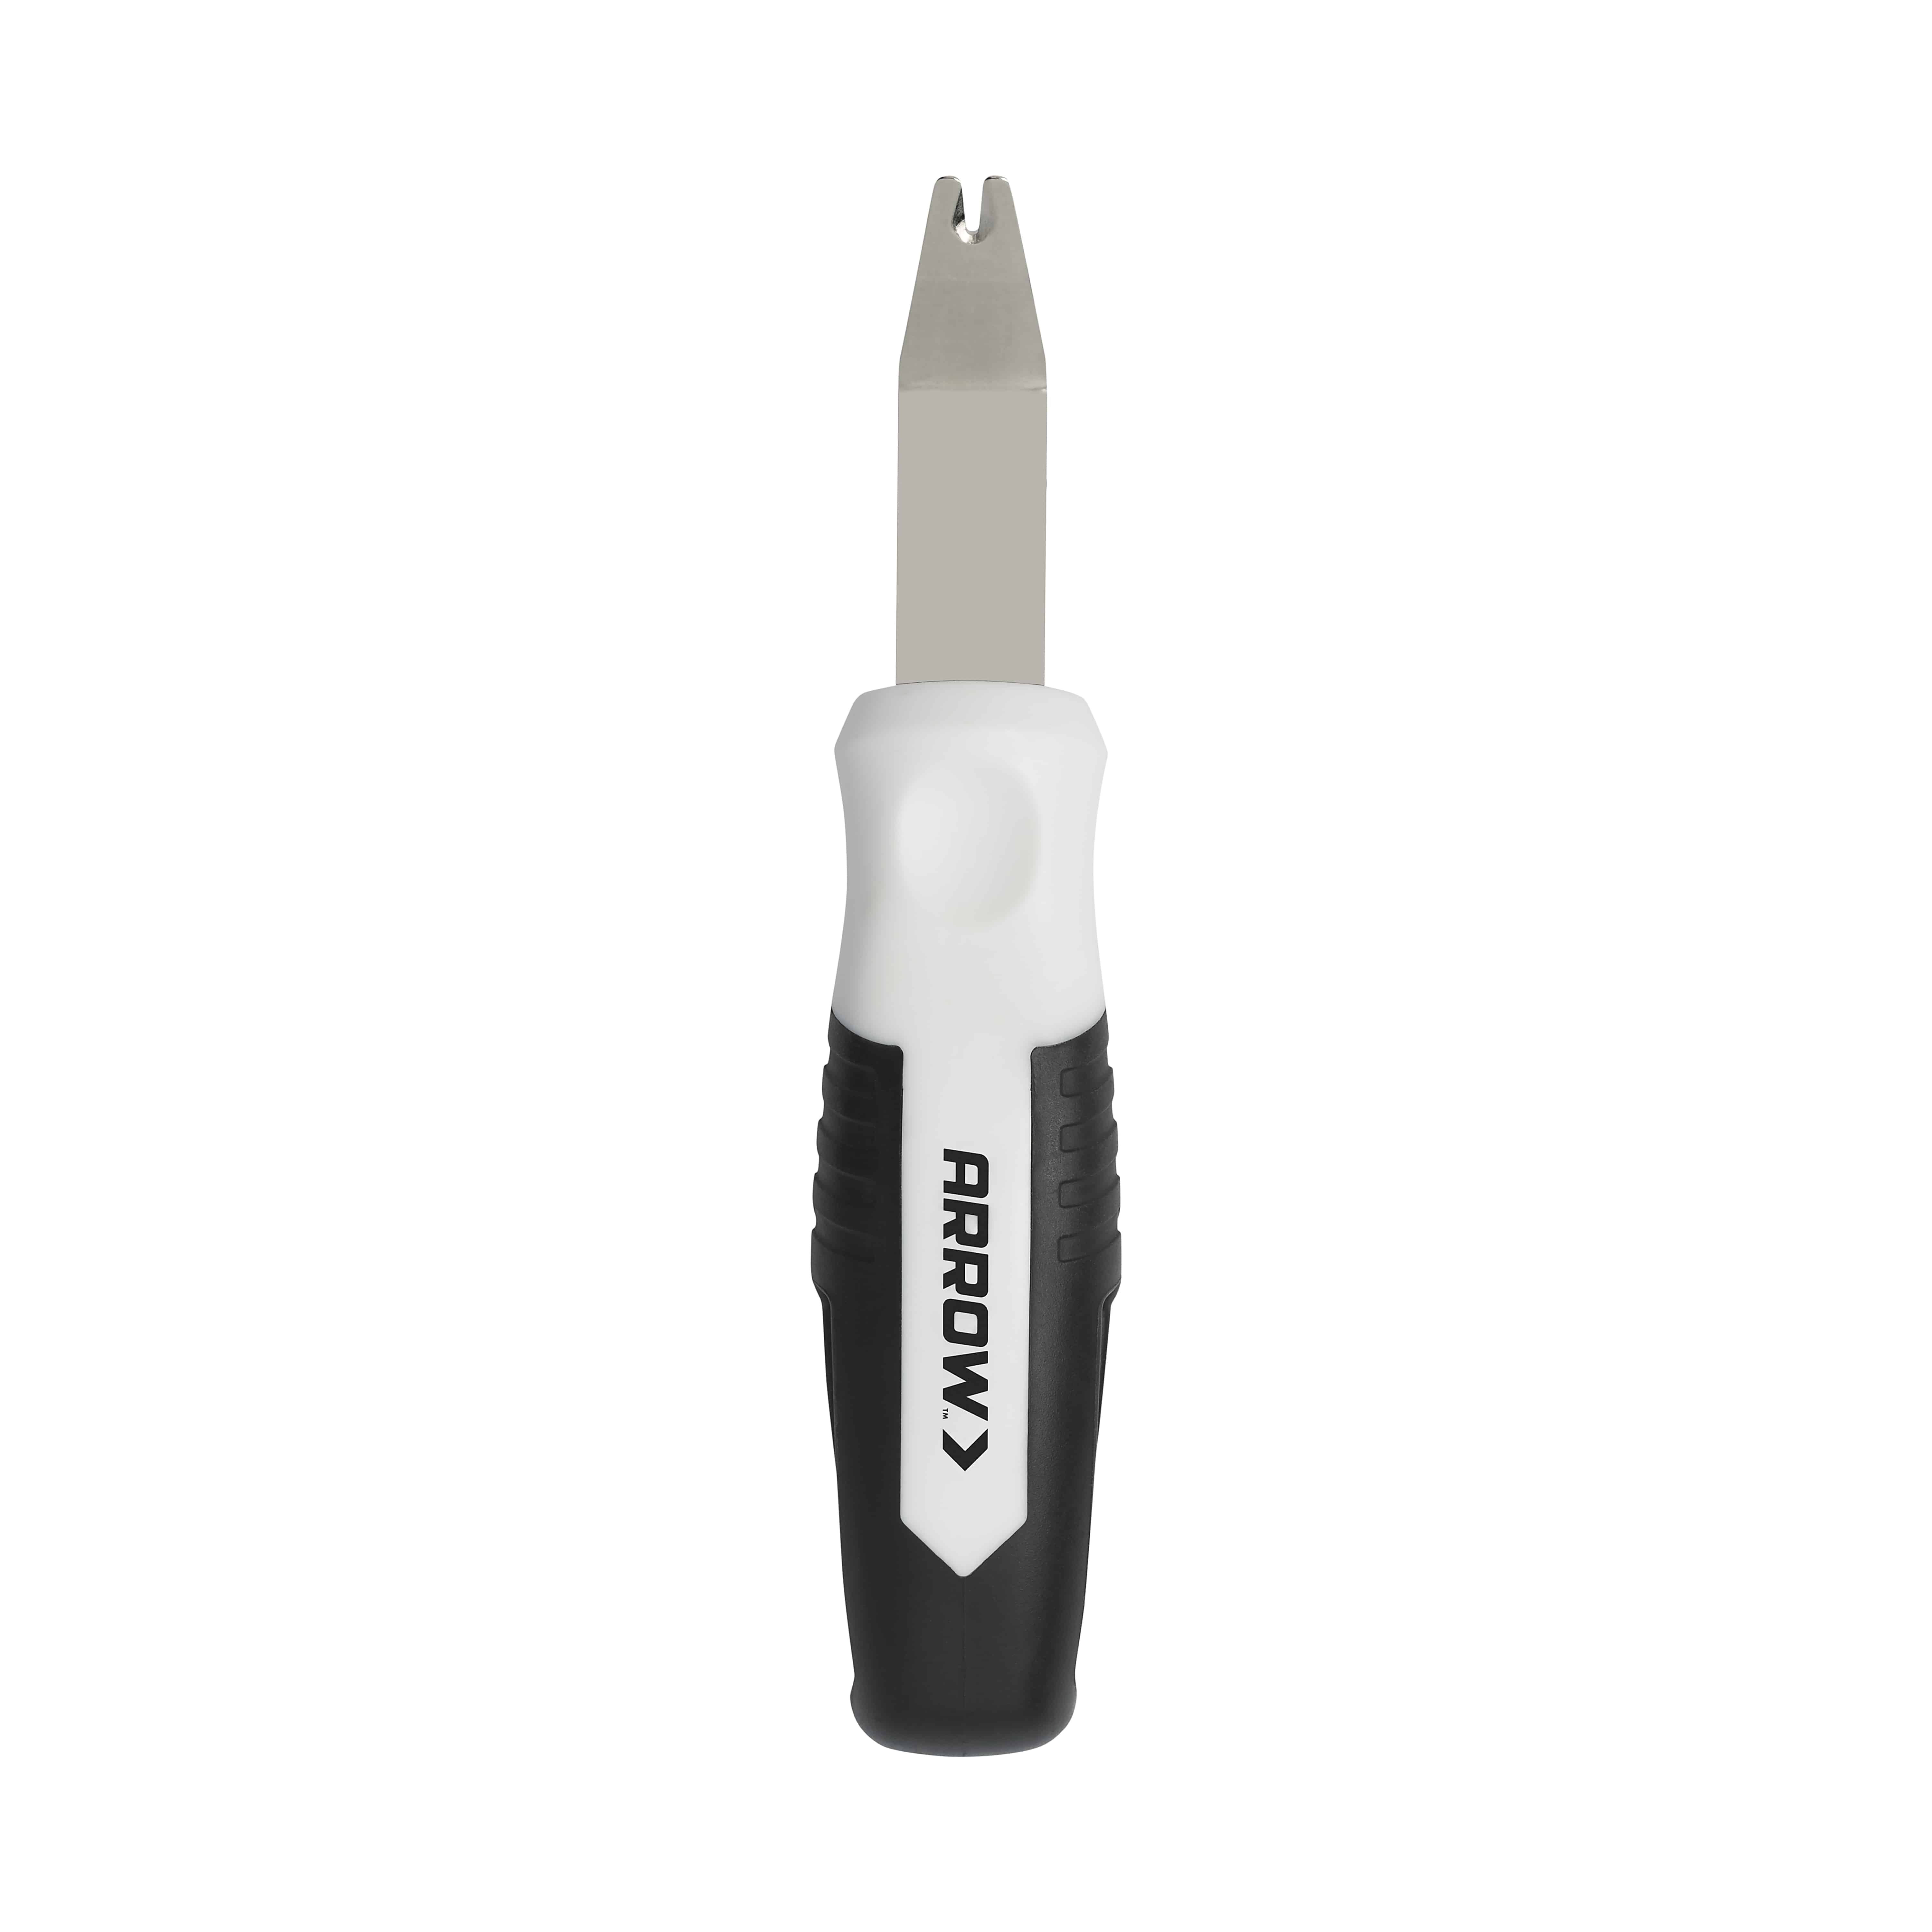
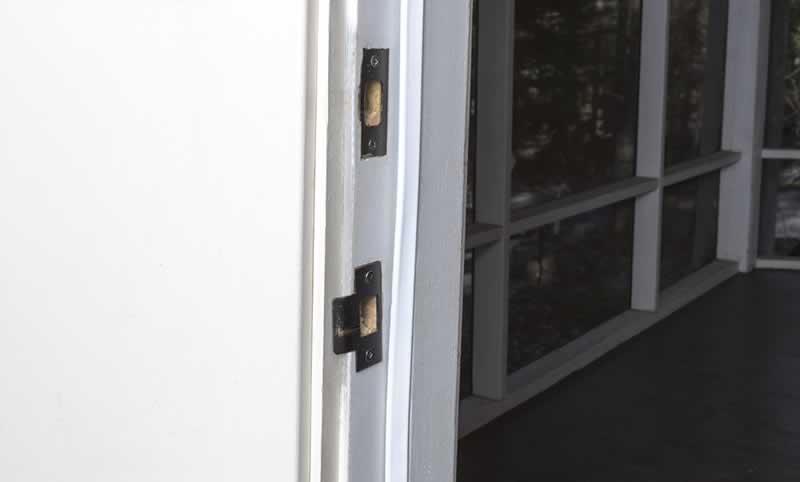
Remove all of the old weather stripping. Insert a putty knife behind the weather stripping and gently pry out of the slot. In some cases the wood may have swelled over time, which can cause the weather stripping to get jammed. In this case, you’ll need to use a pry bar to remove. While doing so, be very careful not to damage the door trim or stop.
Remove all of the old weather stripping. Insert a putty knife behind the weather stripping and gently pry out of the slot. In some cases the wood may have swelled over time, which can cause the weather stripping to get jammed. In this case, you’ll need to use a pry bar to remove. While doing so, be very careful not to damage the door trim or stop.
Once you’ve pulled out a section of the weather stripping that’s large enough to grab, you can pull the rest out by hand. Repeat steps 1 and 2 until the left, right and top sides of the doorway are all clear.
Once you’ve pulled out a section of the weather stripping that’s large enough to grab, you can pull the rest out by hand. Repeat steps 1 and 2 until the left, right and top sides of the doorway are all clear.
Use the putty knife to gently remove any debris or torn weather stripping from the empty slot so the new pieces will slide in snugly. Clean any additional debris from the door frame.
Use the putty knife to gently remove any debris or torn weather stripping from the empty slot so the new pieces will slide in snugly. Clean any additional debris from the door frame.
Since the weather stripping will be installed on the left, right and top sides of the doorway, measure all three sides. Be precise with your measurements to ensure an airtight fit.
Since the weather stripping will be installed on the left, right and top sides of the doorway, measure all three sides. Be precise with your measurements to ensure an airtight fit.
Mark the measurements on the three new lengths of weather stripping using a pencil or pen.
Mark the measurements on the three new lengths of weather stripping using a pencil or pen.
Use scissors to cut the strips to the measured lengths. ARROW TIP: Cut at a 45-degree angle to create a nested fit. Overlapping weather stripping causes a buildup in the corners, which will prevent your door from closing properly.
Use scissors to cut the strips to the measured lengths. ARROW TIP: Cut at a 45-degree angle to create a nested fit. Overlapping weather stripping causes a buildup in the corners, which will prevent your door from closing properly.
Insert the new weather stripping into the open slots. Press the black plastic slotted insert strips (reference detail below) firmly into the slot until it snaps in place. ARROW TIP: If the weather stripping is difficult to seat, you can use the pry bar to assist, but be sure to gently press against the black plastic to seat it.
Insert the new weather stripping into the open slots. Press the black plastic slotted insert strips (reference detail below) firmly into the slot until it snaps in place. ARROW TIP: If the weather stripping is difficult to seat, you can use the pry bar to assist, but be sure to gently press against the black plastic to seat it.
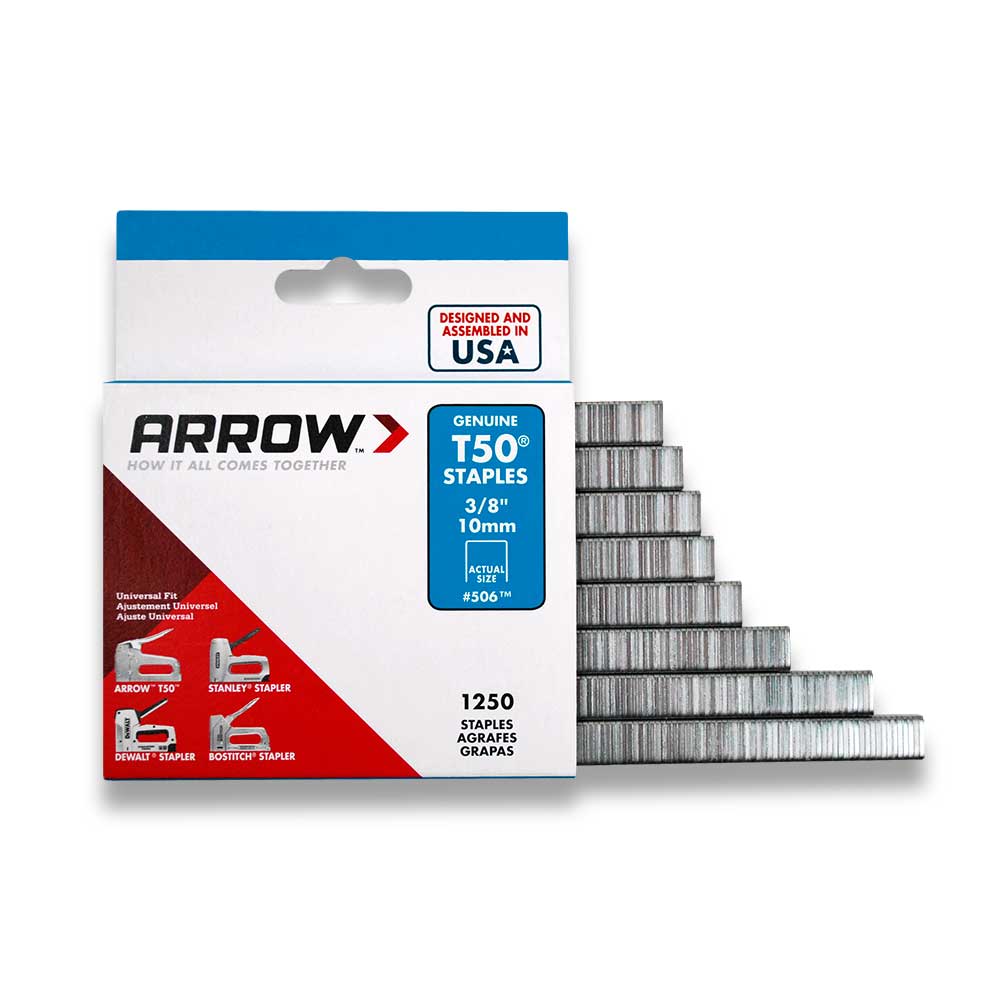
Pull back the outer layer of weather stripping and use the Arrow T50HS PowerShot Advanced Professional Staple Gun to staple it to the door stop. Place a staple every 4-6 inches along the length of all three strips to prevent the weather stripping from accidental removal if bumped.
Pull back the outer layer of weather stripping and use the Arrow T50HS PowerShot Advanced Professional Staple Gun to staple it to the door stop. Place a staple every 4-6 inches along the length of all three strips to prevent the weather stripping from accidental removal if bumped.
We purchased a door sweep at our local home center sized to fit our standard 36” door. Place the sweep into position at the bottom of the door and use a pen or pencil to mark the holes.
We purchased a door sweep at our local home center sized to fit our standard 36” door. Place the sweep into position at the bottom of the door and use a pen or pencil to mark the holes.
Different sweeps come with different sized screws, so drill the holes using the size drill bit indicated in the door sweep’s instructions.
Different sweeps come with different sized screws, so drill the holes using the size drill bit indicated in the door sweep’s instructions.
Attach the sweep to the door with a screwdriver and the screws provided with the sweep.
Attach the sweep to the door with a screwdriver and the screws provided with the sweep.
Now you know how to replace weather stripping on your door. Your doorway is now sealed from the elements. Enjoy your heating and cooling bill savings!
We’d love to see how your weather stripping project turned out! Share your project pictures on Facebook, Instagram or X by using #MadeWithArrow or tagging Arrow Fastener.
Get Arrow tips, tricks, projects and promos in your inbox!
Hey there! We’ve updated our Privacy and Cookie Policies at the request of some of our friends in Europe. Click Accept to let us know you’re okay with the updates. Thanks!
View Cookie Policy Accept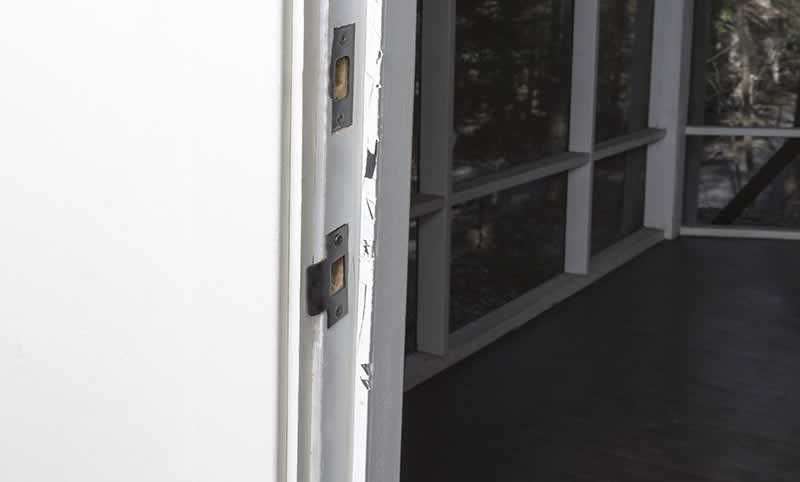