or Call Us at 1-800-776-2228
or Call Us at 1-800-776-2228
All shingled roofs require a moisture barrier in the form of a breathable paper underlayment, which is generally called roofing felt or tar paper. This barrier keeps your home dry by repelling outside moisture. Damage to the moisture barrier will expose the wood sheathing and lead to water damage, mold, mildew and, eventually, rotting of the entire roofing structure. Learn how to fix a leak in your roof by and replace roofing felt with the Arrow HTX50 Professional Hammer Tacker and Arrow #508 1/2″ staples. Don’t forget to grab a pair of gloves and safety goggles. Remember, state, local and municipal permitting and codes governing home improvements vary by location, so check into them before proceeding with this residential repair.
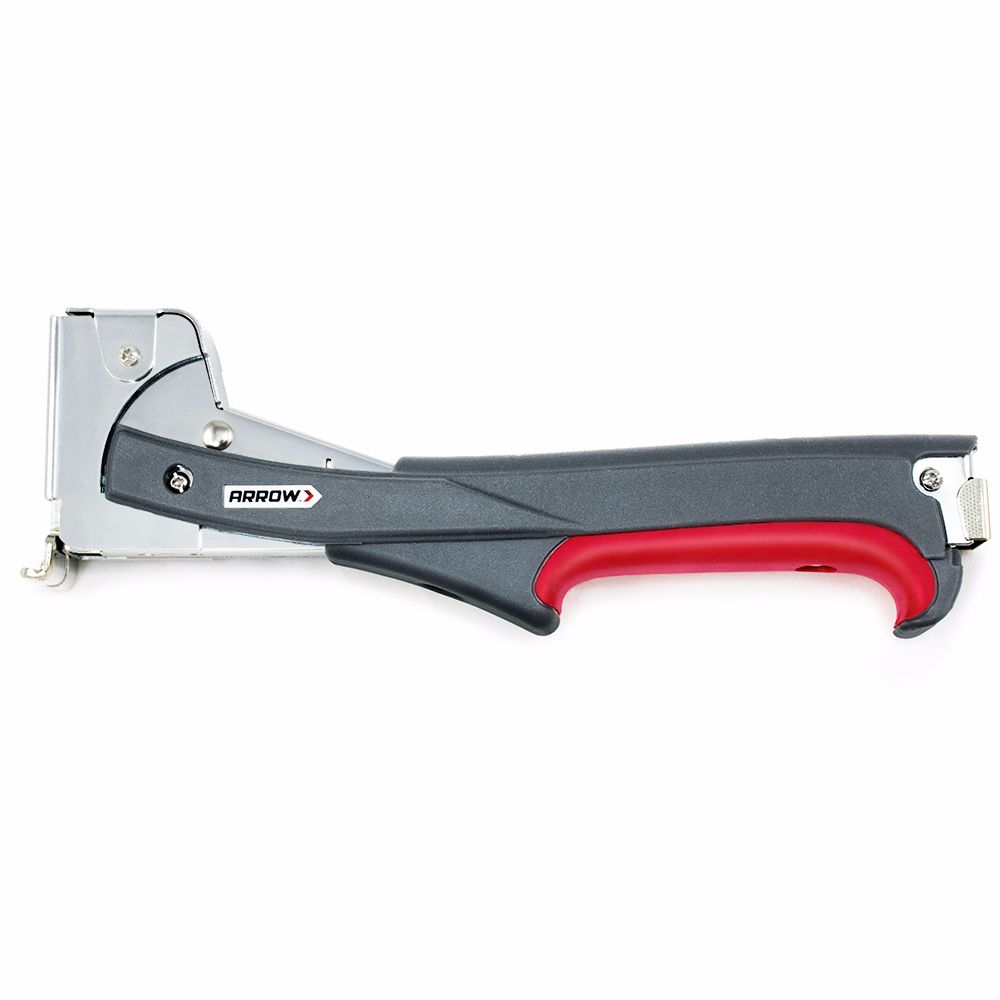
Professional Hammer Tacker
Some shingles blew off our roof during a recent storm, causing damage to the roof felt. Our house was roofed with three-tab asphalt shingles.
Fortunately, we had some extra shingles from the original installation. There are several types of shingles, so check before you purchase replacements.
Some shingles blew off our roof during a recent storm, causing damage to the roof felt. Our house was roofed with three-tab asphalt shingles.
Fortunately, we had some extra shingles from the original installation. There are several types of shingles, so check before you purchase replacements.
To remove shingles around the damaged area, start with the shingles above the row that needs to be removed. Using the pry bar, gently push under the shingle flap to break the tar seal. Slowly lift the shingle to locate the nail underneath it. Be careful not to damage the shingle you are removing or the shingle underneath. Repeat this procedure to break the tar seal for all of the shingles you want to remove. ARROW TIP: Do not bend the shingle back too far, which could break it. Remember that shingles can be brittle.
To remove shingles around the damaged area, start with the shingles above the row that needs to be removed. Using the pry bar, gently push under the shingle flap to break the tar seal. Slowly lift the shingle to locate the nail underneath it. Be careful not to damage the shingle you are removing or the shingle underneath. Repeat this procedure to break the tar seal for all of the shingles you want to remove. ARROW TIP: Do not bend the shingle back too far, which could break it. Remember that shingles can be brittle.
Once the tar seal is broken, slowly insert the pry bar under the shingle you want to remove until it is close to the roofing nail. Then gently lift the shingle and nail up about an inch. Remove the pry bar and place on top of the shingle, close to the nail. Push down on the shingle with the pry bar so the roofing nail pops up out of it. Next, use the pry bar to pull out the nail completely. Repeat to remove the remaining nails used for the shingle.
Once the tar seal is broken, slowly insert the pry bar under the shingle you want to remove until it is close to the roofing nail. Then gently lift the shingle and nail up about an inch. Remove the pry bar and place on top of the shingle, close to the nail. Push down on the shingle with the pry bar so the roofing nail pops up out of it. Next, use the pry bar to pull out the nail completely. Repeat to remove the remaining nails used for the shingle.
After all nails have been removed, slide the shingle out and set to the side. Repeat this procedure to remove all the shingles in a 3-4 foot area around the damaged felt.
After all nails have been removed, slide the shingle out and set to the side. Repeat this procedure to remove all the shingles in a 3-4 foot area around the damaged felt.
Use the utility knife to cut out the damaged roofing felt. Remove and discard the felt.
Use the utility knife to cut out the damaged roofing felt. Remove and discard the felt.
Remove all nails, staples, dirt and debris that are attached to the wood sheathing. If the wood is damaged or rotted, it will need to be replaced. Consult a licensed contractor for this repair. Our sheathing was not damaged. ARROW TIP: Run a putty knife over all exposed areas of the wood to clean debris and to check for any missed nails or staples.
Remove all nails, staples, dirt and debris that are attached to the wood sheathing. If the wood is damaged or rotted, it will need to be replaced. Consult a licensed contractor for this repair. Our sheathing was not damaged. ARROW TIP: Run a putty knife over all exposed areas of the wood to clean debris and to check for any missed nails or staples.
Measure the replacement area and add 4-6 inches on all four sides for overlapping.
Measure the replacement area and add 4-6 inches on all four sides for overlapping.
Cut the replacement roof felt based on the measurements from Step 7.
Cut the replacement roof felt based on the measurements from Step 7.
Place the replacement felt over the exposed area of the roof and secure using the Arrow HTX50 Professional Hammer Tacker and 1/2” T50 staples. Start by stapling a row in the middle of the new roofing felt section. Smooth out wrinkles as you progress to eliminate spots that could trap moisture and cause problems in the future. The bottom section of the replacement felt should overlap the top of the felt below it; the top section should be overlapped by the felt above it. This will ensure that water that gets through the roofing material will run down the felt and not seep under it. ARROW TIP: Make certain that the wood is completely dry. Never mount the felt paper on wet wood sheathing.
Place the replacement felt over the exposed area of the roof and secure using the Arrow HTX50 Professional Hammer Tacker and 1/2” T50 staples. Start by stapling a row in the middle of the new roofing felt section. Smooth out wrinkles as you progress to eliminate spots that could trap moisture and cause problems in the future. The bottom section of the replacement felt should overlap the top of the felt below it; the top section should be overlapped by the felt above it. This will ensure that water that gets through the roofing material will run down the felt and not seep under it. ARROW TIP: Make certain that the wood is completely dry. Never mount the felt paper on wet wood sheathing.
Replace the shingles. Start at the bottom of the exposed area, working your way up. Secure the shingles with the roofing nails. Make sure the nails are embedded securely into the felt and wood sheathing.
Replace the shingles. Start at the bottom of the exposed area, working your way up. Secure the shingles with the roofing nails. Make sure the nails are embedded securely into the felt and wood sheathing.
Repair any areas inside the house that were damaged by the leak, and enjoy your dry house!
Repair any areas inside the house that were damaged by the leak, and enjoy your dry house!
We’d love to see how your project to replace roofing felt turned out! Share your project pictures on Facebook, Instagram or X by using #ArrowStrong or by tagging Arrow Fastener.
Get Arrow tips, tricks, projects and promos in your inbox!
Hey there! We’ve updated our Privacy and Cookie Policies at the request of some of our friends in Europe. Click Accept to let us know you’re okay with the updates. Thanks!
View Cookie Policy Accept