or Call Us at 1-800-776-2228


or Call Us at 1-800-776-2228


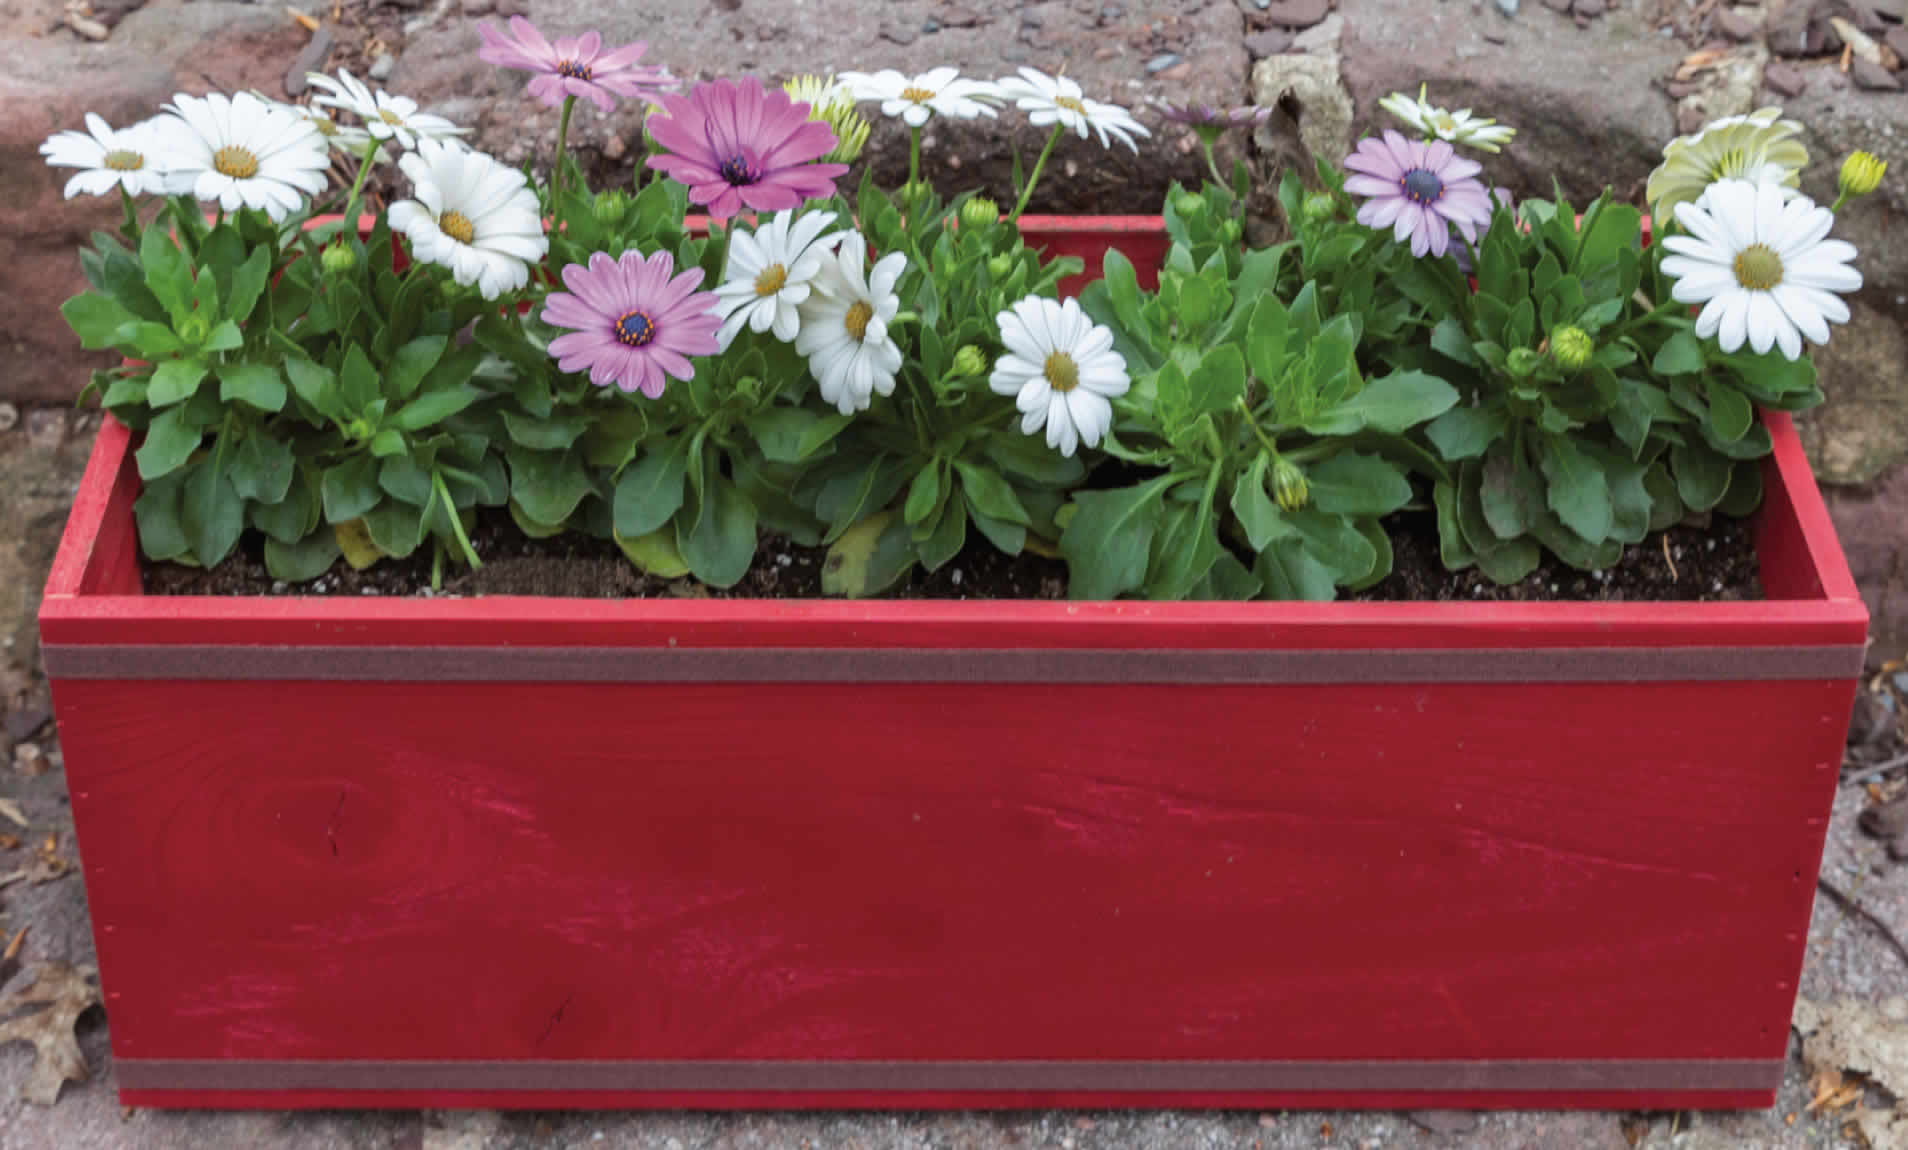
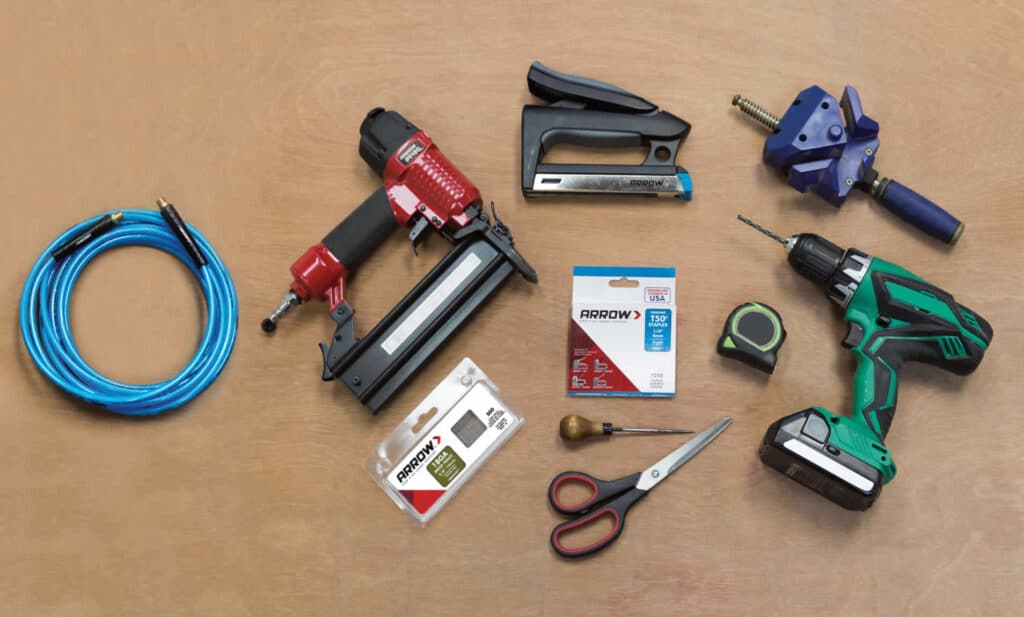
Learn how to build an outdoor flower box using the Arrow PT18G Pneumatic Brad Nailer and the Arrow T50HS Staple Gun. It's an easy way to add some curb appeal to the exterior of your home. Spring has sprung so let’s celebrate by spreading some cheer with fresh blooms. This flower box can hang off a deck rail or be placed on a garden wall.


Begin by placing one short side and one long side in corner clamp. Use the Arrow PT18G Pneumatic Brad Nailer and secure two pieces together. Repeat once.
Begin by placing one short side and one long side in corner clamp. Use the Arrow PT18G Pneumatic Brad Nailer and secure two pieces together. Repeat once.
Use the Arrow PT18G Pneumatic Brad Nailer and connect the two L-shaped sides (made in previous step) to create a cube.
Use the Arrow PT18G Pneumatic Brad Nailer and connect the two L-shaped sides (made in previous step) to create a cube.
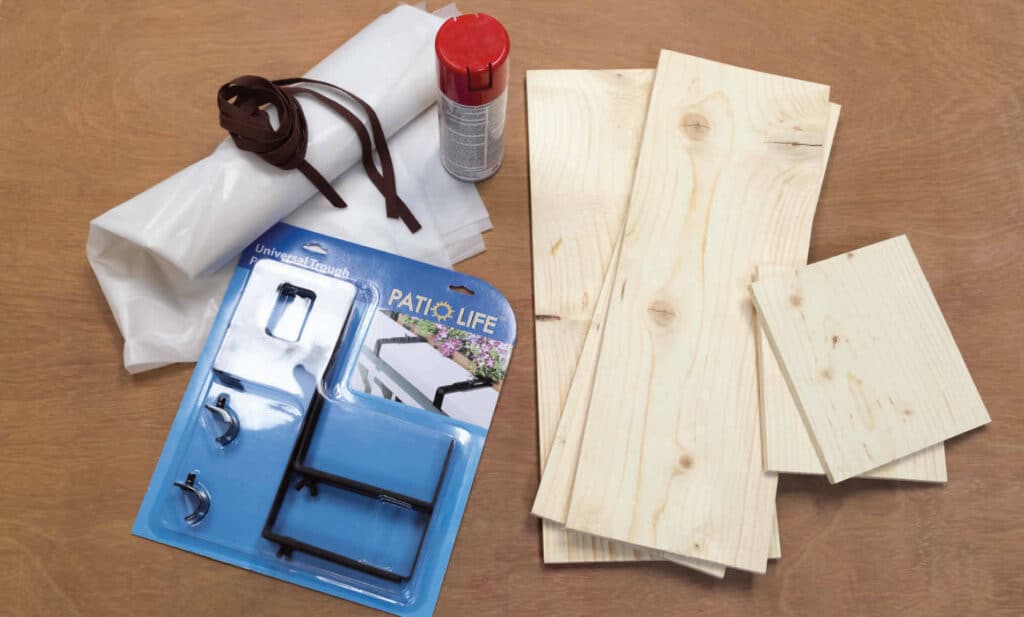
Next, place the 8 1/2” x 20” bottom on the cube (made in previous step). Attach using the Arrow PT18G Pneumatic Brad Nailer.
Next, place the 8 1/2” x 20” bottom on the cube (made in previous step). Attach using the Arrow PT18G Pneumatic Brad Nailer.
With the finished box still upside-down, drill three evenly spaced holes through the bottom. These will act as drainage.
With the finished box still upside-down, drill three evenly spaced holes through the bottom. These will act as drainage.
Turn the box over and attach the plastic to the inside of the box using the Arrow T50HS Staple Gun and 1/4″ staples. Use the awl to punch holes through the plastic.
Turn the box over and attach the plastic to the inside of the box using the Arrow T50HS Staple Gun and 1/4″ staples. Use the awl to punch holes through the plastic.
Paint or stain to desired color. We chose fire red paint to contrast beautifully against all the green outside.
Paint or stain to desired color. We chose fire red paint to contrast beautifully against all the green outside.
On the back side, top center of the box, staple the end of the ribbon. Pull ribbon taught all the way around the flower box until you meet the stapled end. Secure end of ribbon with another staple. Repeat with remaining piece of ribbon around the bottom of the flower box.
On the back side, top center of the box, staple the end of the ribbon. Pull ribbon taught all the way around the flower box until you meet the stapled end. Secure end of ribbon with another staple. Repeat with remaining piece of ribbon around the bottom of the flower box.
Grab the universal flower box brackets and attach to your deck rail or simply place the flower box on the stone garden wall and enjoy.
Grab the universal flower box brackets and attach to your deck rail or simply place the flower box on the stone garden wall and enjoy.
We’d love to see how your DIY outdoor flower box project turned out! Share your results with us on Facebook, Instagram or X by tagging #MadeWithArrow.

Get Arrow tips, tricks, projects and promos in your inbox!
Hey there! We’ve updated our Privacy and Cookie Policies at the request of some of our friends in Europe. Click Accept to let us know you’re okay with the updates. Thanks!
View Cookie Policy Accept