or Call Us at 1-800-776-2228
or Call Us at 1-800-776-2228
Create a DIY trellis inspired headboard for a twin-size bed using the heavy-duty Arrow T50 Staple Gun, which has the power to handle construction projects inside and outside the home. Brighten up that spare bedroom or upgrade a kid’s room with a DIY trellis inspired headboard. Customize it to any color scheme you like. Hang it on the wall and love it! Finished measurements are for a twin-size bed (44 ¼" x 32).
Heavy-Duty Staple Gun
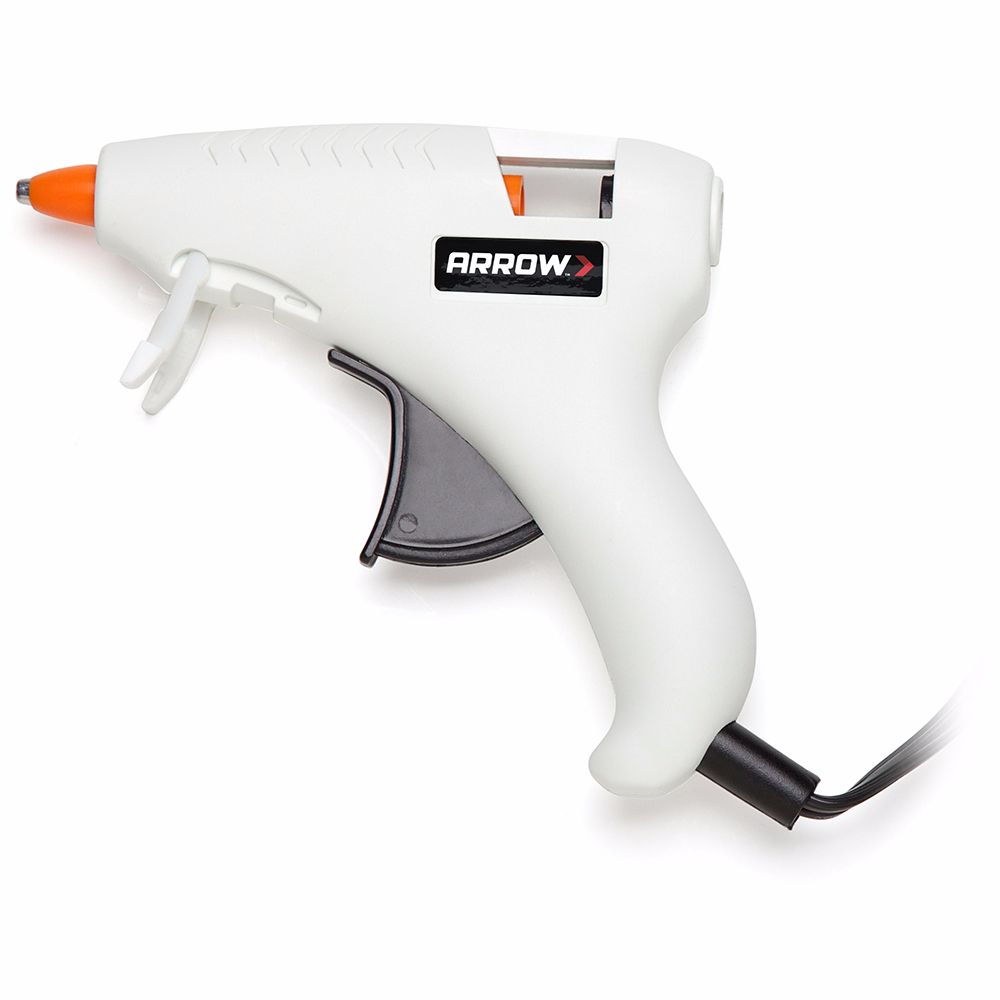
Mini Glue Gun
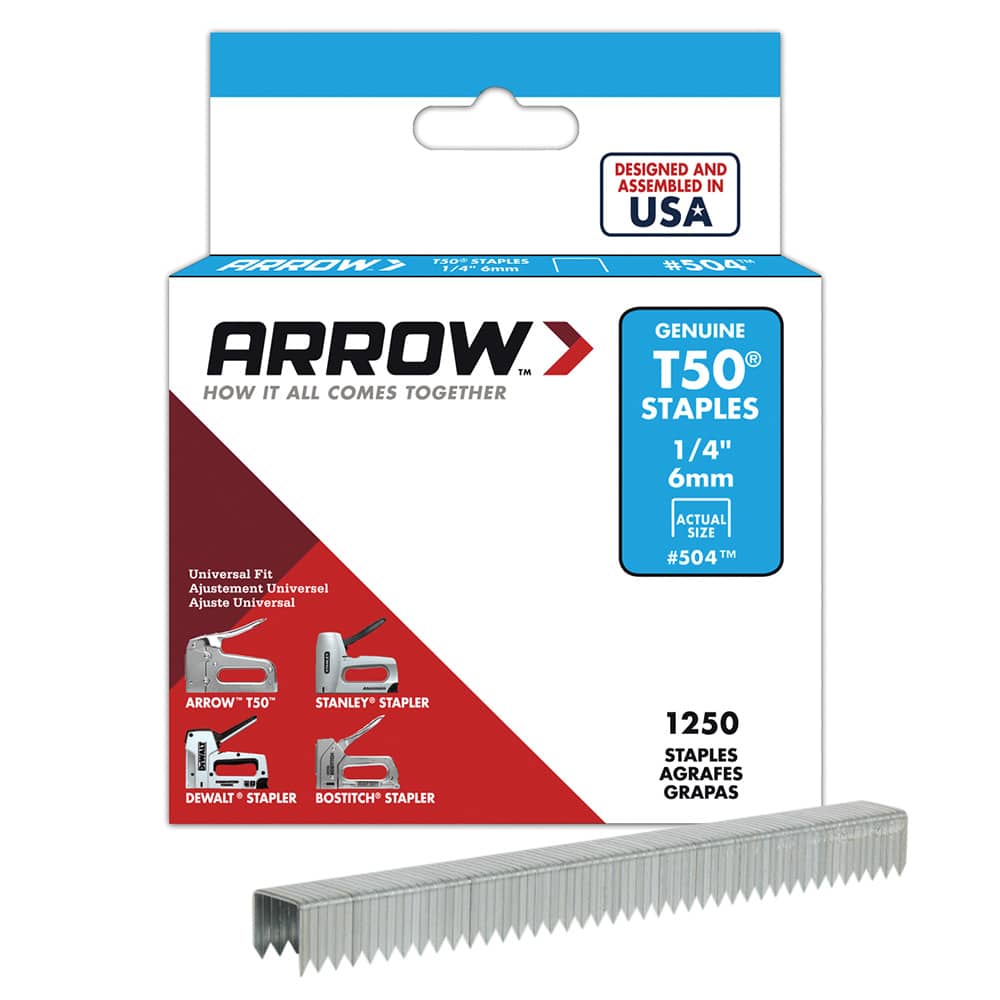
Use the Arrow T50 and 1/4″ staples in this step. Place one piece of fabric (20″ x 42″) face down on a flat, clean surface. Next, place one piece of foam (14 3/4″ x 32″) in center of fabric. Then, place one piece of plywood on top of the foam. Begin to wrap the fabric around the foam and plywood and secure on back side with staples. Fold neatly at corners and secure with staples. Repeat for remaining two panels.
Use the Arrow T50 and 1/4″ staples in this step. Place one piece of fabric (20″ x 42″) face down on a flat, clean surface. Next, place one piece of foam (14 3/4″ x 32″) in center of fabric. Then, place one piece of plywood on top of the foam. Begin to wrap the fabric around the foam and plywood and secure on back side with staples. Fold neatly at corners and secure with staples. Repeat for remaining two panels.
How to make pattern template: On the piece of paper, foam board, or cardboard, draw three lines; the first line vertically in the center; the next two lines should be 4″ from the center line. Then, mark horizontally in the center of the board; from that center point, measure up and down 8″. There will be four marks made on the two outer lines. Measure up from bottom 4″, from this mark measure up 8″ three times. Repeat on opposite line. After all marks are made (11 on each panel), punch a hole through all marks with the awl. Make sure the hole is big enough for the marker to pass through to the fabric.
How to make pattern template: On the piece of paper, foam board, or cardboard, draw three lines; the first line vertically in the center; the next two lines should be 4″ from the center line. Then, mark horizontally in the center of the board; from that center point, measure up and down 8″. There will be four marks made on the two outer lines. Measure up from bottom 4″, from this mark measure up 8″ three times. Repeat on opposite line. After all marks are made (11 on each panel), punch a hole through all marks with the awl. Make sure the hole is big enough for the marker to pass through to the fabric.
Place the template on the front side of the panel and place a mark with the marker through the holes in the template. Repeat on remaining two panels.
Place the template on the front side of the panel and place a mark with the marker through the holes in the template. Repeat on remaining two panels.
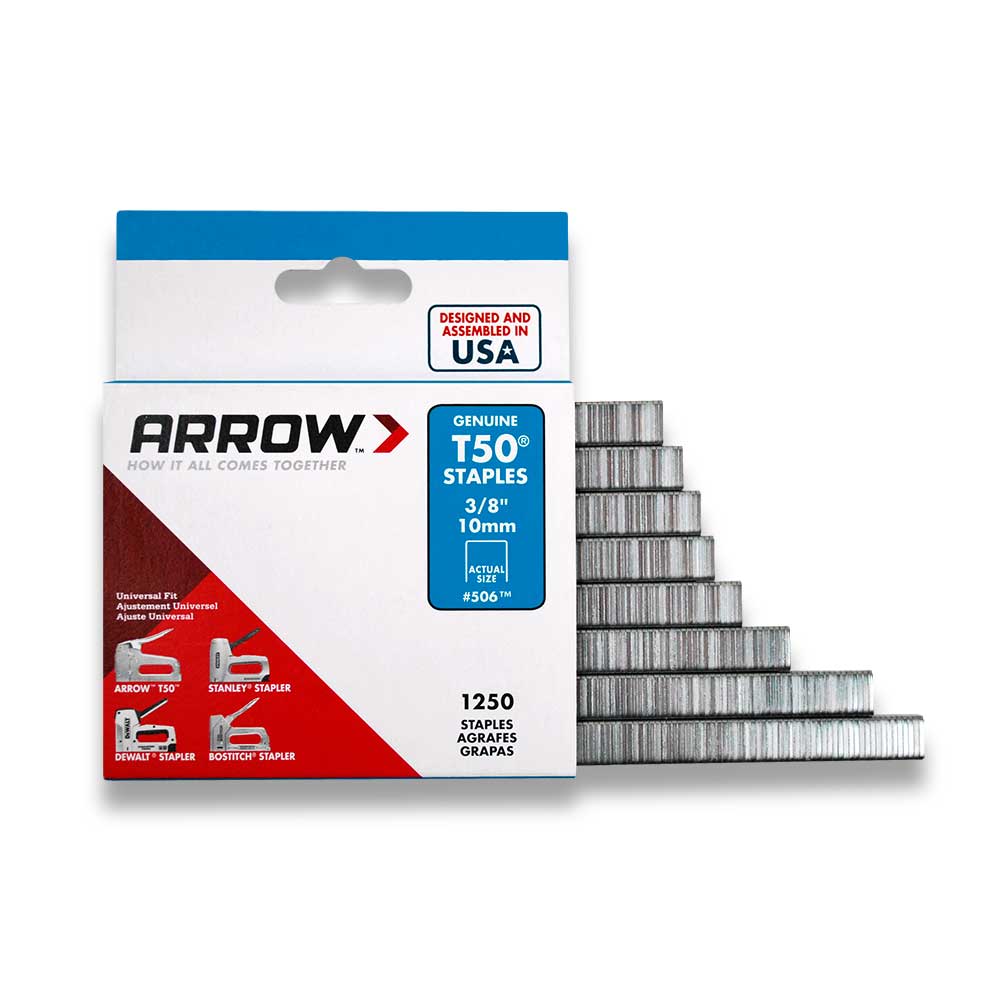
Use the T50 and 3/8″ staples in this step. Place a staple directly on top of the mark from the template. Repeat on remaining ten marks. Be sure to place the staple vertically. Repeat for remaining two panels.
Use the T50 and 3/8″ staples in this step. Place a staple directly on top of the mark from the template. Repeat on remaining ten marks. Be sure to place the staple vertically. Repeat for remaining two panels.
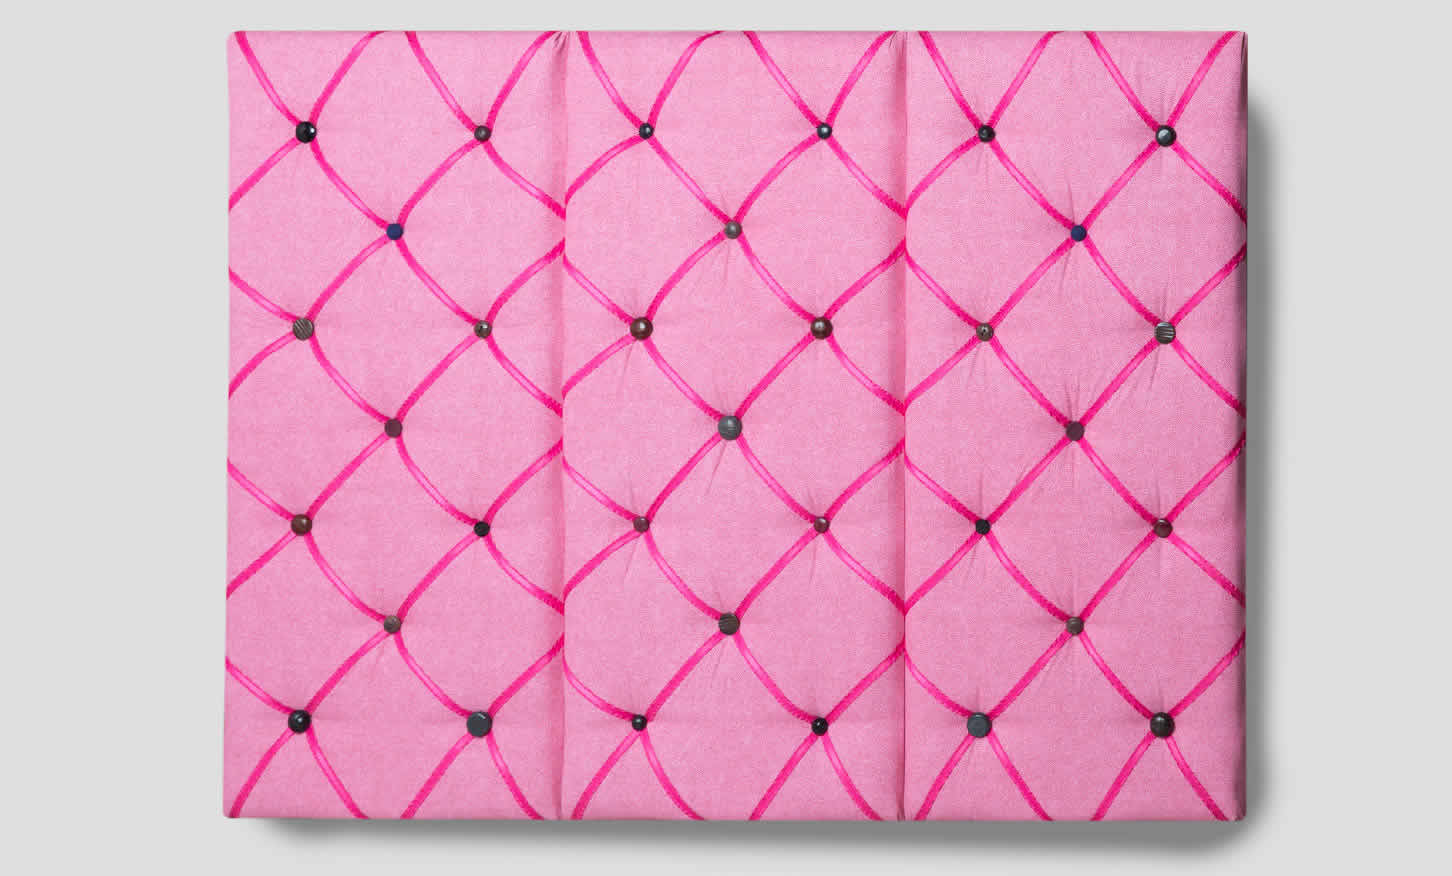
Use the Arrow T50 and 3/8″ staples in this step. Place all three panels side-by-side on a flat surface. Arrange ribbon diagonally and hold in place with pins. Next, arrange ribbon in the opposite direction from the first layer of ribbon.Place a staple horizontally where the ribbons cross over the vertically placed staple from previous step. Each panel will require six pieces of 28″ ribbon and four pieces of 16″ ribbon.
Use the Arrow T50 and 3/8″ staples in this step. Place all three panels side-by-side on a flat surface. Arrange ribbon diagonally and hold in place with pins. Next, arrange ribbon in the opposite direction from the first layer of ribbon.Place a staple horizontally where the ribbons cross over the vertically placed staple from previous step. Each panel will require six pieces of 28″ ribbon and four pieces of 16″ ribbon.
Use the Arrow T50 and 1/4″ staples in this step. On the back side of each panel, secure the tails of the ribbon.
Use the Arrow T50 and 1/4″ staples in this step. On the back side of each panel, secure the tails of the ribbon.
Use the Arrow MT300 Glue Gun with MG24 Glue Sticks in this step. On the front side of each panel, arrange the buttons in the desired layout and hot glue on top of the staples.
Use the Arrow MT300 Glue Gun with MG24 Glue Sticks in this step. On the front side of each panel, arrange the buttons in the desired layout and hot glue on top of the staples.
Use the power drill and drill bit in this step. Place all three panels side-by-side face down. Place the 3 pine boards evenly spaced on back side of panels. Use the marker to indicate where holes should be drilled. Remove boards and pre-drill holes. Replace boards and secure in place with screws. Attach heavy-duty D-rings, one on each side.
Use the power drill and drill bit in this step. Place all three panels side-by-side face down. Place the 3 pine boards evenly spaced on back side of panels. Use the marker to indicate where holes should be drilled. Remove boards and pre-drill holes. Replace boards and secure in place with screws. Attach heavy-duty D-rings, one on each side.
Hang on wall at desired height above bed and enjoy!
Hang on wall at desired height above bed and enjoy!
We’d love to see how your DIY trellis inspired headboard project turned out! Share your results with us on Facebook, Instagram or X by tagging #MadeWithArrow.
Get Arrow tips, tricks, projects and promos in your inbox!
Hey there! We’ve updated our Privacy and Cookie Policies at the request of some of our friends in Europe. Click Accept to let us know you’re okay with the updates. Thanks!
View Cookie Policy Accept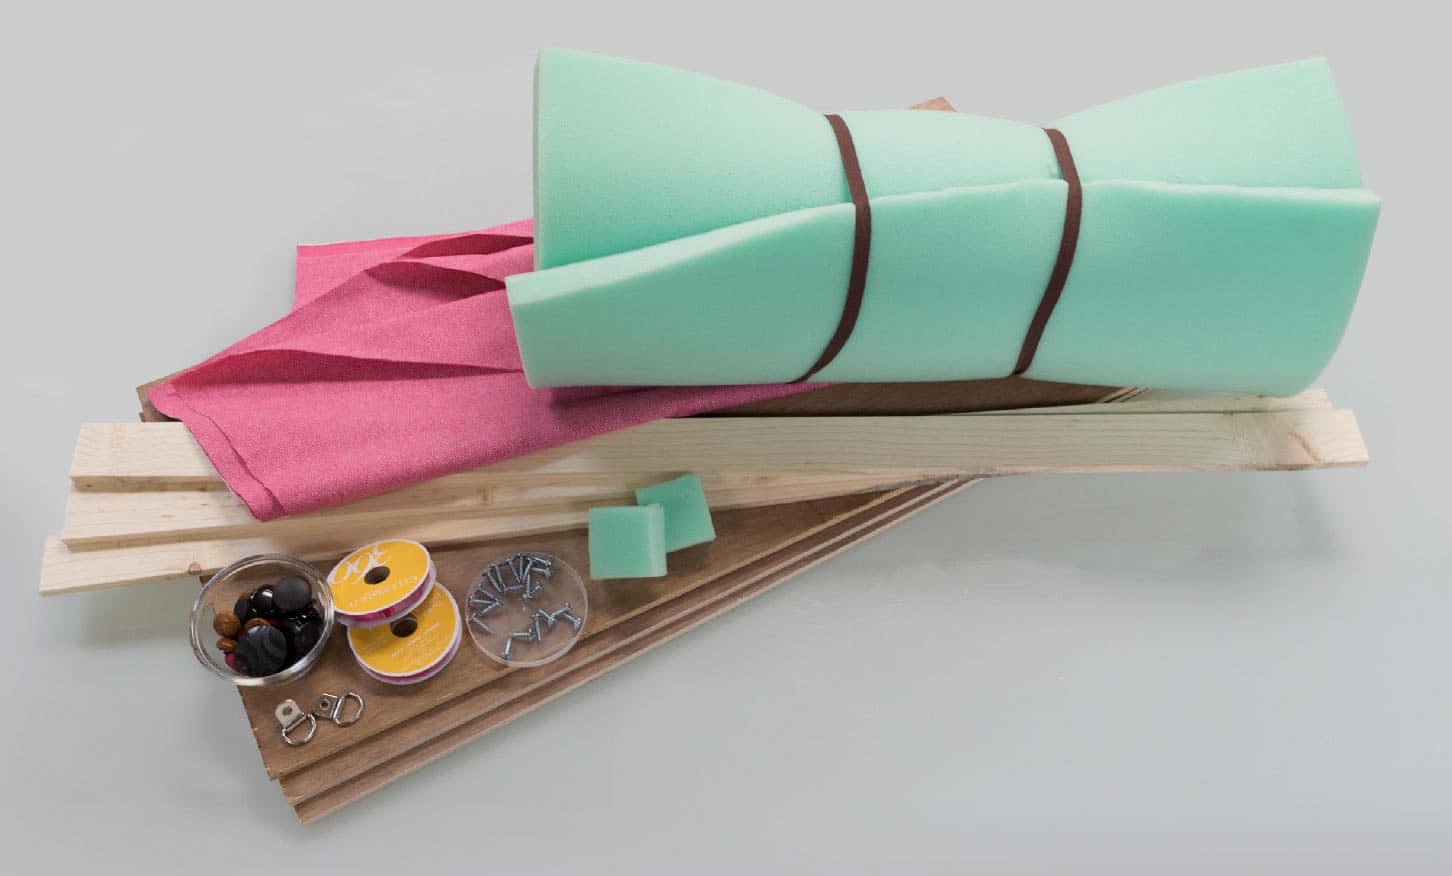