or Call Us at 1-800-776-2228
or Call Us at 1-800-776-2228
We have been hard at work over the last few weeks and are so excited to be able to share our latest building project. We created a custom queen-size wood and upholstered headboard. Now, we're sharing the full instructions to show you how to make a headboard, including a detailed video tutorial.
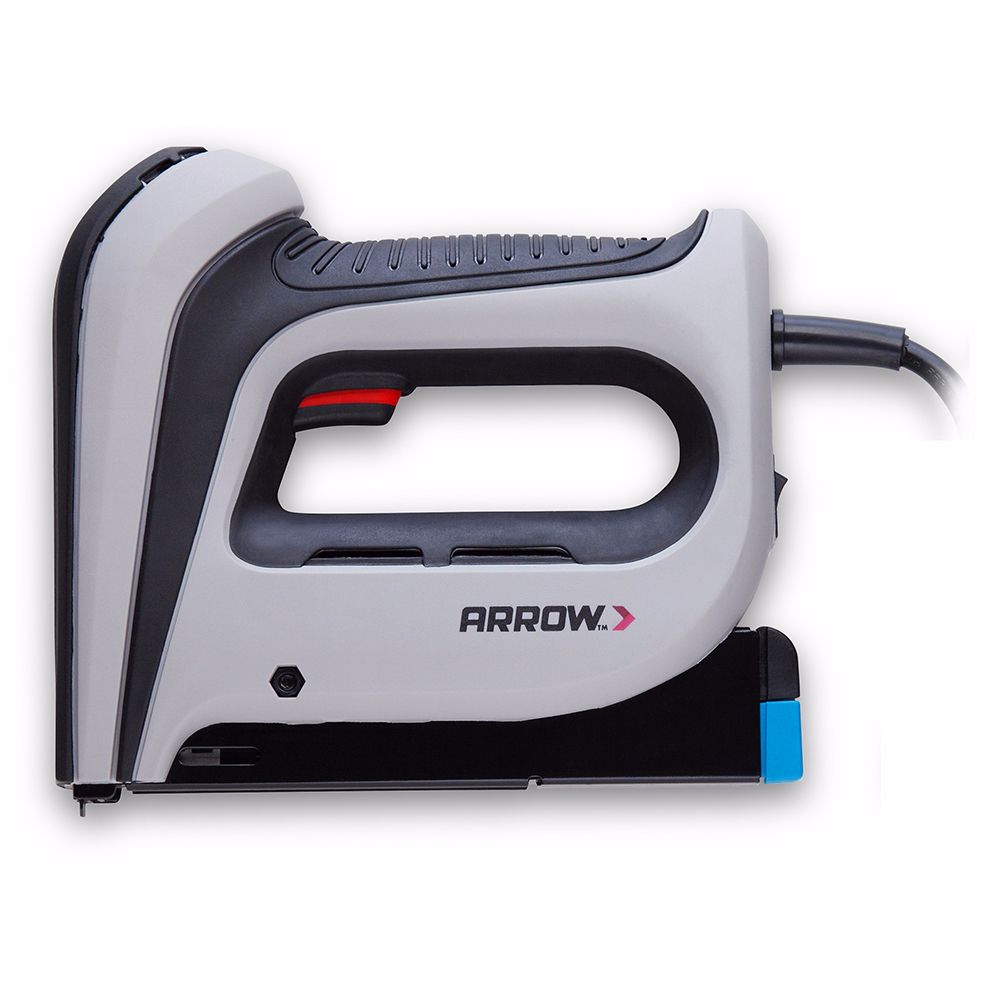
Compact Electric Staple Gun

Pneumatic Brad Nailer
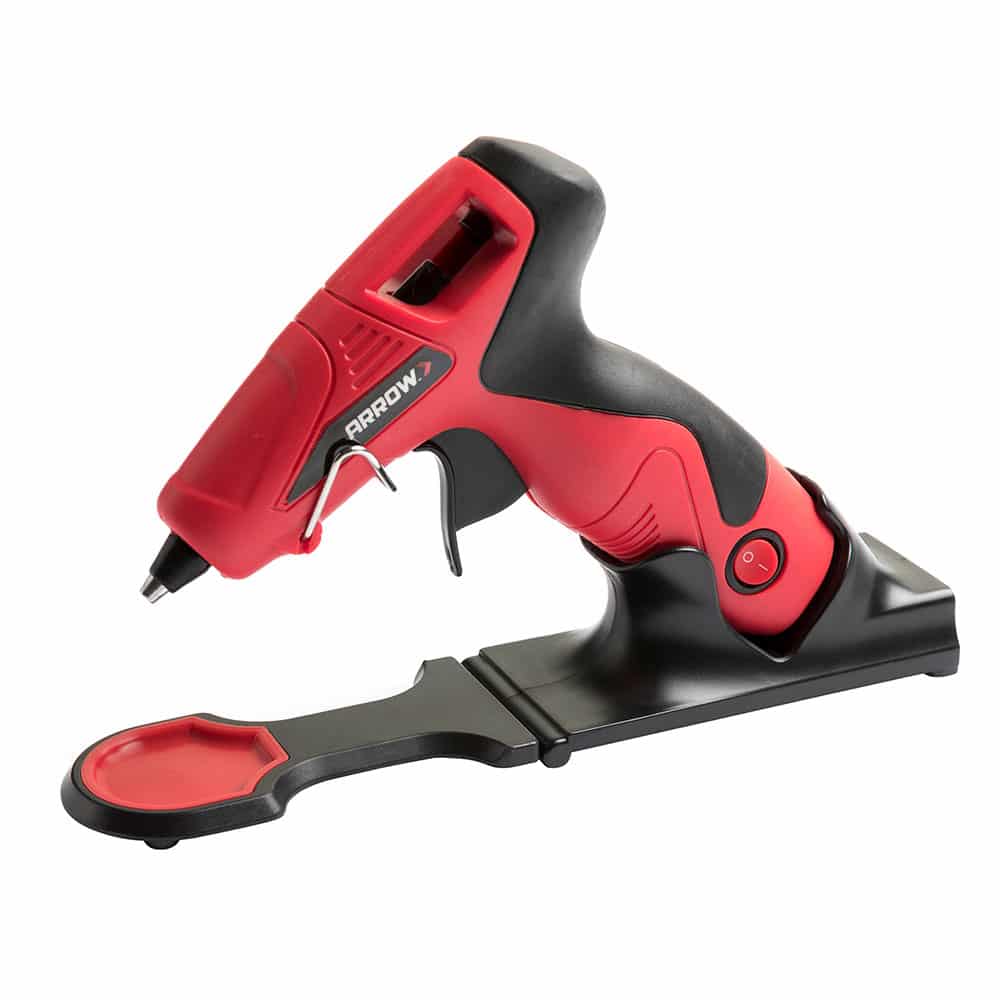
MiniPlus™ Glue Gun
Cut all pieces before moving on to assembly. Each piece will be referred to by the name listed in the third column of the following chart.
Cut all pieces before moving on to assembly. Each piece will be referred to by the name listed in the third column of the following chart.
We chose to wrap generic 4×4 pine posts with prettier select wood to elevate this project just a bit and add a solid, thick design element. After the Post Centers are trimmed to size, miter six 1×4’s at a 45-degree angle (refer to the cut list for sizes) to wrap around the front 3 sides of the two posts.
We also added mortises to two of the 1x4 Post Sides. This is how we'll attach the center panel to the outside posts. Follow the guide below.
The two mortised pieces are mirror images of each other because one is for the left side and one is for the right. We used a dado stacked blade to cut the mortises, but because the blades are round, they don't reach all the way into the corners, so chisel out the last parts by hand.
We chose to wrap generic 4×4 pine posts with prettier select wood to elevate this project just a bit and add a solid, thick design element. After the Post Centers are trimmed to size, miter six 1×4’s at a 45-degree angle (refer to the cut list for sizes) to wrap around the front 3 sides of the two posts.
Now let’s assemble the posts! We’ll be using our handy Arrow Brad Nailer to make the job go quicker. Add glue to the backs of the two Post Sides, then clamp them in place.
Nail the post pieces together with 1.5” nails, then add glue to the top piece, slide it in and secure it with more finish nails.
Now we will build the center section of the headboard. Line up the top center panel piece, routed trim piece (with a 3/4″ offset on each side) and center panel top rail.
Glue, clamp, then secure them together on the back side with pocket screws.
Now we will build the center section of the headboard. Line up the top center panel piece, routed trim piece (with a 3/4″ offset on each side) and center panel top rail.
Attach the Center Panel Stiles to the Center Panel Top Rail by gluing and screwing with pocket screws. Then attach the Stiles to the Center Panel Bottom Rail. The Center Panel Stiles should be offset 3/4″ from the ends of the two rails.
Your center panel will look like this from the back when it’s done…
The hole is where the upholstered panel will go. The red arrows indicate empty pocket screw holes that will be used to attach the center panel to the outside posts.
The next step is to attach the center panel to the two outside posts. Add glue to the two slots on one post, then slide the center panel into the slots.
Repeat on the other side, then use a band clamp to hold the project tightly together while you screw in the screws into the empty pocket holes you drilled earlier.
The next step is to attach the center panel to the two outside posts. Add glue to the two slots on one post, then slide the center panel into the slots.
Stand the headboard up, then add glue along the top edge and align the top trim piece. Nail it into place using your Arrow Brad Nailer.
Stand the headboard up, then add glue along the top edge and align the top trim piece. Nail it into place using your Arrow Brad Nailer.
Add glue to the back of the Crown Molding piece, fit it into place snugly under the lip of the top trim piece, then nail it down.
Along the bottom edge of our headboard, we added an optional Bottom Filler Piece to help close any gap that might exist between the headboard and our mattress. We didn’t want things to be able to fall down where we couldn’t reach them.
Next, we added trim to the inside edges of the center hole. This is decorative, but it also allows for a surface to attach the upholstered panel to the wood. Cut picture-frame style molding with 45-degree mitered corners to fit around the four sides of the opening.
Attach the trim to the Center Panel Stiles and Rails with a 3/8” offset from the back of the wood. This creates a little groove for the upholstered panel to sit in.
Next, we added trim to the inside edges of the center hole. This is decorative, but it also allows for a surface to attach the upholstered panel to the wood. Cut picture-frame style molding with 45-degree mitered corners to fit around the four sides of the opening.
Use wood putty to fill in any nail holes or imperfections, then sand the entire headboard, gradually building up to 220 grit.
Apply a coat of wood conditioner, then stain with the color of your choice. We layered two colors: Varathane Early American and Minwax Classic Gray. Finish with a top coat of Polycrylic.
The first step is to make custom covered buttons to match the upholstery fabric. You can pick up a button-covering kit at any craft store. Follow the directions on the back of the button package and you’ll be left with beautiful upholstery buttons. It’s easier than you think, I promise!
Decide on a pattern for the tufting, and mark out the placement of each button onto the cut plywood piece. Drill holes through the plywood for each tuft. Cut a piece of foam 3/4 of an inch smaller than the plywood and glue it in place. When the glue is dry, poke holes into the foam through the drilled holes in the back so that it will be easier to pull your needle through later. Cover the foam with a layer of batting, then smooth out the upholstery fabric on top of that.
Now it’s time to begin tufting. Using strong upholstery thread and a long, sharp needle, poke from the back side up through the layers. Wrap the thread through the covered buttons, then back down through the fabric.
On the back side, thread both ends of the thread through a flat-backed button and pull tightly, until the button on front is as far down as it will go. Tie a strong knot, then double knot it for good measure. Repeat with all of the button holes, starting in the center and working your way outwards, making sure to keep the fabric smooth and free of unwanted puckers.
Once all of the tufting is complete, load an Arrow Electric Staple Gun with 1/4 “ staples and begin stapling the fabric down around the edges. Make sure the fabric stays smooth as you go, and don’t be afraid to pull staples out and try again if there are any areas that get bunched up.
Once all of the tufting is complete, load an Arrow Electric Staple Gun with 1/4 “ staples and begin stapling the fabric down around the edges. Make sure the fabric stays smooth as you go, and don’t be afraid to pull staples out and try again if there are any areas that get bunched up.
This Arrow Glue Gun is the best glue gun I’ve ever owned. You can plug it into the base or into the gun itself and you can actually unplug it and go cordless for up to five minutes at a time! And most importantly, it doesn’t drip glue when not in use. I love this thing so much!
It’s the perfect tool to use for the last step of our upholstered panel. You’ll just need to glue down the extra batting and fabric on back so it doesn’t flap around.
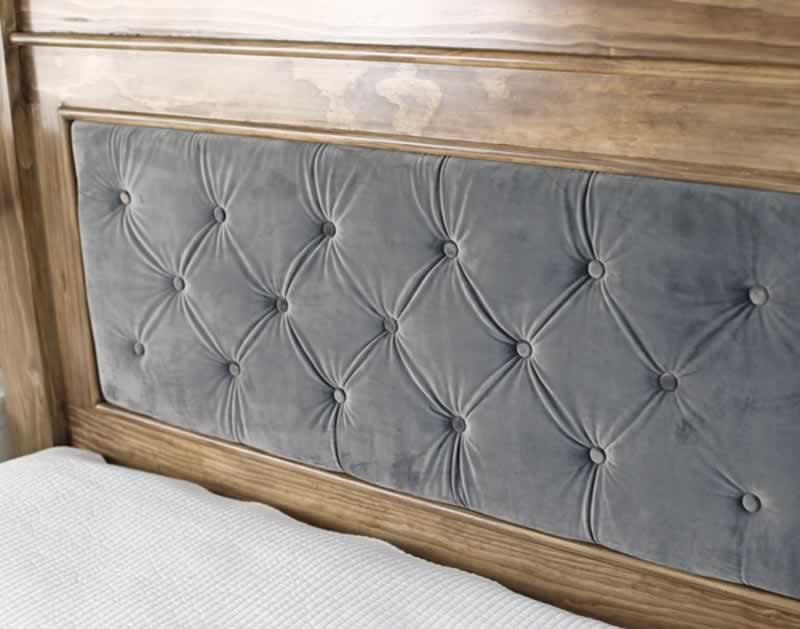
The very last step to make a headboard is to attach the upholstered panel into the center hole. Set the upholstered panel into place, then use 5/8″ nails and shoot them through the plywood into the Upholstered Panel Frame Trim from the back.
The very last step to make a headboard is to attach the upholstered panel into the center hole. Set the upholstered panel into place, then use 5/8″ nails and shoot them through the plywood into the Upholstered Panel Frame Trim from the back.
Once you make your headboard, you can attach it directly to the wall or screw bed rails into the outside posts.
Then all that's left is to make the bed and enjoy your beautiful new DIY upholstered headboard!
Get Arrow tips, tricks, projects and promos in your inbox!
Hey there! We’ve updated our Privacy and Cookie Policies at the request of some of our friends in Europe. Click Accept to let us know you’re okay with the updates. Thanks!
View Cookie Policy Accept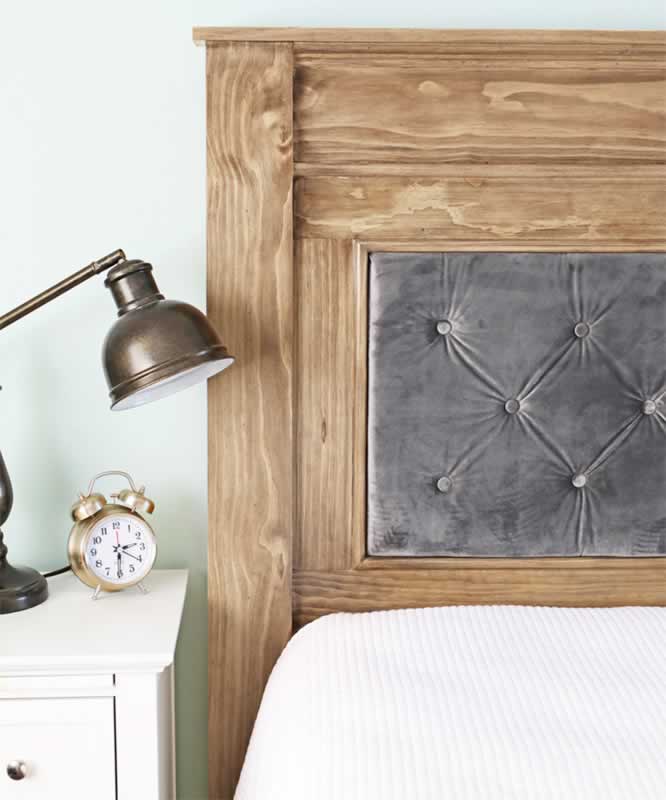