or Call Us at 1-800-776-2228
or Call Us at 1-800-776-2228
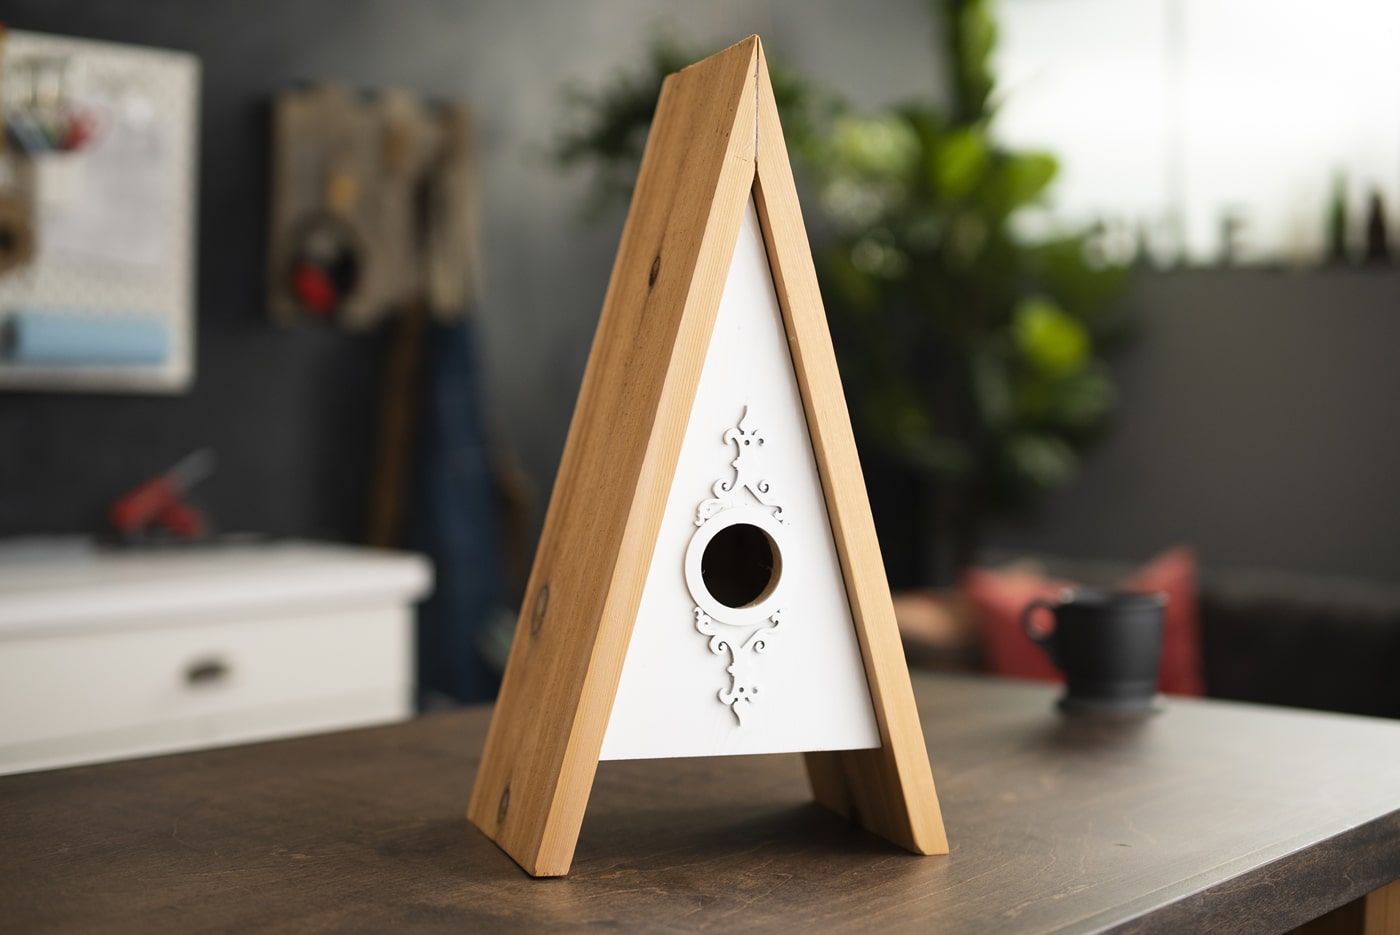
A little birdy told us he’s in the market for a new home and thinks your backyard would make the perfect spot! So gather up your Arrow GT30Li cordless glue gun, a cedar board, and some fun dollhouse trim, and let’s create the best birdhouse on the block.
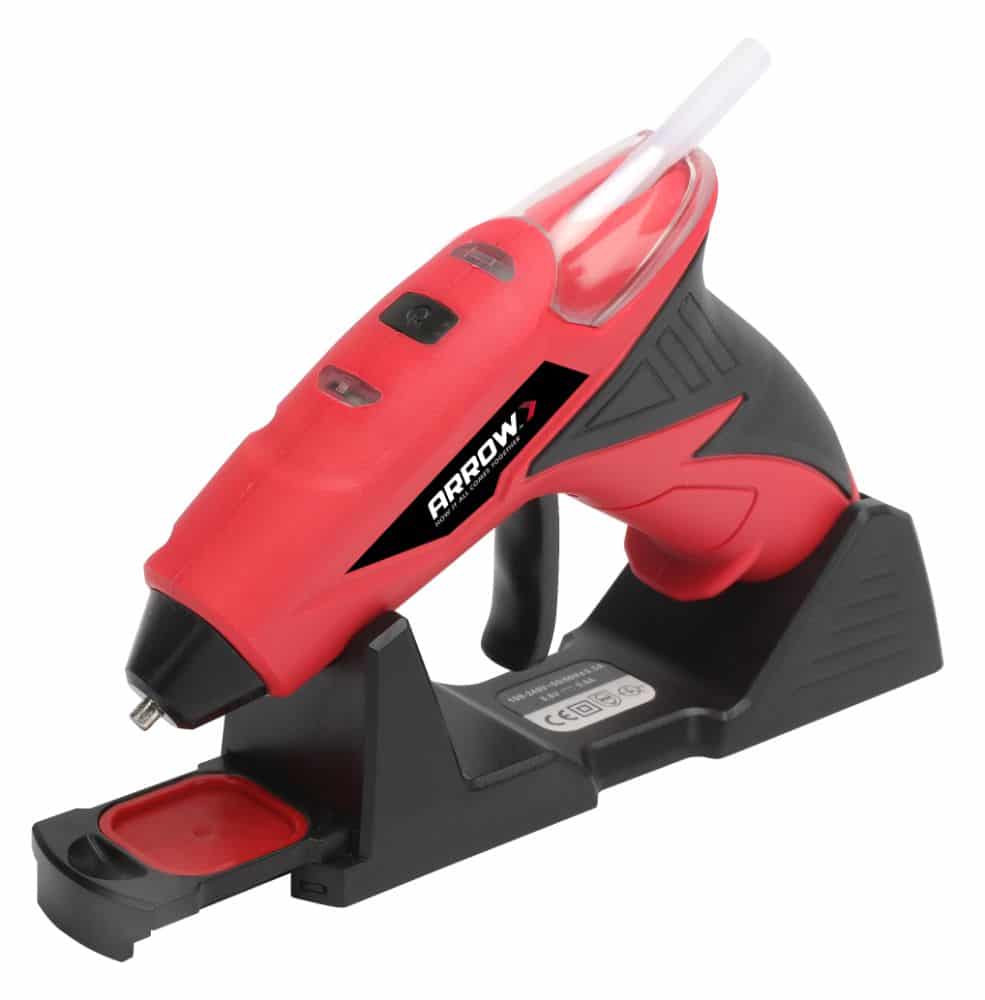
Cordless Glue Gun
First, trim the cedar board to dimensions that suit your birdhouse – we cut ours into two 16″ lengths, two 12″ triangular pieces (with two equal sides) for the front and back, one 7″ x 5 1/2” piece for the bottom, and one piece of scrap for the top spreader that’ll go between the two rectangular pieces. Cut angles into one end of each of the 16” lengths to align with the angles of the triangle (the angle will depend on the height of your birdhouse).
Now it’s time to decide what kind of look you’d like to give the birds’ new digs. You could paint it to match the color of your home, apply wood finish, or allow your cedar to age naturally. Just be sure to treat only the exterior of the birdhouse.
Select one of the triangular pieces to be the front panel. Locate the approximate center of this panel and drill a hole for the door. Size the hole appropriately based on your window trim dimensions. Most songbirds require an entrance with a diameter of at least 1 1/4″.
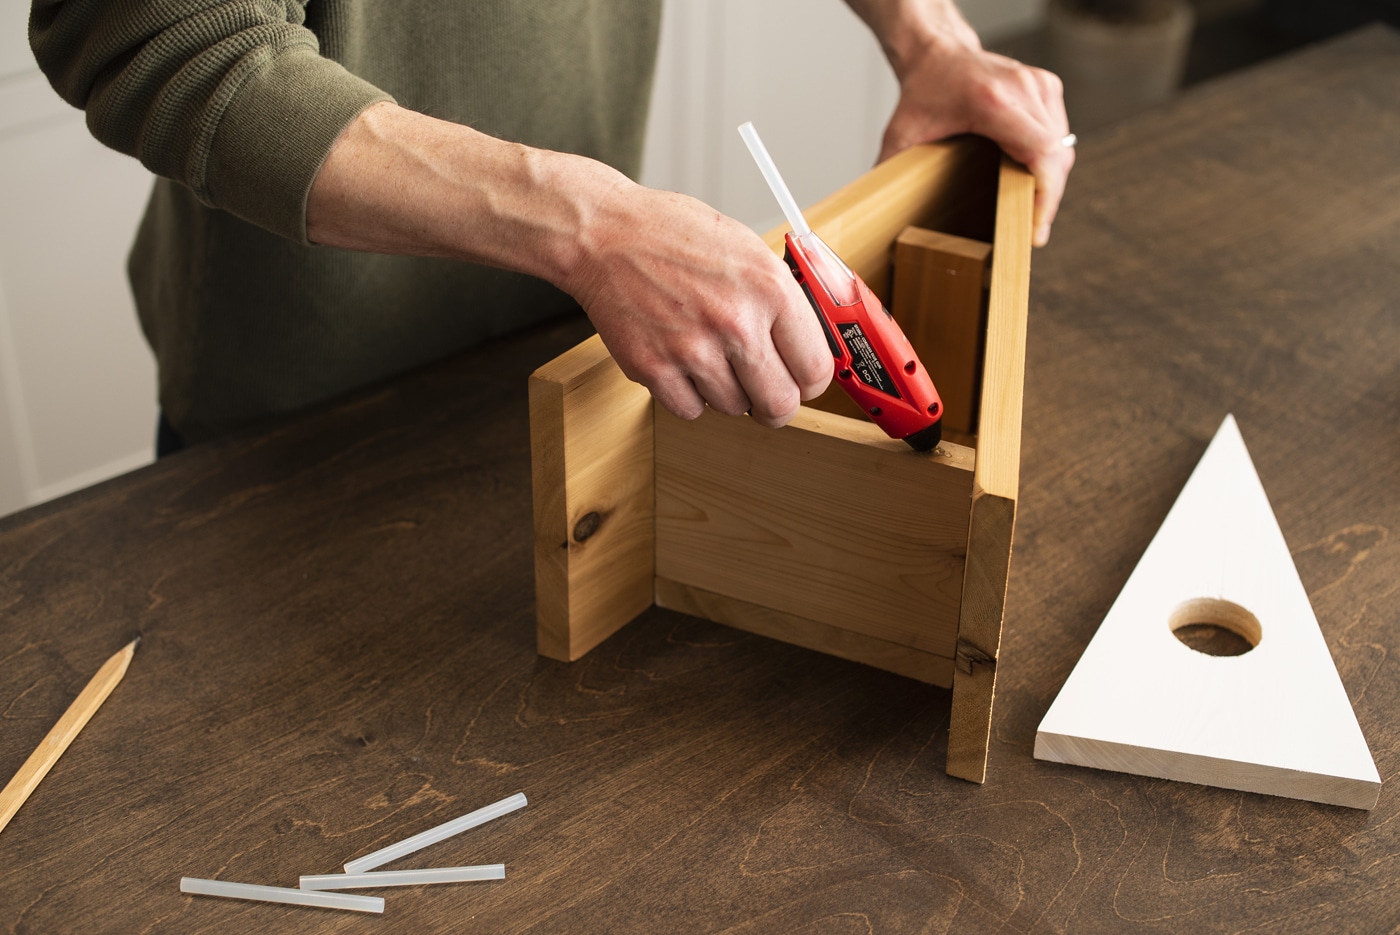
Assemble the roof panels first, using your GT30Li cordless glue gun and applying the woodworking clamps to hold it firmly in place. Then glue the triangular back panel to the assembled roof. Next, add the small rectangular bottom board and the top spreader piece. Finally, attach the front front panel with the hole.
Using your cordless glue gun again, add the decorative trim to the front panel.
Spring has sprung! Hang your birdhouse using eye bolts with a length of small chain or wire, or attach a birdhouse hanger bracket to the back so you can securely mount it to a fence or tree. Be sure to place your birdhouse somewhere you can see it – in the garden or on the tree outside your kitchen window – and watch who happens to stop in.
We’d love to see your DIY birdhouse! Share your work with us on Facebook and Instagram by tagging @ArrowFastener or using #MadeWithArrow.
Get Arrow tips, tricks, projects and promos in your inbox!
Hey there! We’ve updated our Privacy and Cookie Policies at the request of some of our friends in Europe. Click Accept to let us know you’re okay with the updates. Thanks!
View Cookie Policy Accept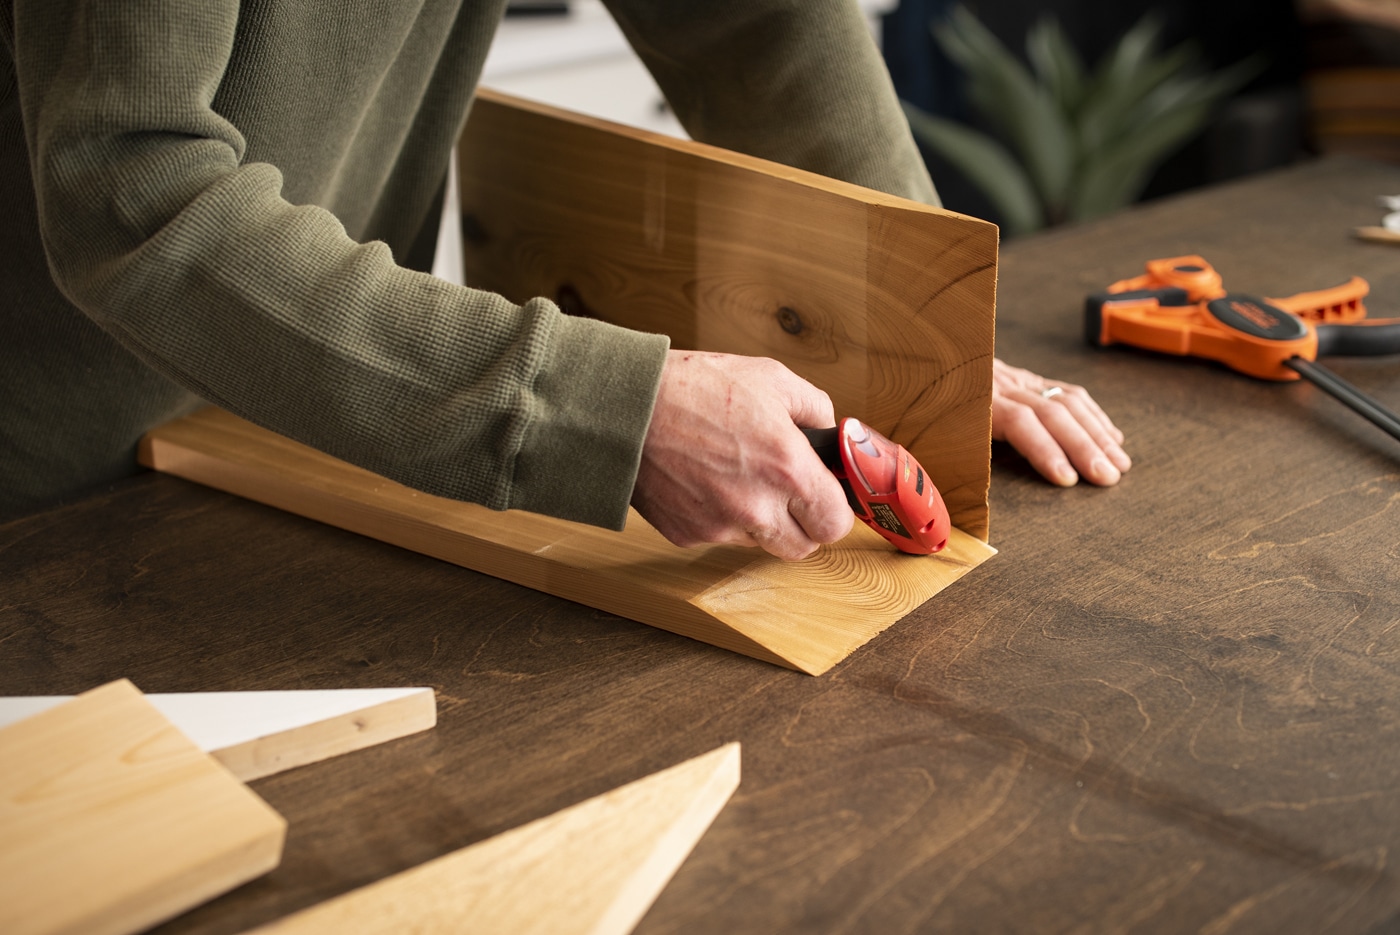