or Call Us at 1-800-776-2228
or Call Us at 1-800-776-2228
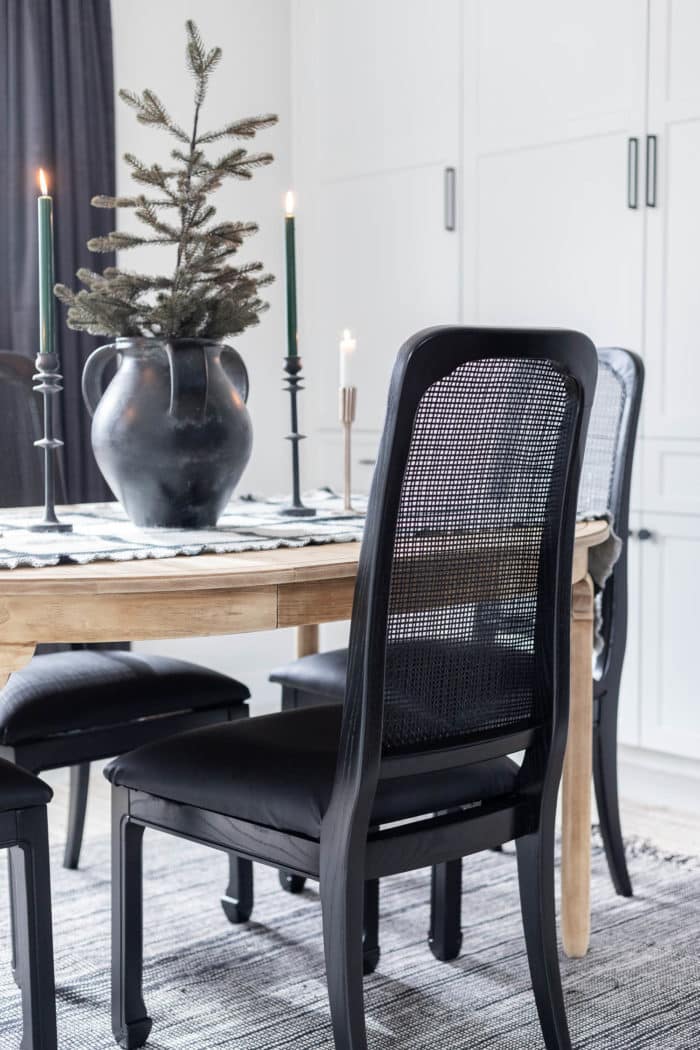
While we may be keeping holiday celebrations small this year, this project is a great way to stay busy and prepare for next year’s special gathering! To tackle this cane chair makeover, you’ll need the Arrow T50 Elite™ staple gun and brad nailer, chairs of your choice, spray paint, and some fun fabric.
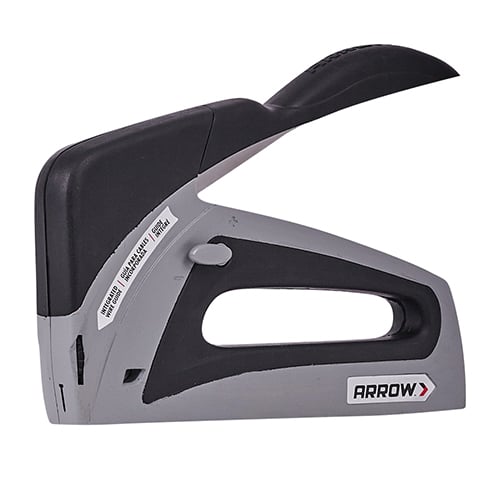
Staple Gun and Brad Nailer
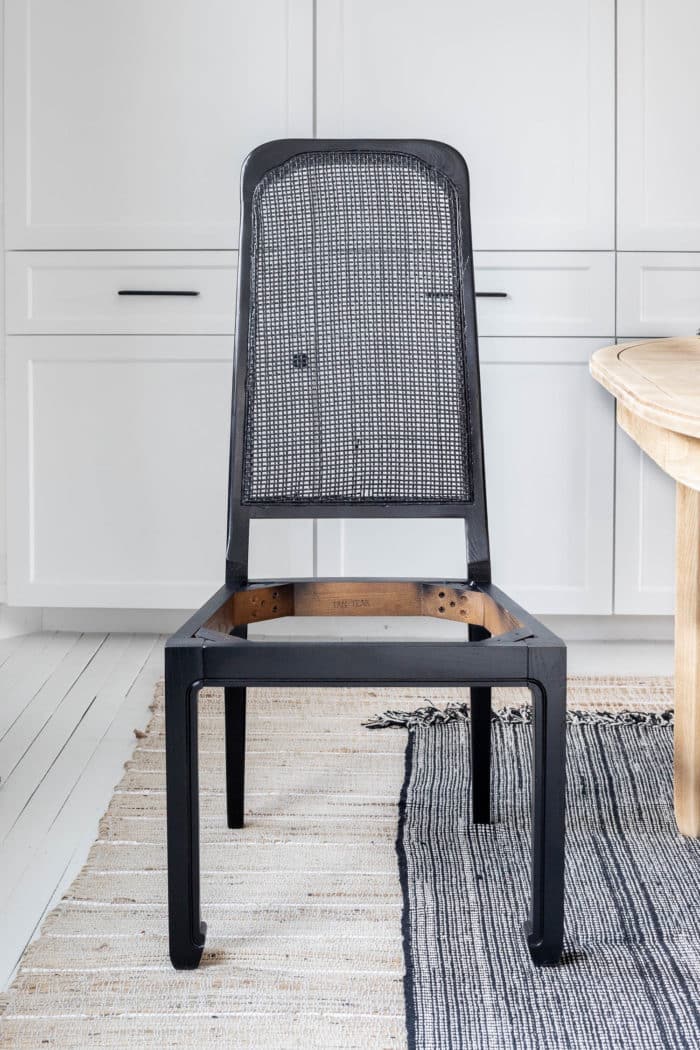
Remove the cushions from your chairs and set them aside. Next, follow the instructions on the liquid deglosser to prep the surface of your chair frames for painting. If your chairs have a thick finish, use sandpaper to rough up the surface so the deglosser can penetrate the finish.
Now your chairs are ready for painting! Spray several thin coats of paint in the color of your choice and allow to mostly dry. Then, following the manufacturer’s instructions, apply the spray clear coat. Leave them to dry for 24 hours.
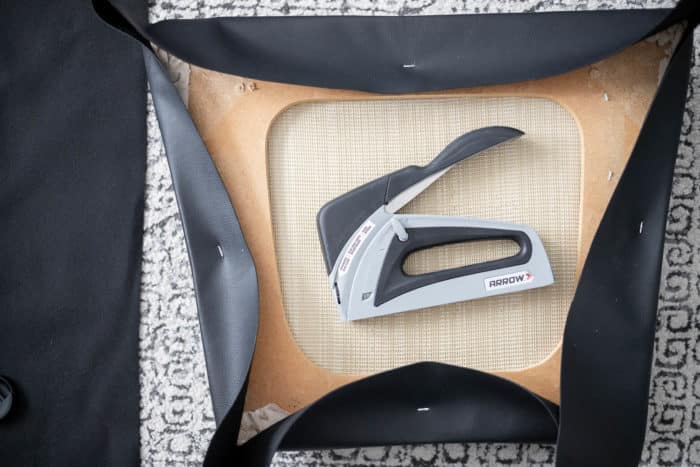
While your chair frames are drying, begin re-covering the cushions. Start by removing any piping from your cushions – you do not need to remove the existing fabric. Then lay your first cushion on your chosen fabric, making sure you have enough excess fabric around the edges to wrap around to the bottom side of the cushion. Cut out the needed amount of fabric.
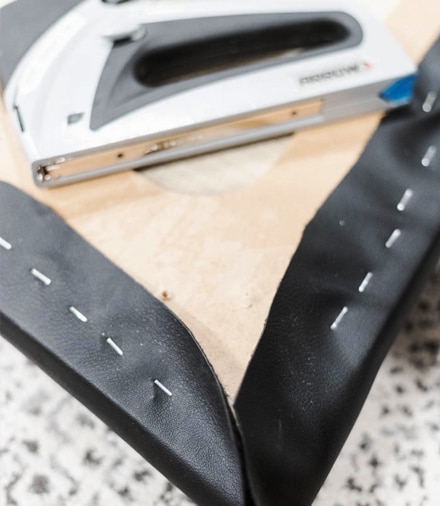
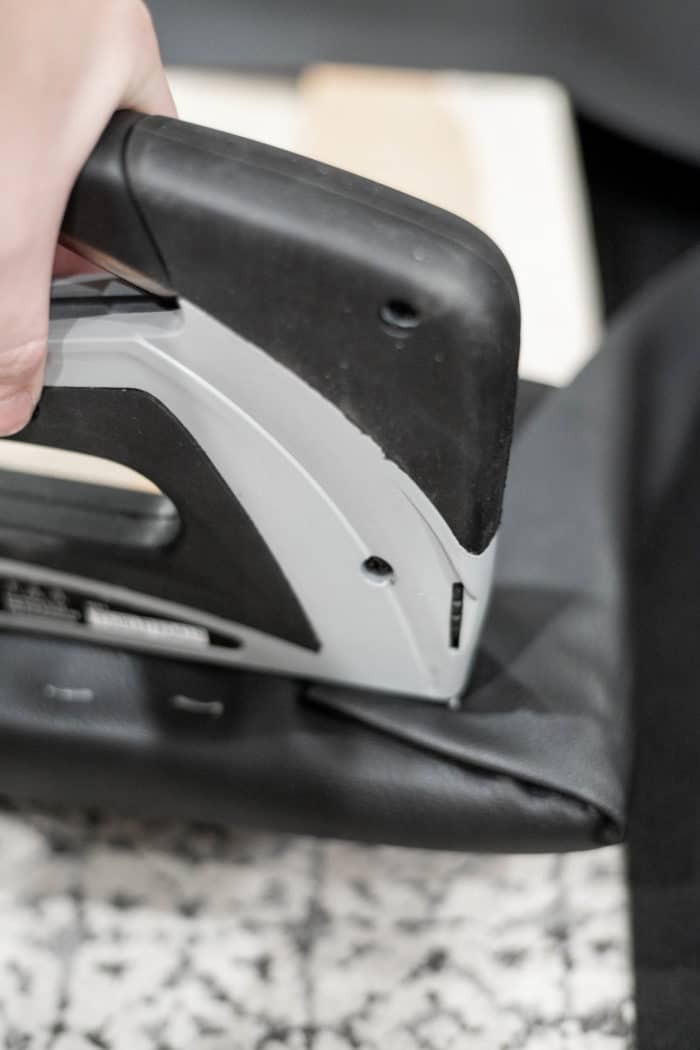
Pull the fabric tightly around the cushion and, using your T50 Elite staple gun and brad nailer, staple once in the center of each edge to hold the fabric in place (as shown). (If your cushions are round, place a staple at the top, bottom, left, and right, like directions on a compass.) Then pull the fabric taut and staple along either side of your initial staple, moving outward toward the corners – but do not staple all the way to the corners just yet because you’ll need the extra space to get your fold just right. As you staple along the edges, make sure you keep the fabric straight and avoid any wrinkles. Repeat for all the cushions.
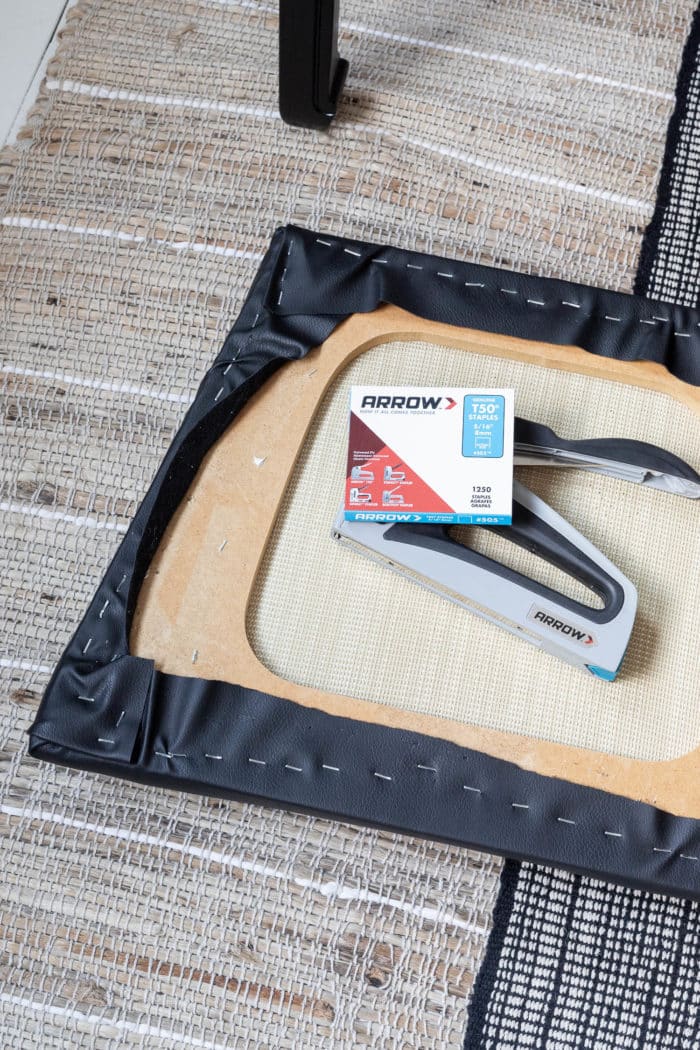
Once you have two sides stapled up to the corner where they meet, tuck one edge under and fold the other over it, similar to wrapping a present. The fabric should lay relatively flat so that it stays nice and neat on the top. As soon as you get the fold how you want it (and don’t forget to check how the top of the cushion looks), staple it in place. Repeat for all corners of the cushions, and trim any excess fabric.
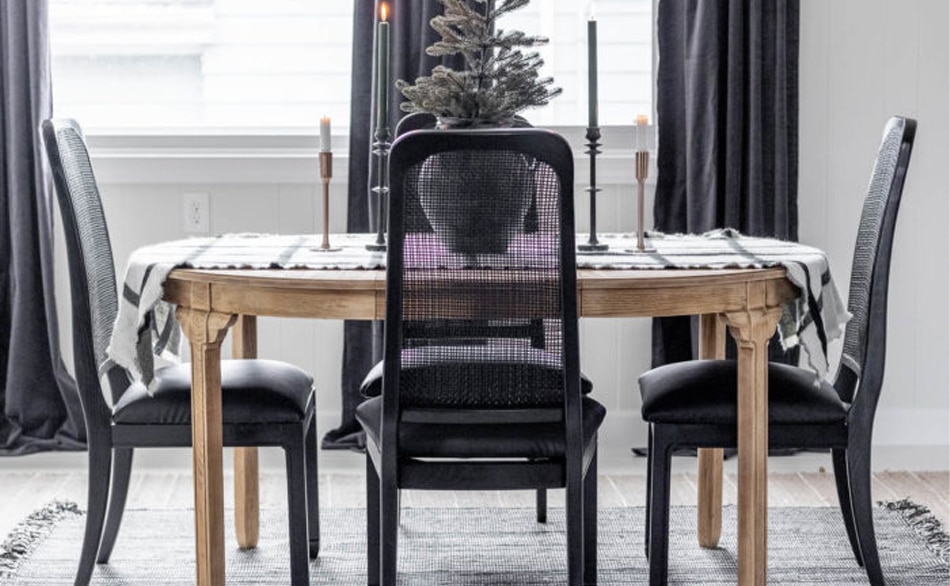
Now that the paint has dried on your chair frames, reattach your cushions and have a seat!
This project can easily be done with any chairs you have at home. Or check your local thrift shops and antique stores for dining room chairs that could use a little TLC. You know what they say: one man’s trash is another man’s treasure!
We’d love to see how your DIY cane chair makeover turned out! Share your work with us on Facebook and Instagram by tagging @ArrowFastener or using #MadeWithArrow.
Get Arrow tips, tricks, projects and promos in your inbox!
Hey there! We’ve updated our Privacy and Cookie Policies at the request of some of our friends in Europe. Click Accept to let us know you’re okay with the updates. Thanks!
View Cookie Policy Accept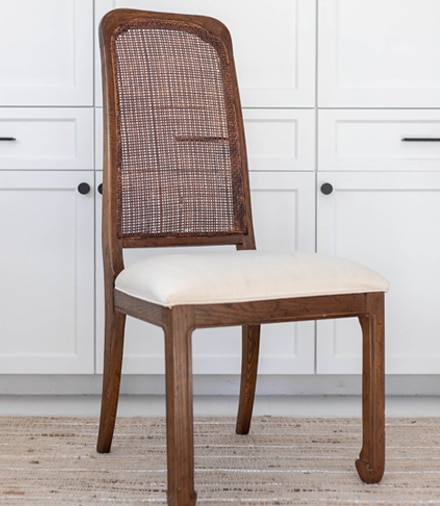