or Call Us at 1-800-776-2228
or Call Us at 1-800-776-2228
Upcycle a cane seat chair into a trendy treasure with some neck ties and the Arrow PowerShot 5700. Old-fashioned cane chairs often become uncomfortable and this project combines style and comfort for a new look. Appropriate personal protective equipment such as safety goggles, gloves and hearing protection should be worn at all times.
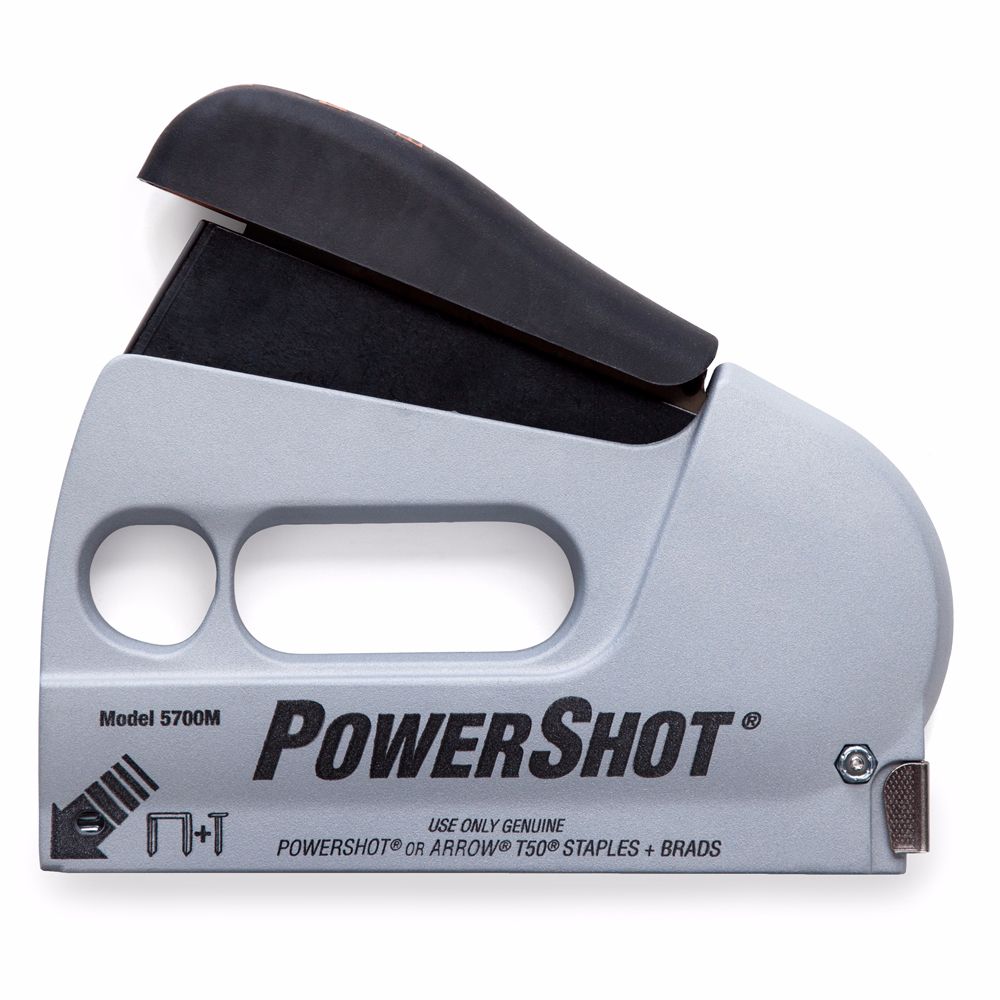
PowerShot Forward Action Staple Gun and Nailer

Remove the cane seat and any jagged fragments from seat frame in preparation to re-cover. Turn the hand-woven cane chair upside down and cut the connecting cane pieces. Pull all of the strands from the chair.
Remove the cane seat and any jagged fragments from seat frame in preparation to re-cover. Turn the hand-woven cane chair upside down and cut the connecting cane pieces. Pull all of the strands from the chair.
Arrange the ties on a flat surface with the same number of ties going vertically and horizontally to cover the width and length of the seat area. It may be helpful to use masking tape to secure the ends of the vertical ties to the flat surface so they are secure. Now weave the horizontal ties in an over-under pattern until you have created a woven pattern over the entire surface area of the seat.
Arrange the ties on a flat surface with the same number of ties going vertically and horizontally to cover the width and length of the seat area. It may be helpful to use masking tape to secure the ends of the vertical ties to the flat surface so they are secure. Now weave the horizontal ties in an over-under pattern until you have created a woven pattern over the entire surface area of the seat.
Place the seat of the chair upside down over the woven tie pattern and begin to staple the tie ends to the underside of the chair with the Powershot 5700 and Arrow 3/8” staples. You can pull the ties tight across the surface as you staple. Trim the excess material leaving an inch or two to bend over and staple inside edge of the underside of the chair frame.
Place the seat of the chair upside down over the woven tie pattern and begin to staple the tie ends to the underside of the chair with the Powershot 5700 and Arrow 3/8” staples. You can pull the ties tight across the surface as you staple. Trim the excess material leaving an inch or two to bend over and staple inside edge of the underside of the chair frame.
The corners of the plywood square support piece will need to be cut out to accommodate the four legs at the corners of the chair. With the chair upside down on a hard surface, place the plywood where it will be mounted. Use a pencil or marker and trace the leg corners. The plywood can be scored with a utility knife. However, you could also use a jigsaw. Remove from all four corners.
The corners of the plywood square support piece will need to be cut out to accommodate the four legs at the corners of the chair. With the chair upside down on a hard surface, place the plywood where it will be mounted. Use a pencil or marker and trace the leg corners. The plywood can be scored with a utility knife. However, you could also use a jigsaw. Remove from all four corners.
With the chair still upside down on a hard surface, place the foam on top of the backside of the woven ties. The ties will stretch enough to accommodate the padding.
With the chair still upside down on a hard surface, place the foam on top of the backside of the woven ties. The ties will stretch enough to accommodate the padding.
Place the notched plywood back over the padding and pre-drill holes (2-3 each per side) through the backing into the chair frame.
Place the notched plywood back over the padding and pre-drill holes (2-3 each per side) through the backing into the chair frame.
Secure the plywood backing with screws on every side of the underside of the chair frame.
Secure the plywood backing with screws on every side of the underside of the chair frame.
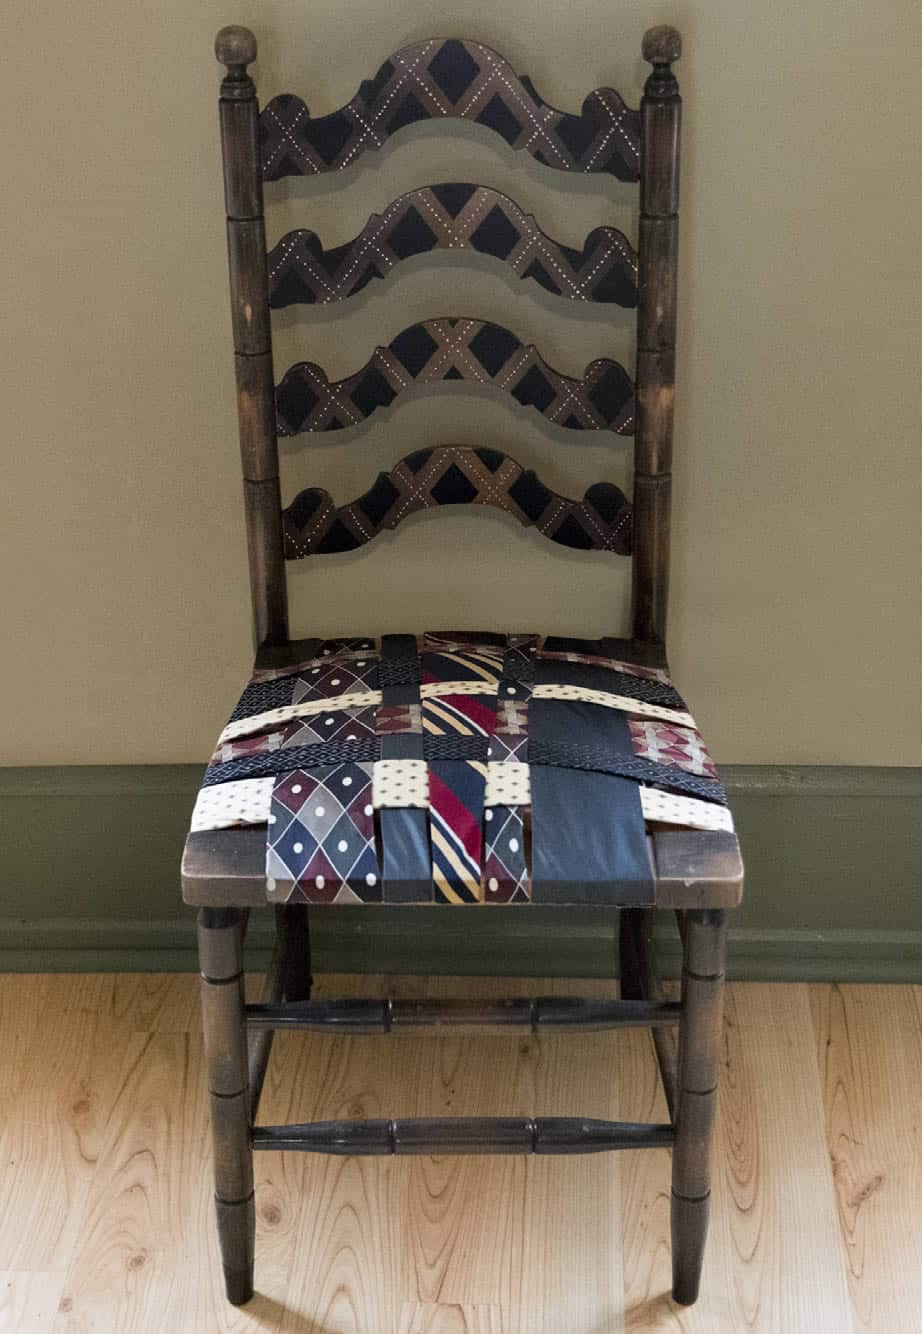
Turn the chair right side up and add some decorative touches if you wish. For instance, you can paint one of the tie patterns on the chair back and make some final adjustments to the woven patterns of the ties.
Turn the chair right side up and add some decorative touches if you wish. For instance, you can paint one of the tie patterns on the chair back and make some final adjustments to the woven patterns of the ties.
Place the chair in your favorite spot and enjoy!
Place the chair in your favorite spot and enjoy!
We’d love to see how your DIY Upcycled Cane Seat Chair project turned out! Share your results with us on Facebook, Instagram or X by tagging #MadeWithArrow.
Get Arrow tips, tricks, projects and promos in your inbox!
Hey there! We’ve updated our Privacy and Cookie Policies at the request of some of our friends in Europe. Click Accept to let us know you’re okay with the updates. Thanks!
View Cookie Policy Accept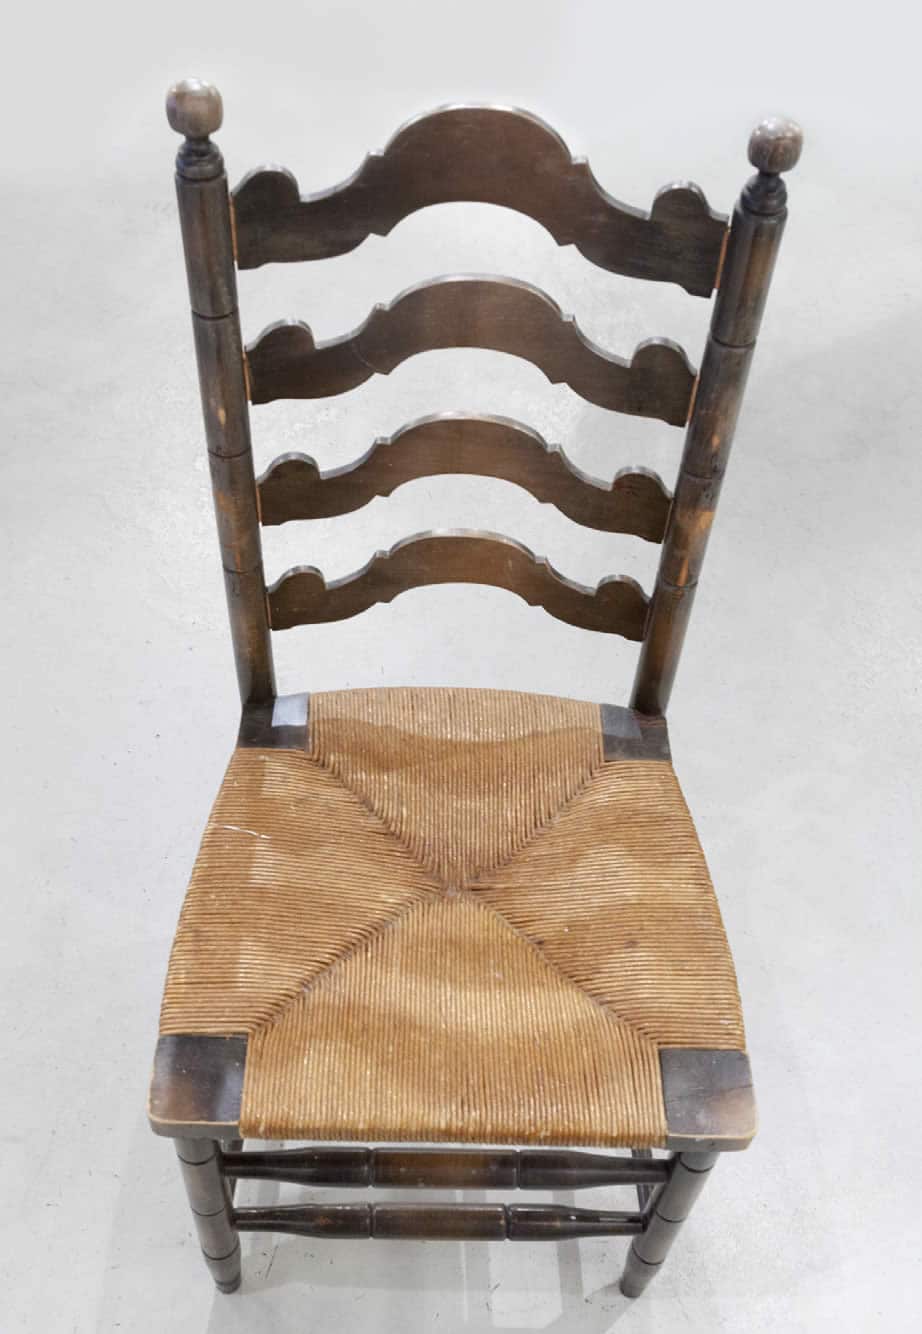