or Call Us at 1-800-776-2228
or Call Us at 1-800-776-2228
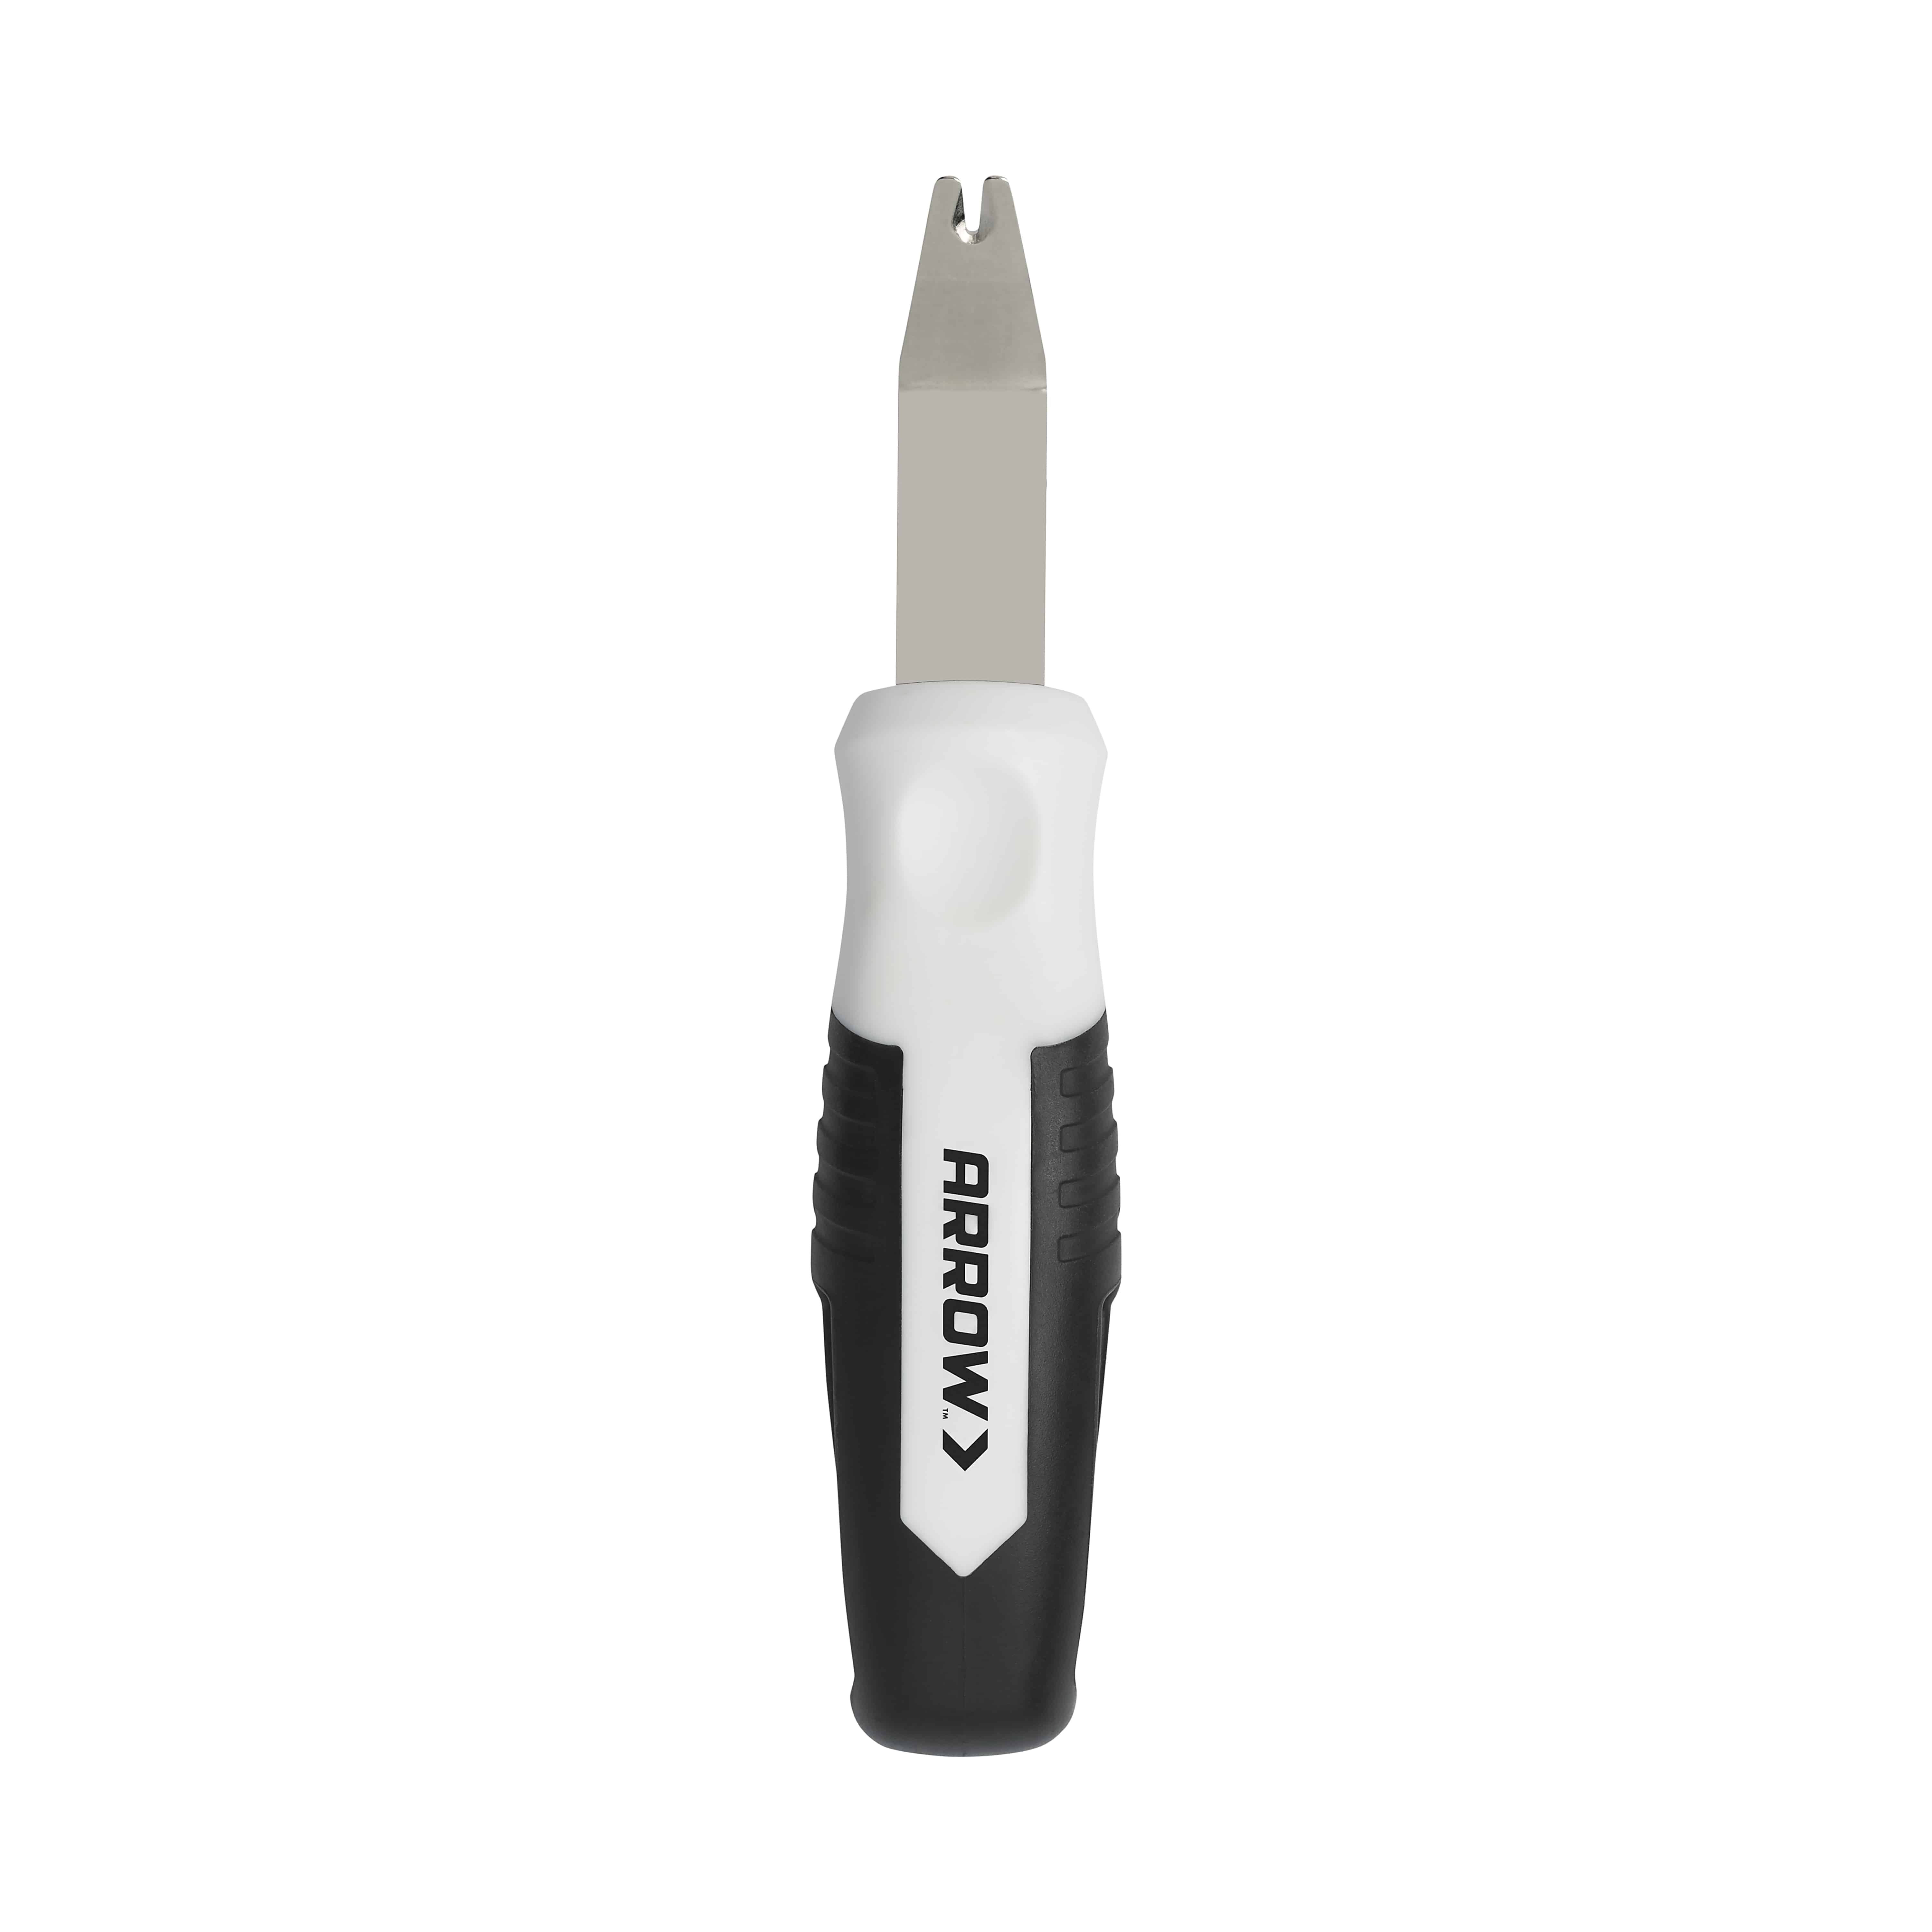
If this is your first furniture refurbish, you’ve picked a good place to start! As a rule of thumb, an easier project is generally one that’s small enough to be picked up – just like this upcycled stool. But before you begin, make sure to find an old stool that’s in good condition but could use a little love. You’ll also need to pick up some furniture paint, choose your upholstery fabric, and grab your Arrow T50 staple gun.
Heavy-Duty Staple Gun
It would be great if we could jump right into every furniture makeover and just focus on the fun stuff, like picking out fabric and paint colors. But sometimes there’s some work that must go into a piece of furniture before you “get to the good part” – and that includes prepping and repairs.
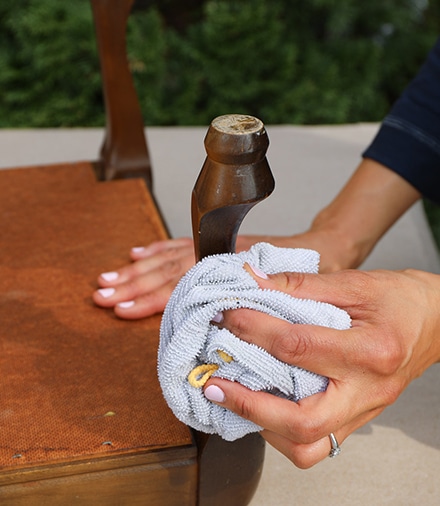
So, first things first, fix everything that’s broken. We also suggest giving your furniture a good cleaning.
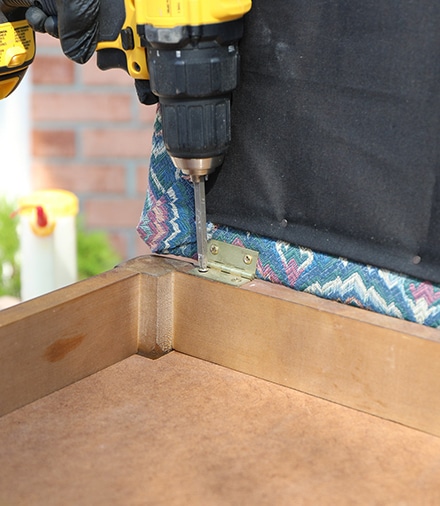
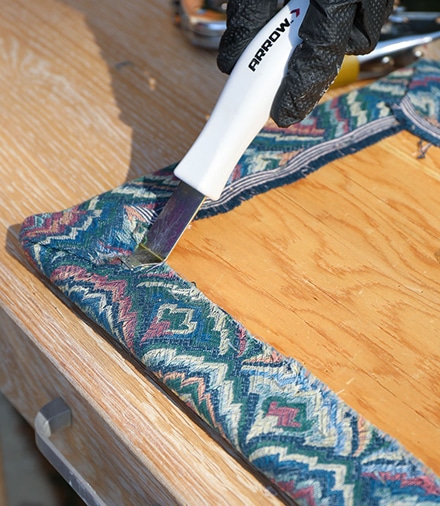
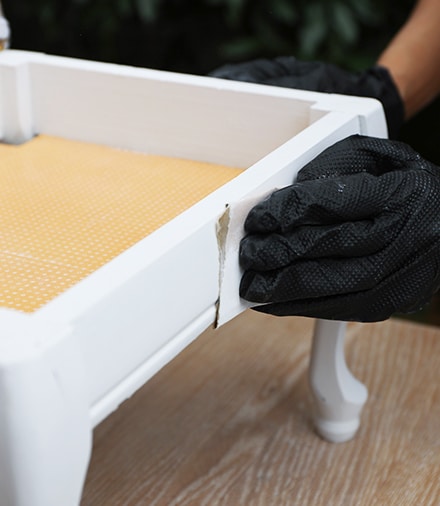
After that, take your stool apart. We removed the upholstered seat from the base and then took off the original fabric by using the Arrow staple lifter. As a tip, we suggest always putting your hardware and screws in a baggie to avoid losing them.
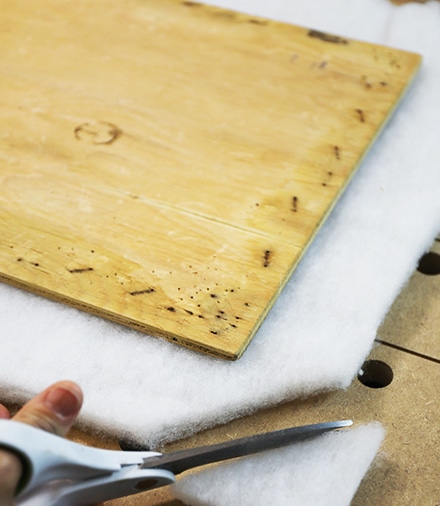
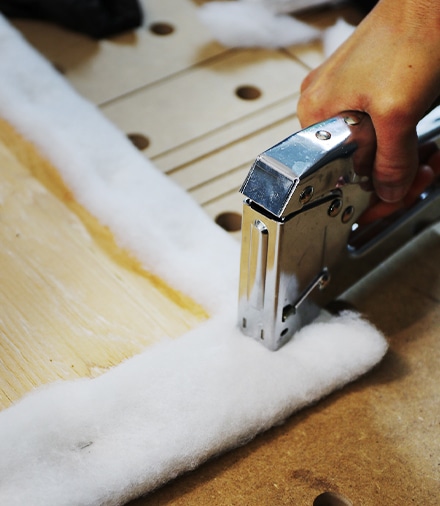
It’s time to begin reupholstering! Start by cutting your batting to a little larger than the size of your seat. Then, secure the batting into place using your Arrow T50 staple gun. To get tight corners, pull and fold, then staple. Check the top of the stool seat as you go to make sure the fabric looks tight and clean. If necessary, trim some of the additional bulk from the batting.
Now we can attach our pretty fabric. This part is simple when you keep a few rules in mind. Always find the center of your fabric and the center of your stool seat, and make sure they match up before securing with your first staple in the middle of one side. Pull the fabric tight to the opposite side and secure it with a second staple. Then repeat on the two remaining sides. This is important for keeping your fabric centered.
Pro tip: to get crisp and clean round corners, trim off the tip of the corner fabric that would become your excess fabric, leaving just enough to grasp. Staple the center of the corner fabric in place. Now pull tight toward the corner, work the fabric into folds neatly, and staple. Don’t be afraid to take staples out and try again if you find any gaps. Trim any remaining excess fabric.
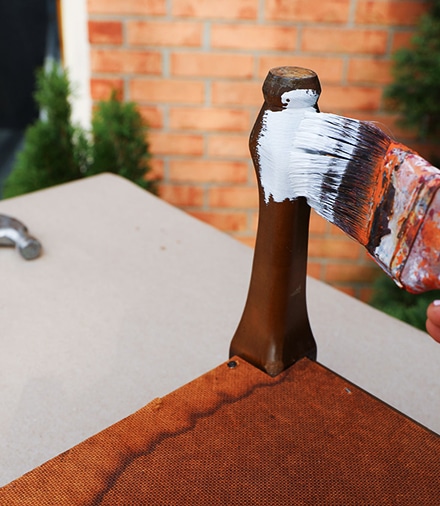
Next up is painting the stool (or skip this step, if you choose). If your wood furniture is badly chipped or has areas where the wood is gouged, you’ll want to first repair with wood filler and then sand until smooth.
When you are ready to paint, turn your furniture upside down before starting. It’s easier to paint the bottom this way, and you’re less likely to miss areas. Also, always use two coats of paint. Furniture paint usually doesn’t look that great with one coat. Make sure you let the coats dry a couple of hours in between too.
Once dry, it’s always a nice touch to lightly sand your paint using a circular motion. This can help smooth out the brush strokes that can occur. If you’re going for a distressed, shabby chic look, then sand more aggressively using your sandpaper to remove the paint along the edges and other places that would naturally wear.
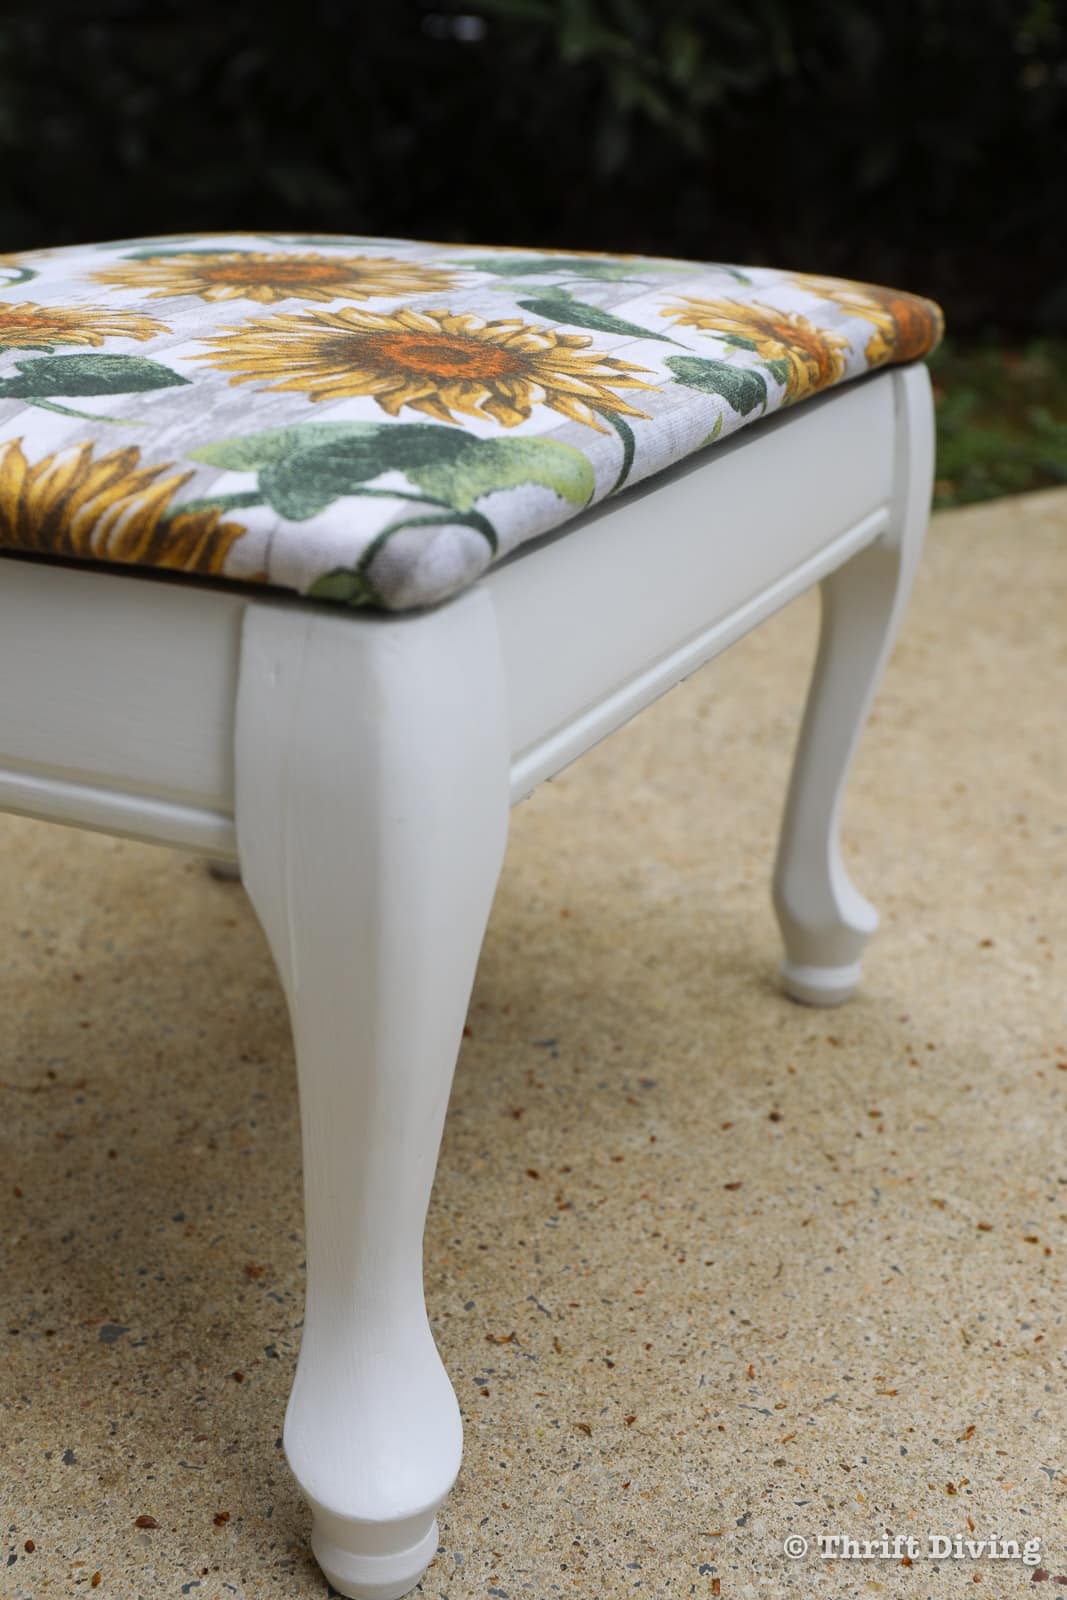
Now we can move on to the finishing touches. Applying a topcoat or furniture wax (which is what we used) is a good way to protect your paint. Start by applying some clear wax to a lint-free cloth – but don’t overload it! Then apply the wax to the painted wood and let it dry for three minutes. Last, use a clean, lint-free cloth to buff it to a shine.
You’ll be left with a painted surface that looks and feels smooth. Reapply the wax every six months or so as needed.
Finally, we can reassemble our furniture and show it off!
Now that you’ve tackled this upcycled stool makeover, the possibilities are endless! Some dining room chairs could be your next great adventure.
We’d love to see how your DIY stool makeover turned out! Share your work with us on Facebook and Instagram by tagging @ArrowFastener or using #MadeWithArrow.
Get Arrow tips, tricks, projects and promos in your inbox!
Hey there! We’ve updated our Privacy and Cookie Policies at the request of some of our friends in Europe. Click Accept to let us know you’re okay with the updates. Thanks!
View Cookie Policy Accept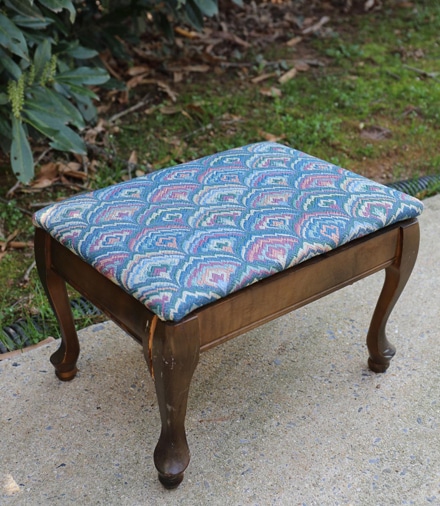