or Call Us at 1-800-776-2228
or Call Us at 1-800-776-2228
Keeping your home at a refreshing temperature is never easy. With radiant barrier and Arrow’s T50HS Professional Advanced Staple Gun, beating the heat is now within reach. This simple DIY project shows how to hang this material in your home to keep it cooler during the hottest months of the year and to lower your air conditioning bills. Radiant barriers provide benefit on hot sunny days. They help reflect heat back through the roof. For this reason, they are recommended for installation in the Southern Zone of the USA (due to the amount of AC usage). However, they will provide reduced heat gain into the home wherever they are installed.
For our project, we hung radiant barrier in an older location that had a full floor and not the joists that are typical when working in most attics. If you perform this project in an attic with a joist floor, be extra careful to maintain secure footing. Appropriate personal protective equipment should be worn at all times and includes safety goggles, gloves and hearing protection.
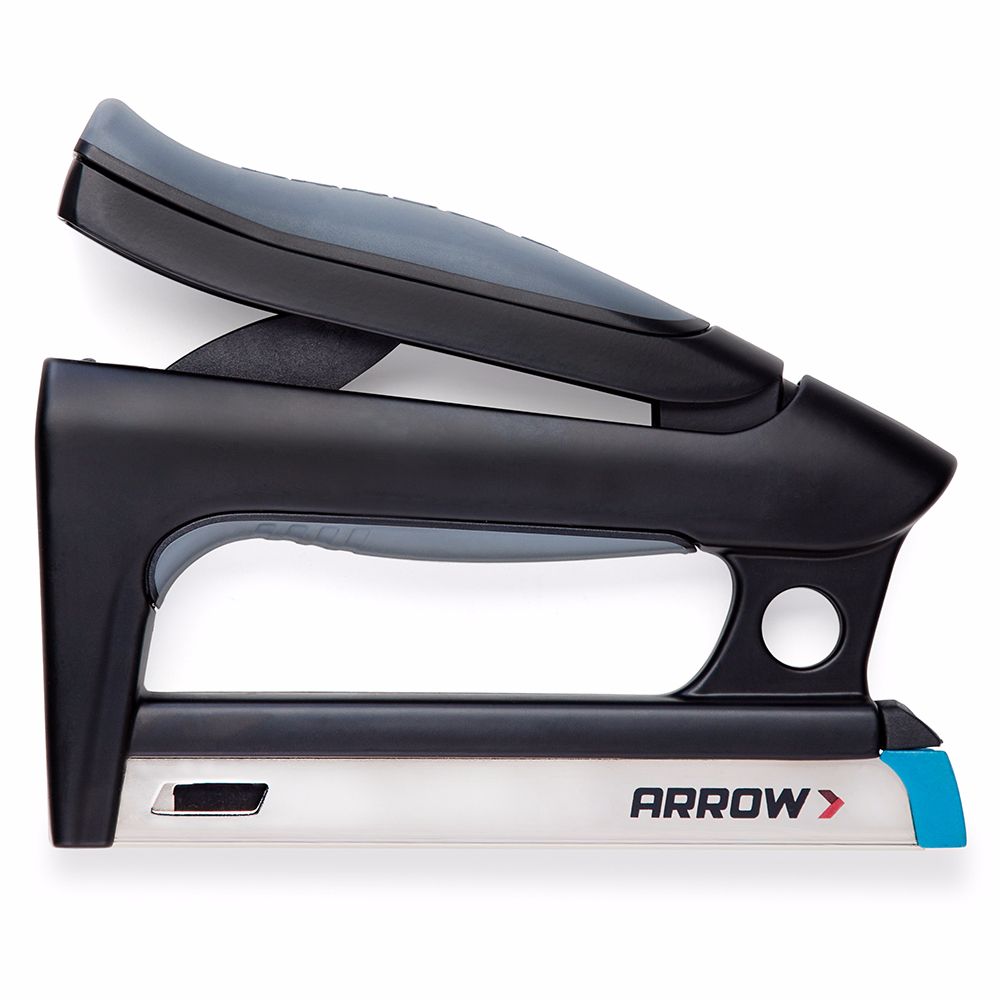
Professional Staple Gun and Nailer
Since you’ll be installing the radiant barrier in segments, measure the area in manageable lengths that you’re comfortable with hanging. We used the 48” width material. Don’t forget to measure spots that interfere with your straight cut, such as wire, poles or pipes. If you can, have a second person help you during the measuring and hanging process.
Since you’ll be installing the radiant barrier in segments, measure the area in manageable lengths that you’re comfortable with hanging. We used the 48” width material. Don’t forget to measure spots that interfere with your straight cut, such as wire, poles or pipes. If you can, have a second person help you during the measuring and hanging process.
Now that you’ve determined your dimensions, you can measure the radiant barrier. Roll out the material, measure to the correct length, and mark with a permanent marker. Always pull the radiant barrier tightly while measuring for best fit.
Now that you’ve determined your dimensions, you can measure the radiant barrier. Roll out the material, measure to the correct length, and mark with a permanent marker. Always pull the radiant barrier tightly while measuring for best fit.
Once all measurements have been marked, use a utility knife and straight edge to cut. Repeat this process for all your measurements, including any of the interfering areas.
Once all measurements have been marked, use a utility knife and straight edge to cut. Repeat this process for all your measurements, including any of the interfering areas.
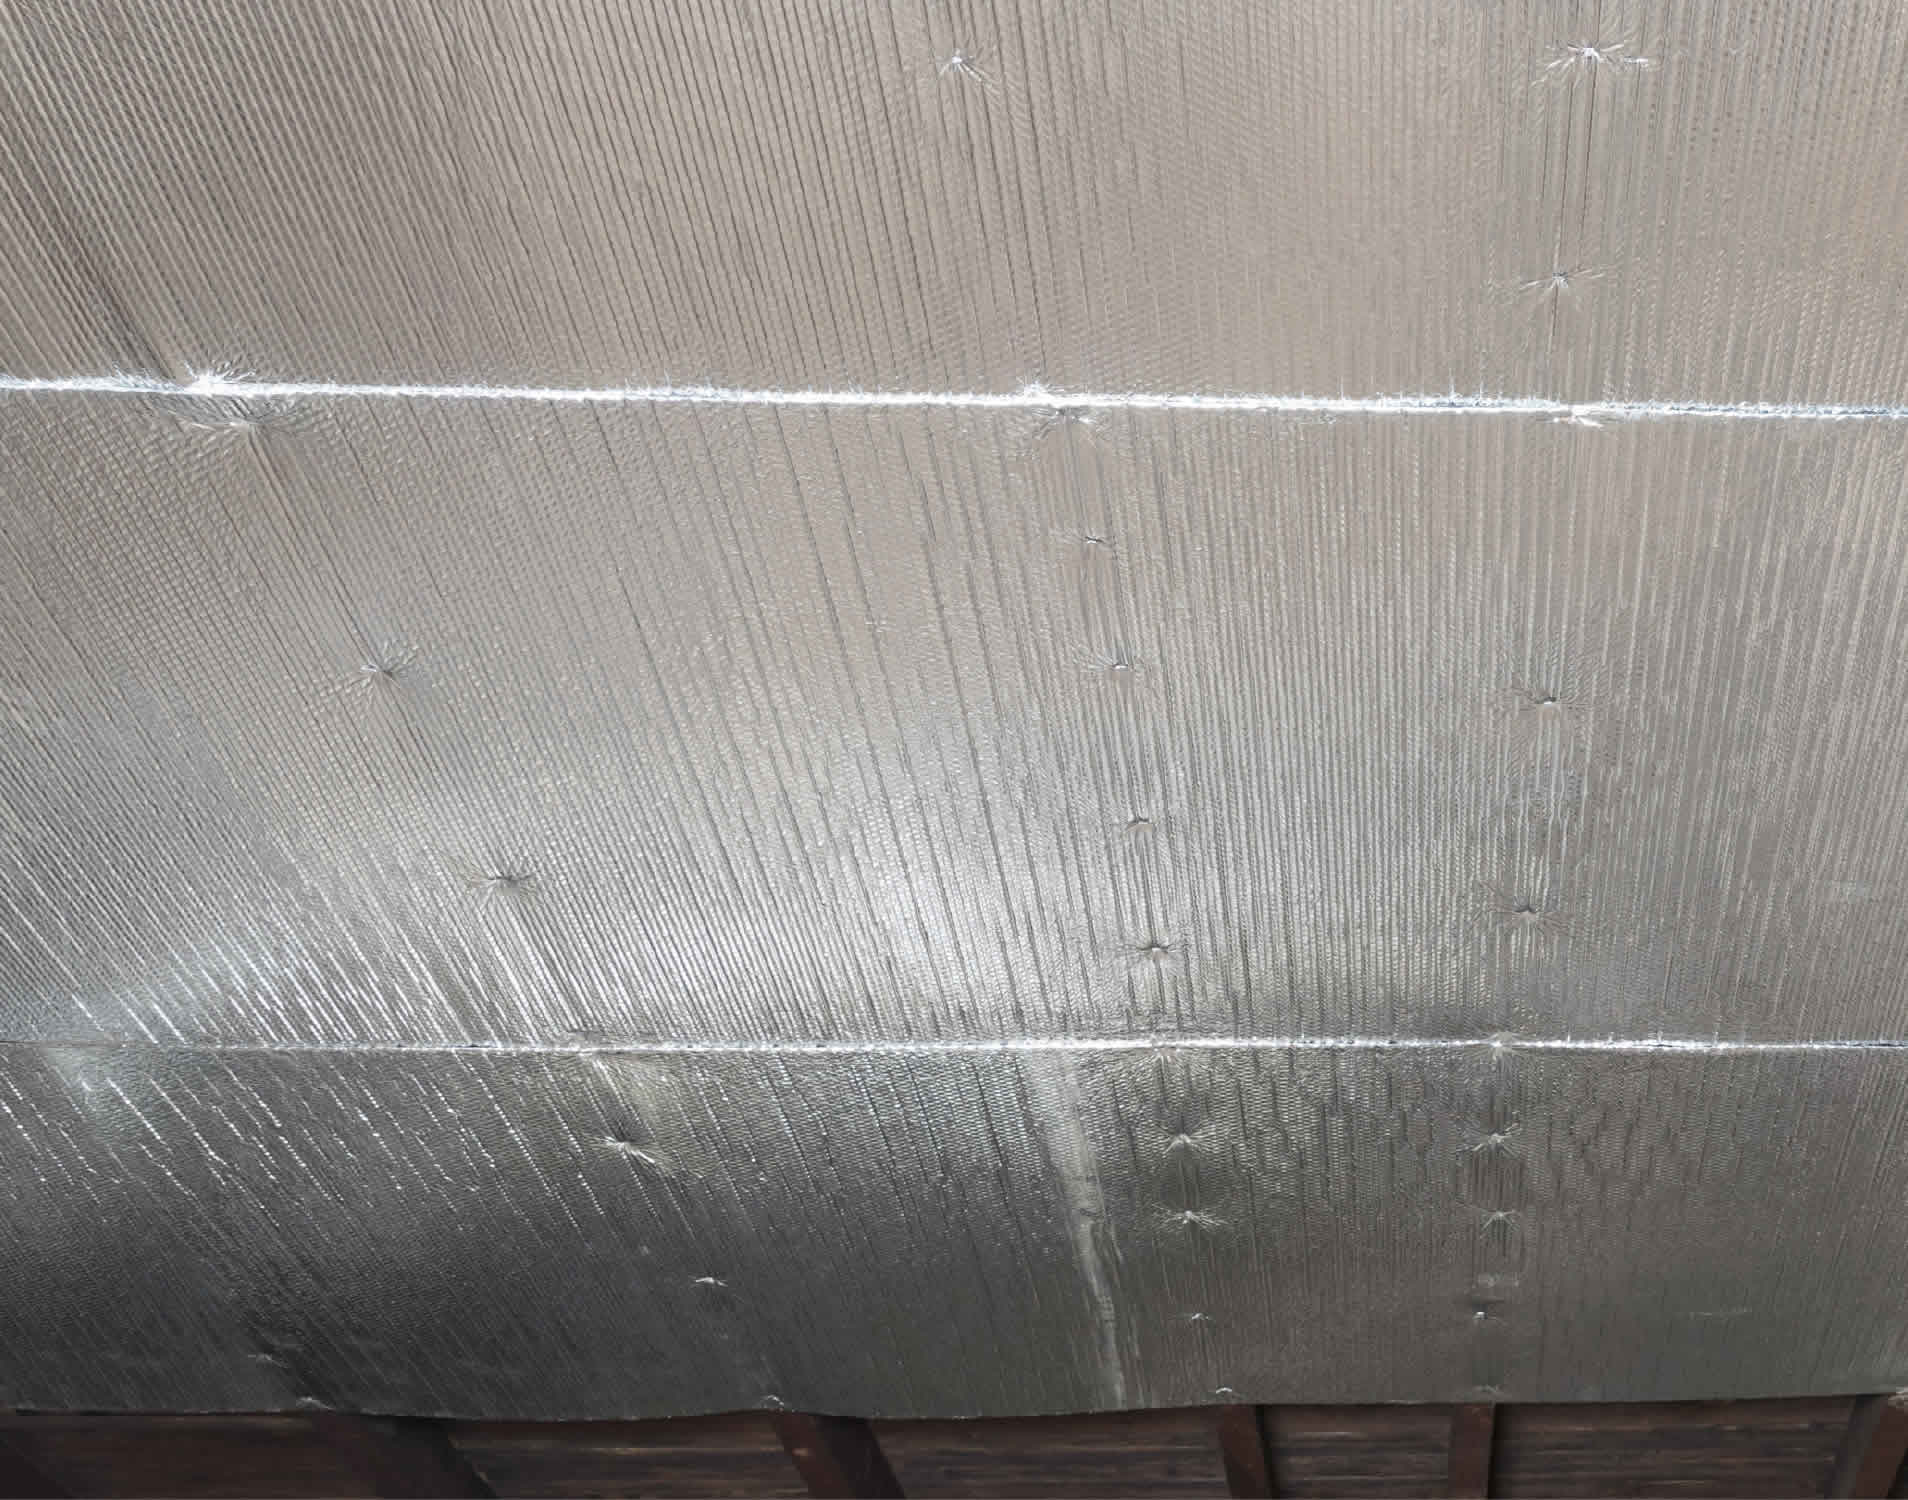
To install the radiant barrier, place the material perpendicular to the rafters starting at the peak of the roof. Leave a 2” – 3” gap at the roof peak. Use the T50HS to staple it into place. Remember to check that the material is lined up correctly based on your measurements. Now staple the radiant barrier vertically every 3” – 4” until you have stapled from the top of the joist to the bottom of the joist. After you complete the first set of staples, pull tightly to the next parallel joist and continue to staple from top to bottom. Tip: rolling out longer lengths of material with one person holding and one person stapling, makes for a quicker installation.
To install the radiant barrier, place the material perpendicular to the rafters starting at the peak of the roof. Leave a 2” – 3” gap at the roof peak. Use the T50HS to staple it into place. Remember to check that the material is lined up correctly based on your measurements. Now staple the radiant barrier vertically every 3” – 4” until you have stapled from the top of the joist to the bottom of the joist. After you complete the first set of staples, pull tightly to the next parallel joist and continue to staple from top to bottom. Tip: rolling out longer lengths of material with one person holding and one person stapling, makes for a quicker installation.
Continue to staple the material to the joists from top to bottom until you’ve attached the segment of radiant barrier.
Continue to staple the material to the joists from top to bottom until you’ve attached the segment of radiant barrier.
When you start to attach the second segment of radiant barrier, place the new piece over the existing one, allowing for 2” of overlap (no taping is required). Then use the T50HS to fasten the material to the joist from top to bottom, every 3” – 4”, moving to the parallel joist when finished.
When you start to attach the second segment of radiant barrier, place the new piece over the existing one, allowing for 2” of overlap (no taping is required). Then use the T50HS to fasten the material to the joist from top to bottom, every 3” – 4”, moving to the parallel joist when finished.
Take extra care when stapling the barrier around those interfering spots that require cutting and wrapping such as beams, supports and other objects. Leave a gap at the roof line (18” or less – see photo below). Make sure to leave any air vents or fans exposed by cutting around them and leaving a 1” – 2” gap.
Enjoy your hard work and see the savings roll in on your HVAC bills!
We’d love to see how your radiant barrier project turned out! Share your results with us on Facebook, Instagram or X by tagging us or using #MadeWithArrow.
Get Arrow tips, tricks, projects and promos in your inbox!
Hey there! We’ve updated our Privacy and Cookie Policies at the request of some of our friends in Europe. Click Accept to let us know you’re okay with the updates. Thanks!
View Cookie Policy Accept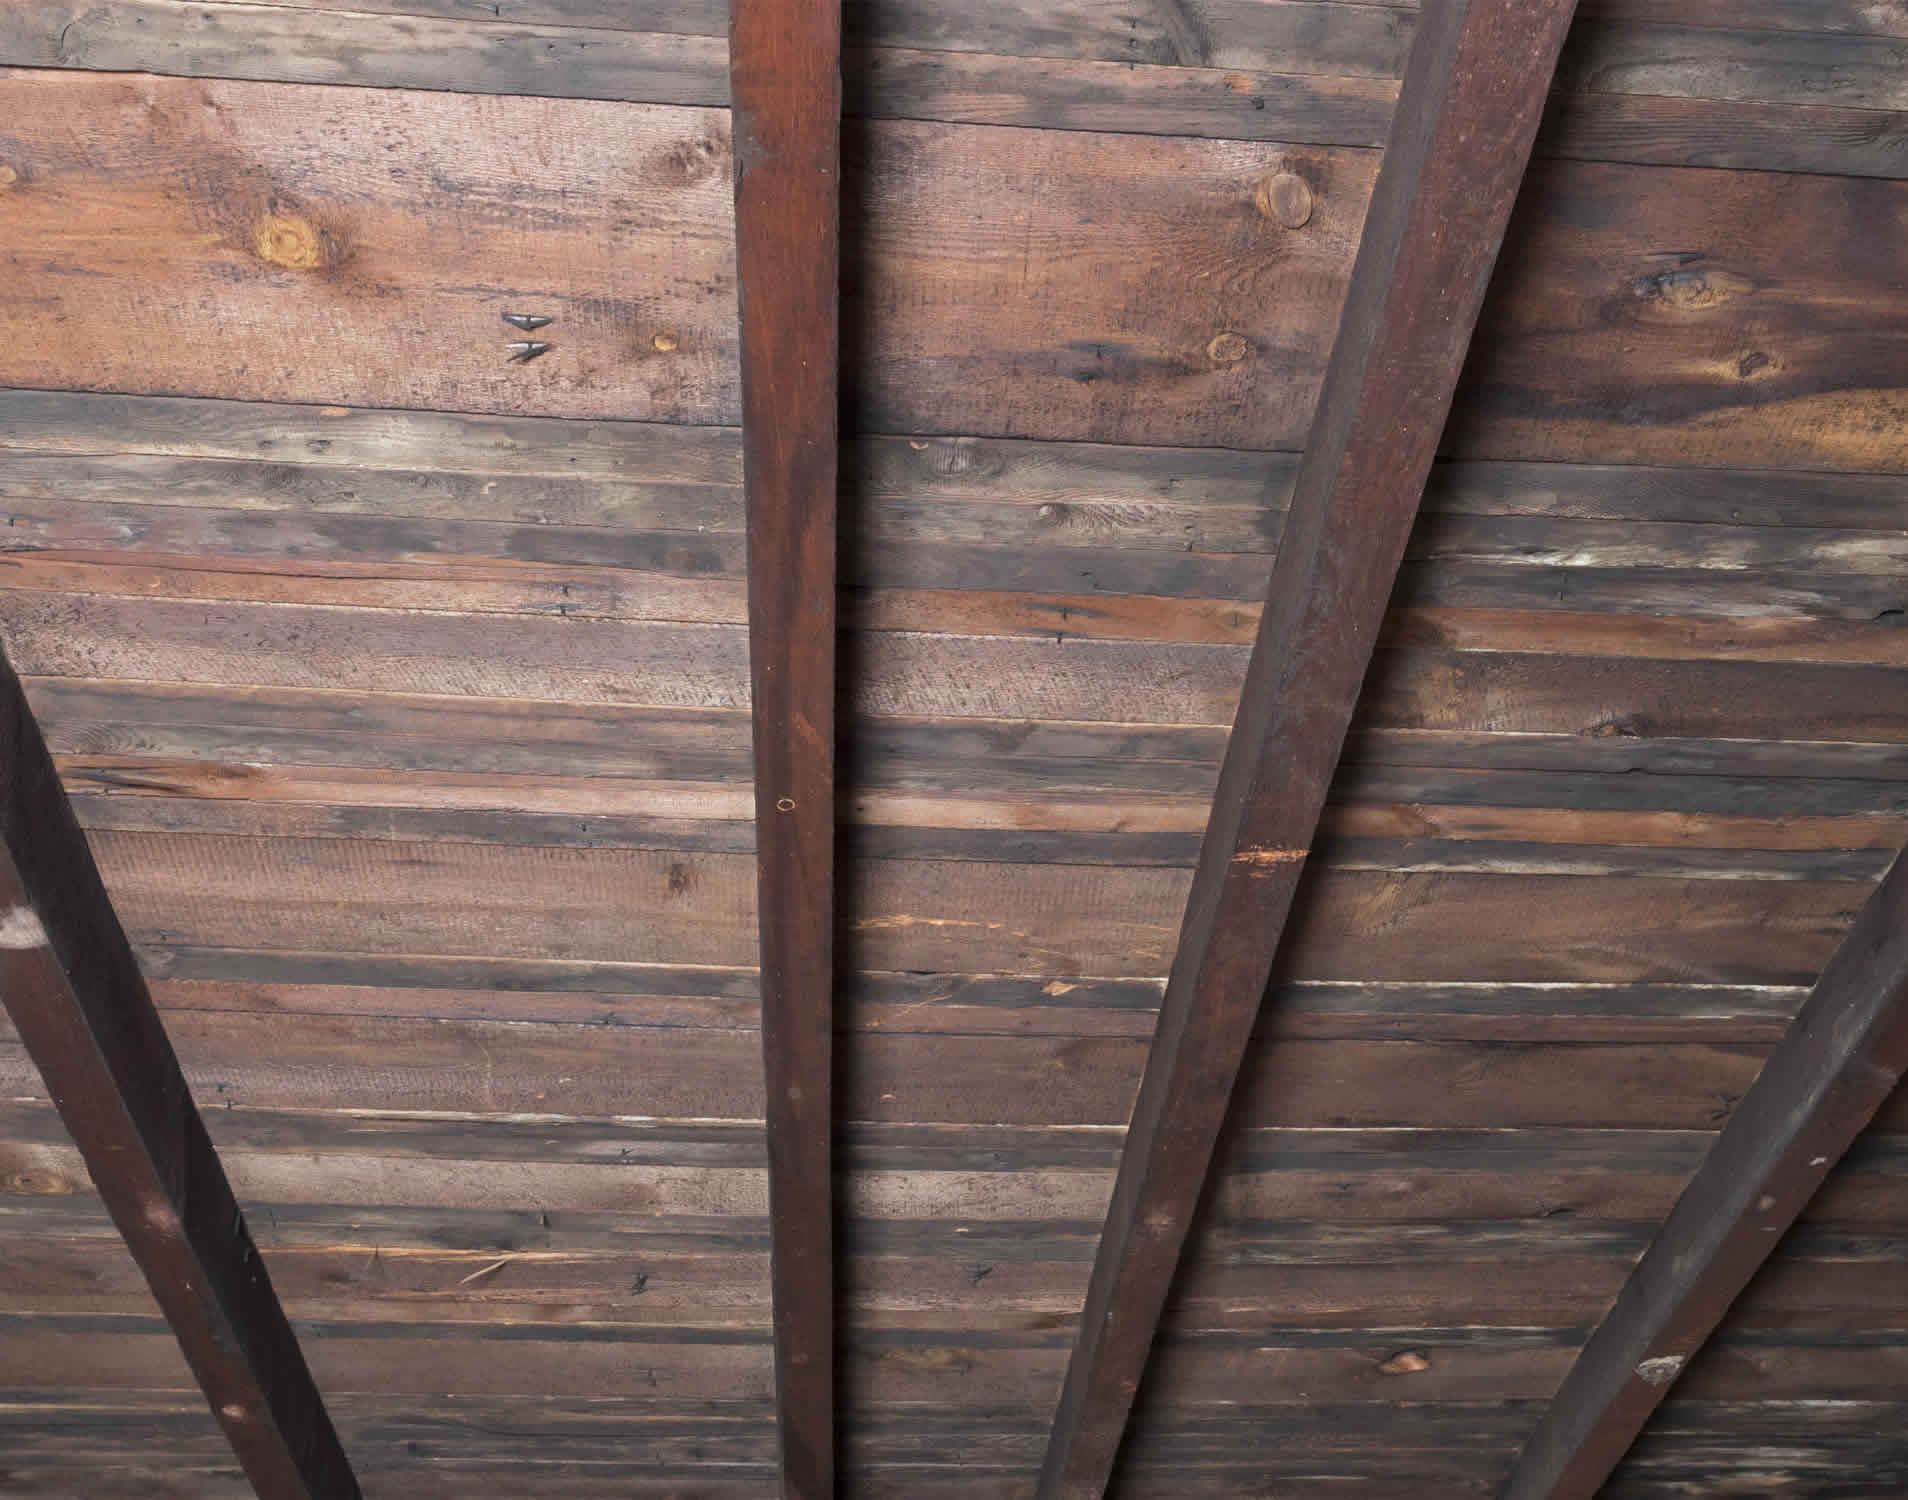