or Call Us at 1-800-776-2228
or Call Us at 1-800-776-2228
Show your enthusiasm for March Madness and the men's NCAA basketball championship tournament with a basketball yard sign that promotes your team spirit using the Arrow T50X TacMate.
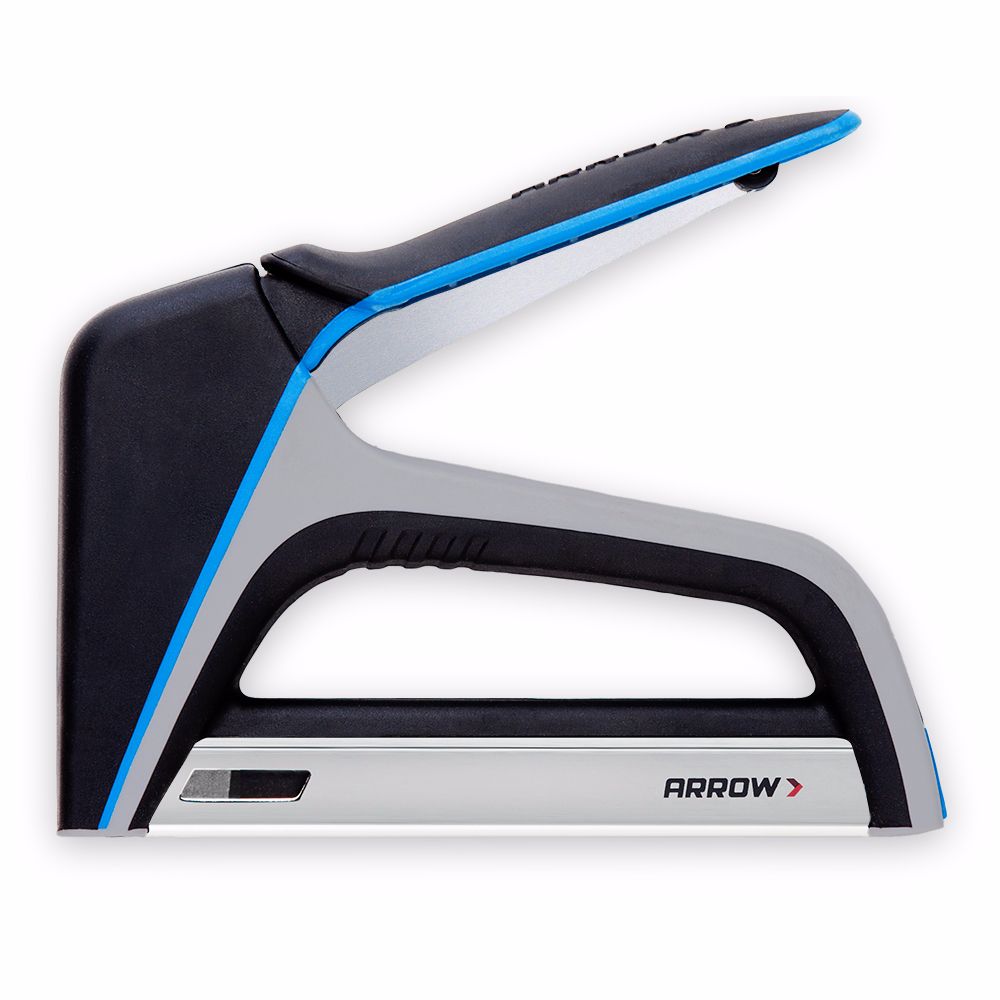
TacMate™ Heavy-Duty Staple Gun

Begin by painting the 20” x 24” plywood your team color. Let dry. Pre-drill holes for the attachment of the stake. You may choose to personalize the board at this time or after the hoop and ball have been attached.
Begin by painting the 20” x 24” plywood your team color. Let dry. Pre-drill holes for the attachment of the stake. You may choose to personalize the board at this time or after the hoop and ball have been attached.
Prepare basketball – the top of the basketball will be cut off with the exception of a tab (see image). Kind-of like a pumpkin before carving. Using a marker, draw a line where the cut will be. The opening should be big enough for your hand to fit comfortably while holding the Arrow T50X TacMate Staple Gun. Using a utility knife, carefully cut along the guidelines. Set it aside.
Prepare basketball – the top of the basketball will be cut off with the exception of a tab (see image). Kind-of like a pumpkin before carving. Using a marker, draw a line where the cut will be. The opening should be big enough for your hand to fit comfortably while holding the Arrow T50X TacMate Staple Gun. Using a utility knife, carefully cut along the guidelines. Set it aside.
Creating the hoop – Measure up from the bottom 13” and in on each side 5 ¾” – mark with pencil. Use the power drill and the 5/64” drill bit to make a hole on the mark. Continue to drill holes in the plywood until a slot has been created the width of the aluminum flat (1/2”). You could also use a jigsaw for this step.
Creating the hoop – Measure up from the bottom 13” and in on each side 5 ¾” – mark with pencil. Use the power drill and the 5/64” drill bit to make a hole on the mark. Continue to drill holes in the plywood until a slot has been created the width of the aluminum flat (1/2”). You could also use a jigsaw for this step.
Insert aluminum flat into slots on both sides. On backside, bend aluminum flat until flush with plywood. Use a hammer to flatten. Secure aluminum flat by placing a 5/16” staple across each corner.
Insert aluminum flat into slots on both sides. On backside, bend aluminum flat until flush with plywood. Use a hammer to flatten. Secure aluminum flat by placing a 5/16” staple across each corner.
Attach net to “rim” (aluminum flat) by wrapping ends around the aluminum flat. Secure with white twist ties. Tuck the ends of the twist tie under the net to conceal. Staple remaining net not wrapped to the plywood using 5/16” staples. Trim any excess net or tuck into the basketball after it has been stapled to the plywood (next step).
Attach net to “rim” (aluminum flat) by wrapping ends around the aluminum flat. Secure with white twist ties. Tuck the ends of the twist tie under the net to conceal. Staple remaining net not wrapped to the plywood using 5/16” staples. Trim any excess net or tuck into the basketball after it has been stapled to the plywood (next step).
Attach basketball – place basketball on plywood, half in the net and half out. Hold basketball in place by holding the tab. Roll basketball away from you to reveal the tab. Staple tab to plywood using 1/2” staples. Tuck any remaining net under basketball and staple in place.
Attach basketball – place basketball on plywood, half in the net and half out. Hold basketball in place by holding the tab. Roll basketball away from you to reveal the tab. Staple tab to plywood using 1/2” staples. Tuck any remaining net under basketball and staple in place.
Personalize using paint or decals depicting your favorite team. Screw plywood to stake and hammer into ground or place in a bucket filled with decorative stones.
Personalize using paint or decals depicting your favorite team. Screw plywood to stake and hammer into ground or place in a bucket filled with decorative stones.
We’d love to see how your DIY Favorite Team Basketball Yard Sign project turned out! Share your results with us on Facebook, Instagram or X by tagging #MadeWithArrow.
Get Arrow tips, tricks, projects and promos in your inbox!
Hey there! We’ve updated our Privacy and Cookie Policies at the request of some of our friends in Europe. Click Accept to let us know you’re okay with the updates. Thanks!
View Cookie Policy Accept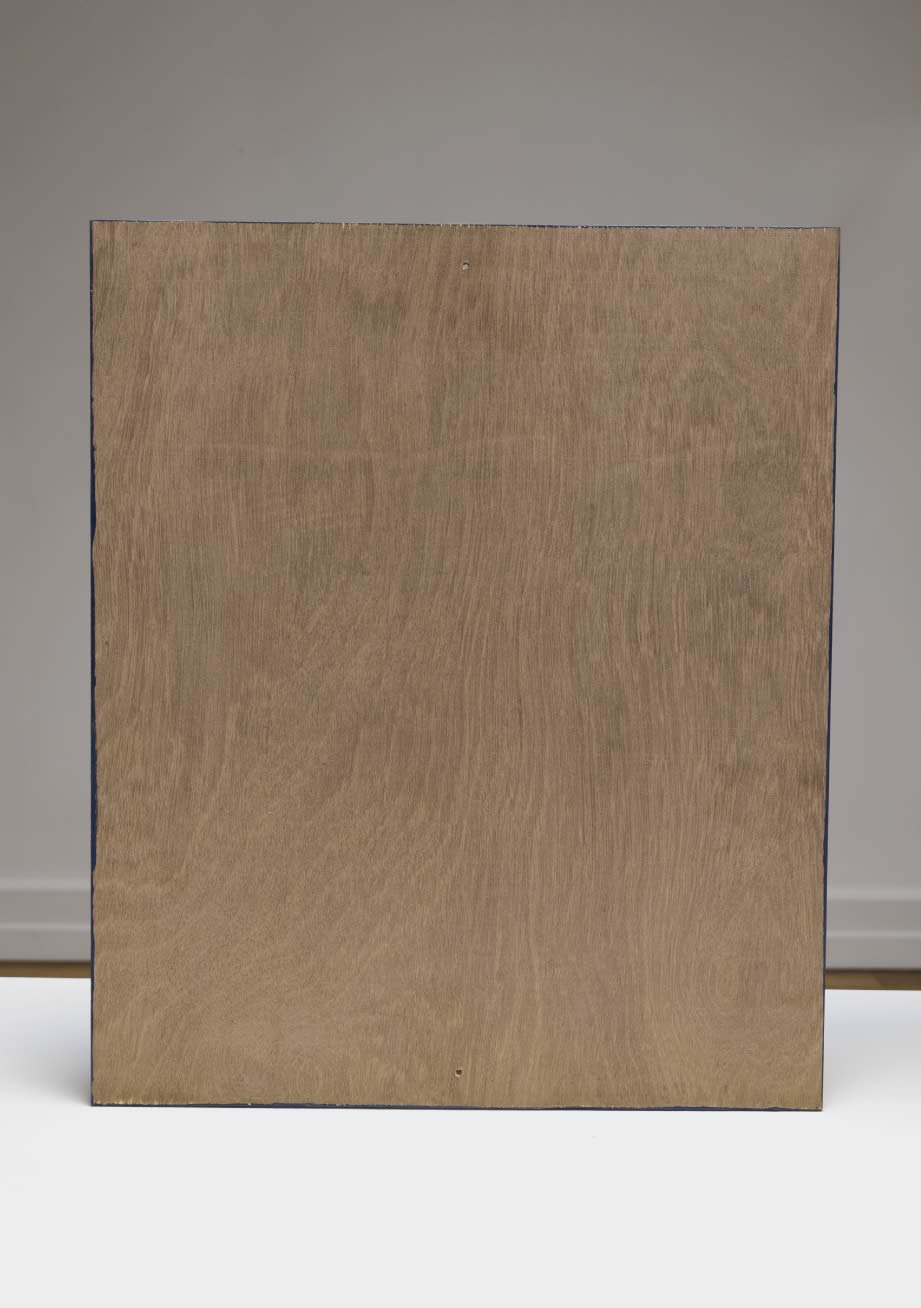