or Call Us at 1-800-776-2228
or Call Us at 1-800-776-2228
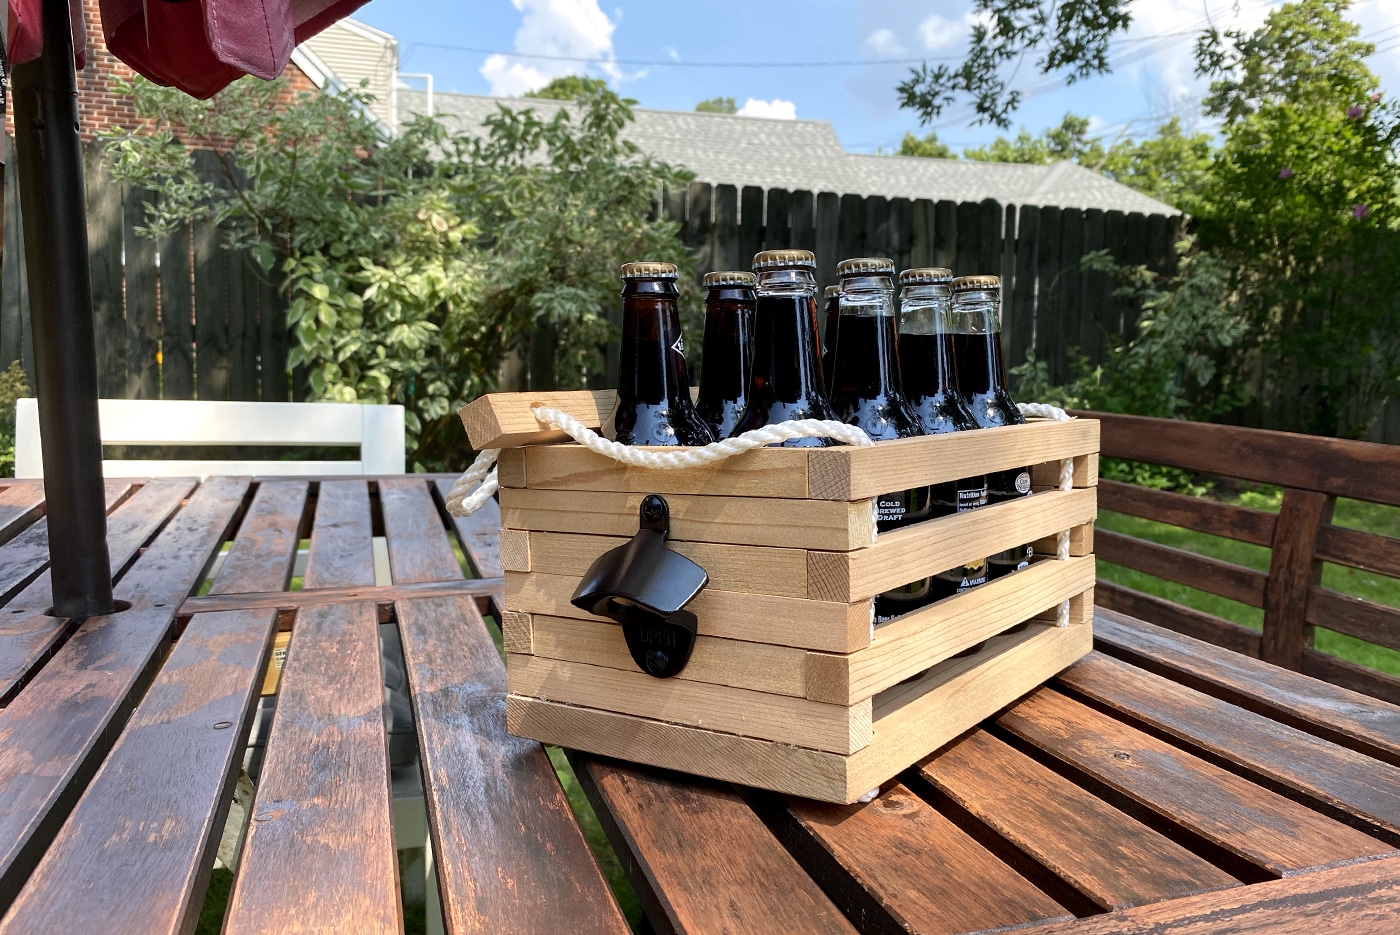
The great American debate: “Pop” or “soda”? Whatever you call it, this DIY beverage carrier is the perfect picnic companion to hold your favorite fizzy drink or a six-pack of brew. So grab your Arrow GT300 professional high-temp glue gun and let’s get to work!
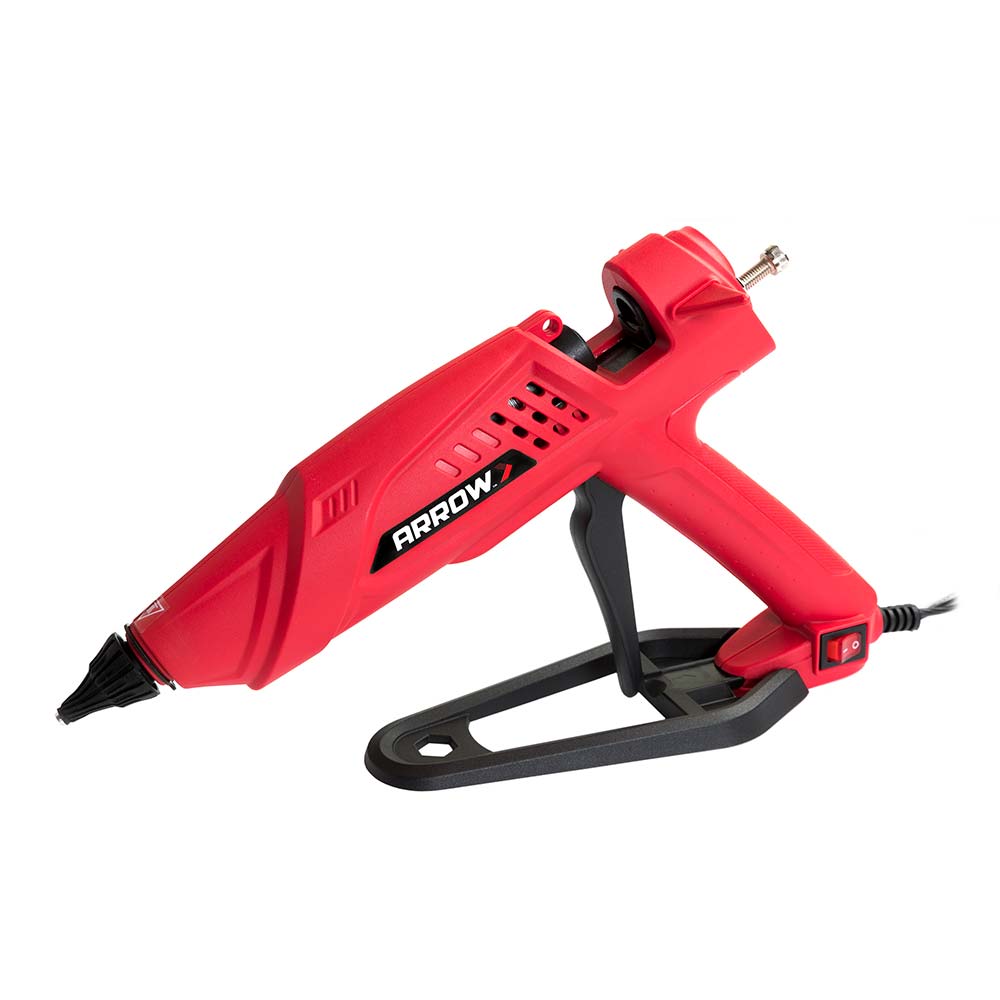
Professional High-Temp Glue Gun
First, cut the sheet of poplar into the base (A), which measures 7 ½” x 12″. Then cut the 1″ x 1″ boards to the following lengths:
Sides (B): Six 12″ lengths
Handle (C): One 12″ length
Long ends (D): Six 7 ½” lengths
Short ends (E): Six 6″ lengths
And cut your rope (F) to two 24″ lengths.
Don’t forget to sand down the edges of the handle piece to smooth it out. If you want to paint or stain the pieces, do so before assembly.
Place marks at 1 ¼” from both ends of the handle piece (C), then drill a hole at each marking for the rope to thread through.
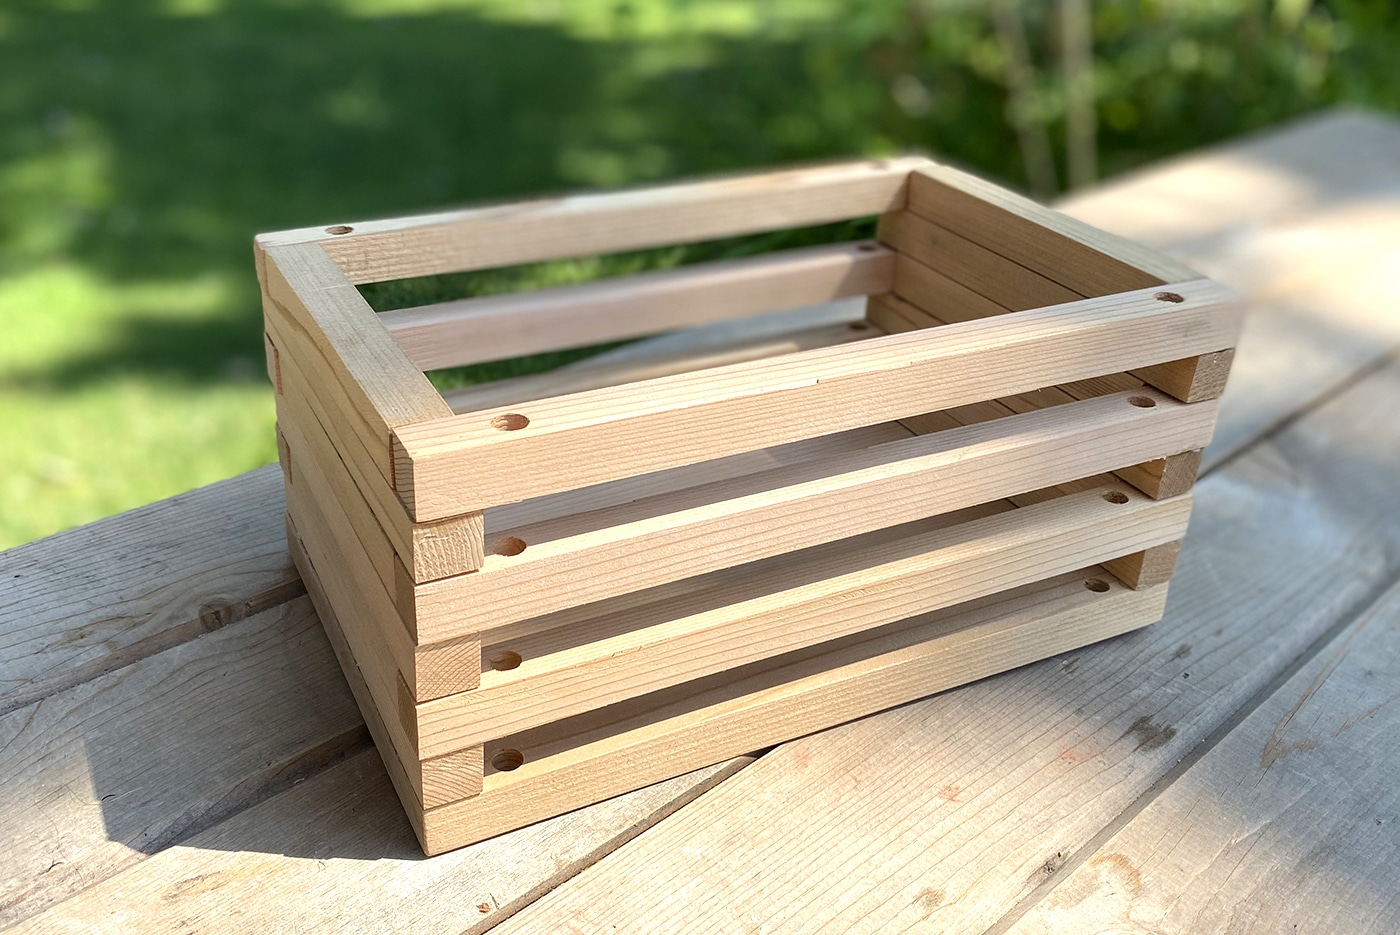
It’s time to begin assembling! Stack three side pieces (B) on each long side of the base (A). Using woodworking clamps, secure these pieces together on both sides of the base. Then drill holes 1 ¼” from each end of the pieces for the rope to thread through.
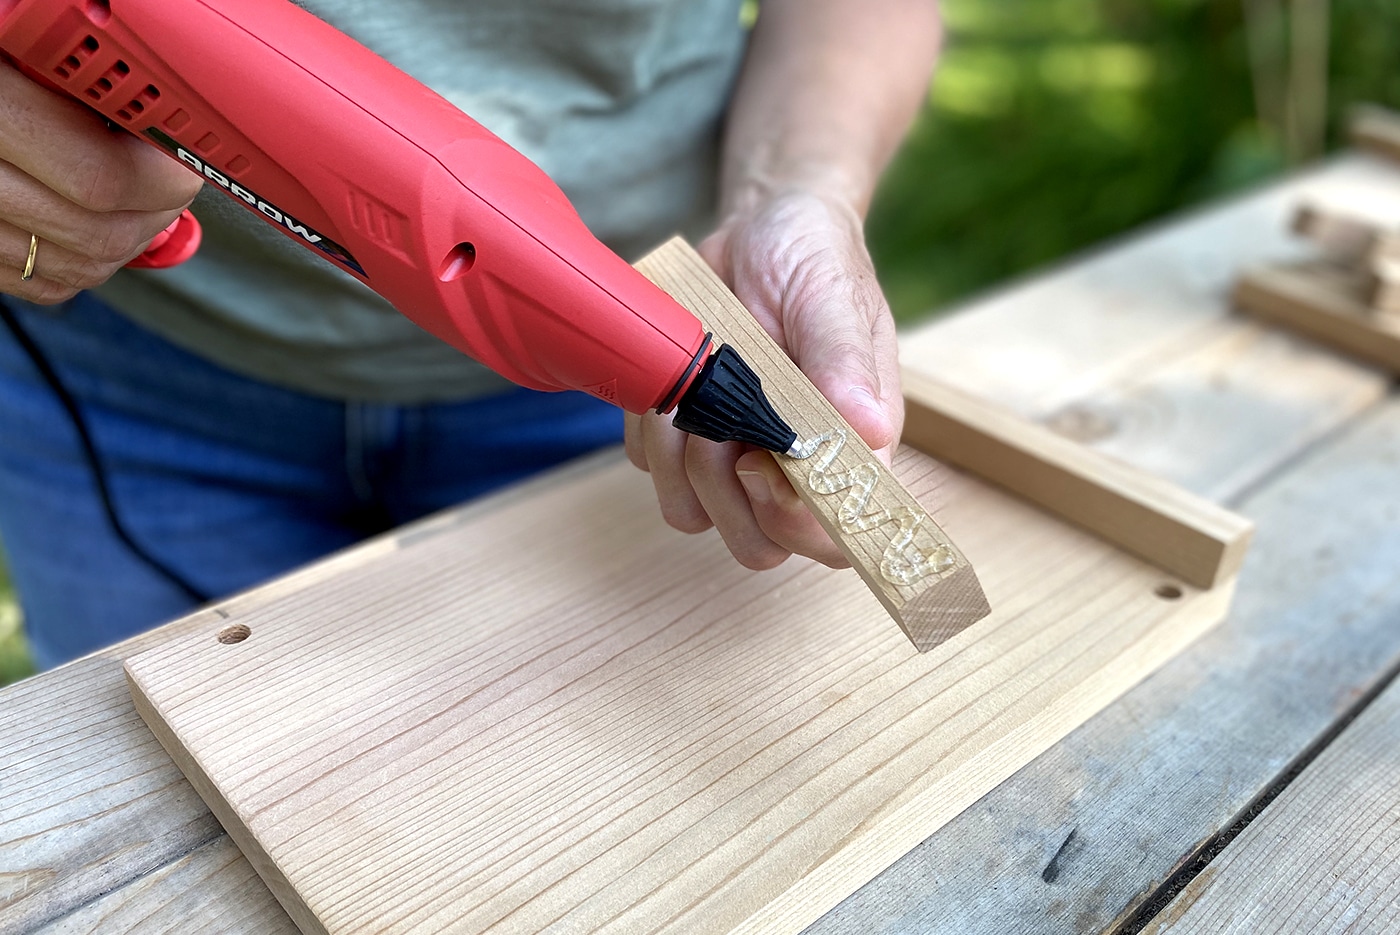
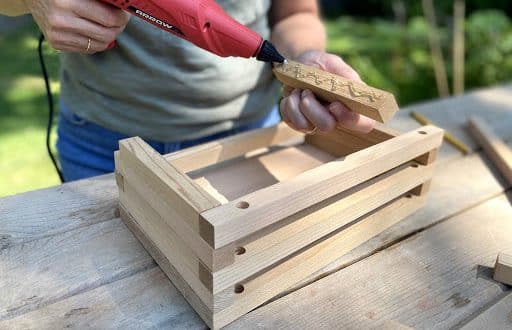
Place your base (A) face up, then glue a long end (D) on each short side of the base (A) using your GT300 professional high-temp glue gun. Next, stack one side piece (B) on top of the long ends (D) like a log cabin. Glue the ends of the side piece to the long end pieces, being mindful to line up the drilled holes vertically.
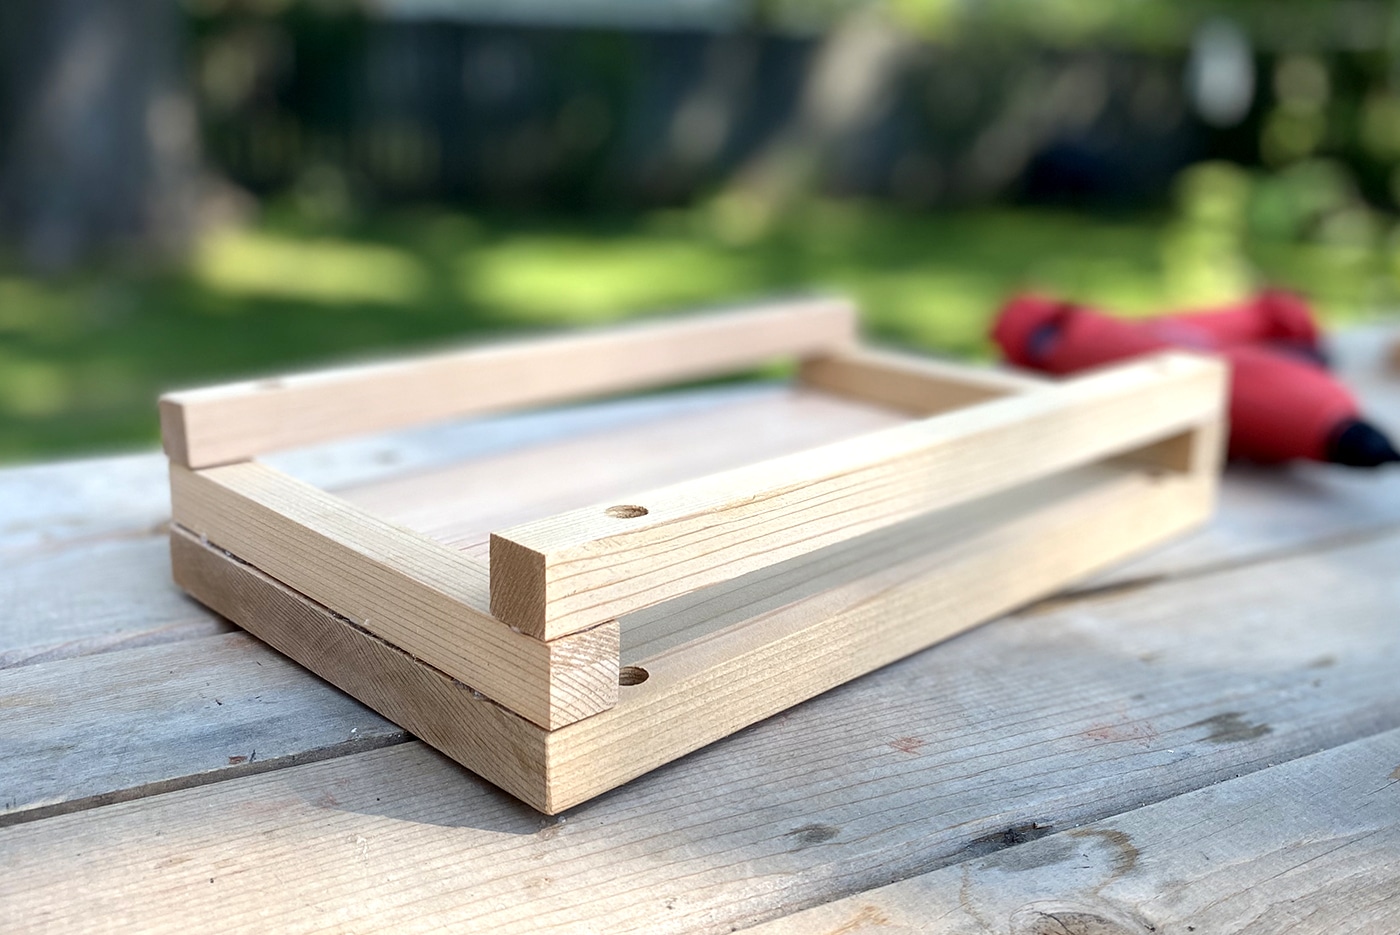
On one end of the base (A), glue a short end piece (E) on top of the long end piece (D). Repeat on the other side. Then glue your second side piece (B) to complete your second course. Continue gluing and stacking end pieces and side pieces in this order until complete. Trim any cooled excess glue with a utility blade, and sand using your sanding block.
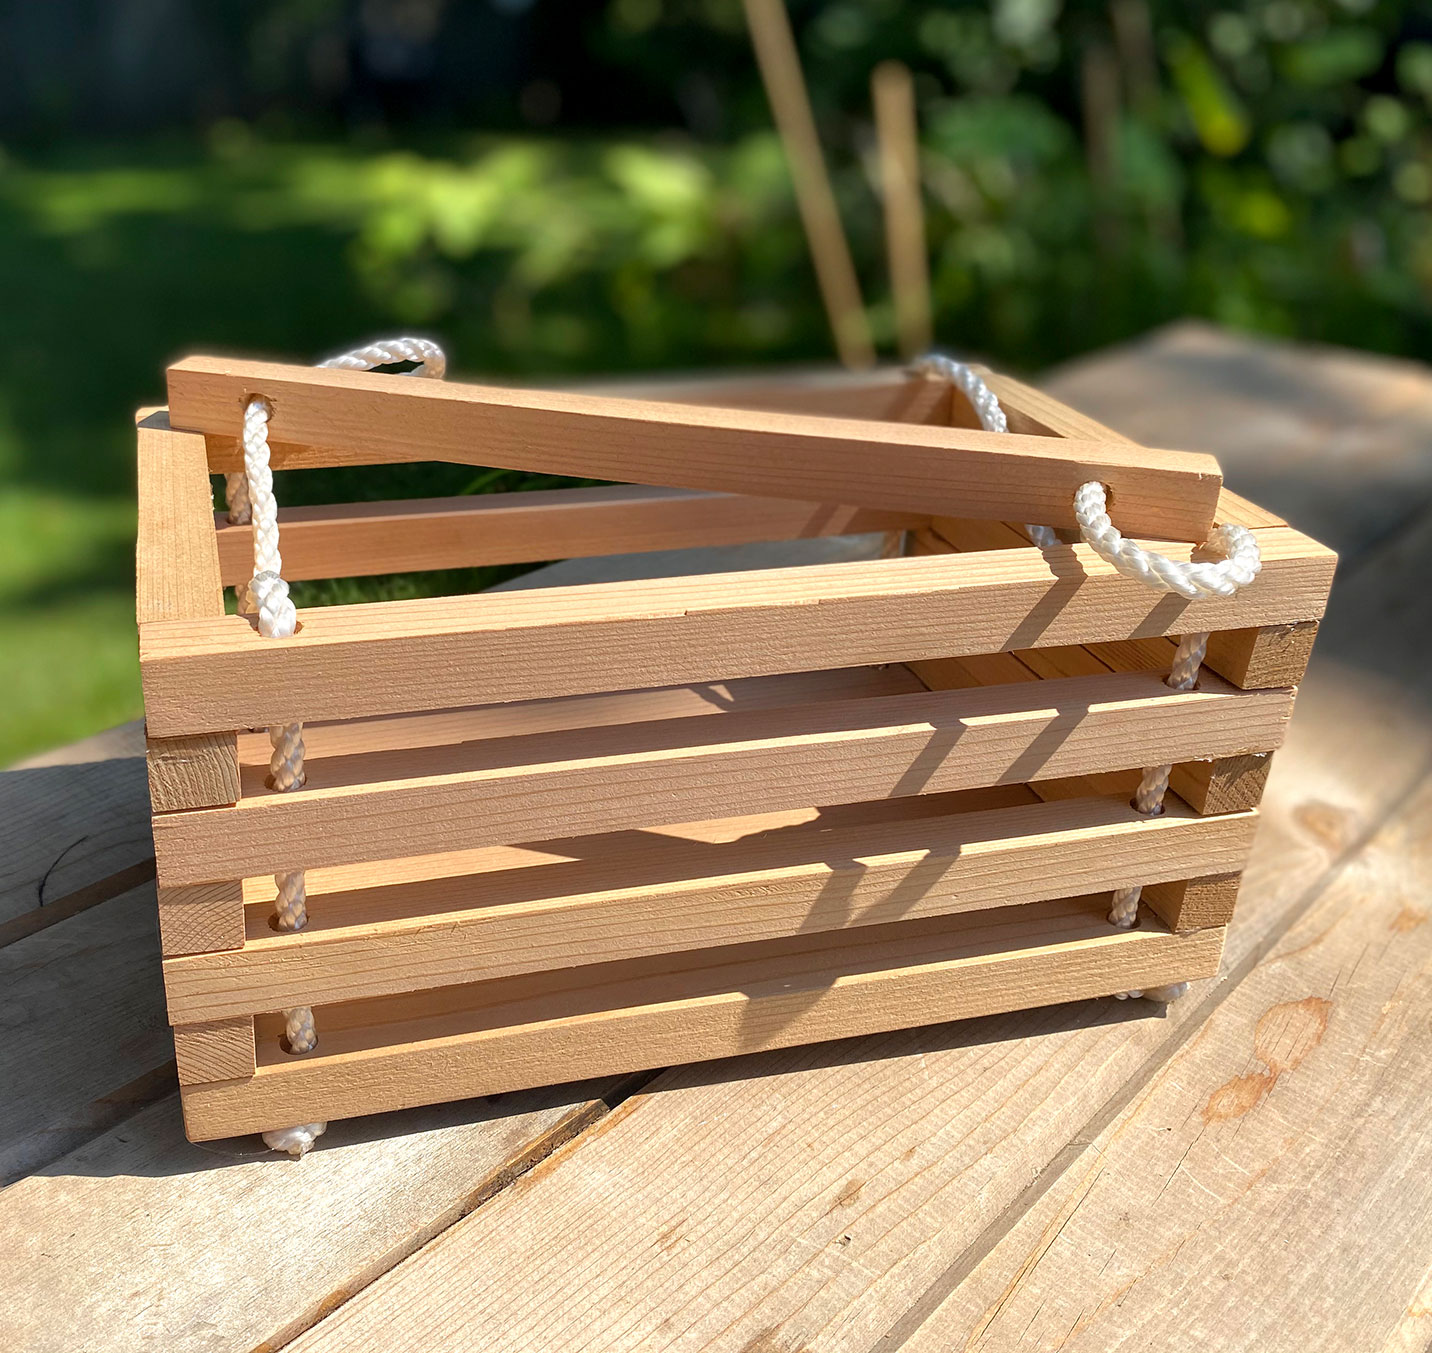
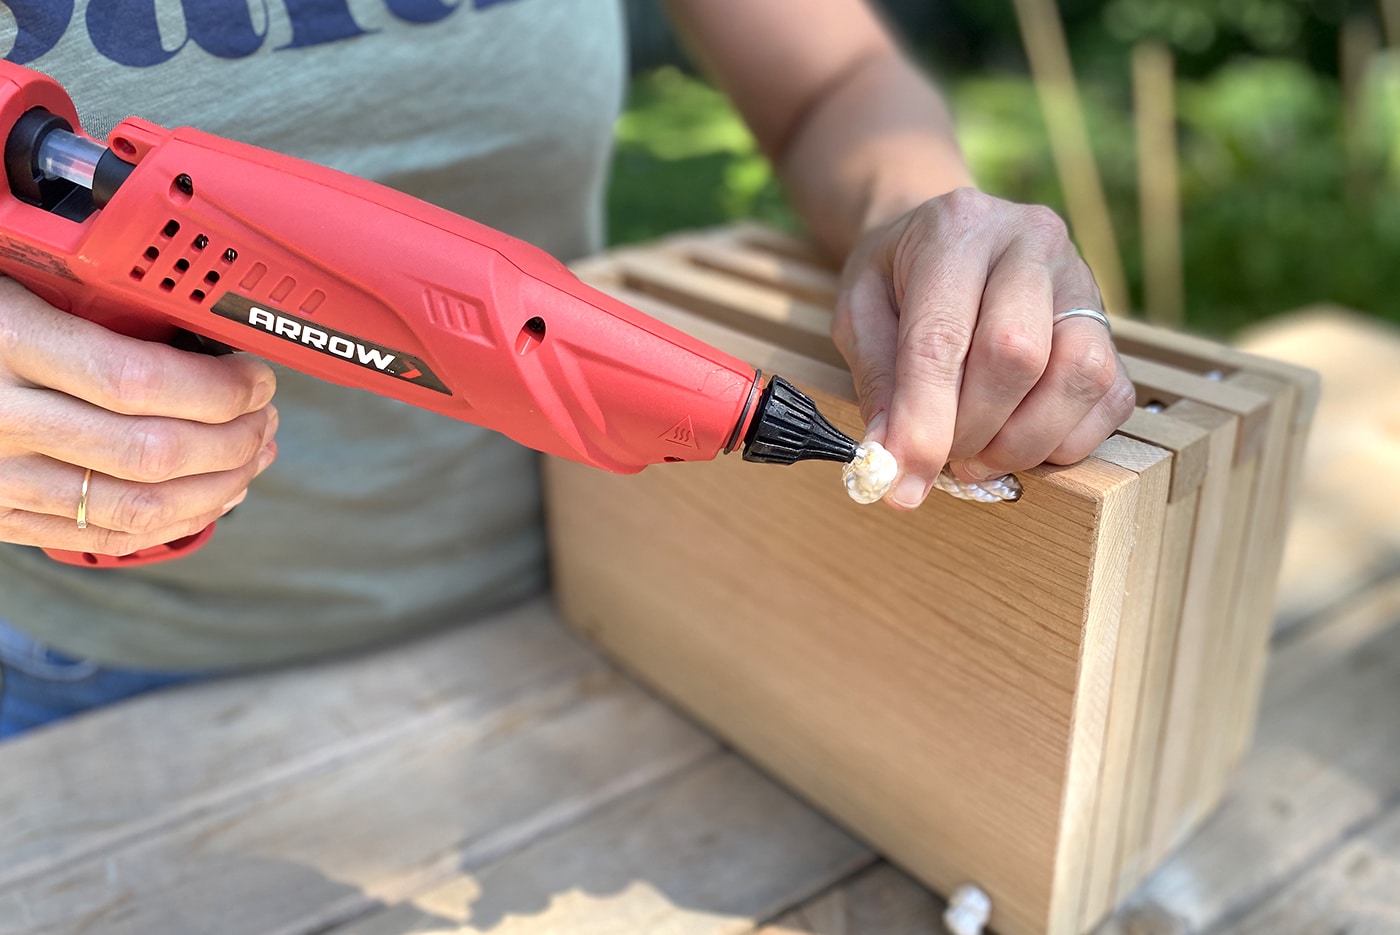
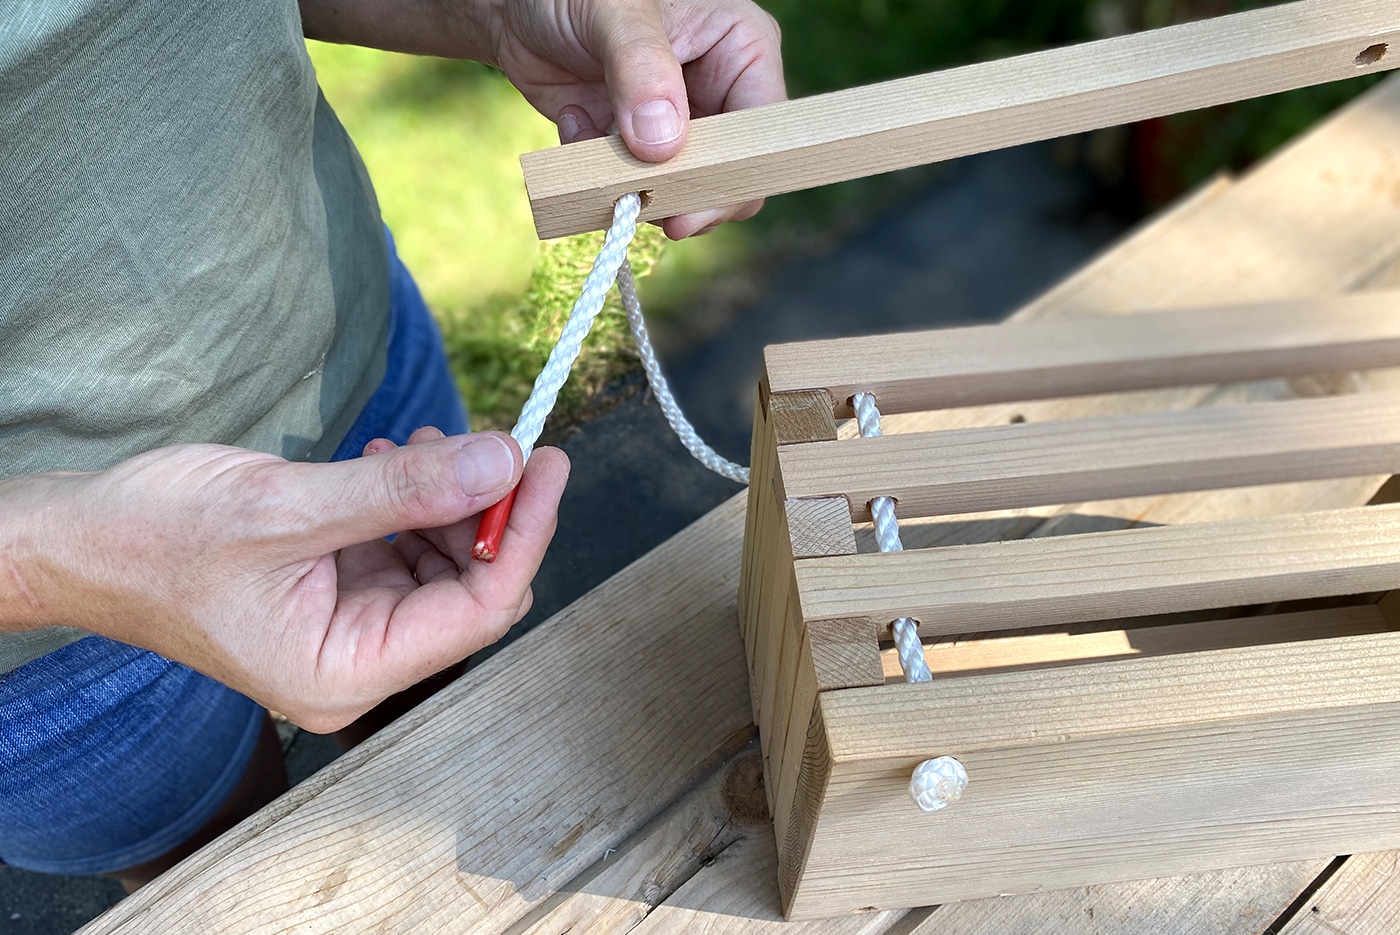
Tie an overhand knot in one end of each rope (F) and glue your knot. Then tape the opposite end using electrical tape for easier threading. Now string it from the bottom of each end of the carrier up through the side walls. Then pass the rope through the handle (C), back down through the opposite side, and finally through the bottom. Tie an overhand knot in that end and glue to secure the rope. Check that your carrier is level with the handle when lifted up and adjust your knots as needed. Add a spot of glue to secure each knot to the bottom of the base.
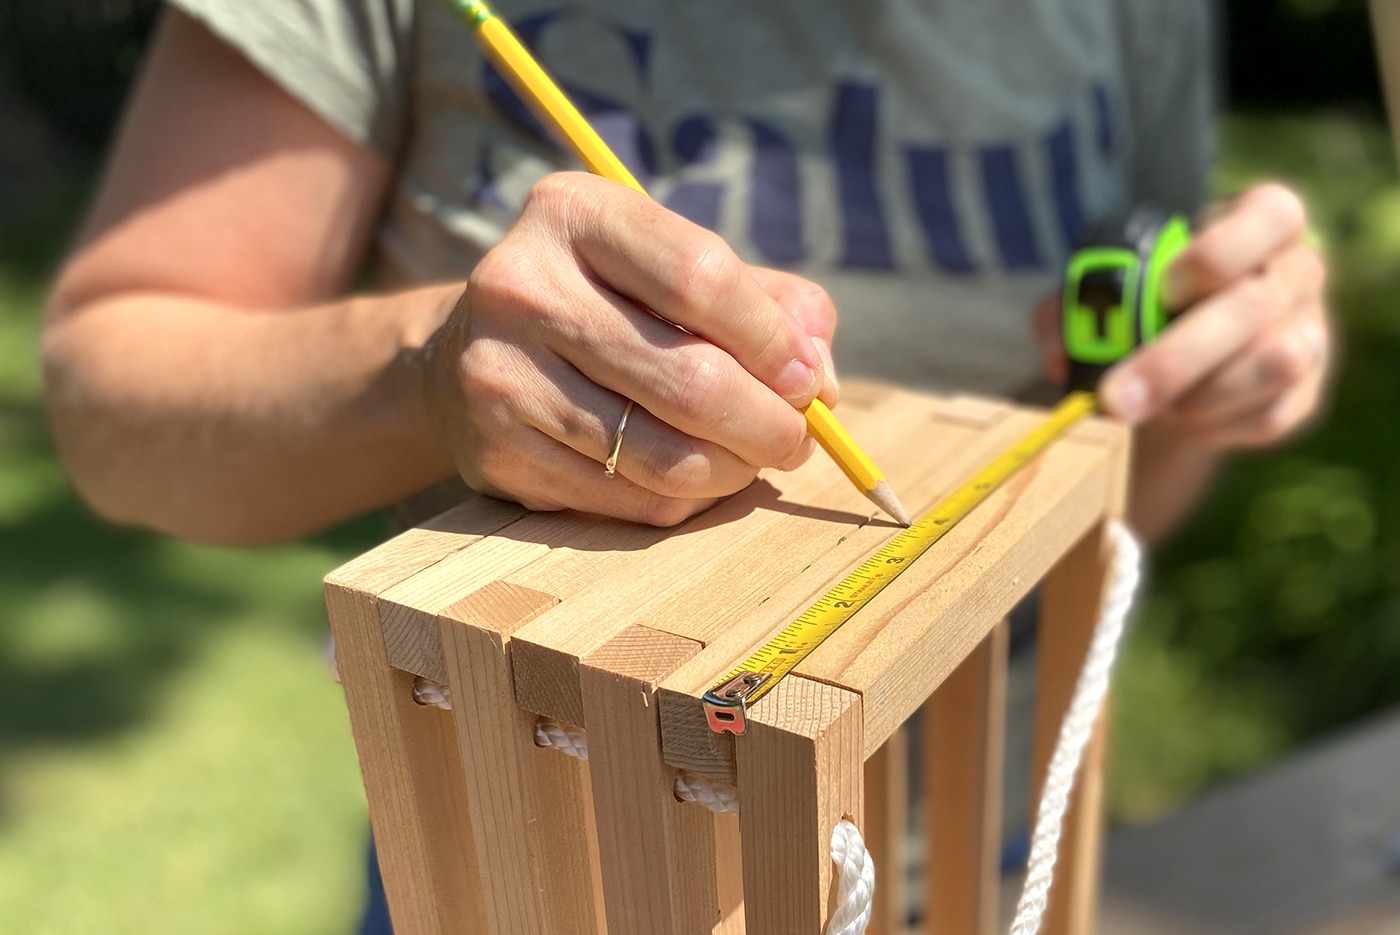
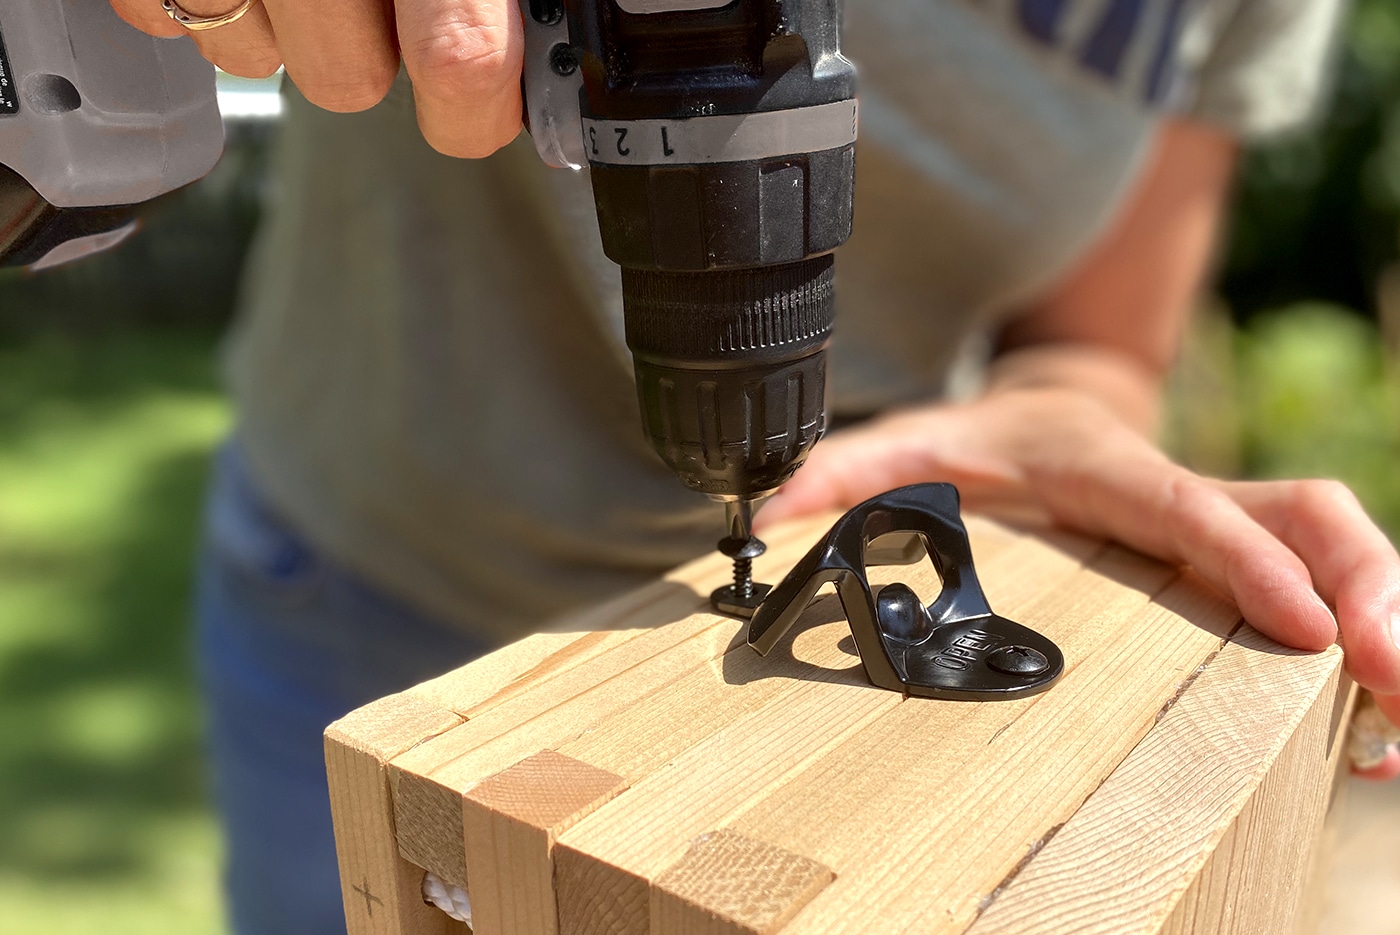
On one end of the carrier, locate the center to install your bottle opener. Depending on your opener, secure the top screw through the center of the second course down. Finish the installation with any additional screws required to mount the opener.
Do you know any cookout kings or queens? This project would make a great gift filled with a six-pack of their favorite beverage and some festive paper napkins!
We’d love to see your DIY beverage carrier! Share your work with us on Facebook and Instagram by tagging @ArrowFastener or using #MadeWithArrow.
Get Arrow tips, tricks, projects and promos in your inbox!
Hey there! We’ve updated our Privacy and Cookie Policies at the request of some of our friends in Europe. Click Accept to let us know you’re okay with the updates. Thanks!
View Cookie Policy Accept