or Call Us at 1-800-776-2228
or Call Us at 1-800-776-2228
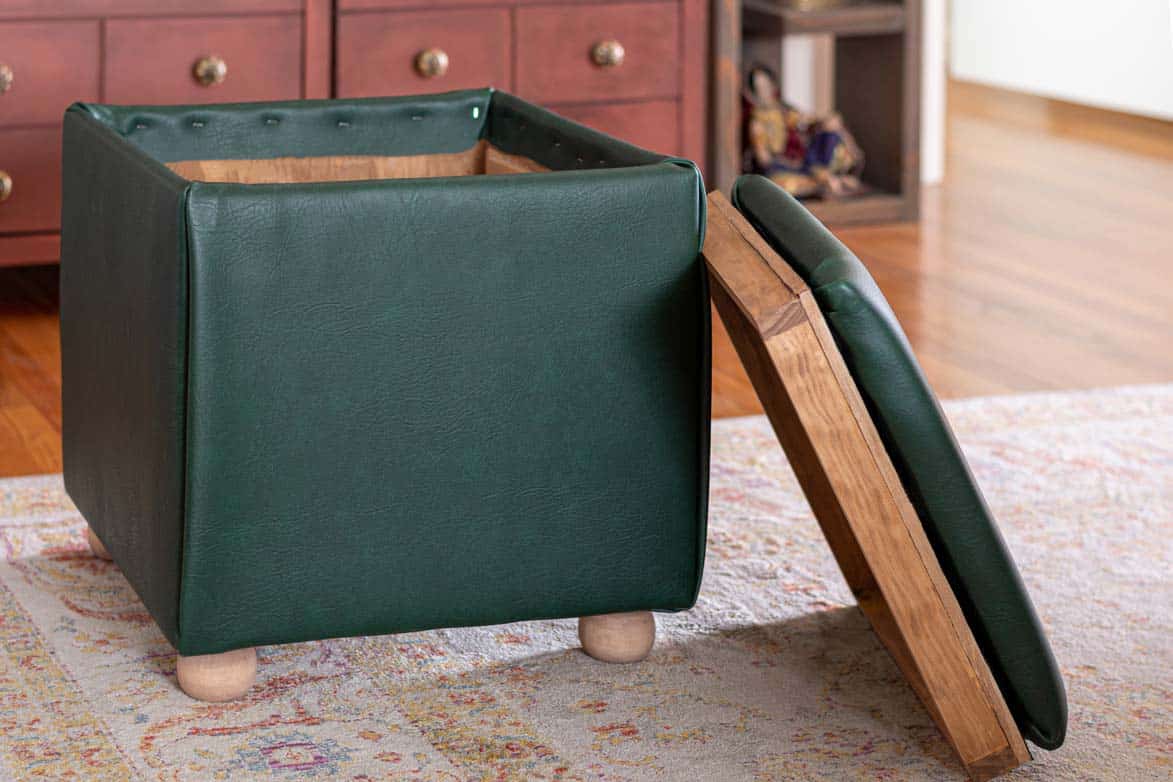
This is the ottoman all other ottomans wish they were. Whether you need another spot to sit, somewhere to set your coffee, or a place to hide your comic book collection, this project will be the perfect addition to your living room. Grab your Arrow T50X TacMate™ heavy-duty staple gun and Arrow PT18G pneumatic brad nailer and let’s get to work.
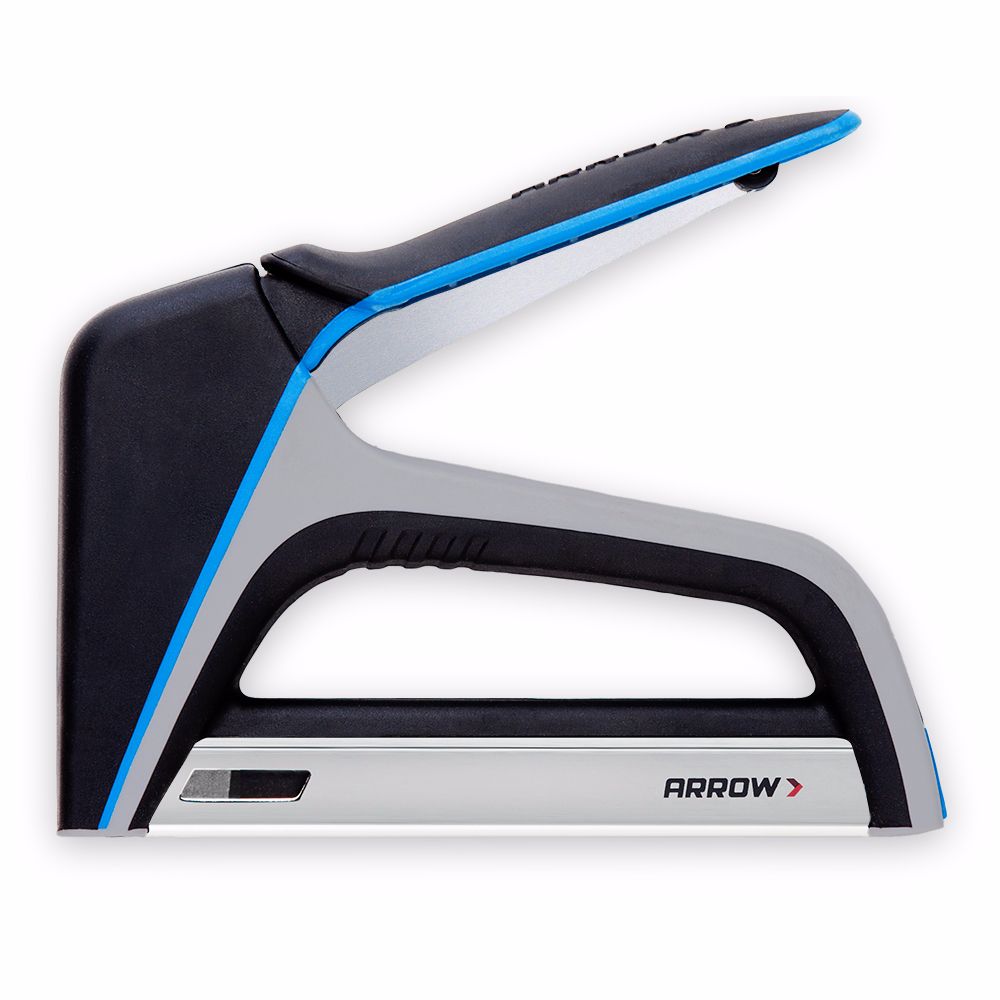
TacMate™ Heavy-Duty Staple Gun

Pneumatic Brad Nailer
To start, cut your board and plywood to the following dimensions using a table saw or circular saw and a straightedge guide:
Ottoman
Sides 1 and 2: Two ¾” plywood pieces at 16 ½” x 14 ½”
Sides 3 and 4: Two ¾” plywood pieces at 18″ x 14 ½”
Top: Two ½” plywood pieces at 16 ¼” x 16 ¼”
Bottom: One ½” plywood piece at 18″ x 18″
Tray
Sides 1 and 2: Two 1″ x 2″ boards at 14 ¾”
Sides 3 and 4: Two 1″ x 2″ boards at 16 ¼”
Inside supports: Two 1″ x 2″ boards at 16 ½”
Then set your Kreg Jig to the ¾” setting and use it to make three pocket holes in both short ends of sides 1 and 2. There should be 12 holes total. Be sure to check out the special settings for plywood on the Kreg Jig.
Now it’s time to build your box. Attach your sides using your pocket-hole screws. Use woodworking clamps to make sure all the joints are square and aligned. Attach the ½” plywood bottom using wood glue and your PT18G pneumatic brad nailer.
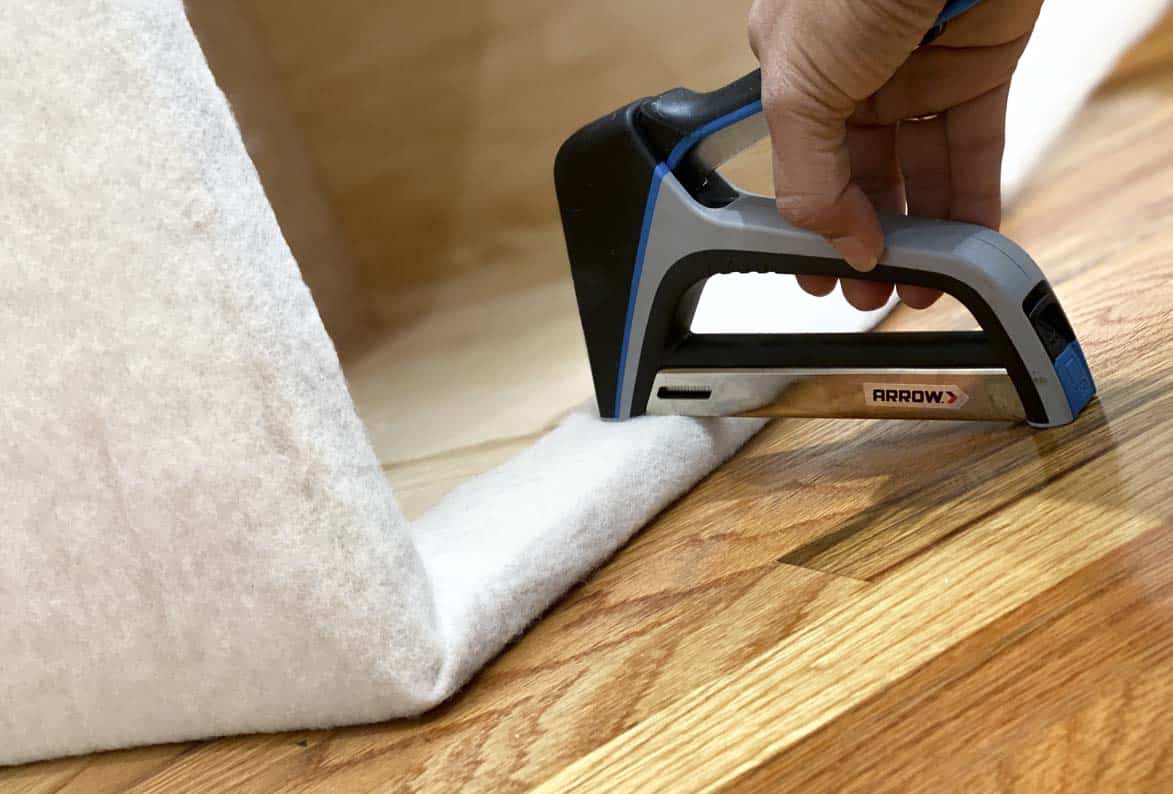
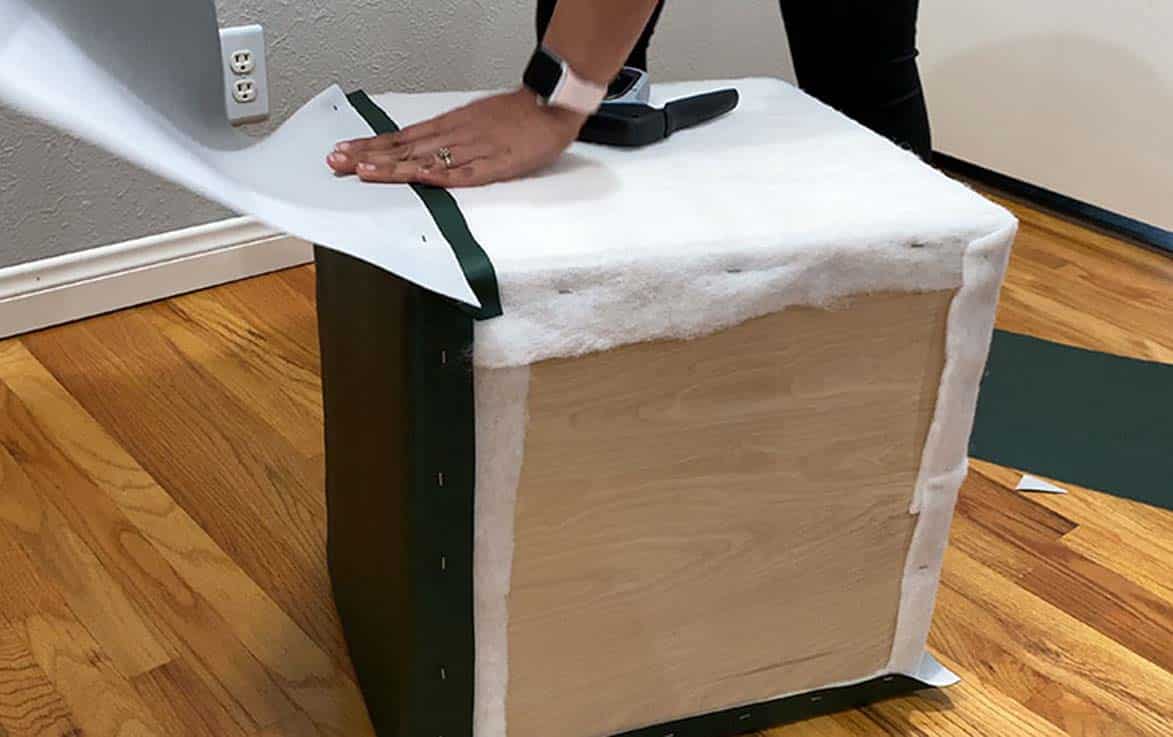
Let’s make it look pretty! Start upholstering by wrapping the sides of the box with batting using the T50X TacMate heavy-duty staple gun and ⁵⁄₁₆” staples. The best method is to staple one end to the bottom first, then stretch out the batting, and wrap it over the top edge so you can staple it to the inside of the box.
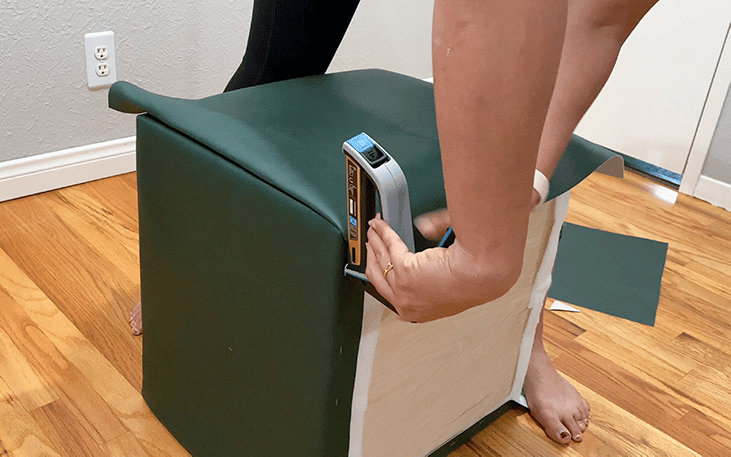
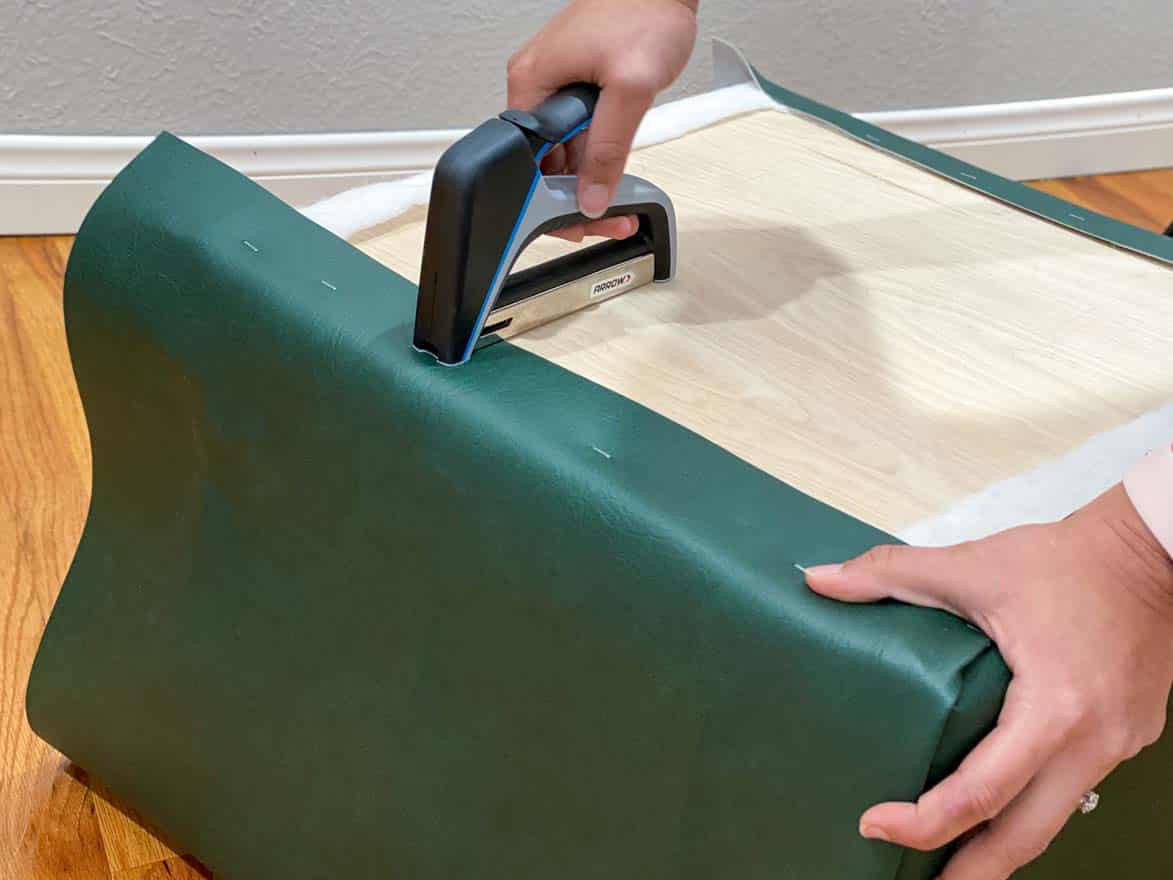
Upholster the box in the fabric of your choice. To efficiently use heavier fabrics, such as vinyl, cut four pieces (one for each side). Staple one sheet of fabric directly to one side of the box, wrapping over the side edges and fastening the fabric in place. Repeat this on the opposite side of the box.
Then for the two remaining sides, use the fabric to create a crease along each corner. To do this, staple the inside of the fabric along one side edge, then fold it over, stretching the fabric to the other side edge. Create a crease on this edge by folding the fabric over like you did with the first side edge. Pull the fabric taut, fold the top edge over the box opening, and staple to the inside of the box. Pull taut again and staple the other fabric edge to the bottom of the box. As long as the fabric is pulled tight, you should not have any gaps along the sides.
Don’t forget to upholster your top! Use a marker to trace the shape of your top ½” plywood piece onto the foam, then cut it out using a utility knife. Next use spray adhesive to attach the foam to the top plywood piece. Then wrap it with batting and fabric using the T50X TacMate heavy-duty staple gun. Trim any excess fabric that has gathered at the corners.
Build a tray for the top using wood glue and your PT18G pneumatic brad nailer to attach the other ½” plywood and 1″ x 2″ boards. Apply edge banding to the ½” plywood to finish off the edges.
Attach the upholstered top onto the tray using your PT18G pneumatic brad nailer and wood glue. If your nails are too long, you may need to add some scrap ½” plywood pieces between the tray and the upholstered top to get the appropriate thickness. This will depend on the thickness of your fabric; with thinner fabric, you will need smaller nails.
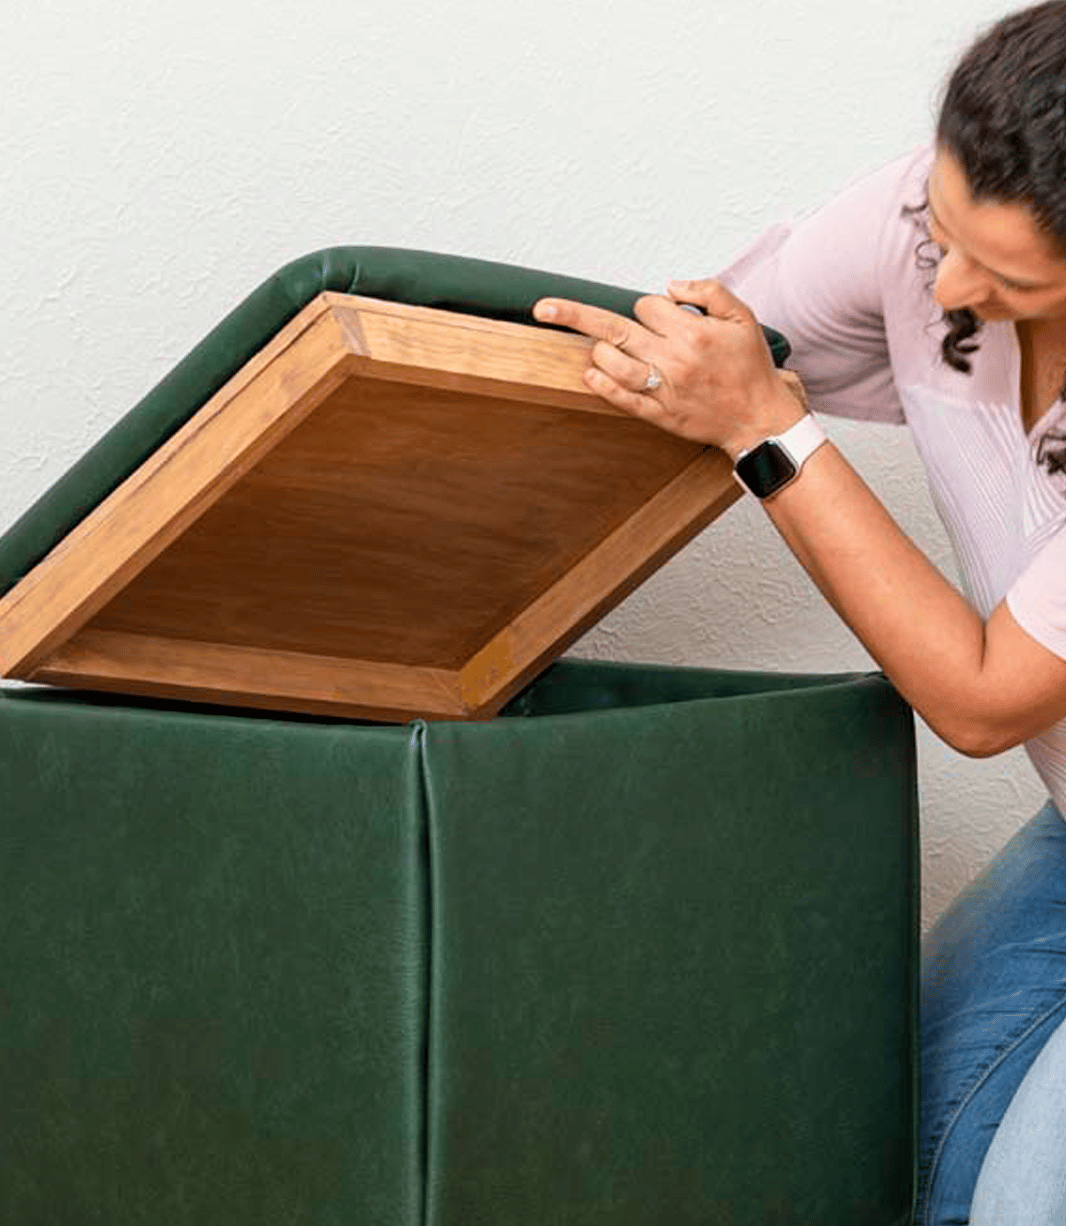
To create the inside tray supports, measure the exact height from the edge of the tray to the start of the upholstered top. (When used as an ottoman, you want the tray to sit completely inside the ottoman and the upholstered cushion top to be visible.)
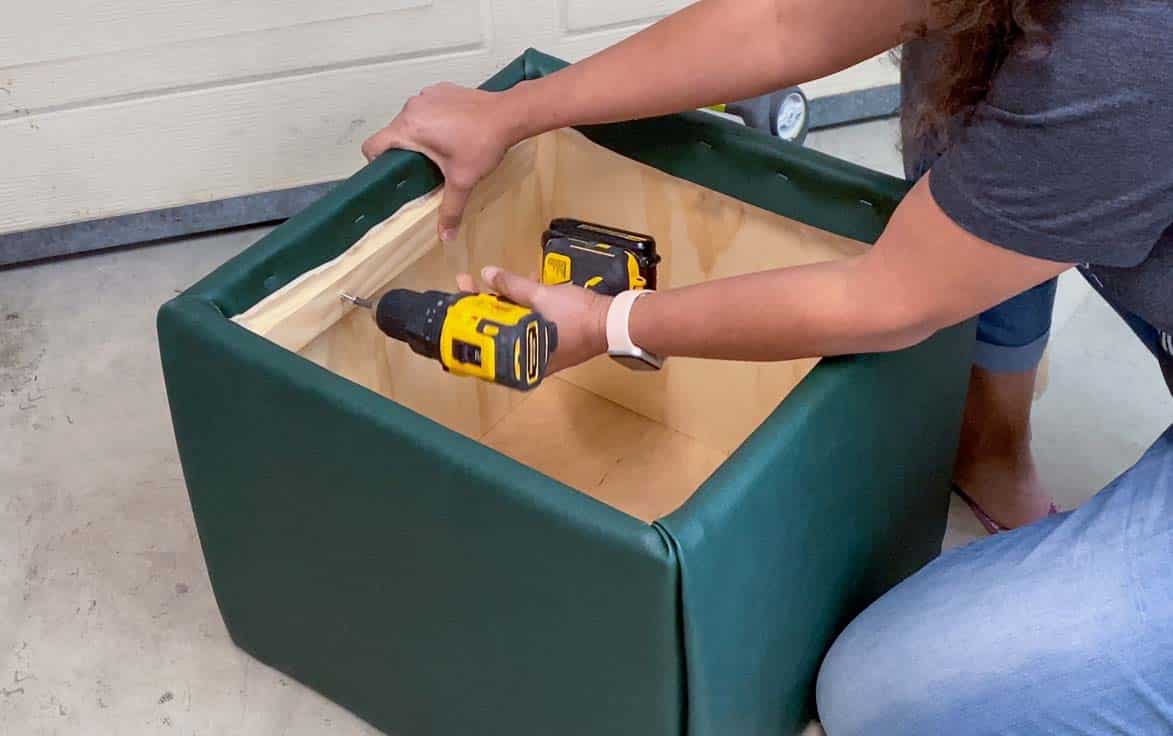
Use this measurement to mark two opposite sides on the inside of the box, measuring the height from the top of the box down. With your wood glue and 1 ¼” wood screws, attach one of the 1″ x 2″ boards to the inside of the box, aligning the top of the board and the tray height mark. Repeat on the opposite side.
Finally, to raise the ottoman off the floor, use your drill to attach the table-leg plates and screw in the furniture feet.
Time to take a load off. Kick up those feet and admire your fine work! But before you get too comfy, it’s worth mentioning that you can also stain or paint the interior of the ottoman and tray for a more finished look.
Get Arrow tips, tricks, projects and promos in your inbox!
Hey there! We’ve updated our Privacy and Cookie Policies at the request of some of our friends in Europe. Click Accept to let us know you’re okay with the updates. Thanks!
View Cookie Policy Accept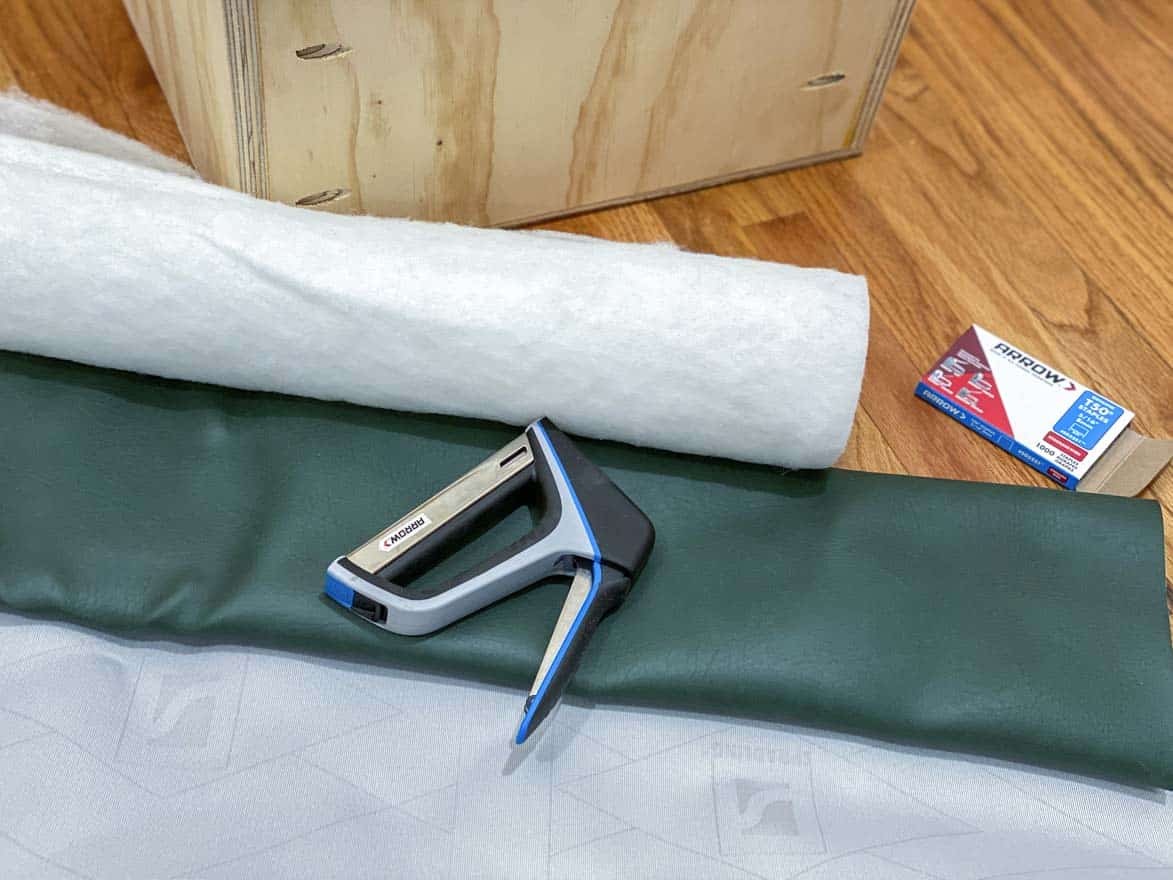