or Call Us at 1-800-776-2228
or Call Us at 1-800-776-2228
Make a DIY mirror frame using the Arrow T50ACD Compact Electric Staple Gun and the Arrow PT23G Pneumatic Pin Nailer. Add some style to a boring full-length mirror by creating a custom frame. This DIY project can be tackled easily over the weekend. Don’t forget to grab a pair of safety goggles and gloves (optional) before getting started!
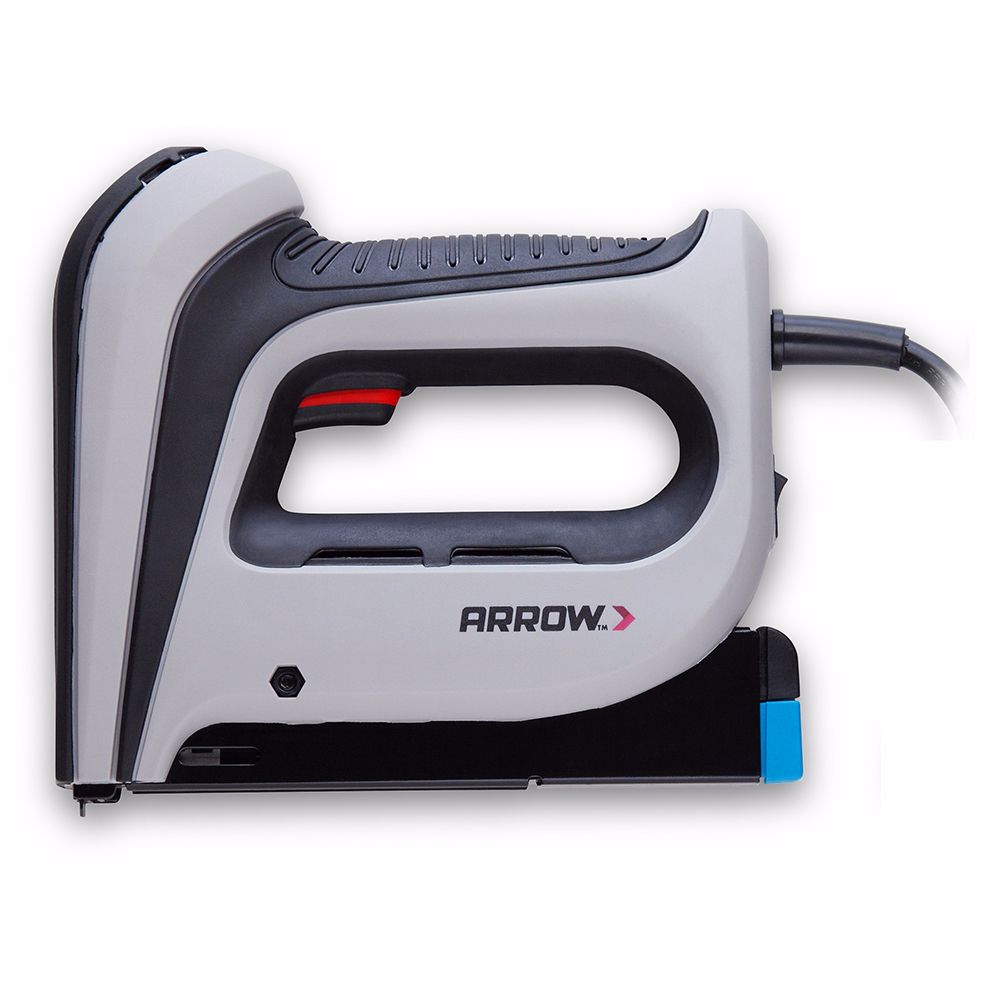
Compact Electric Staple Gun
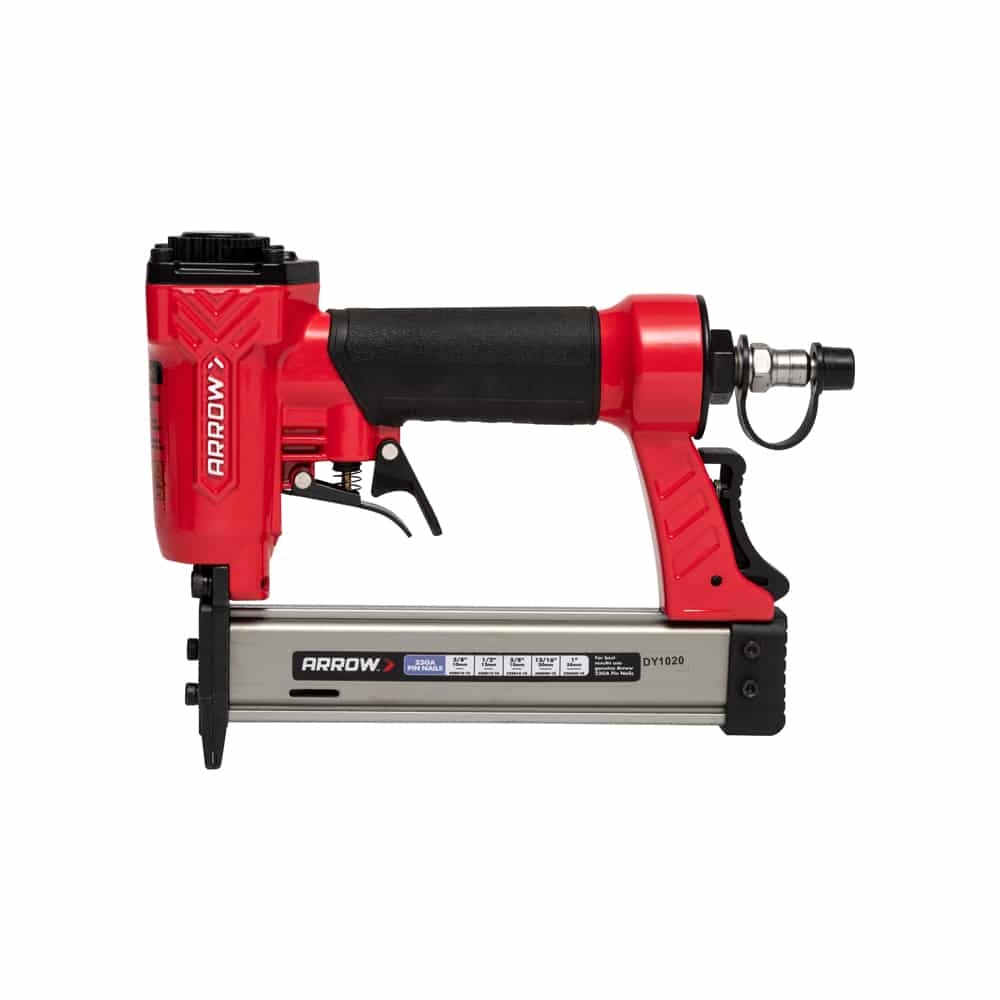
Pneumatic Pin Nailer
This project starts with measuring, marking and cutting. First measure the wide decorative molding, marking the inside at 60 inches. Use the miter box and hand saw to cut at a 45-degree angle from the inside mark to the outside of the molding at 68 inches. Repeat for the other end. Then cut the 40-inch sides the same way, marking at 40 inches and cutting a 45-degree angle to the outside at 48 inches. Next, sand away any rough edges.
This project starts with measuring, marking and cutting. First measure the wide decorative molding, marking the inside at 60 inches. Use the miter box and hand saw to cut at a 45-degree angle from the inside mark to the outside of the molding at 68 inches. Repeat for the other end. Then cut the 40-inch sides the same way, marking at 40 inches and cutting a 45-degree angle to the outside at 48 inches. Next, sand away any rough edges.
Place the pieces of molding on a flat surface to dry fit the frame. You’ll use this fit as a guide to measure the small trim molding, which will serve as the lip – or rabbet – of the frame. It also adds a great decorative embellishment to the final product! When measuring, you want the small trim molding to hang over the inner edge of the larger decorative molding at least 1/2”, as shown below. Now measure, mark and cut. Sand any rough edges once finished.
Place the pieces of molding on a flat surface to dry fit the frame. You’ll use this fit as a guide to measure the small trim molding, which will serve as the lip – or rabbet – of the frame. It also adds a great decorative embellishment to the final product! When measuring, you want the small trim molding to hang over the inner edge of the larger decorative molding at least 1/2”, as shown below. Now measure, mark and cut. Sand any rough edges once finished.
Time for a splash of color! Paint or stain the mirror frame pieces as desired. We painted our mirror frame black and tan for a classic style, with the wide decorative molding a creamy tan and the small trim molding a deep black.
Time for a splash of color! Paint or stain the mirror frame pieces as desired. We painted our mirror frame black and tan for a classic style, with the wide decorative molding a creamy tan and the small trim molding a deep black.
After the paint has dried on the wide decorative molding frame, join the corners with wood glue. Use the corner clamp to hold together until the glue dries completely.
After the paint has dried on the wide decorative molding frame, join the corners with wood glue. Use the corner clamp to hold together until the glue dries completely.
Now turn the wide decorative molding frame face-down on a clean surface, and use the Arrow T50ACD Compact Electric Staple Gun and 1/4” T50 staples to secure each corner at the seam. We chose shorter staples for this step since we’re firing directly into wood and want the staples to be flush with the surface. After all four seams are done, staple corner supports over each seam.
Now turn the wide decorative molding frame face-down on a clean surface, and use the Arrow T50ACD Compact Electric Staple Gun and 1/4” T50 staples to secure each corner at the seam. We chose shorter staples for this step since we’re firing directly into wood and want the staples to be flush with the surface. After all four seams are done, staple corner supports over each seam.
Turn the frame right-side up, and dry fit the small trim molding onto the wide decorative molding frame. Put a little glue on the back of the trim and clamp until the glue dries. Then use the Arrow PT23G Pneumatic Pin Nailer and pin nails to secure. Pin nails are a great choice for projects like this because you can fasten trim work without leaving behind ugly nail holes.
Turn the frame right-side up, and dry fit the small trim molding onto the wide decorative molding frame. Put a little glue on the back of the trim and clamp until the glue dries. Then use the Arrow PT23G Pneumatic Pin Nailer and pin nails to secure. Pin nails are a great choice for projects like this because you can fasten trim work without leaving behind ugly nail holes.
Once the two frames are joined, turn them right-side down on a clean surface. Grab a helping hand to place the mirror into the frame. Once in place, add industrial glue to the back of the mirror. Then place cardboard onto the glue and secure.
Once the two frames are joined, turn them right-side down on a clean surface. Grab a helping hand to place the mirror into the frame. Once in place, add industrial glue to the back of the mirror. Then place cardboard onto the glue and secure.
Give your frame extra support and hold the mirror in place by adding a gusset. Attach with the T50ACD and 1/2” T50 staples. Remember to keep the stapler directly against the surface while firing so the staple will drive completely into the wood.
Give your frame extra support and hold the mirror in place by adding a gusset. Attach with the T50ACD and 1/2” T50 staples. Remember to keep the stapler directly against the surface while firing so the staple will drive completely into the wood.
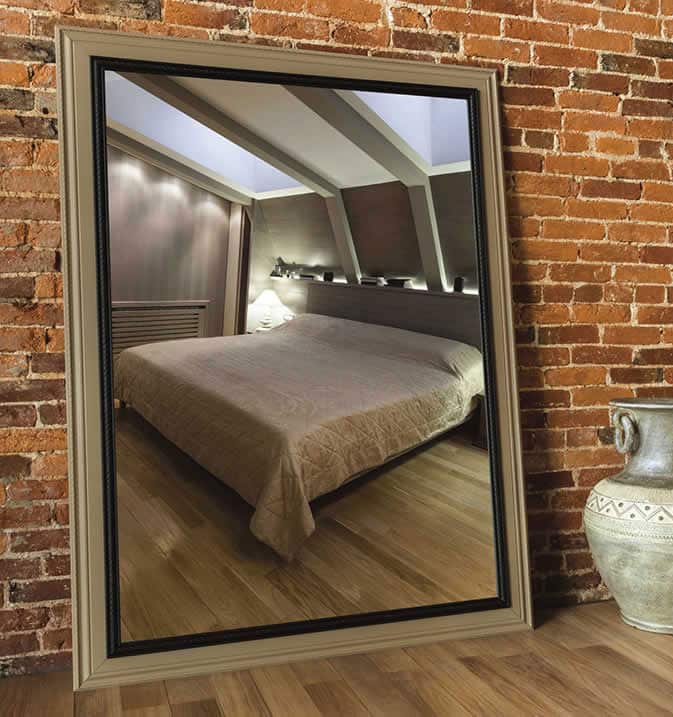
Finished! Set your framed mirror against the wall, and enjoy the added touch of style!
We’d love to see how your DIY mirror frame looks! Share your results on Facebook, Instagram or X by using #MadeWithArrow or tagging Arrow Fastener.
Get Arrow tips, tricks, projects and promos in your inbox!
Hey there! We’ve updated our Privacy and Cookie Policies at the request of some of our friends in Europe. Click Accept to let us know you’re okay with the updates. Thanks!
View Cookie Policy Accept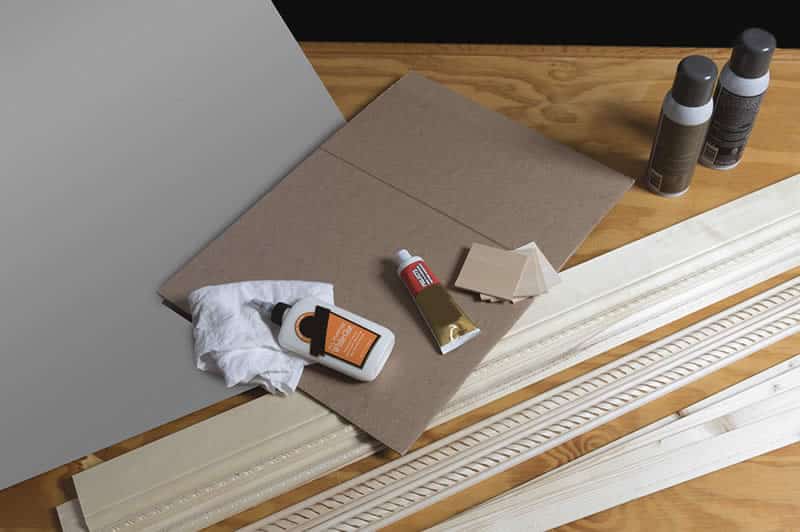