or Call Us at 1-800-776-2228
or Call Us at 1-800-776-2228
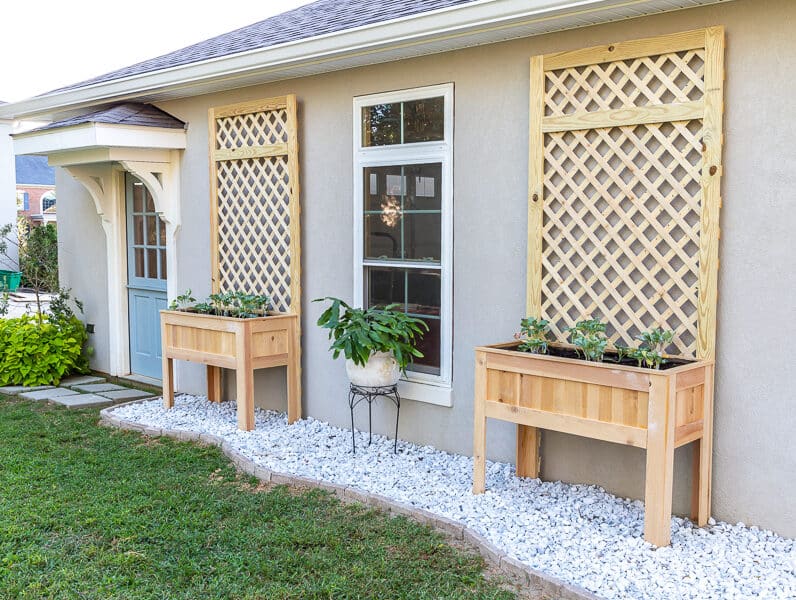
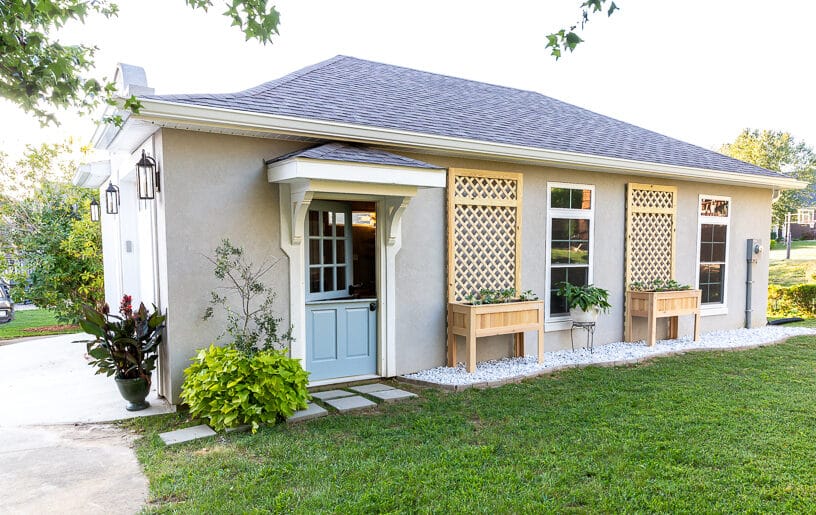
Calling all green thumbs! This easy and affordable DIY planter box with trellis project is the perfect way to bring your yard back to life. For this weekend project, all you need is an Arrow pneumatic brad nailer, an Arrow compact electric stapler, some tools and saws, and around $50 worth of materials.

Pneumatic Brad Nailer
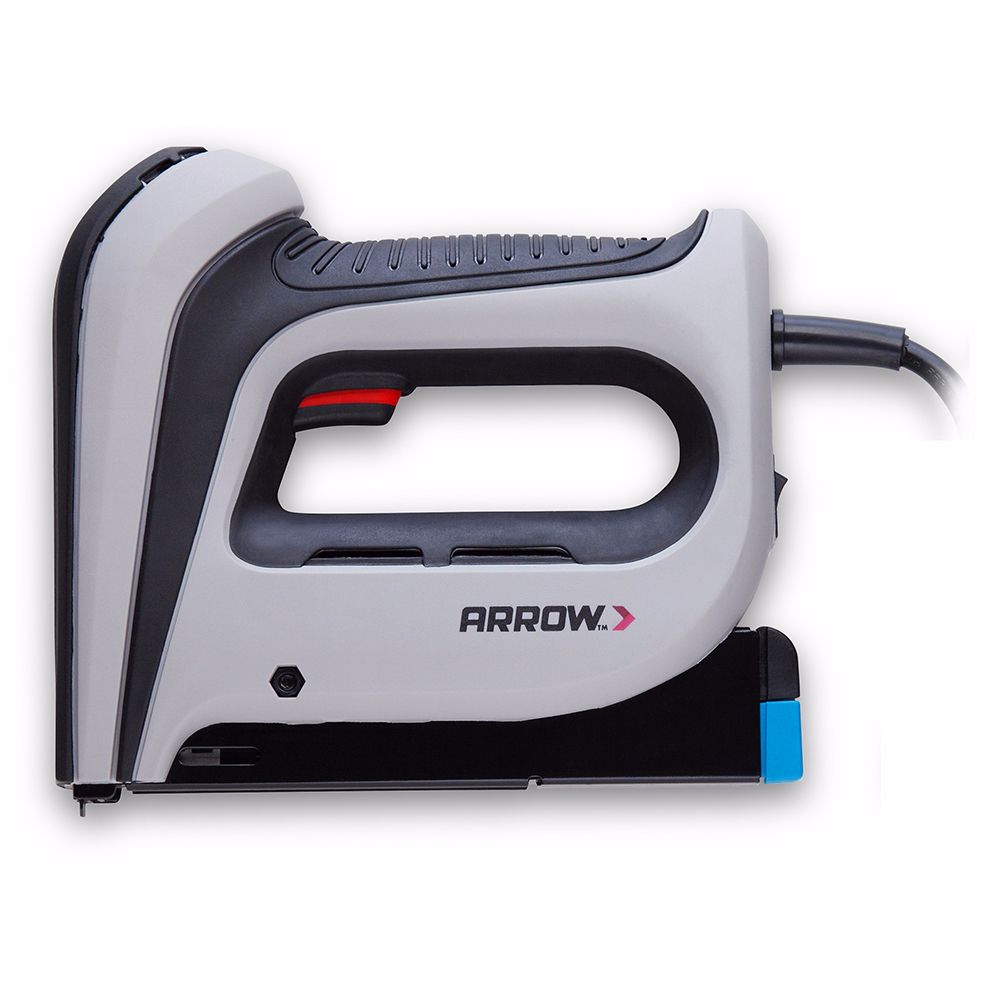
Compact Electric Staple Gun
For a detailed project plan and full cut list, visit Jen Woodhouse’s blog here.
Front and back panels
First, use the miter saw to cut the legs, long rails, and planks to length from the cedar fence pickets. Then run the leg and rail parts through the table saw, ripping them down to 3 ½” wide. The planks will remain at the original width.
Lengths
Sometimes cedar fence pickets have a smooth side and a rough side. If this is the case, lay the smooth side down so that the rough side will be on the inside of the planter. Pro tip: lay the legs and rails down on a workbench, with the smooth side facing down, then position the planks on top of them, leaving a ⅝” inset on each end. Use wood glue first on the placed planks, then reinforce them with your PT18 pneumatic brad nailer and 1″ brad nails.
Repeat and build two of these panels, which will be the front and back panels of the planter. Set those aside and move on to building the side panels.
Side panels
Cut the legs, short rails, and planks to length from the cedar fence pickets. Rip the rails down to 3 ½”, just like you did for the front and back panels. However, this time, you’ll rip the legs down to 2 ⅞”. Construct the side panels in the same way you did the front and back panels – by laying the legs and rails in position, then attaching the planks with wood glue and 1″ brad nails. There will also be a ⅝” inset on both ends.
Lengths
Once all four panels are constructed, they should come together like a puzzle. Secure at each corner with wood glue and 1 ¼” brad nails.
Next, create your cleats by cutting down the 2″ x 2″ board to two lengths at 42 ¾” long. Then attach the cleats to the inside of the planter box – this will support the bottom slats. You can place the cleats at any height in the planter. We’re no gardening experts, but a good rule of (green) thumb is to leave at least 8″ for soil for your plants. (We placed the cleats about 12″ down from the top of the planter.)
Then measure, mark, and cut the slats to 16 ½” long. Lay them inside the planter box on the cleats and secure with wood glue and 1 ¼” brad nails. The spacing doesn’t need to be exact here – just allow for some space for proper drainage.
To add the trim, rip two of the pickets down to 1 ½” wide, then measure and miter the ends at 45°. It’s best to “sneak up on the cut” here, so that you get the tightest fit. We usually cut the boards long and then shave off a little at a time until the miter joints are tight. Finally, attach the trim with wood glue and brad nails.
Lengths
Now that the planter is complete, let’s move on to building the trellis. Measure, mark, and cut the pressure-treated 1″ x 4″ boards to length.
Length
When constructing the frame, use a pocket hole jig and 1 ¼” pocket screws to connect the trellis rails to the trellis legs.
To assemble the trellis, lay the lattice down on top of the constructed frame and secure it with 1″ brad nails. If you don’t want to see the excess lattice under the planters, you have the option of using a cordless circular saw or jig saw to cut the excess from the bottom.
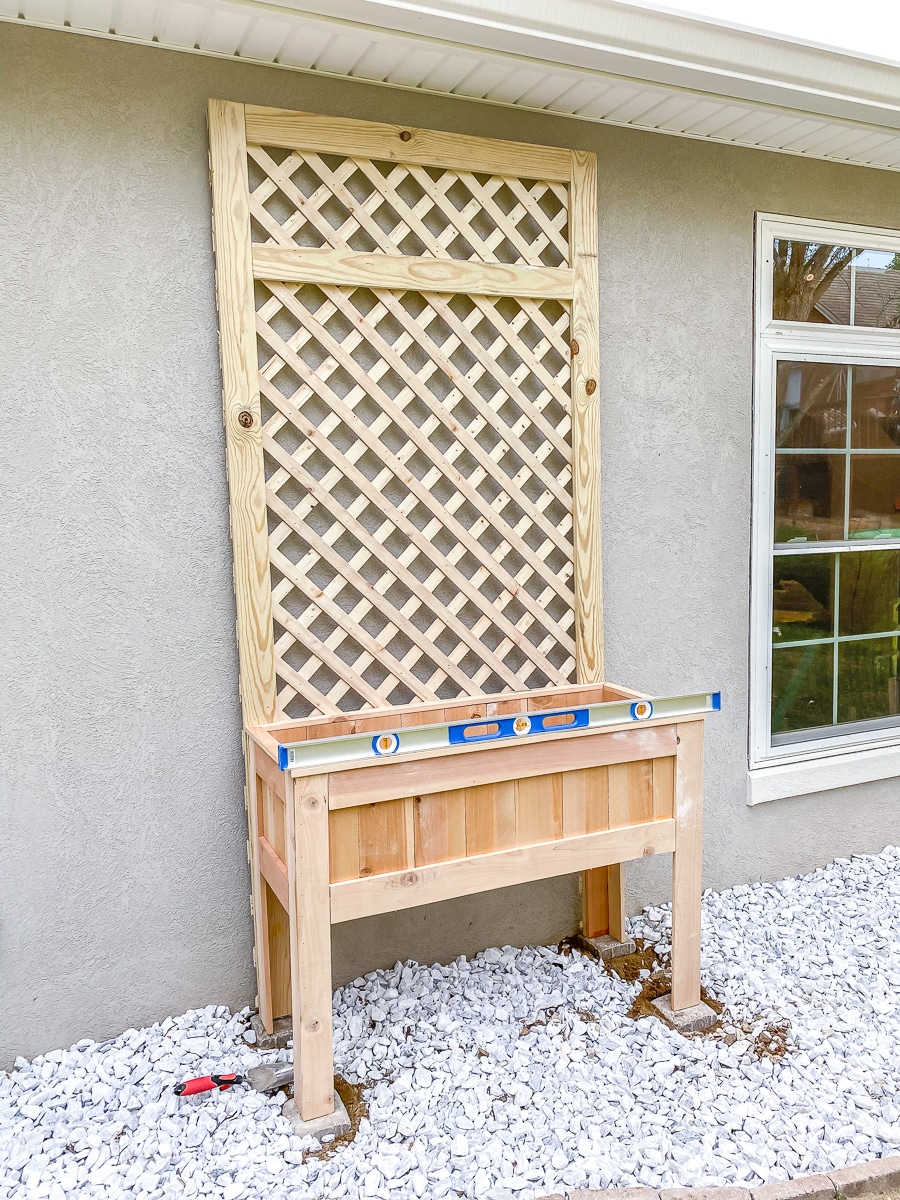
Next, attach the trellis to the back of the planter by driving 1 ¼” wood screws in through the back. Once the trellis is attached, carry the planters outside and set them in place, making sure they are completely level.
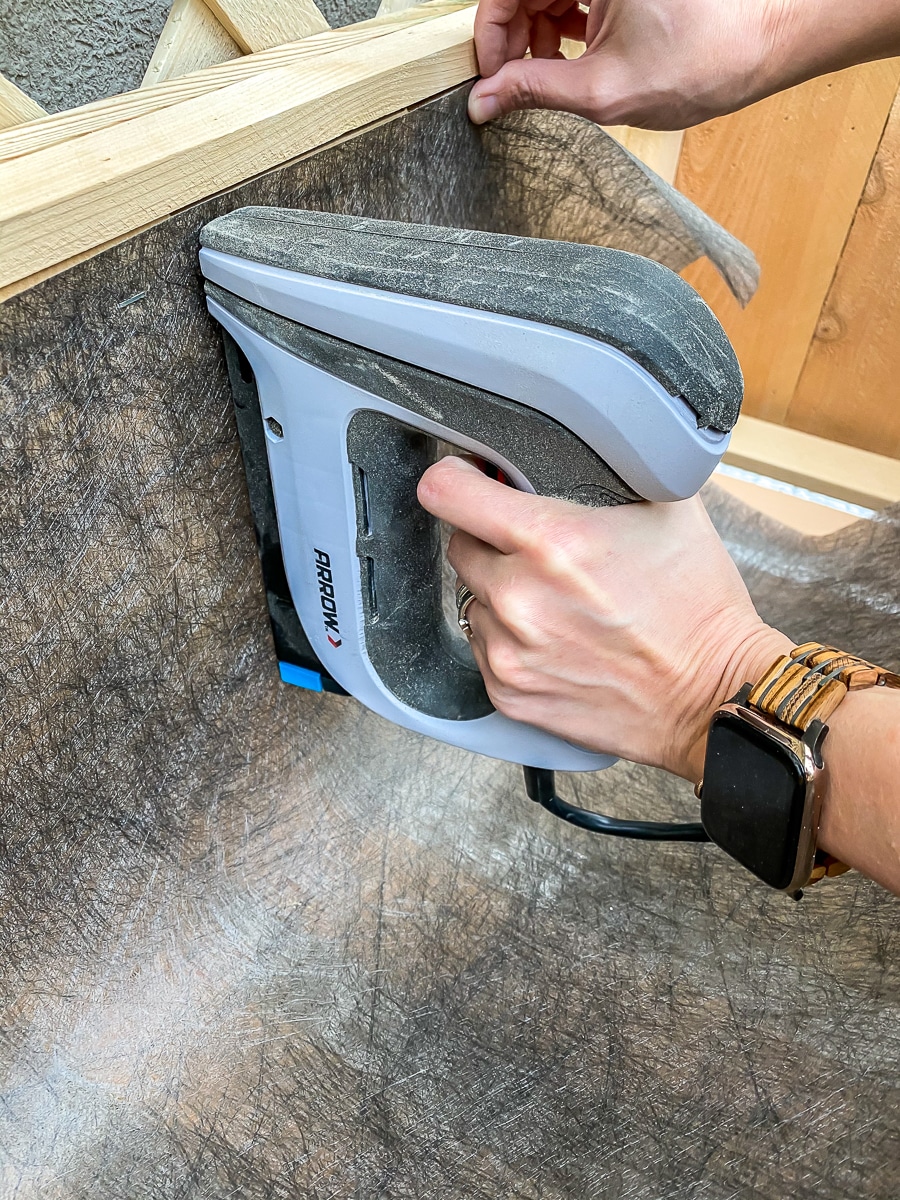
Finally, line the inside of the planters with landscape fabric and use the Arrow T50ACD compact electric staple gun to attach it.
We love how this project can add visual interest to an otherwise blank wall. What will you grow in your new planters? Sunflowers? Summer veggies? Let us know!
We’d love to see how your DIY trellis planters turned out! Share your work with us on Facebook and Instagram by tagging @ArrowFastener or using #MadeWithArrow.
Get Arrow tips, tricks, projects and promos in your inbox!
Hey there! We’ve updated our Privacy and Cookie Policies at the request of some of our friends in Europe. Click Accept to let us know you’re okay with the updates. Thanks!
View Cookie Policy Accept