or Call Us at 1-800-776-2228
or Call Us at 1-800-776-2228
Love the chair but hate the outdated and torn fabric? Here’s an inexpensive way to update and personalize an old chair.
We chose the Arrow T50X staple gun for this project. One of the many versatile Arrow staple guns, this durable and powerful tool is ideal for chair upholstery.
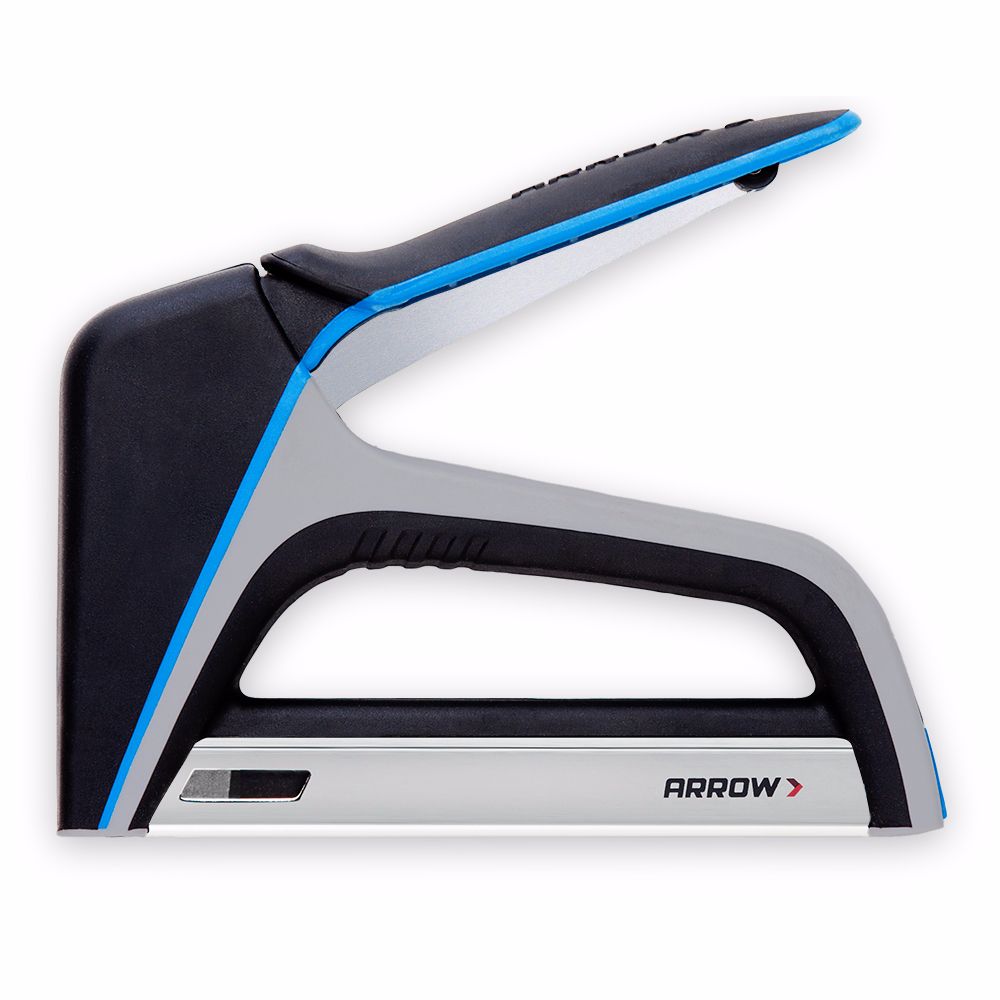
TacMate™ Heavy-Duty Staple Gun
Remove the seat from the chair frame by unscrewing the screws on the underside. Be sure to indicate the orientation of the seat prior to removing it from the chair frame. The existing screw holes will be used when reattaching the seat to complete this project, so the holes will need to line up.
Remove the seat from the chair frame by unscrewing the screws on the underside. Be sure to indicate the orientation of the seat prior to removing it from the chair frame. The existing screw holes will be used when reattaching the seat to complete this project, so the holes will need to line up.
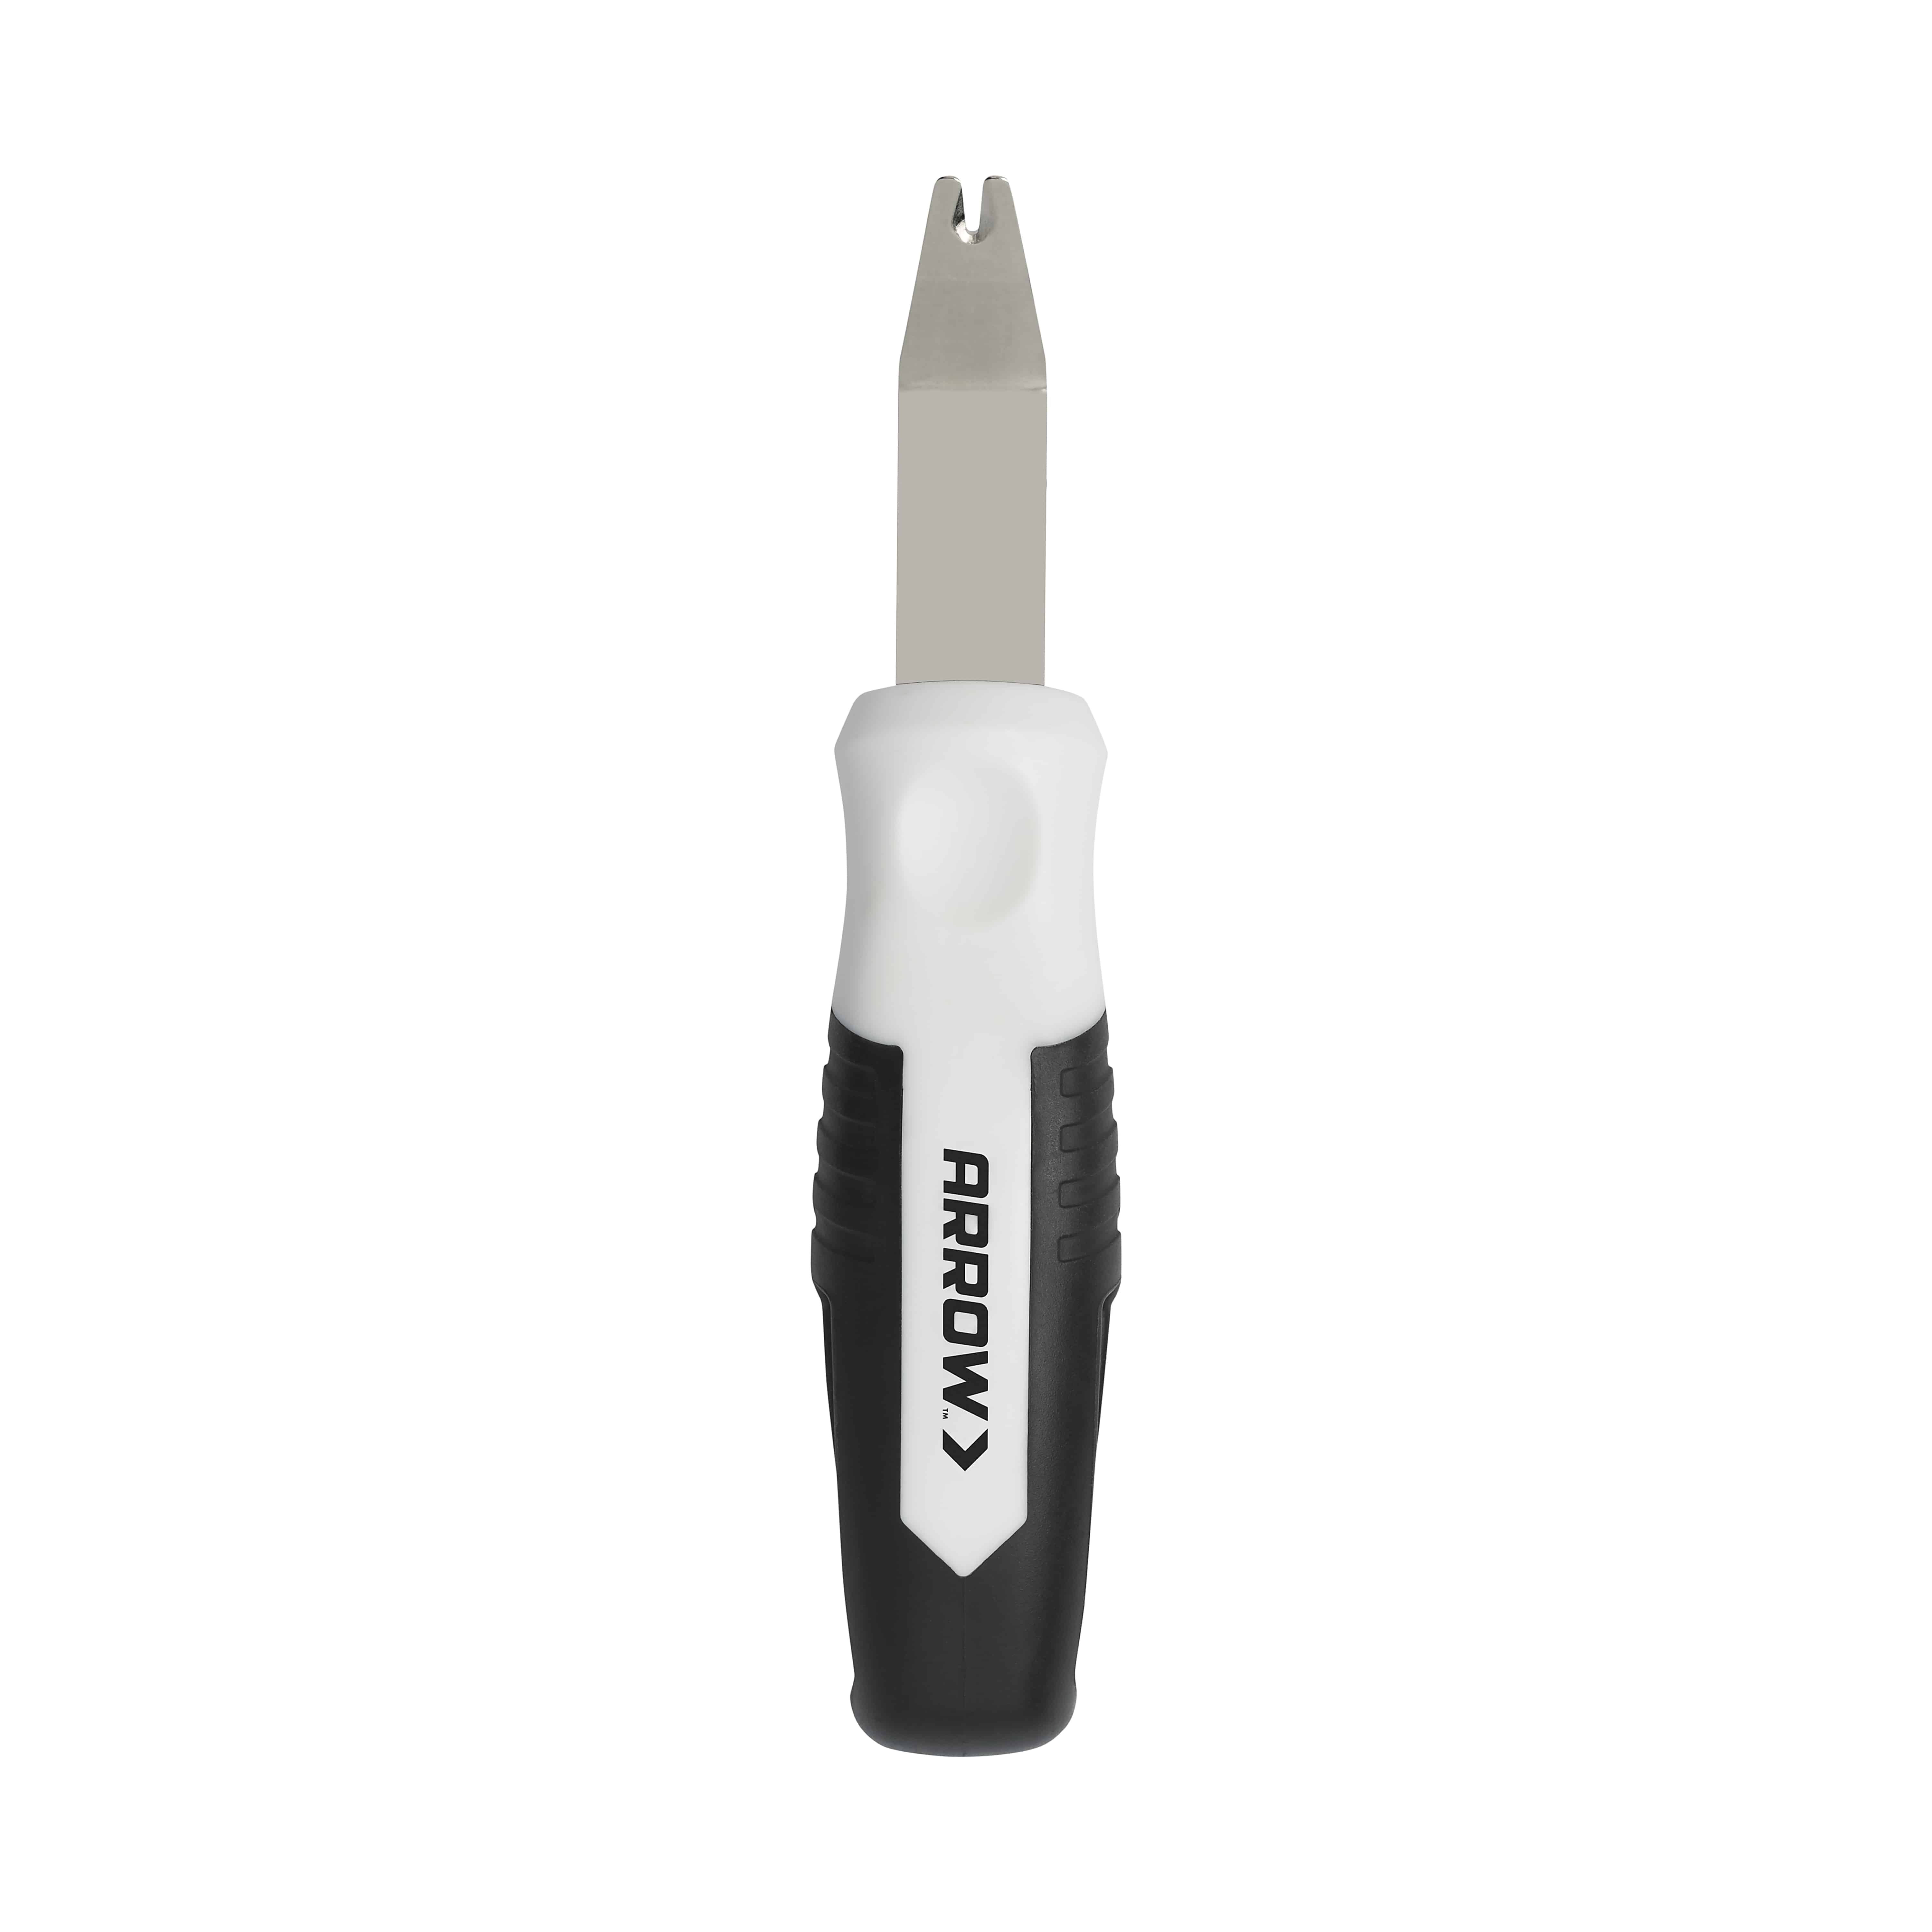
Using the Arrow SL24D staple remover, remove the staples that hold the old fabric in place. Then remove the old fabric from the seat.
Using the Arrow SL24D staple remover, remove the staples that hold the old fabric in place. Then remove the old fabric from the seat.
Evaluate the padding material to determine if it needs to be replaced. There may be batting, foam or wood. In this case, we are replacing the batting and reusing the foam.
Evaluate the padding material to determine if it needs to be replaced. There may be batting, foam or wood. In this case, we are replacing the batting and reusing the foam.
Position the seat, backside facing you, on the fabric of your choice. Make sure the seat is in the desired position to maximize the pattern on the fabric. Allow 4” to 6” of extra fabric on all sides of the seat, depending on the thickness of the padding, you may need more. Carefully cut the fabric to size.
Position the seat, backside facing you, on the fabric of your choice. Make sure the seat is in the desired position to maximize the pattern on the fabric. Allow 4” to 6” of extra fabric on all sides of the seat, depending on the thickness of the padding, you may need more. Carefully cut the fabric to size.
Using the Arrow T50X Staple Gun, begin stapling first the batting, then the fabric to the seat, starting in the center of one of the sides. Continue to rotate the seat, stapling as you go. It’s a good idea to check occasionally while stapling to make sure the pattern is lined up and looking good. Like every upholstery project, work to keep the fabric tight without overstretching it. Keep the screw holes clear. Screws can easily get wound up in padding, so keep the screw holes clear to make assembly easy at the end.
Using the Arrow T50X Staple Gun, begin stapling first the batting, then the fabric to the seat, starting in the center of one of the sides. Continue to rotate the seat, stapling as you go. It’s a good idea to check occasionally while stapling to make sure the pattern is lined up and looking good. Like every upholstery project, work to keep the fabric tight without overstretching it. Keep the screw holes clear. Screws can easily get wound up in padding, so keep the screw holes clear to make assembly easy at the end.
Once the fabric is completely stapled, trim any excess fabric that could result in bulky corners and make sure the screw holes are clear.
Once the fabric is completely stapled, trim any excess fabric that could result in bulky corners and make sure the screw holes are clear.
Place the newly upholstered seat on the chair frame. Be sure to line-up those screw holes for easy attachment. Once the seat is reattached to the chair frame, you are ready to enjoy!
Place the newly upholstered seat on the chair frame. Be sure to line-up those screw holes for easy attachment. Once the seat is reattached to the chair frame, you are ready to enjoy!
We’d love to see how your DIY Chair Upholstery project turned out! Share your results with us on Facebook, Instagram or X by tagging #MadeWithArrow.
Get Arrow tips, tricks, projects and promos in your inbox!
Hey there! We’ve updated our Privacy and Cookie Policies at the request of some of our friends in Europe. Click Accept to let us know you’re okay with the updates. Thanks!
View Cookie Policy Accept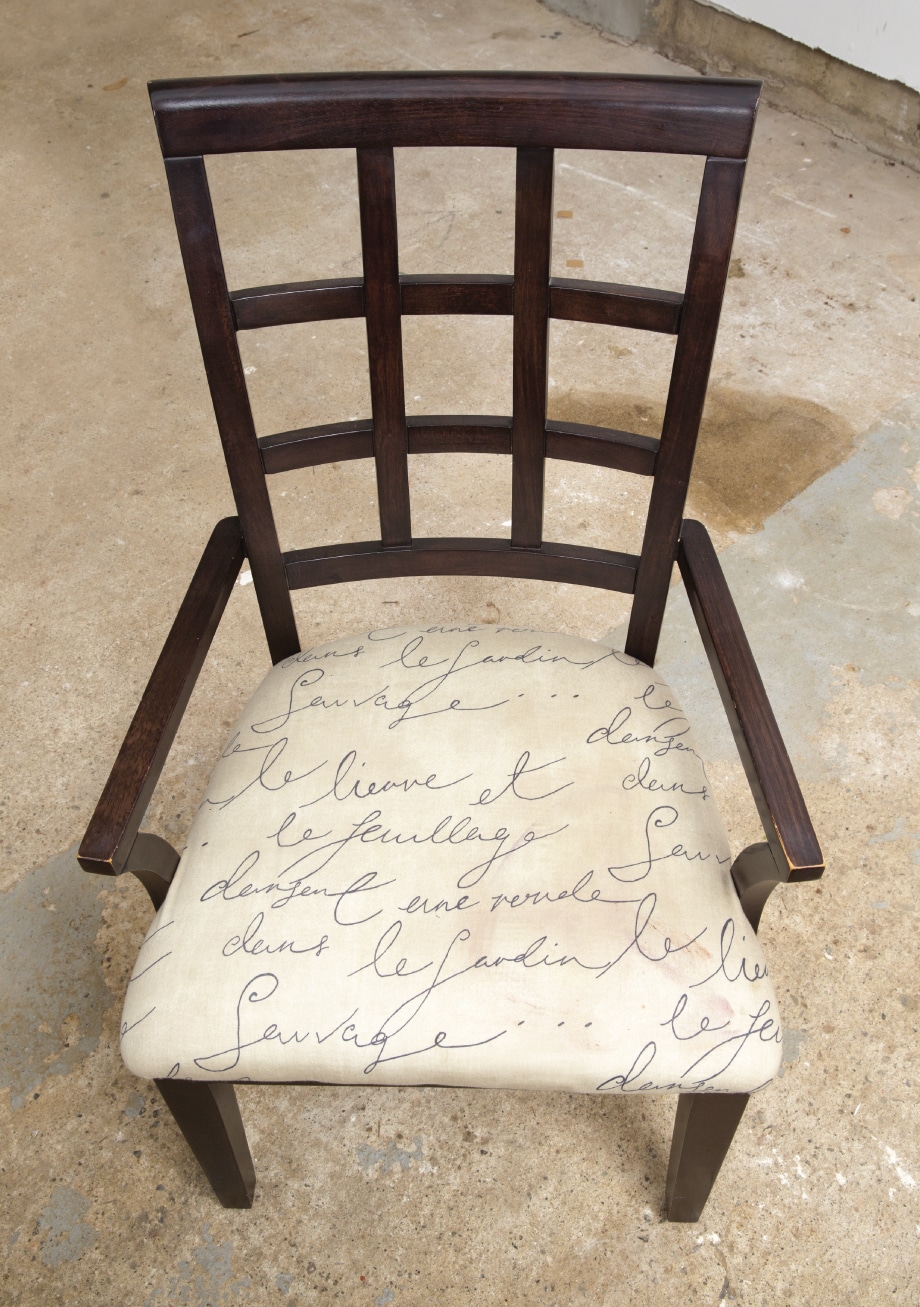