or Call Us at 1-800-776-2228
or Call Us at 1-800-776-2228
It’s not often you find something so cool from the thrift store for so little money. But this $10.00 chair was the perfect find. The fabric was very worn out and needed to be replaced. With the help of my Arrow Fastener PT50 pneumatic staple gun and some pretty purple velvet fabric, I knew I could transform this piece! Find out how you can transform your vintage chair in this DIY project.

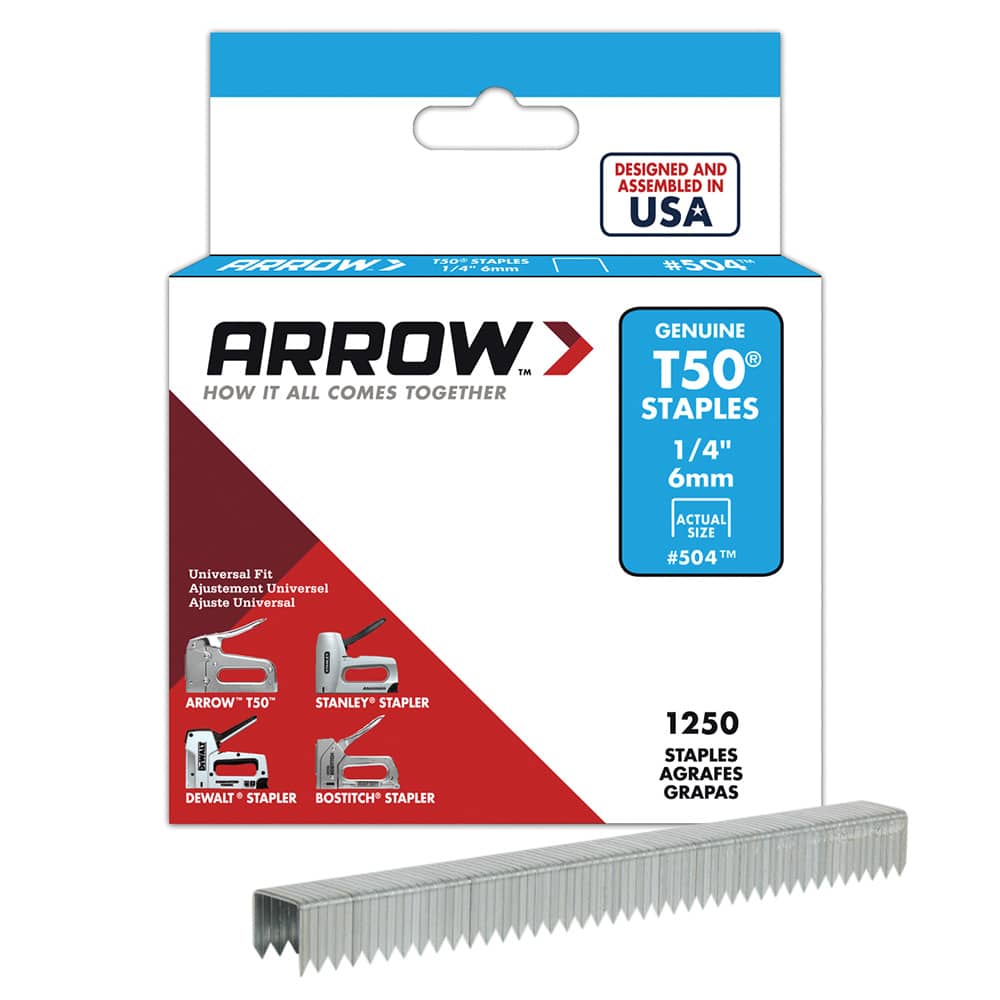
Pneumatic Staple Gun

When reupholstering a piece of furniture, salvage the old fabric to use it for a pattern by removing it carefully with a staple lifter. You’ll need a seam ripper to separate the pieces of carefully.
Be sure to take detailed pictures of what your chair looks like before you start removing all of the pieces, or else you may not remember how it goes back together. Also, remember that whatever you remove first will be the part of the chair that you’ll put back together last.
Using the old pieces of fabric, lay them onto the new fabric and cut them out. Seam allowances are usually 1/2” to 5/8” and should already be included in the pattern, but you can add more. In fact, it’s usually a good idea to add an extra 1/2” to 5/8” to account for errors. It’s always better to have more than not enough!
Using the old pieces of fabric, lay them onto the new fabric and cut them out. Seam allowances are usually 1/2” to 5/8” and should already be included in the pattern, but you can add more. In fact, it’s usually a good idea to add an extra 1/2” to 5/8” to account for errors. It’s always better to have more than not enough!
Place the cotton piping into the strips of fabric and sew it. Typically, you should cut the pieces of strips for piping on the bias (which means, at an angle across the grain), but since I only bought 1.5 yards of velvet (plus, it was a bit expensive), I cut the bias strips across the grain.
Place the cotton piping into the strips of fabric and sew it. Typically, you should cut the pieces of strips for piping on the bias (which means, at an angle across the grain), but since I only bought 1.5 yards of velvet (plus, it was a bit expensive), I cut the bias strips across the grain.
When doing upholstery with piping, the piping has to be sewn into place while sandwiched in between the right sides of two pieces of fabric. In the case of this vintage chair, I sewed the piping between the seat fabric and fabric sides.
For this vintage chair, there was also piping along the top of the chair. I sewed the piping between those two pieces, as well.
Using the Arrow Fastener PT50 with 1/4” staples (you can also use 3/8” staples), I stapled the front of the fabric to the seat board. The cushion inside was pretty flat and worn, but I wanted to reuse as much of the old materials as possible.
The back cushion was covered and stapled into place, as well. I added relief cuts to the bottom front so that the fabric could more easily be manipulated. The edges of the fabric were pulled down and stapled into place.
The old turnstyle was broken so I replaced it with a new one.
The old turnstyle was broken so I replaced it with a new one.
I didn’t want to paint this chair because the wood was pretty. Plus, the deep purple was perfect with dark wood. I lightly sanded the wood and then wiped it clean.
I didn’t want to paint this chair because the wood was pretty. Plus, the deep purple was perfect with dark wood. I lightly sanded the wood and then wiped it clean.
I added a coat of Java Gel Stain. Java Gel is perfect for covering existing wood without having to completely strip the wood. I love how refreshed the wood looks again!
I added a coat of Java Gel Stain. Java Gel is perfect for covering existing wood without having to completely strip the wood. I love how refreshed the wood looks again!
Once the stain dried, I reattached the upholstered chair to the base and added a coat of satin top coat to protect the wood. I should have waited to reattach the chair and added the top coat first, but I was eager to get the chair back together. The new lazy susan turnstyle needed a bit more “clearance,” so I added a 1/4” piece of wood to the bottom of the seat for added height to the turnstyle.
Once the stain dried, I reattached the upholstered chair to the base and added a coat of satin top coat to protect the wood. I should have waited to reattach the chair and added the top coat first, but I was eager to get the chair back together. The new lazy susan turnstyle needed a bit more “clearance,” so I added a 1/4” piece of wood to the bottom of the seat for added height to the turnstyle.
The final result was stunning! I love how the color pops and looks so much more regal than when I brought it home from the thrift store!
Get Arrow tips, tricks, projects and promos in your inbox!
Hey there! We’ve updated our Privacy and Cookie Policies at the request of some of our friends in Europe. Click Accept to let us know you’re okay with the updates. Thanks!
View Cookie Policy Accept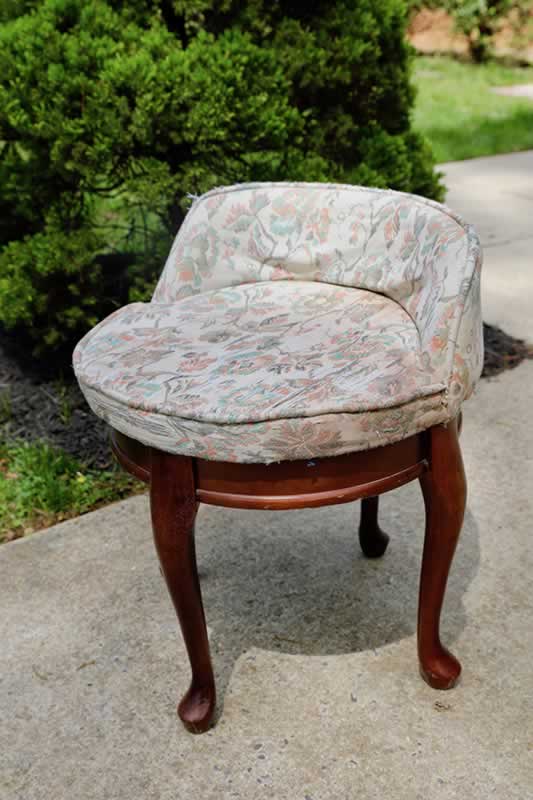