or Call Us at 1-800-776-2228
or Call Us at 1-800-776-2228
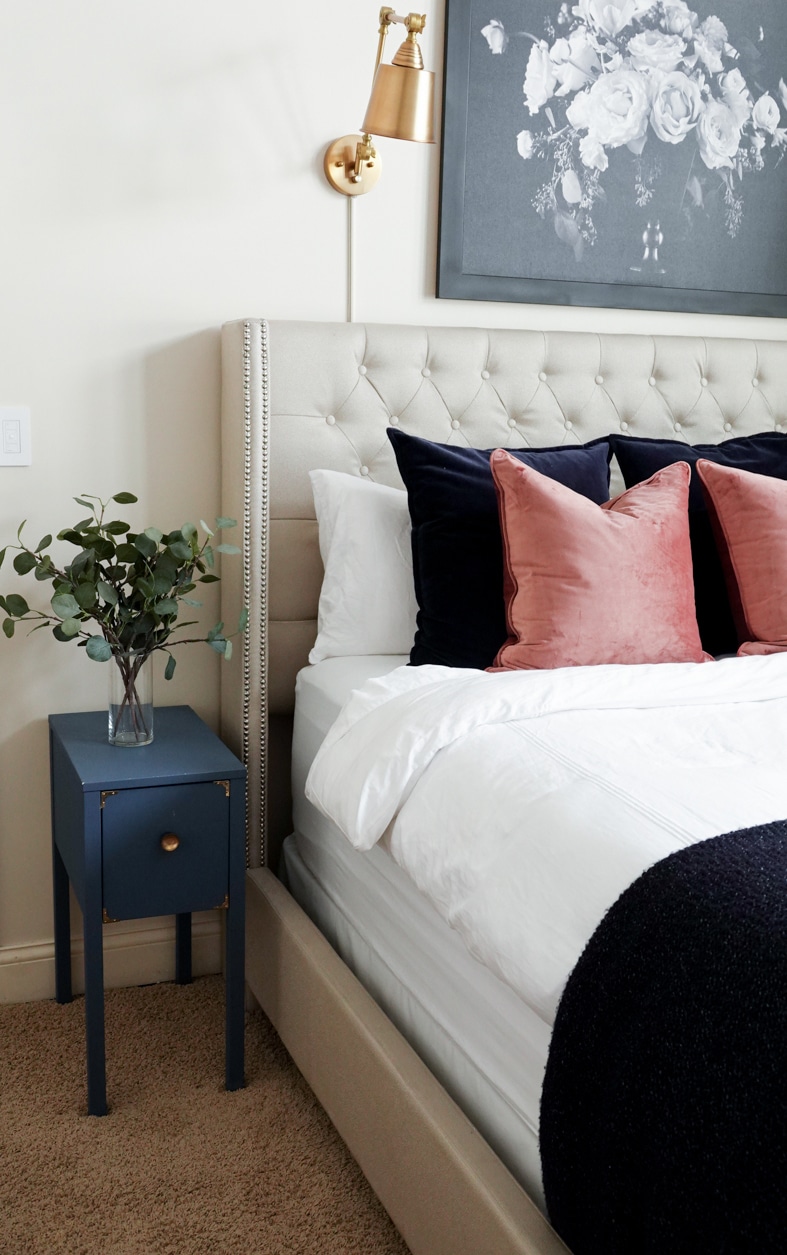
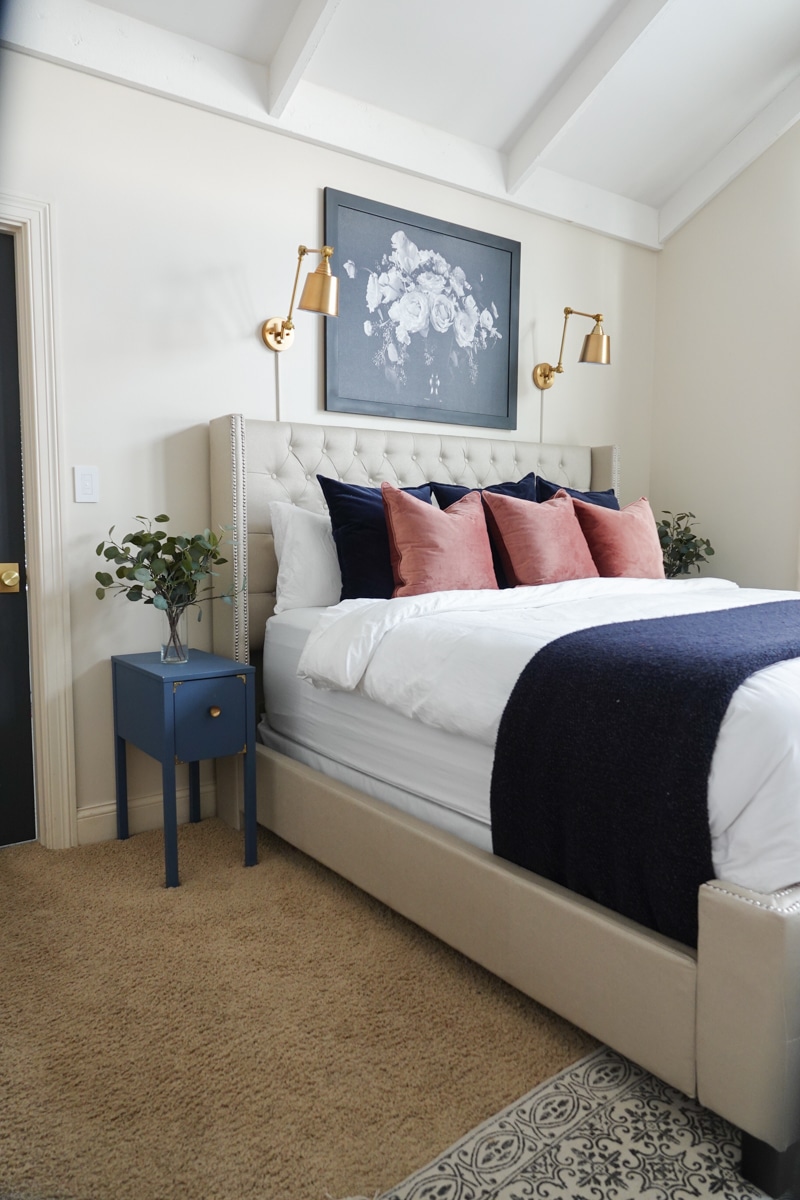
New bedding sets are pretty. Box springs are not. If your box spring is putting your bedroom style to sleep, don’t despair. In this tutorial, we’ll show you how easy it can be to cover your box spring to match any bedroom set using just a few materials and tools, including the Arrow T50 heavy-duty staple gun and Arrow T50 staples. Sure, you could buy a box spring cover or use a fitted sheet – but with a project this simple, why not do it yourself? Here’s how.
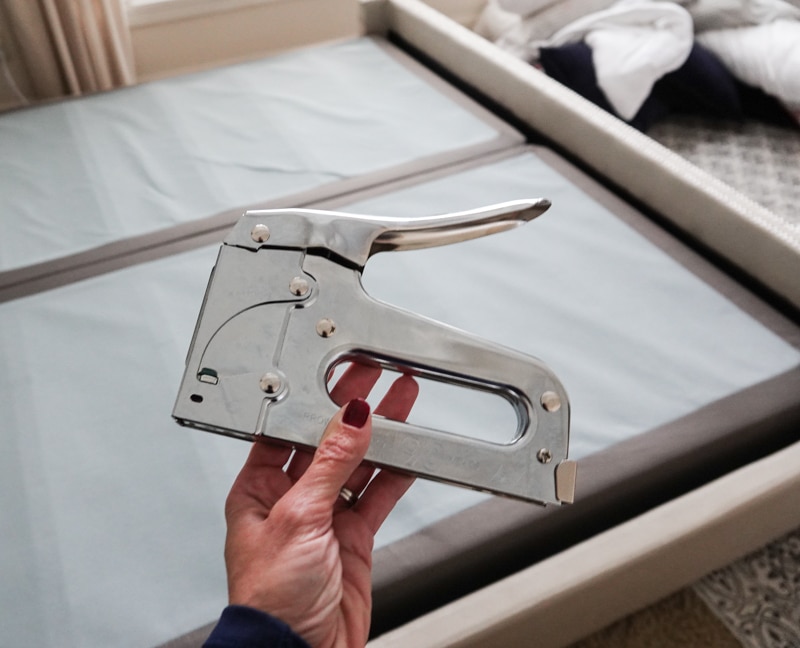
Heavy-Duty Staple Gun
Determine how much fabric you need
The first step is figuring out the dimensions of the area you’ll be covering. Twin and full beds are 75 inches long, while queen and king beds are 80 inches long. So if you’re covering a box spring for a queen bed, you’ll need around five yards of fabric to safely cover both sides. Most modern bed frames hide the end of the box spring, but if yours doesn’t, measure that as well. If the fabric is thin or lightweight, you’ll want to have enough fabric to be able to fold over once.
Select, cut, and iron your fabric
Once you’ve determined how much fabric you need, it’s time to let your creativity shine. There is a virtually endless selection of fabric materials, colors, and patterns, so head over to your local fabric store to find what best suits the look you’re going for. If you already own the fabric you’d like to use for this project, cut it to size using fabric scissors. Then, iron out any wrinkles as needed.
Put your fabric into place
Your fabric is ready to go and so are you. But don’t start stapling just yet. Carefully place your fabric on the box spring, making sure to keep the folded side on top. If you want to ensure precision, use a pencil to mark the fabric where it touches the wood brace supports.
START STAPLING
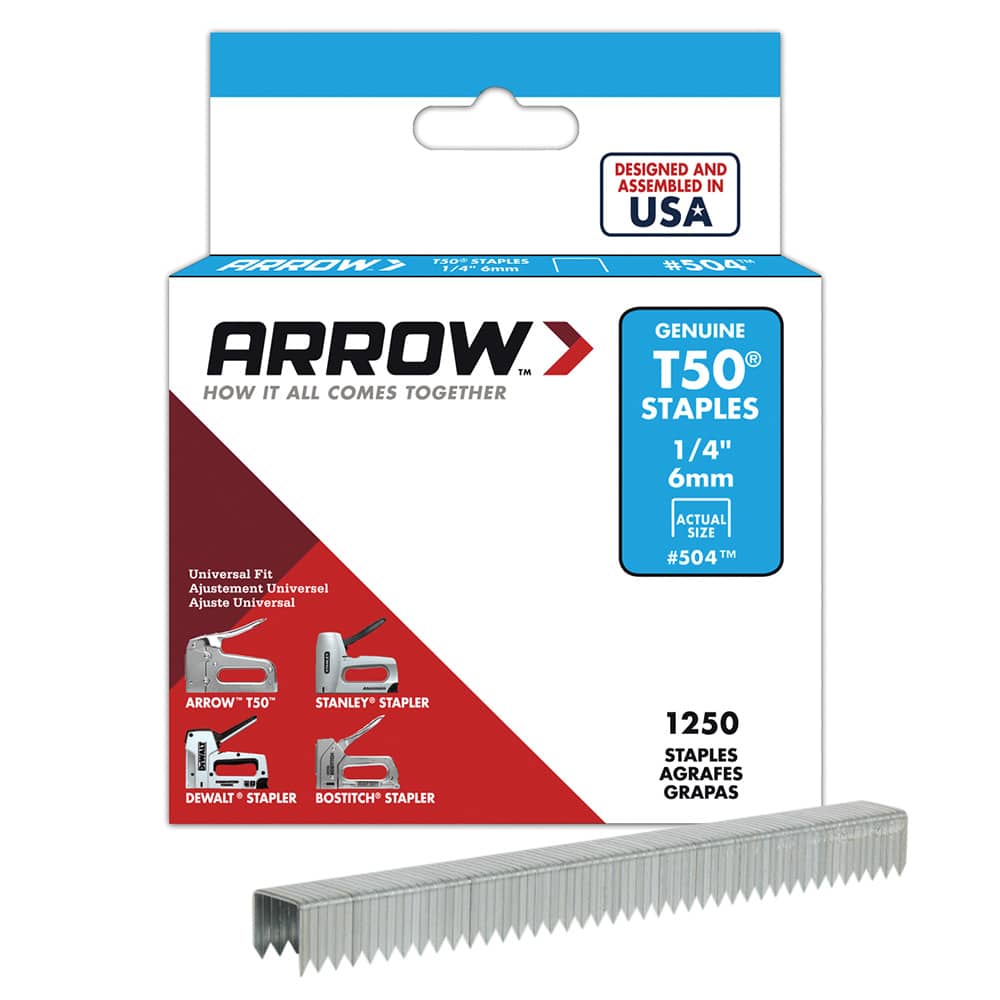
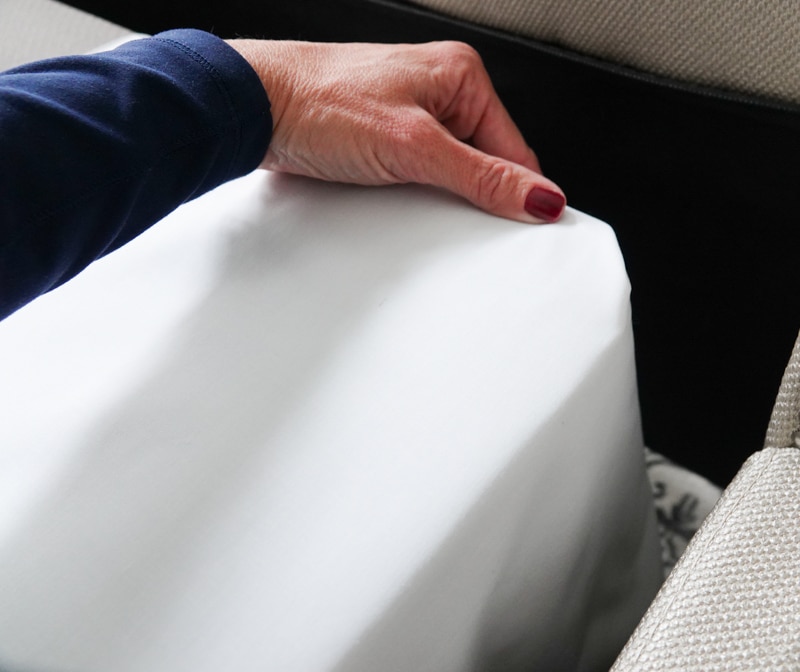
Using your T50 Heavy-Duty Staple Gun and Arrow T50 staples, start in the middle of the box spring, making sure to staple the fabric to the wood brace supports. Keep stapling out toward both ends of the bed. Assuming you’re covering only the sides, wrap the ends of the fabric at each end of the box spring, and staple them to keep everything in place. And you’re done!
We hope you enjoy your box spring’s new look – and we’d love to see it! Share your Arrow Fastener project pictures with us on Facebook, Instagram, or X by using #ArrowStrong or by tagging @arrowfastener in your post.
Get Arrow tips, tricks, projects and promos in your inbox!
Hey there! We’ve updated our Privacy and Cookie Policies at the request of some of our friends in Europe. Click Accept to let us know you’re okay with the updates. Thanks!
View Cookie Policy Accept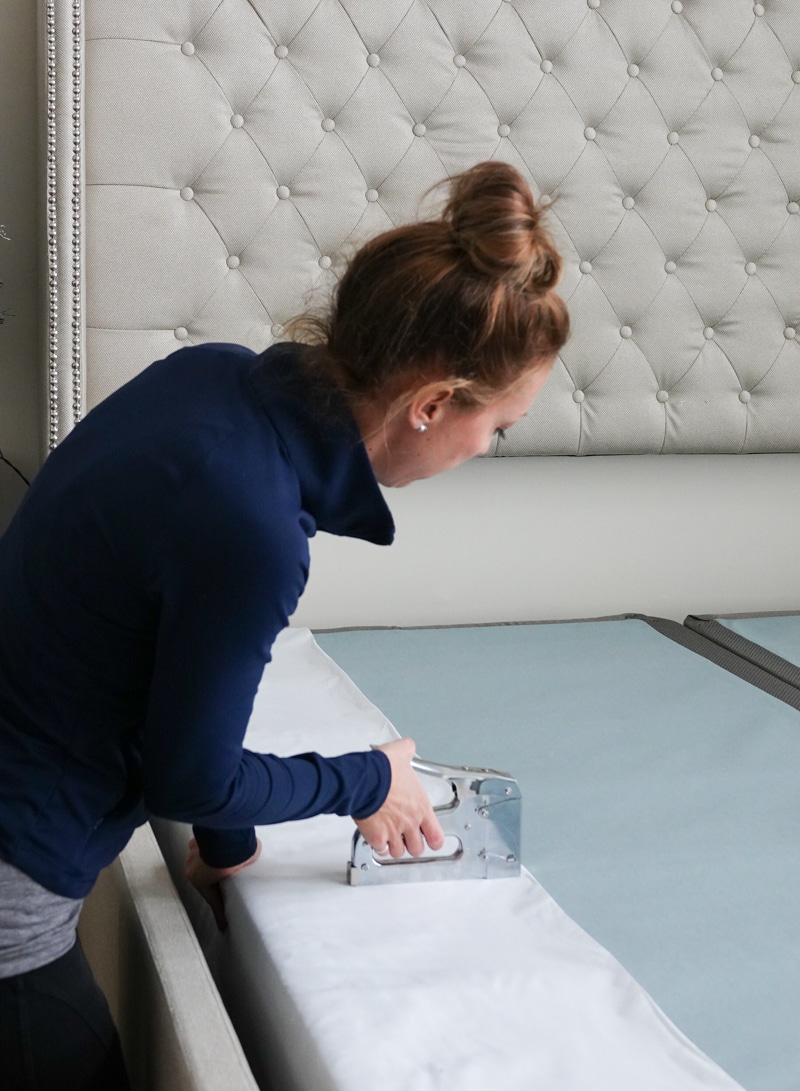