or Call Us at 1-800-776-2228
or Call Us at 1-800-776-2228
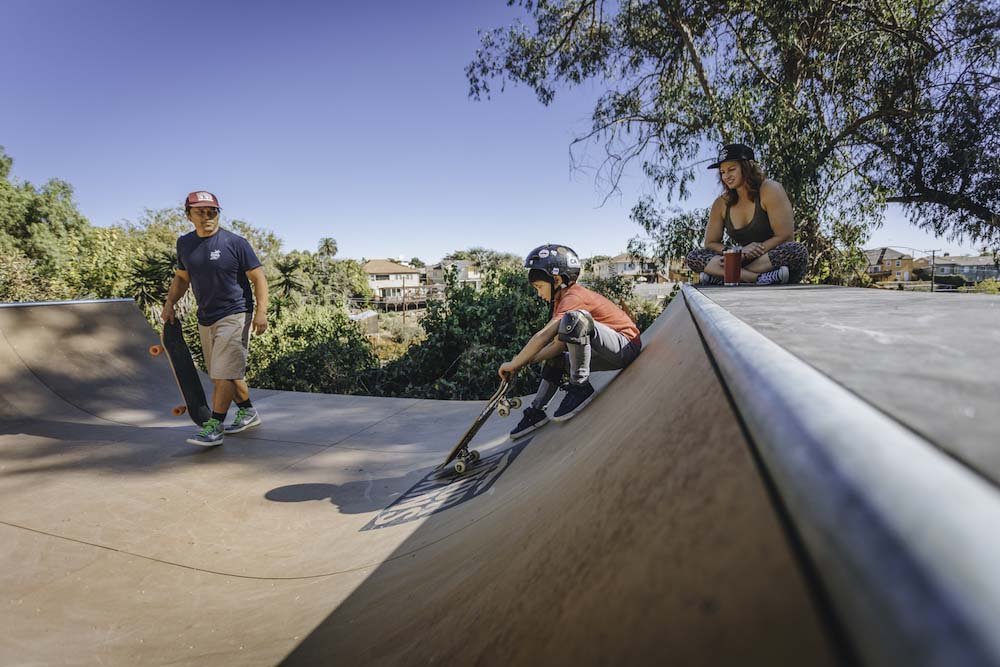
If you’re an avid skater or want to build a ramp for your kids, you’ll want to protect your equipment. In this tutorial, we’ll show you how to effectively waterproof your ramp from the outdoor elements, keeping you or your kiddos skating for many seasons to come. Most of these materials are at your local home improvement store, including the Arrow E21 Cordless Electric Staple Gun and Arrow JT21 staples. An electric staple gun will save your hands from fatigue during this project.
Cordless Electric Staple Gun
To start this project, you will need a skating ramp. We purchased the 3.5’x12′ Mini Half Pipe kit from Keen Ramps. If you already have a ramp, perfect! When building the ramp, we recommend using 18-gauge brad nails and a hammer. You will need to assemble the ramp as instructed before you can begin waterproofing effectively.
To start this project, you will need a skating ramp. We purchased the 3.5’x12′ Mini Half Pipe kit from Keen Ramps. If you already have a ramp, perfect! When building the ramp, we recommend using 18-gauge brad nails and a hammer. You will need to assemble the ramp as instructed before you can begin waterproofing effectively.
The first step in protecting your ramp from the outdoor elements is raising it off the ground. Use the cinderblocks at the corners and middle of the ramp frame. Once the cinderblocks are in place, you will want to ensure it is level. Elevating your ramp will prevent water damage and help keep it in good condition.
The first step in protecting your ramp from the outdoor elements is raising it off the ground. Use the cinderblocks at the corners and middle of the ramp frame. Once the cinderblocks are in place, you will want to ensure it is level. Elevating your ramp will prevent water damage and help keep it in good condition.
To add another level of protection, use roofing paper between the middle plywood area and the ramp surface material of your choosing. The roofing paper will protect the ramp’s frame and the 2x4s underneath from rain and snow damage. Start by rolling out the roofing paper and aligning with the frame. As you move across the parameter fold the edge of the paper and use your E21 Cordless Electric Staple Gun and Arrow JT21 staples to fasten for maximum protection!
To add another level of protection, use roofing paper between the middle plywood area and the ramp surface material of your choosing. The roofing paper will protect the ramp’s frame and the 2x4s underneath from rain and snow damage. Start by rolling out the roofing paper and aligning with the frame. As you move across the parameter fold the edge of the paper and use your E21 Cordless Electric Staple Gun and Arrow JT21 staples to fasten for maximum protection!
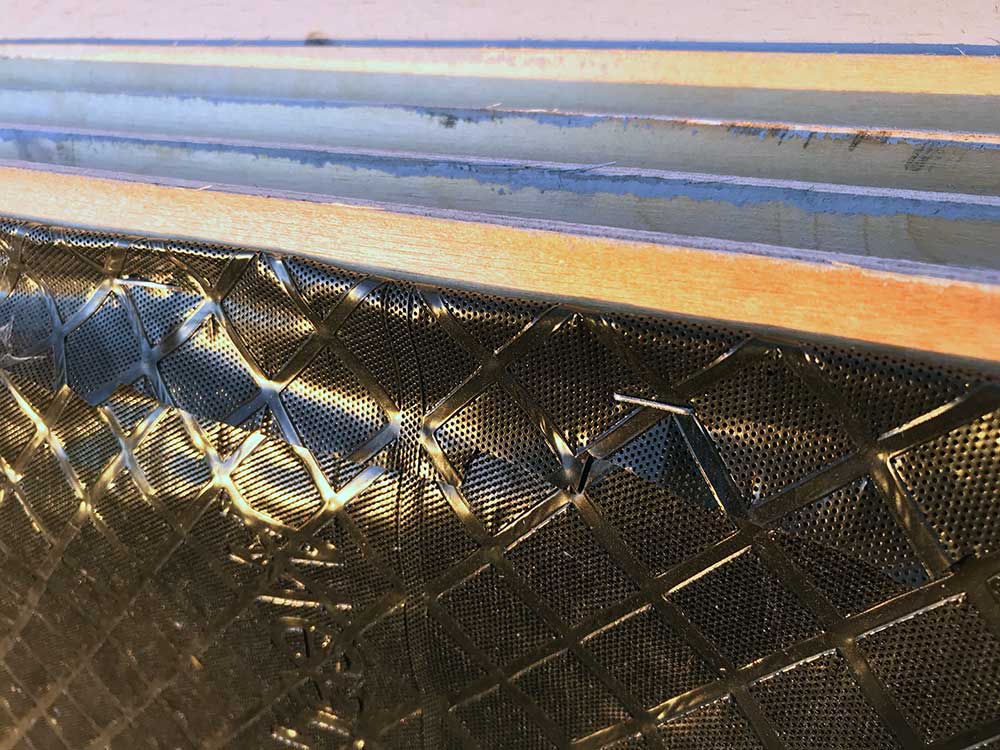
Once the roofing paper is secure, paint the side of the ramp to protect it from moisture-based damage. Lastly, lay down a surfacing material over the roofing paper to add further protection from skating wear and tear. We chose Gatorskins as our ramp surface material. Affix the ramp surface material according to the supplied directions.
Once the roofing paper is secure, paint the side of the ramp to protect it from moisture-based damage. Lastly, lay down a surfacing material over the roofing paper to add further protection from skating wear and tear. We chose Gatorskins as our ramp surface material. Affix the ramp surface material according to the supplied directions.
We hope you enjoy years of skating fun, thanks to your now-waterproofed ramp! Share your Arrow Fastener project pictures with us on Facebook, Instagram, or X by using #ArrowStrong or by tagging @arrowfastener in your post.
Get Arrow tips, tricks, projects and promos in your inbox!
Hey there! We’ve updated our Privacy and Cookie Policies at the request of some of our friends in Europe. Click Accept to let us know you’re okay with the updates. Thanks!
View Cookie Policy AcceptNotifications