or Call Us at 1-800-776-2228
or Call Us at 1-800-776-2228
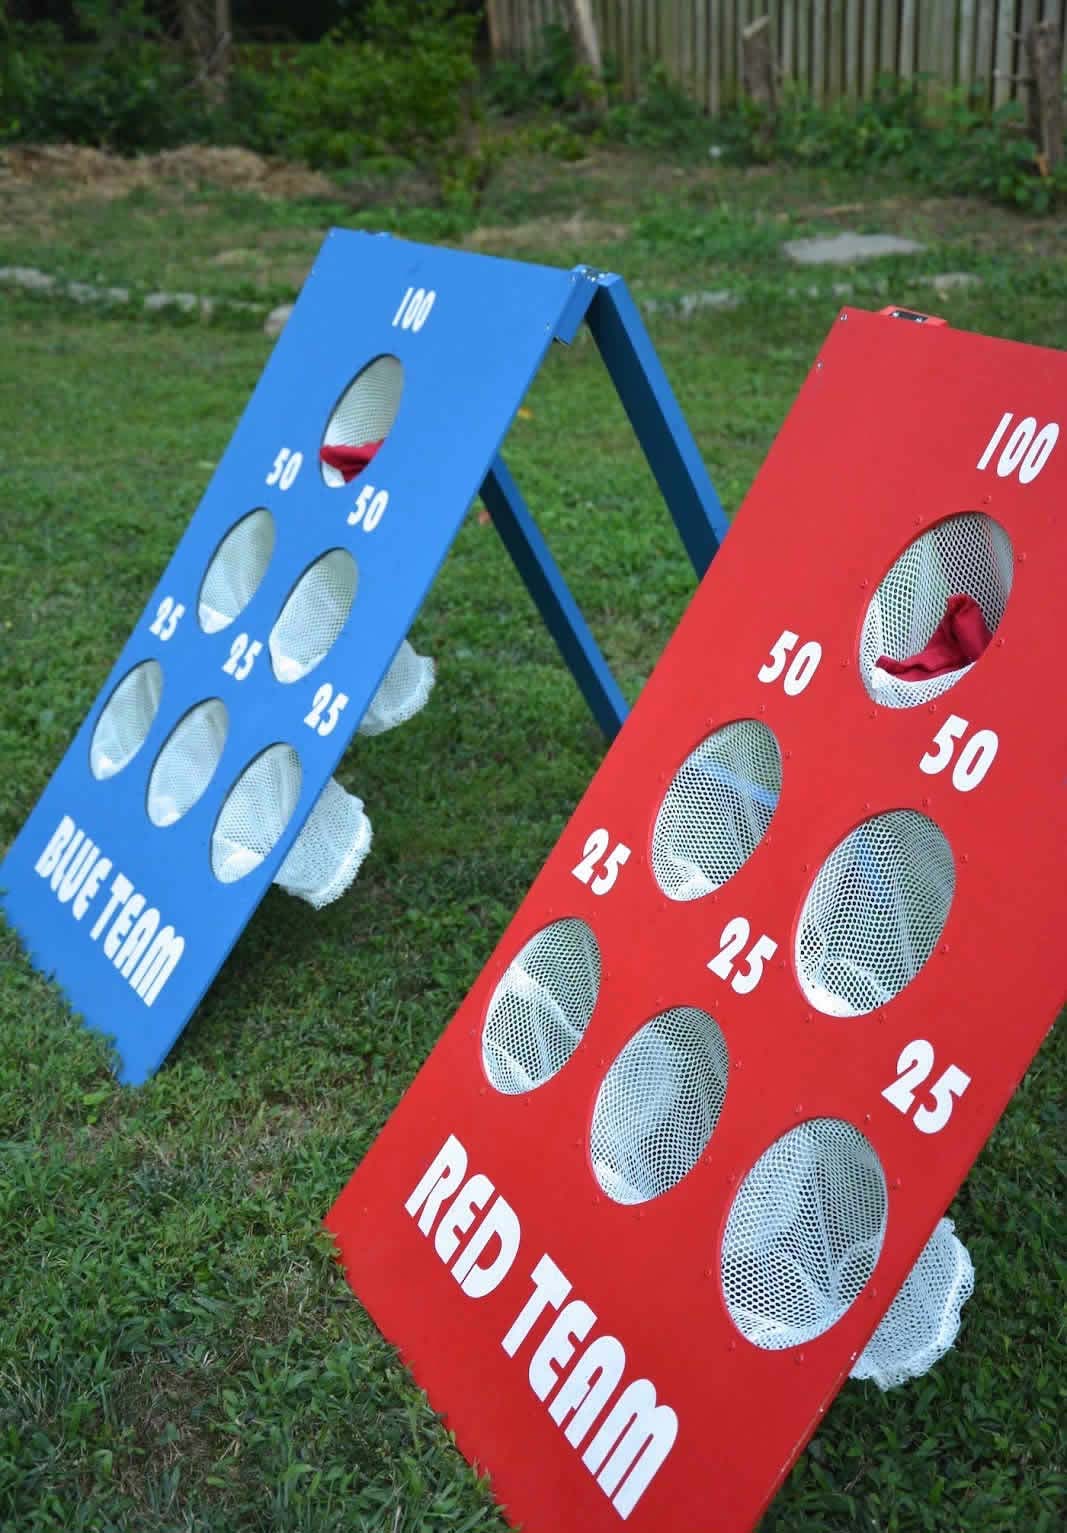
I wanted to get the kids outside, but also have some fun activities for them to do when having friends over. With just some plywood, paint, a riveter, rivets, power tools, and mesh, I easily created this fun backyard DIY bean bag toss game. Now, our backyard doesn’t have to be so boring!
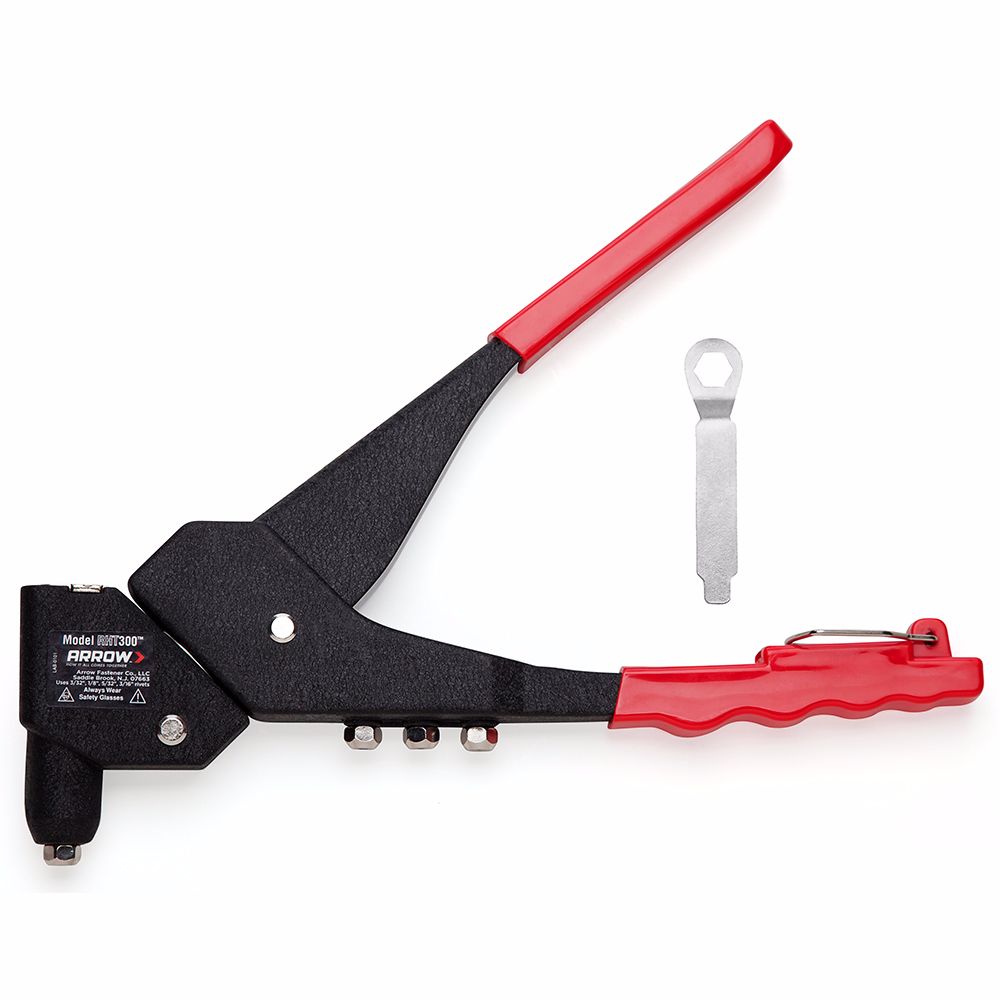
Swivel Head Rivet Tool
Cut the plywood down. The two sheets of 1/4” plywood come in 48” heights. We don’t want our bean bag games quite so tall, so start by cutting them down. I’m making mine 36”.
Cut the plywood down. The two sheets of 1/4” plywood come in 48” heights. We don’t want our bean bag games quite so tall, so start by cutting them down. I’m making mine 36”.
Trace the circles. There’s no right or wrong size of the bean bag holes. Just make sure they’ll be large enough. I used a bowl from my kitchen to trace six holes. I centered the first, measuring down about 7”.
Trace the circles. There’s no right or wrong size of the bean bag holes. Just make sure they’ll be large enough. I used a bowl from my kitchen to trace six holes. I centered the first, measuring down about 7”.
Time to cut the holes. In order to cut out the bean bag holes, I had to first drill a hole in the circle so that I could insert my jigsaw blade to begin cutting. I did this for all 12 holes, six on each bean bag game.
Time to cut the holes. In order to cut out the bean bag holes, I had to first drill a hole in the circle so that I could insert my jigsaw blade to begin cutting. I did this for all 12 holes, six on each bean bag game.
Attach a board to the back. Because the plywood is thin, you’ll have to add a board to the top. I used glue, but it’s best to use glue and screws to screw it. This board will be the board upon which to attach the hinges for the kickstands. I later realized that wood glue wasn’t going to be enough, so I recommend using glue and a couple screws on each side.
Attach a board to the back. Because the plywood is thin, you’ll have to add a board to the top. I used glue, but it’s best to use glue and screws to screw it. This board will be the board upon which to attach the hinges for the kickstands. I later realized that wood glue wasn’t going to be enough, so I recommend using glue and a couple screws on each side.
Prepare the mesh. If you don’t have a sewing machine, no worries. You may use no-sew tape. If you’re using mesh, you’ll need to use a long zigzag stitch. I used the wooden circles as a template and cut out 12 mesh circles.
I also cut 12 long strips of mesh that would also make up the pockets. I folded the mesh strips in half and used a long zigzag stitch to sew together the one edge. If you don’t have a sewing machine, no problem. Just use no-sew fabric tape to join fabric together. It’s pretty simple. Then I used the zigzag stitch to join a mesh circle onto the end.
Paint the wood. You may actually paint the wood later, but I painted the wood sooner so that it could dry thoroughly. I didn’t want the paint to ruin the mesh. TIP: The painting goes much faster if you use a roller!
Paint the wood. You may actually paint the wood later, but I painted the wood sooner so that it could dry thoroughly. I didn’t want the paint to ruin the mesh. TIP: The painting goes much faster if you use a roller!
Cut and prepare the kickstands. Before drilling holes for the rivets, I cut 1×4 boards using a miter saw, but you can just your jigsaw, too. This was scrap wood that I had on hand and it was perfect for making the kickstands that would support the bean bag games. I used my pocket hole jig to drill pocket holes to screw them together, but you can easily use wood glue, too.
The kickstand should be a bit shorter than the 36” bean bag boards so that, when reclined, the game rests at an angle.
Drill holes for rivets. Before drilling the holes for the rivets, place a piece of scrap wood underneath the plywood to prevent tear out on the other side from drilling. Drill eight holes around each circle at 12, 6, 3, and 9 o’clock, and space evenly between those points.
It’s probably easier to drill and sand the holes first before painting, but this way worked fine, as well.
Insert the rivets and attach the mesh. Medium length rivets work best for ¼” plywood. Simply insert them into the holes and hook the mesh fabric onto the rivets. If you’re using another type of fabric, just create small holes to hook onto the fabric. Be sure to hold the washers in place.
Riveting was a 3-step process: you hold the washer on, slide the riveter over the rivet, then squeeze 1-2 times until you hear a “POP.” As you squeeze the handles of the riveter, the rivet will begin to expand, pulling the washer tight and secure against the mesh. With a couple of squeezes, the long rivet snaps off, leaving the fabric secured to the wood.
Important: Be sure to wear your eye protection when using a riveter.
Paint the rivets. After attaching a bunch of rivets, you’ll be left with rivets showing on your project. If that’s the look you’re going for, great! If not, painting the rivets will blend them in, making the bean bag toss look clean and seamless.
Paint the rivets. After attaching a bunch of rivets, you’ll be left with rivets showing on your project. If that’s the look you’re going for, great! If not, painting the rivets will blend them in, making the bean bag toss look clean and seamless.
Stencil on point values. I’ve got a cutting machine that easily makes stencils, but you don’t need something fancy. You can use ready-made stencils to add point values and things like “RED TEAM” and “BLUE TEAM.”
Stencil on point values. I’ve got a cutting machine that easily makes stencils, but you don’t need something fancy. You can use ready-made stencils to add point values and things like “RED TEAM” and “BLUE TEAM.”
Attach the kickstand. On the ends of the kickstand, attach a hinge to each edge. Then, attach the other side of the hinge to the bean bag game.
Attach the kickstand. On the ends of the kickstand, attach a hinge to each edge. Then, attach the other side of the hinge to the bean bag game.
The bean bag game was a big hit! I found that the heavy-duty bean bags were too heavy for the 1/4” plywood, so I’ll likely find some lighter bean bags to use or lighter balls. Overall, it turned out great and it gives the kids something fun to do in the backyard!
Get Arrow tips, tricks, projects and promos in your inbox!
Hey there! We’ve updated our Privacy and Cookie Policies at the request of some of our friends in Europe. Click Accept to let us know you’re okay with the updates. Thanks!
View Cookie Policy Accept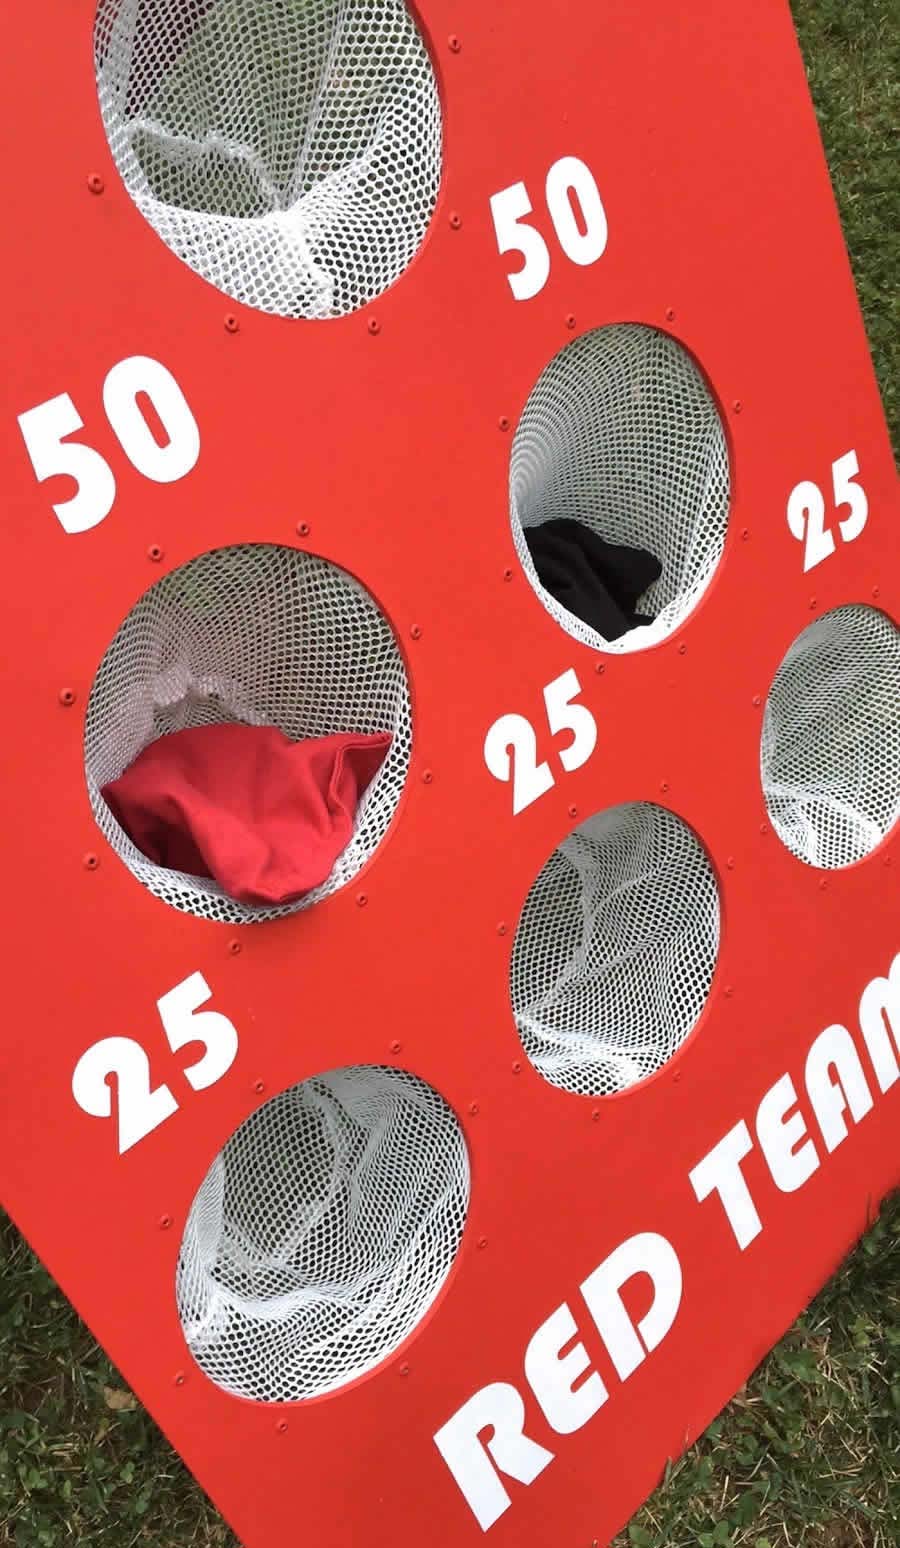