or Call Us at 1-800-776-2228
or Call Us at 1-800-776-2228

Could your front door use a little more curb appeal or maybe just a nice, homey touch? Here’s a fun DIY mailbox project that your mailman will appreciate and all your neighbors will love. Stop by the hardware store to pick up some house numbers, grab your Arrow PT18G pneumatic brad nailer and GT30Li cordless glue gun, and let’s get to work!

Pneumatic Brad Nailer
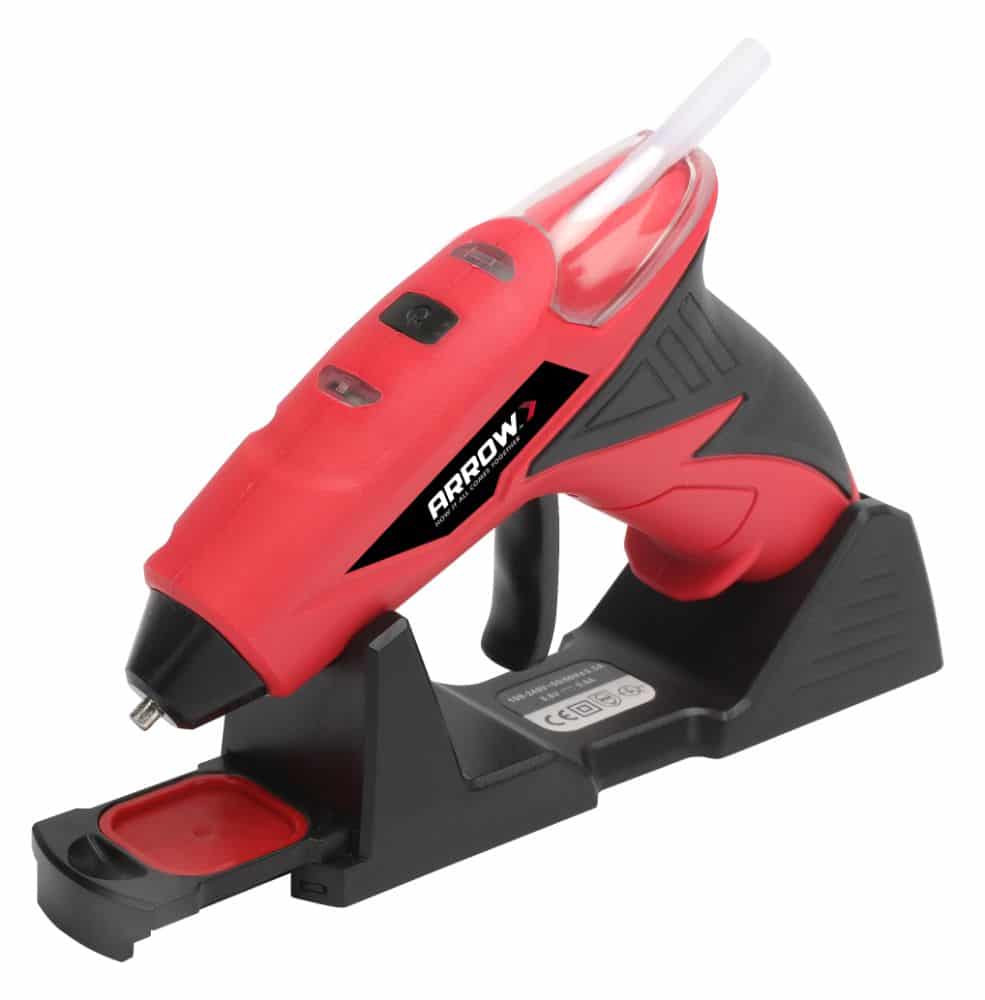
Cordless Glue Gun
First trim the cedar to dimensions that suit your project based on the size of your chosen house numbers and mailbox. We cut ours into three 6″ x 25″ boards and trimmed the scraps to 16″ back braces.
Decide what kind of look would best fit your front door (and your style!) – either paint on some satin-finish polyurethane or leave it bare and allow your cedar to age naturally.
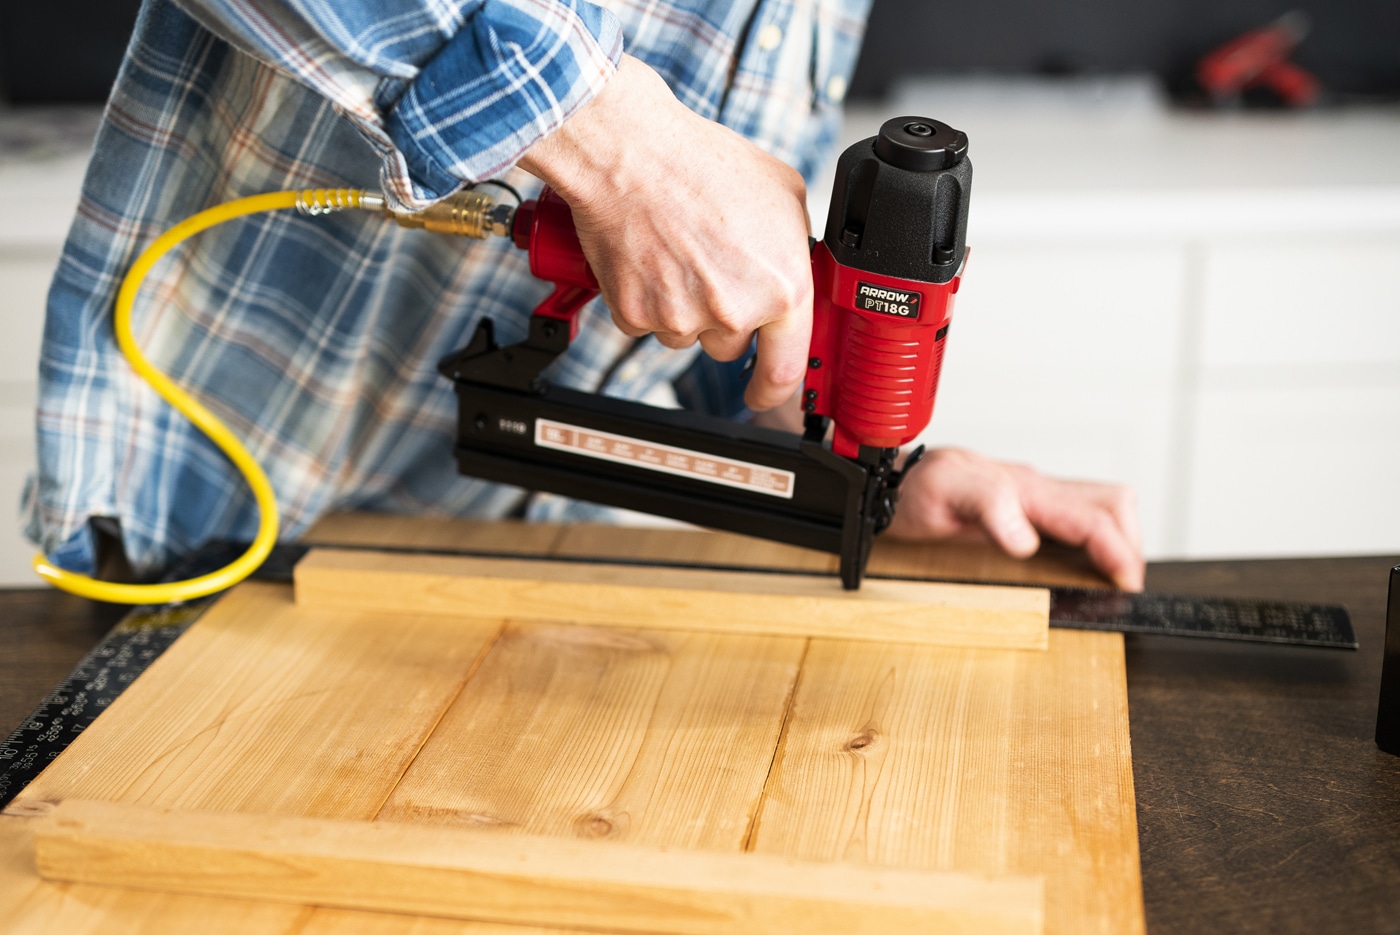
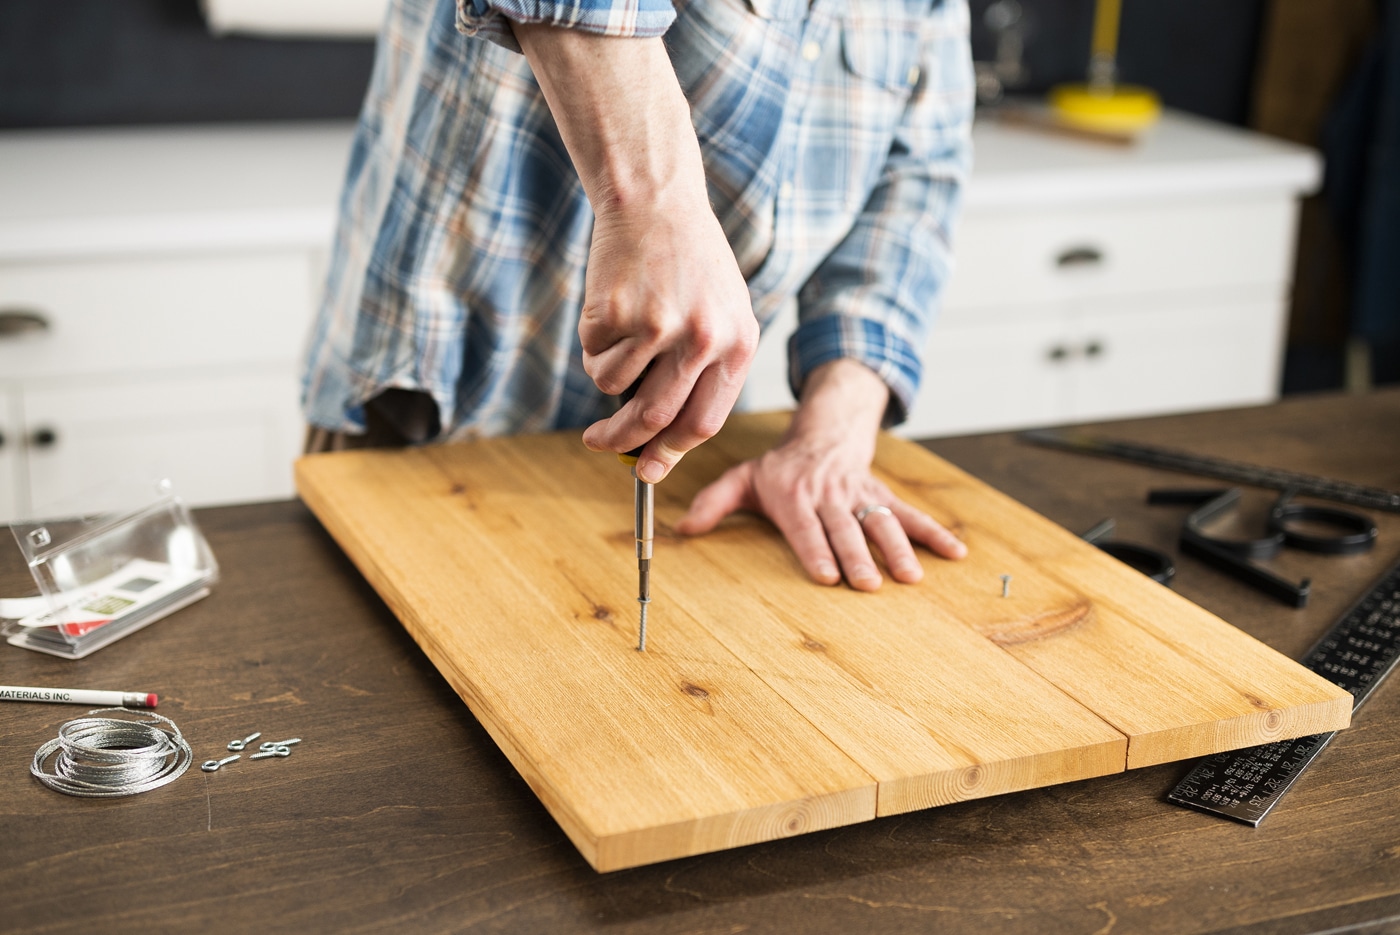
Align the three cedar boards facedown and nail in the two back braces using the builder’s square and the PT18G pneumatic brad nailer. For added strength, align the bottom brace with where you plan to install the mailbox mounting screws.
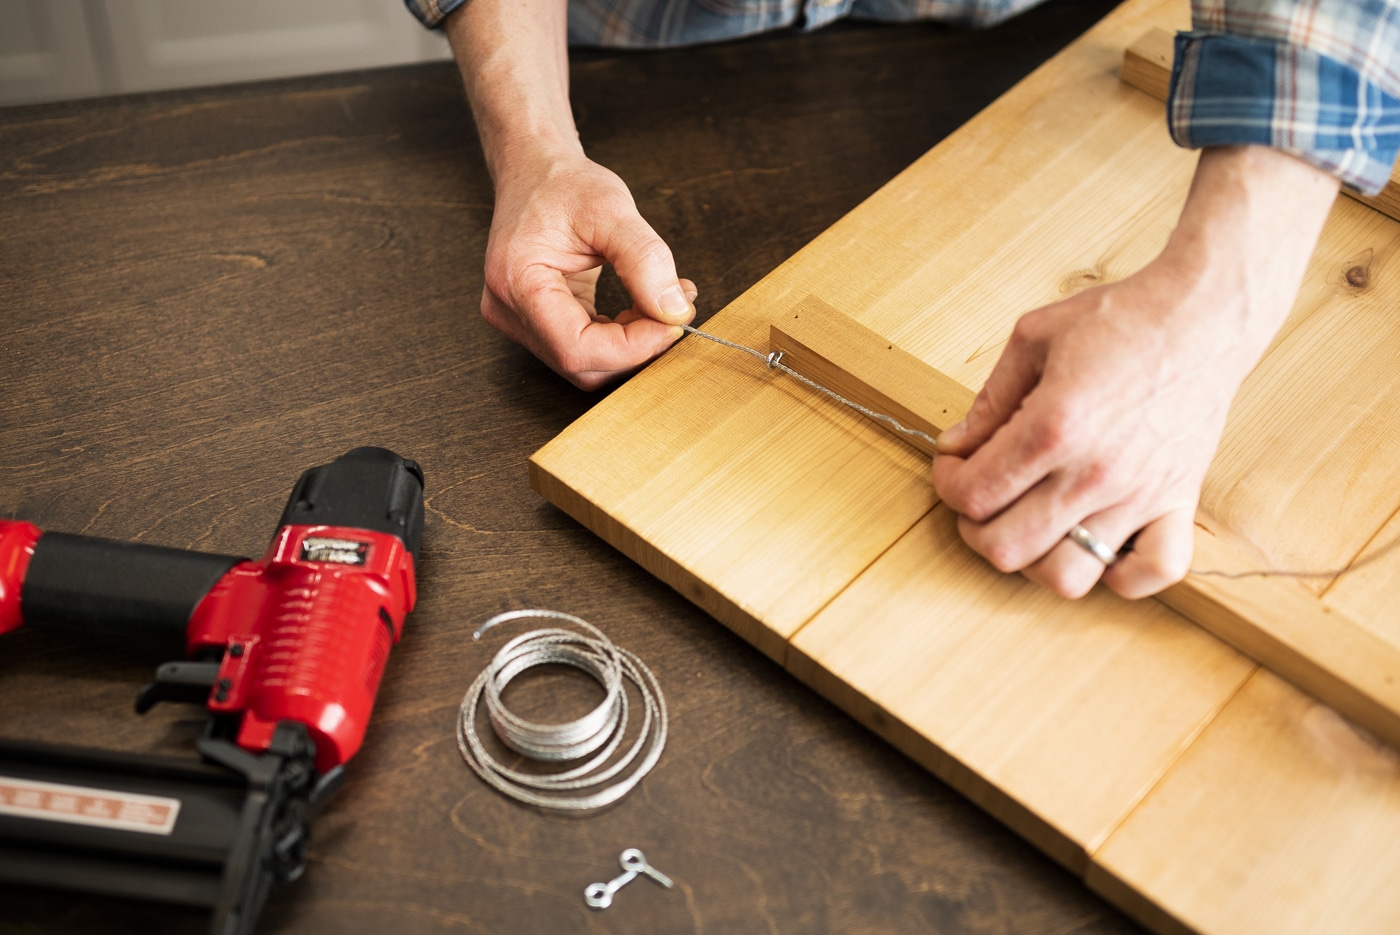
Attach a wire with eye hook screws at both ends of the top back brace so you’ll be able to hang your mailbox by your front door.
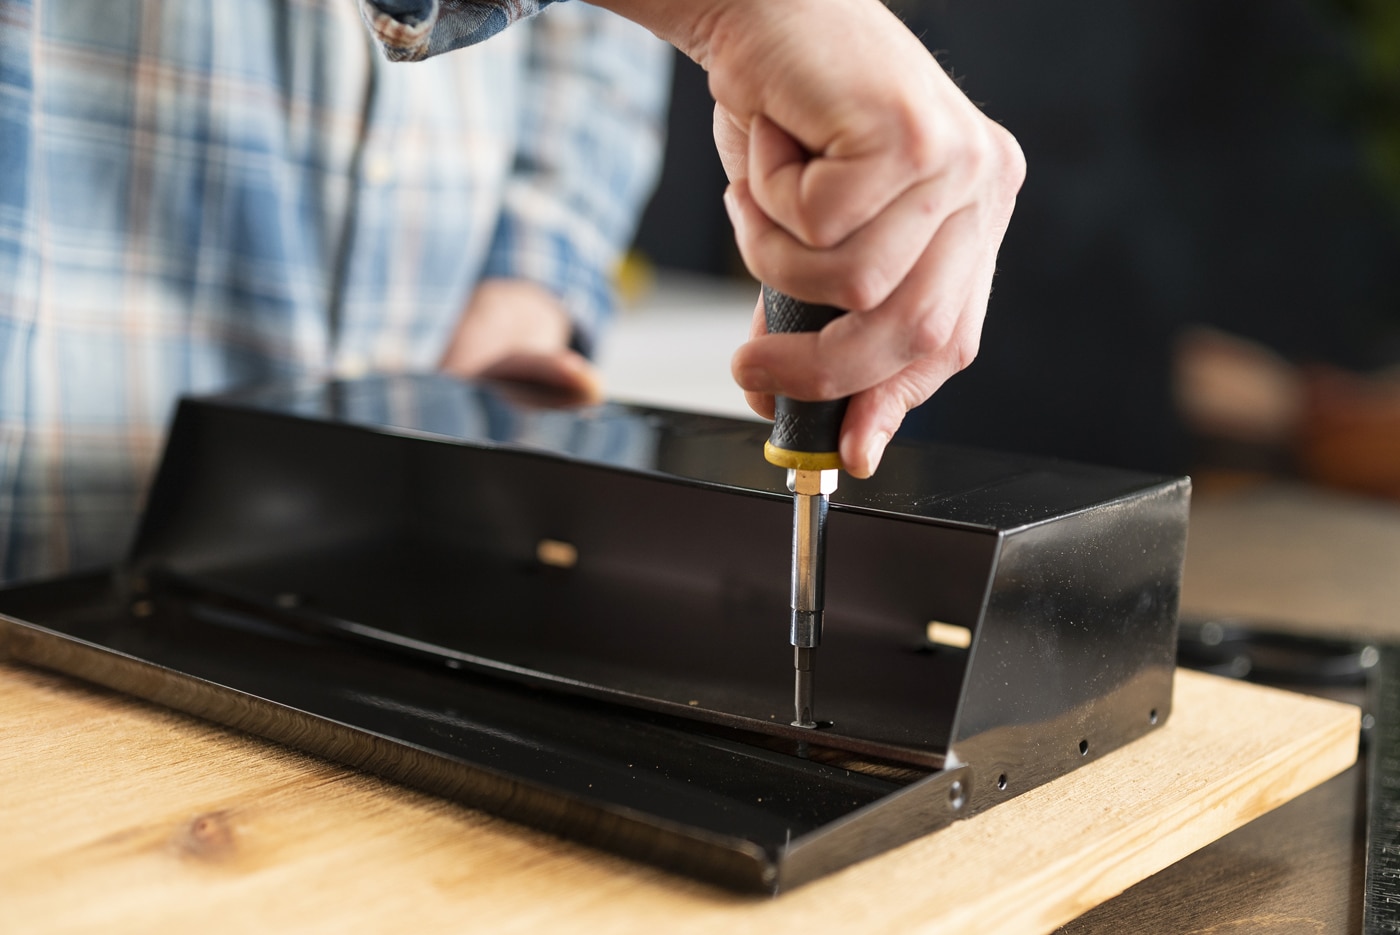
Flip your board faceup and install the mailbox with screws through the face boards and into the lower back brace. If you need a little extra guidance with the mailbox installation, just refer to the directions that came with the mailbox.
Line up the house numbers using the builder’s square to determine spacing and alignment. (Don’t forget to double-check that they’re in the right order!) Lightly trace the numbers with a pencil. Apply hot glue using the GT30Li cordless glue gun and affix the numbers to the cedar.
You’ve got mail! Once you’re finished with your mailbox board, it’s time to show it off to the neighbors. This project would also make a great housewarming gift – you could even paint the mailbox to match the house.
We’d love to see how your DIY house number mailbox project turned out! Share your work with us on Facebook and Instagram by tagging @ArrowFastener or using #MadeWithArrow.
Get Arrow tips, tricks, projects and promos in your inbox!
Hey there! We’ve updated our Privacy and Cookie Policies at the request of some of our friends in Europe. Click Accept to let us know you’re okay with the updates. Thanks!
View Cookie Policy Accept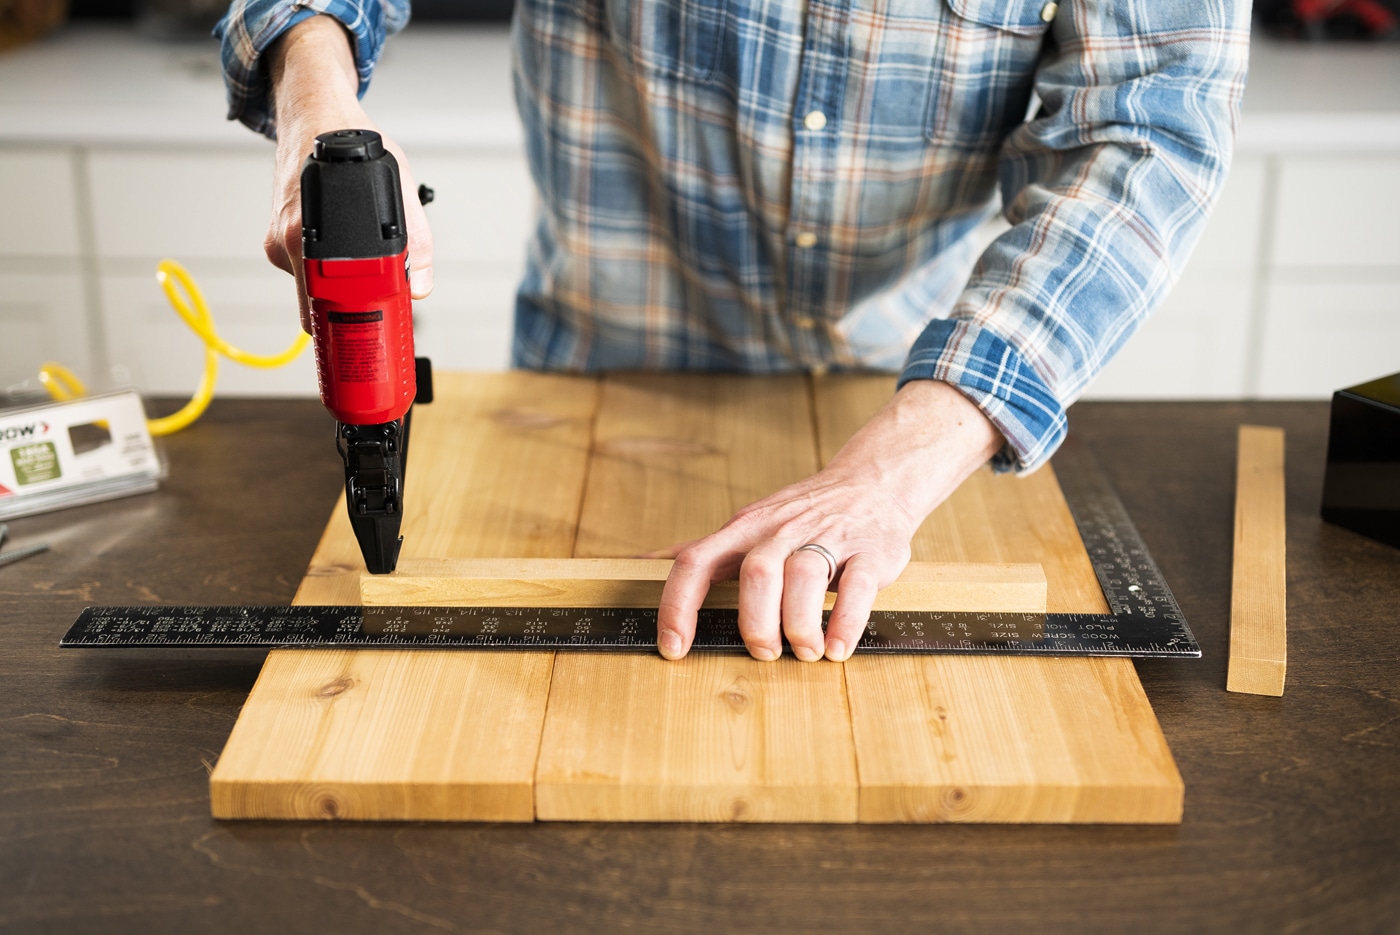