or Call Us at 1-800-776-2228
or Call Us at 1-800-776-2228
Do you have a stool at home that could use a little love? Take a seat and let us show you how to totally transform your stool using just hot glue, a staple gun, and some fun new fabric. We used the Arrow GT30Li cordless glue gun and the Arrow T50 heavy duty staple gun, but most Arrow staple guns and glue guns should work for this DIY stool upcycle.
Heavy-Duty Staple Gun
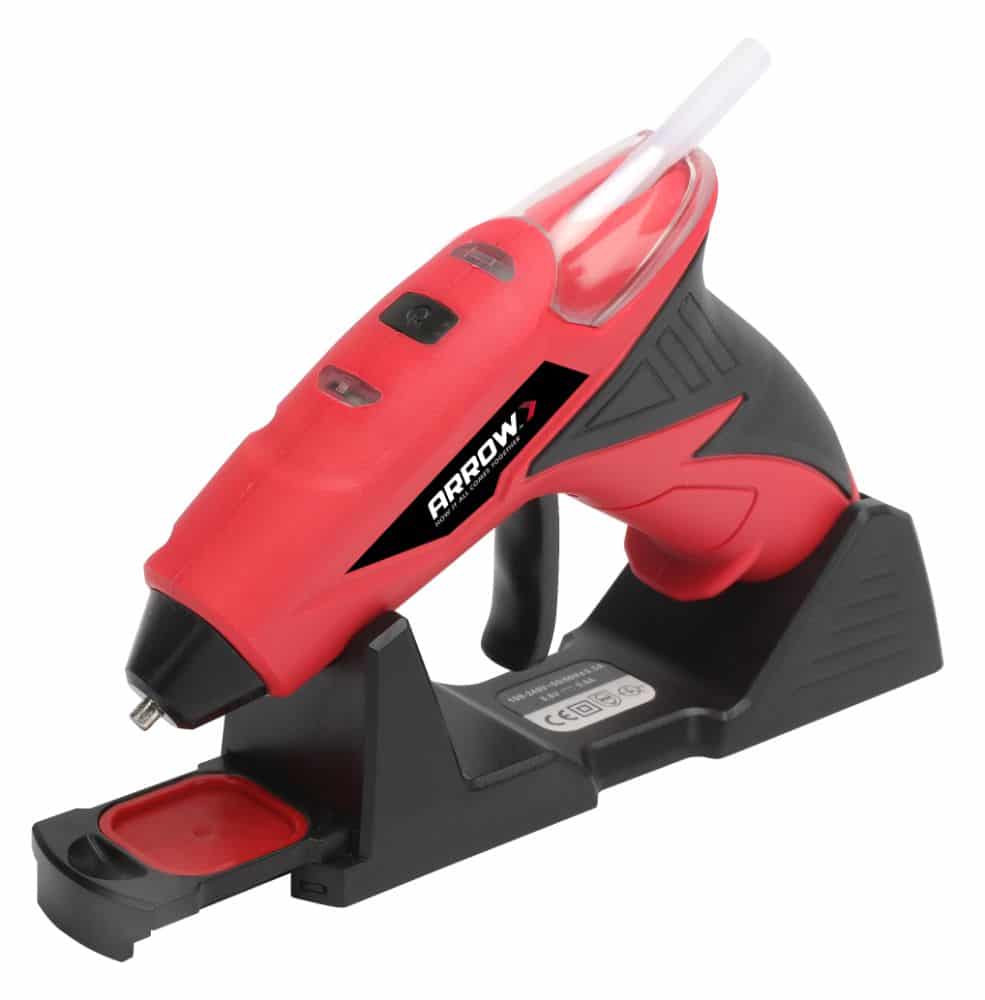
Cordless Glue Gun
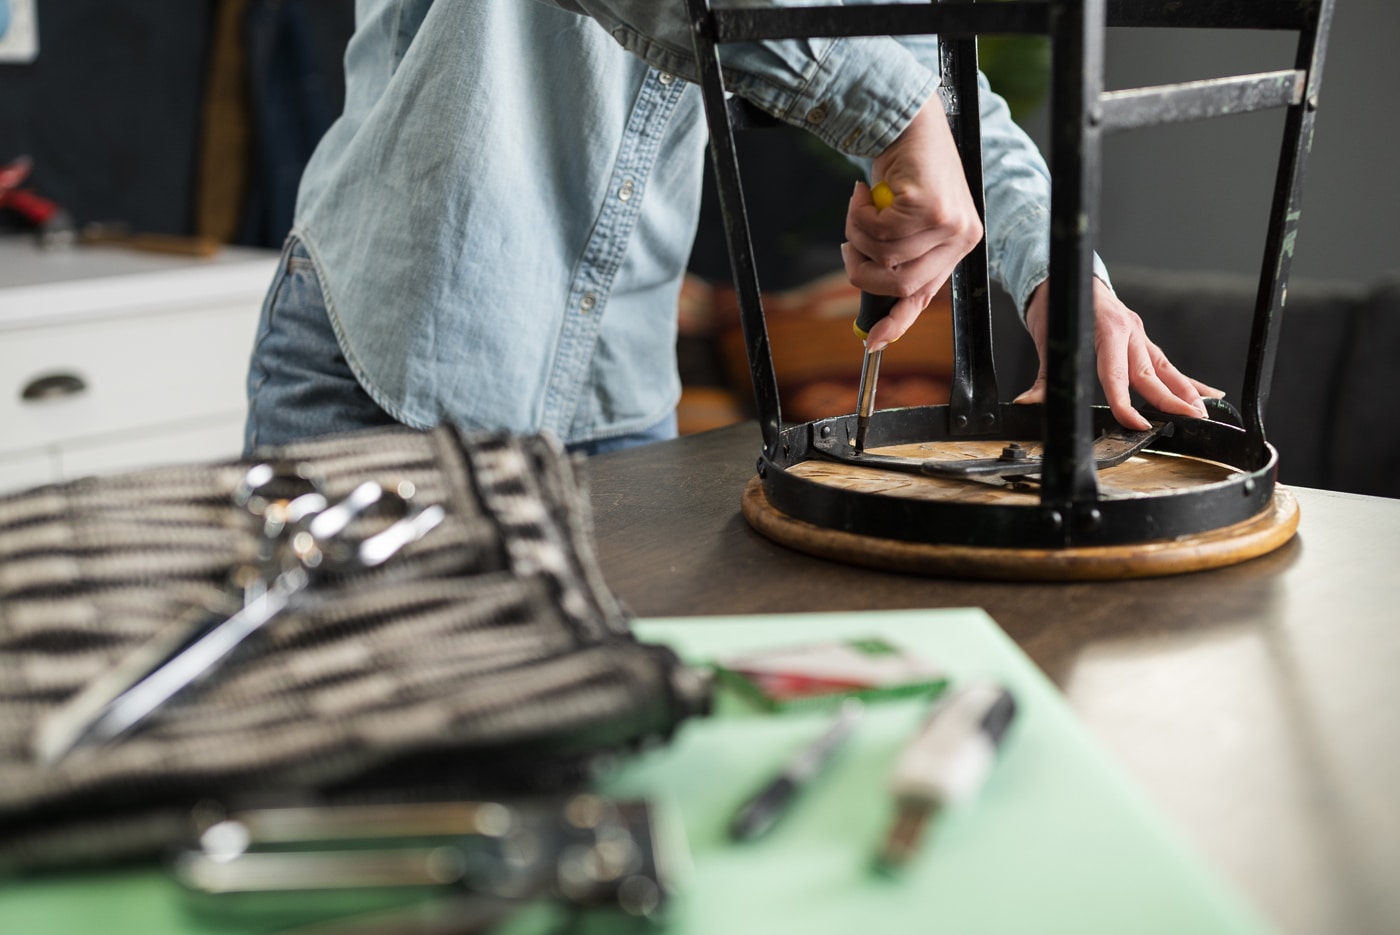
First find a fabric that will brighten up your high-top table space. Then, flip the stool upside down and remove the seat from your stool. Take the removed seat and set it on the fabric as a template. Cut a circle around the seat, leaving at least three inches of fabric around it.
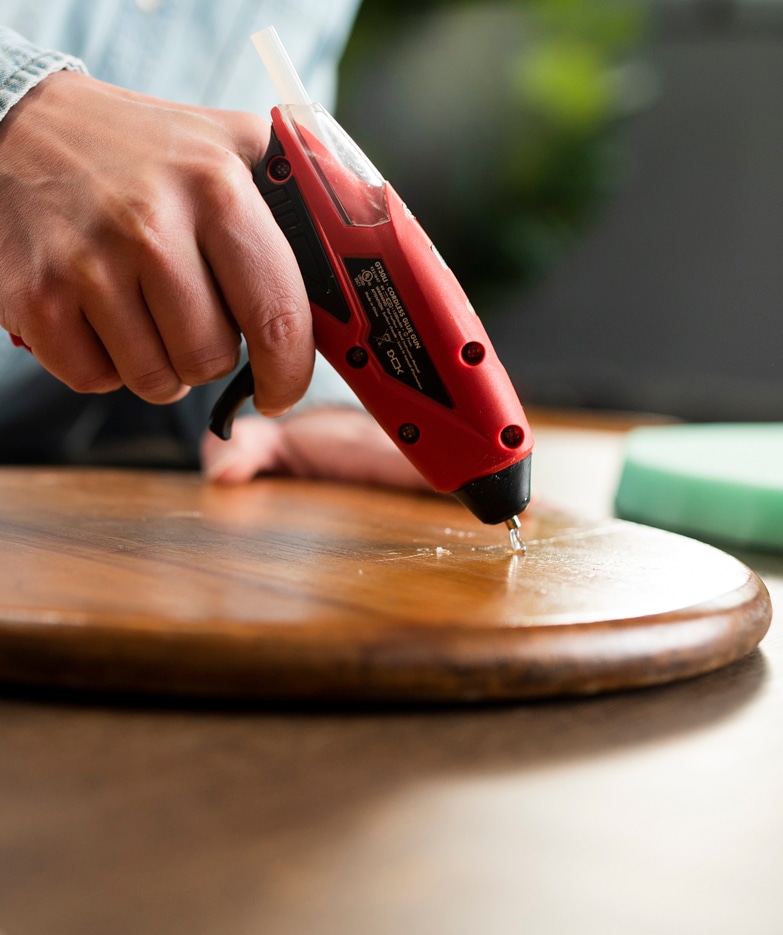
Time to get comfortable! Place the seat on the foam and use a marker to trace the seat’s shape and cut the foam with scissors. Unlike with the fabric, there’s no need to leave any extra foam around the edges – just cut it to the exact size of the seat. Center the cut foam on top of the seat and adhere it using your GT30Li cordless glue gun.
Place your fabric facedown on your work surface, and then place the stool seat foam-side-down on top of it, making sure to leave enough fabric to grab around it (you will cut off the excess fabric in a later step).
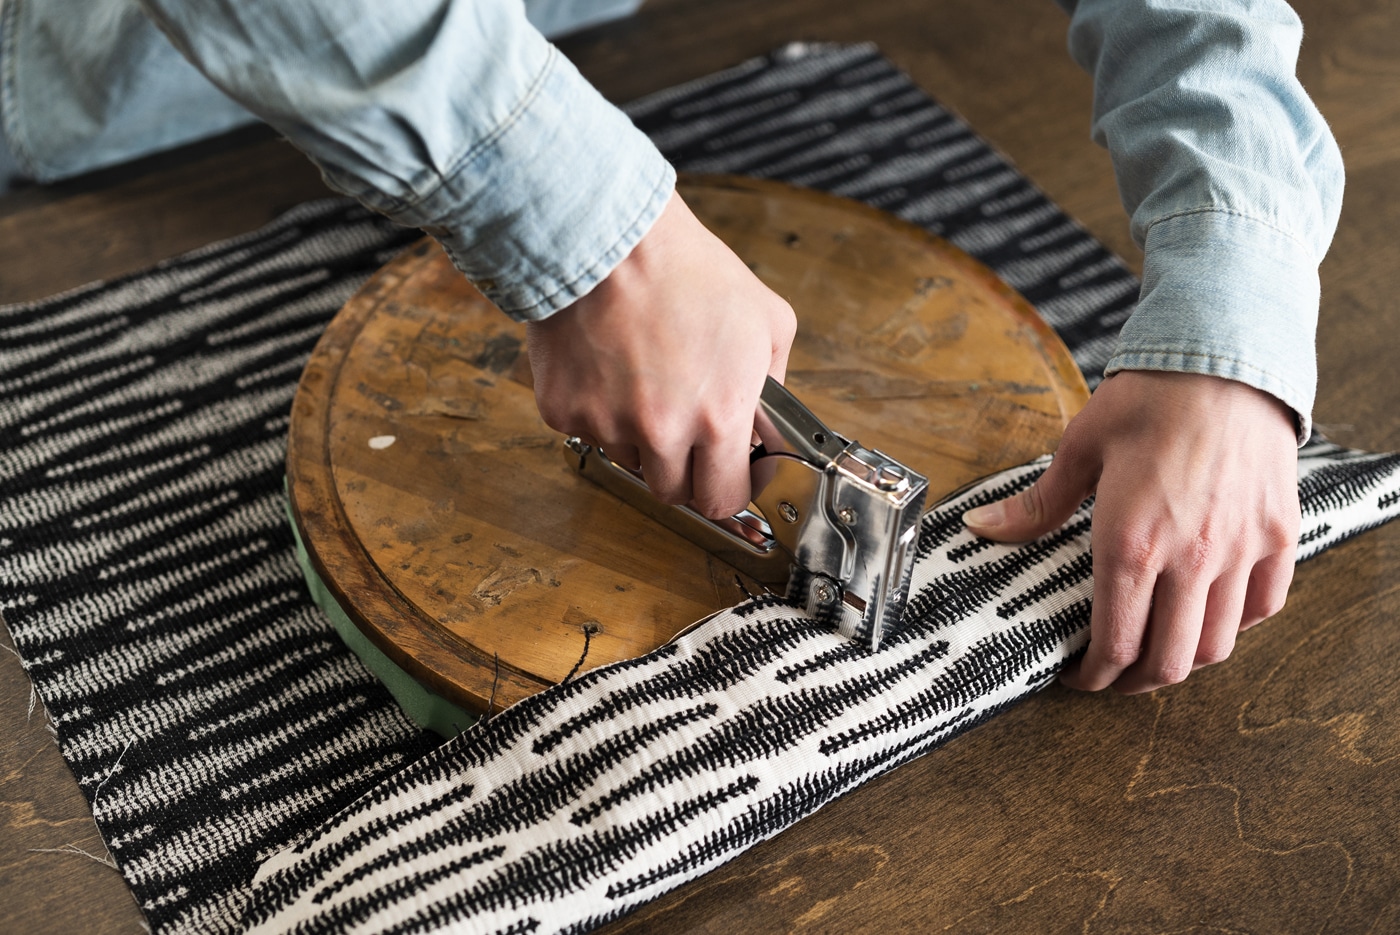
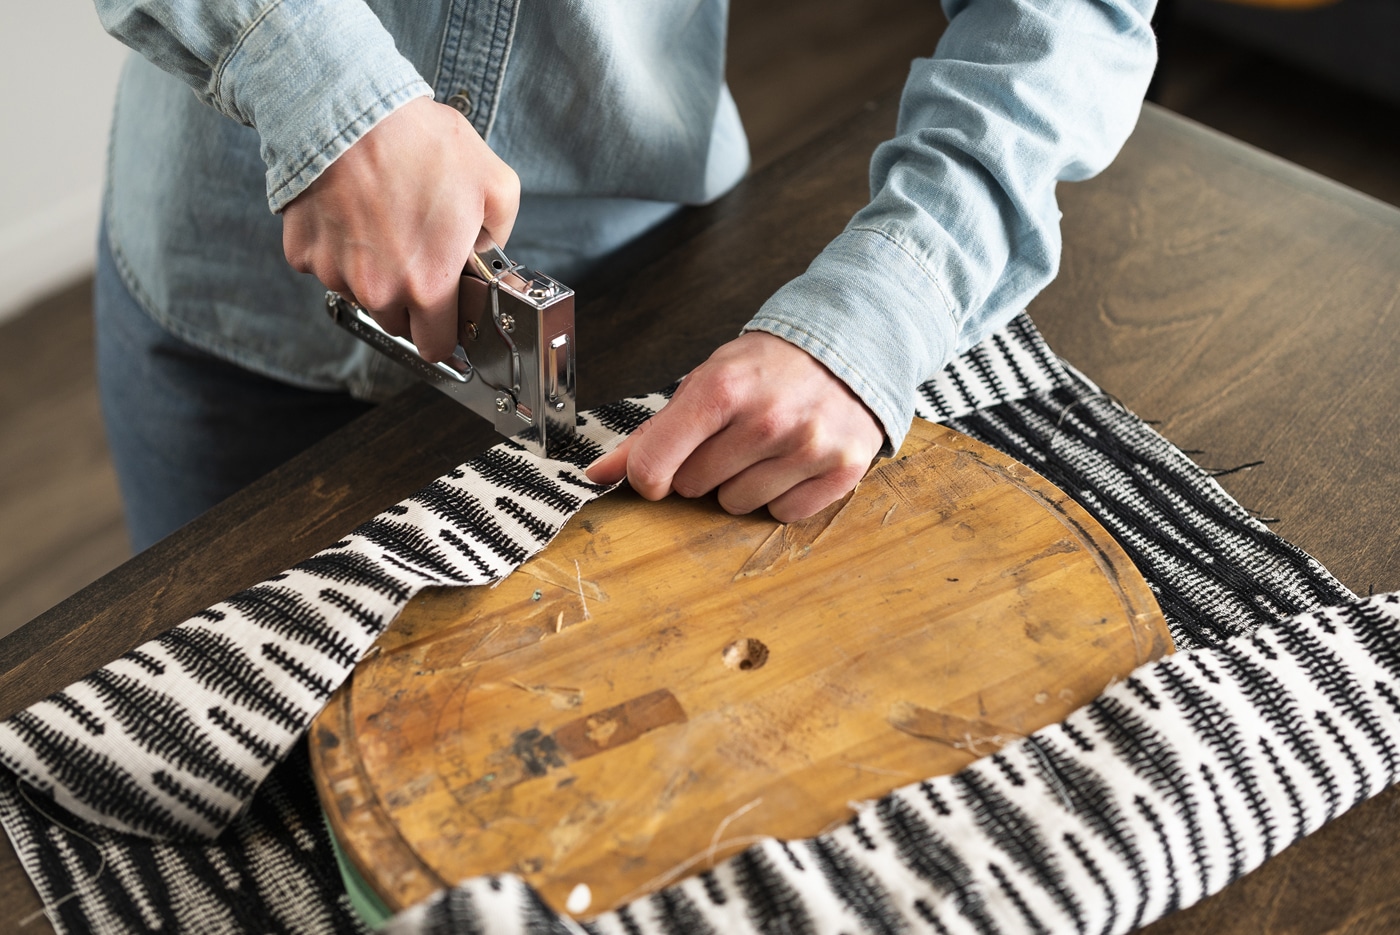
Beginning at the 12 o’clock position, pull the fabric over to the bottom of the seat and place your first staple using your T50 heavy duty staple gun. Using tension, repeat this step at the 6 o’clock position. Then work clockwise around the seat, stapling the rest of the fabric using equal tension, and making small pleats if needed. Staples should be approximately a quarter inch apart.
Flip the seat over to make sure the tension is even. If you notice uneven tension, remove the associated staples and re-staple the area. Hey, we all make mistakes!
Cut off the excess fabric, leaving about a half inch to an inch of fabric past the staples.
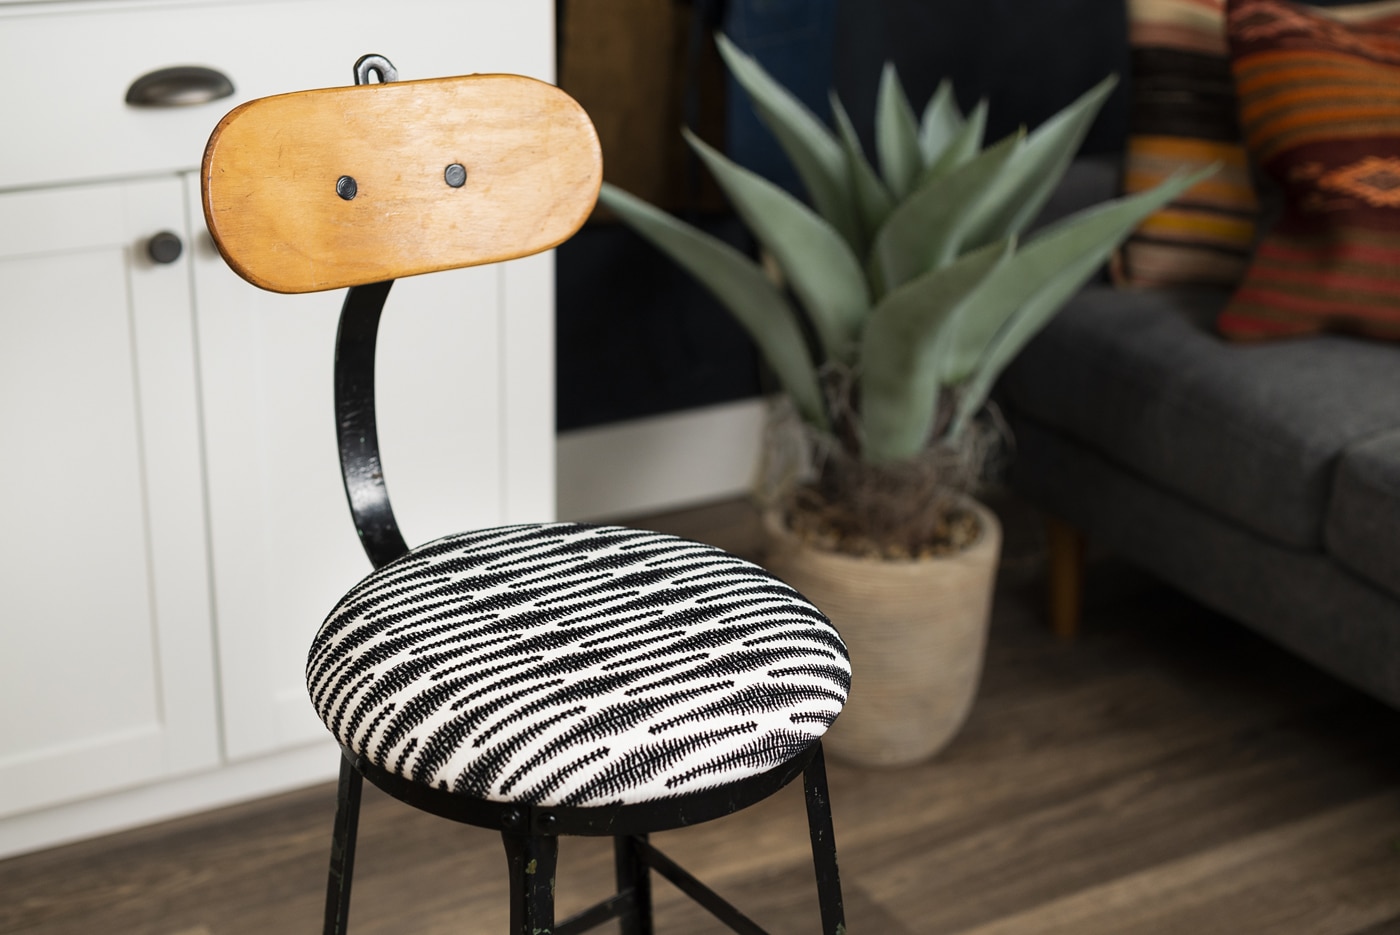
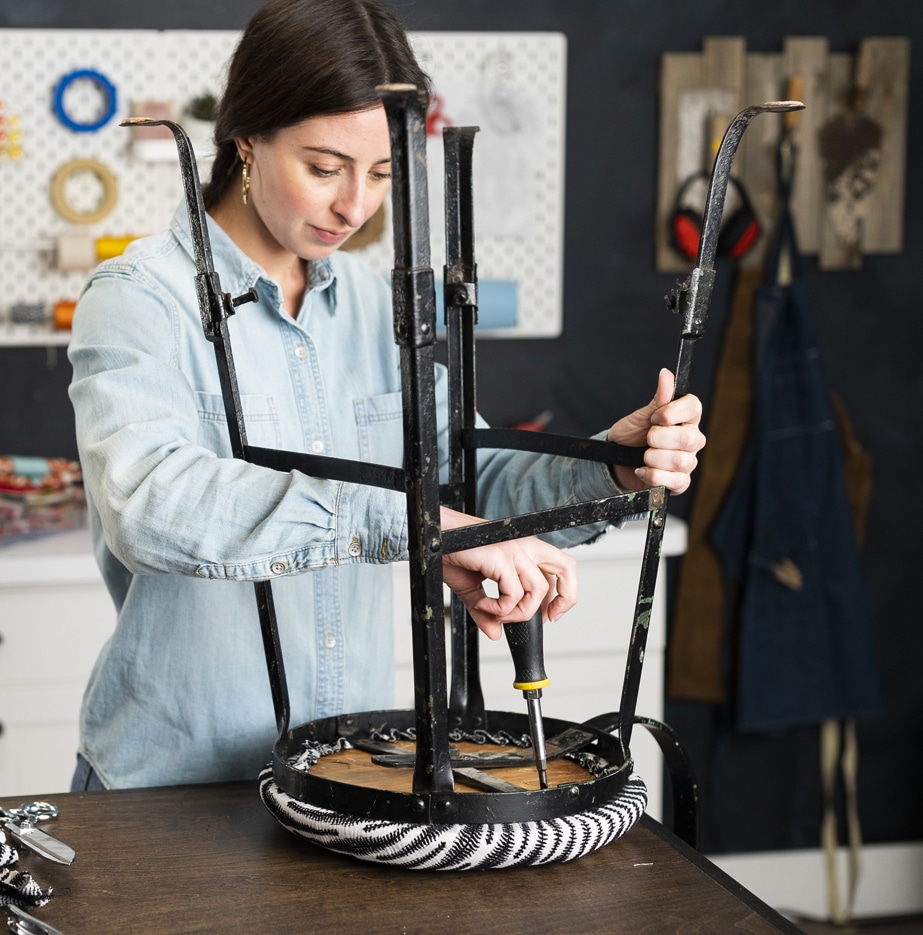
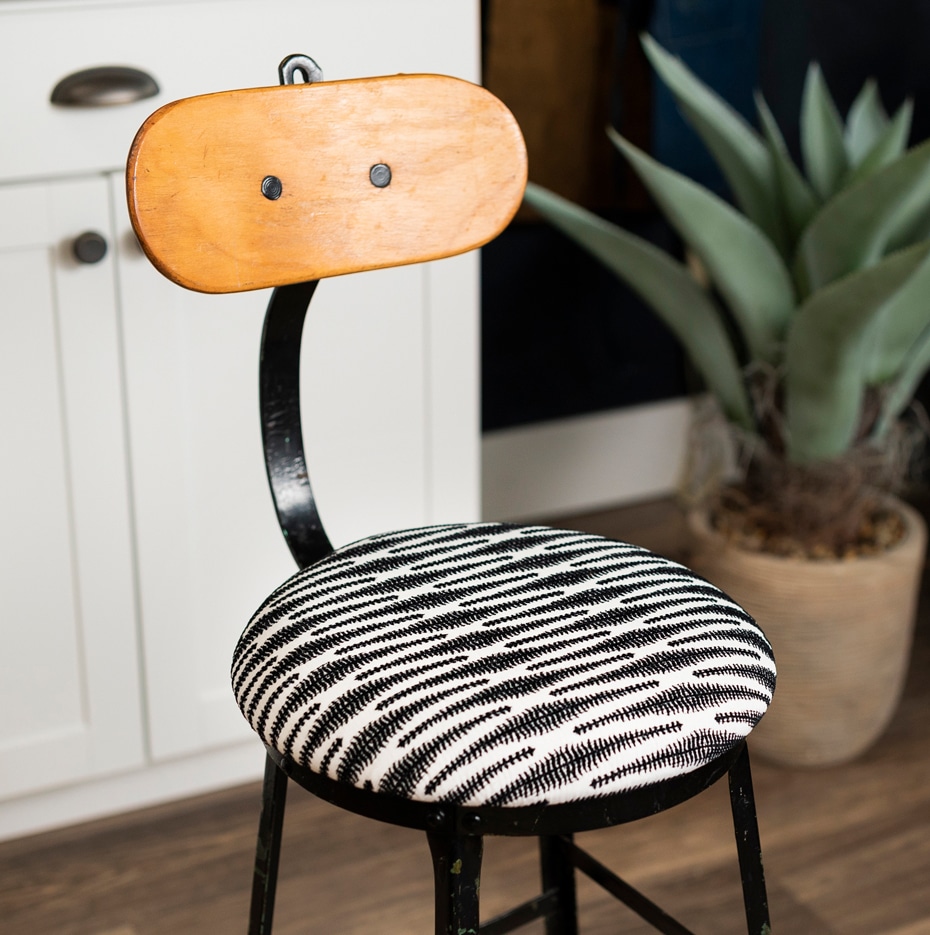
Screw your newly upholstered seat back onto the frame and take a load off!
Time to belly up to the breakfast bar with your new upholstered stool! What’s next, matching placemats?
We’d love to see how your DIY upcycled upholstered stool turned out! Share your creation with us on Facebook and Instagram by tagging @ArrowFastener or by using #MadeWithArrow.
Get Arrow tips, tricks, projects and promos in your inbox!
Hey there! We’ve updated our Privacy and Cookie Policies at the request of some of our friends in Europe. Click Accept to let us know you’re okay with the updates. Thanks!
View Cookie Policy Accept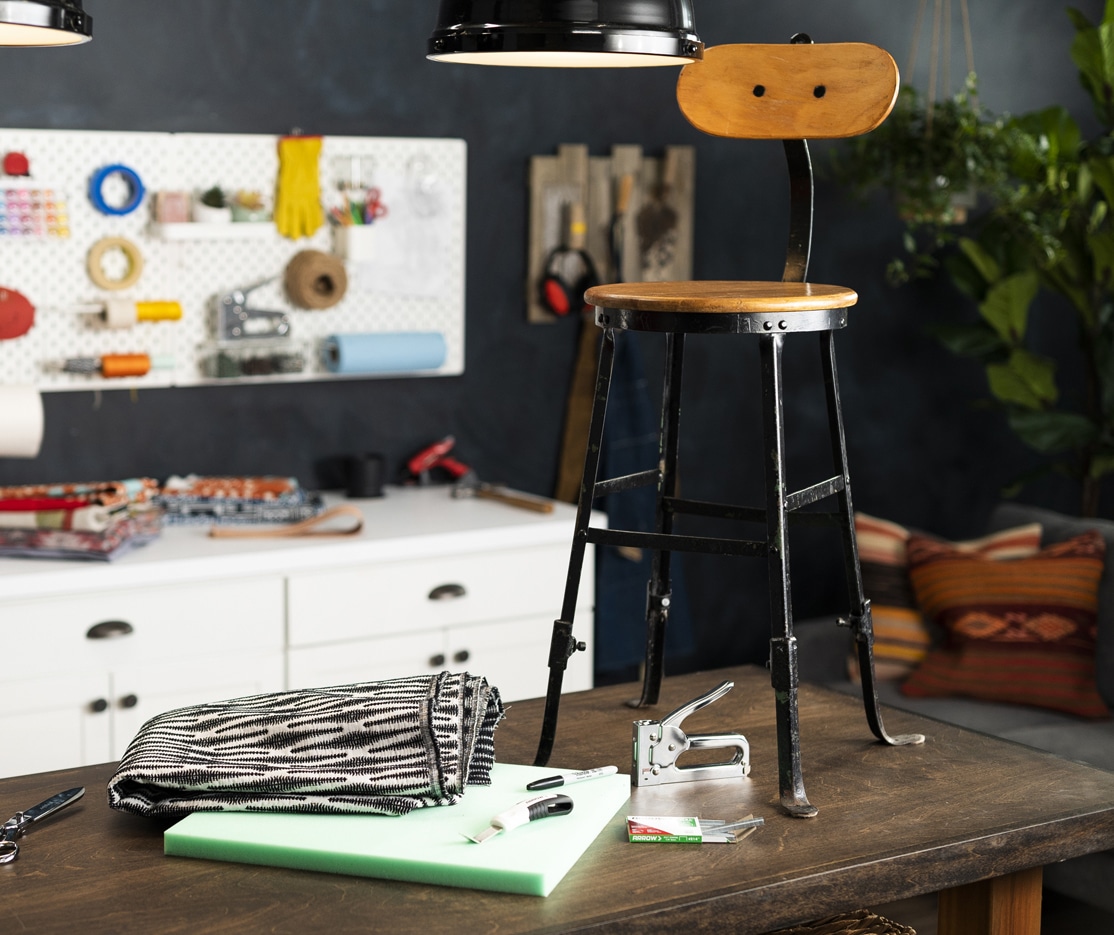