or Call Us at 1-800-776-2228
or Call Us at 1-800-776-2228
We wanted to add floating, hidden-storage shelves to our bathroom for a long time. In one weekend and with a couple of tools, we ended up with something great-looking that provides a bunch of extra storage in our bathroom, and you can, too. Read on to learn how to build floating shelves.

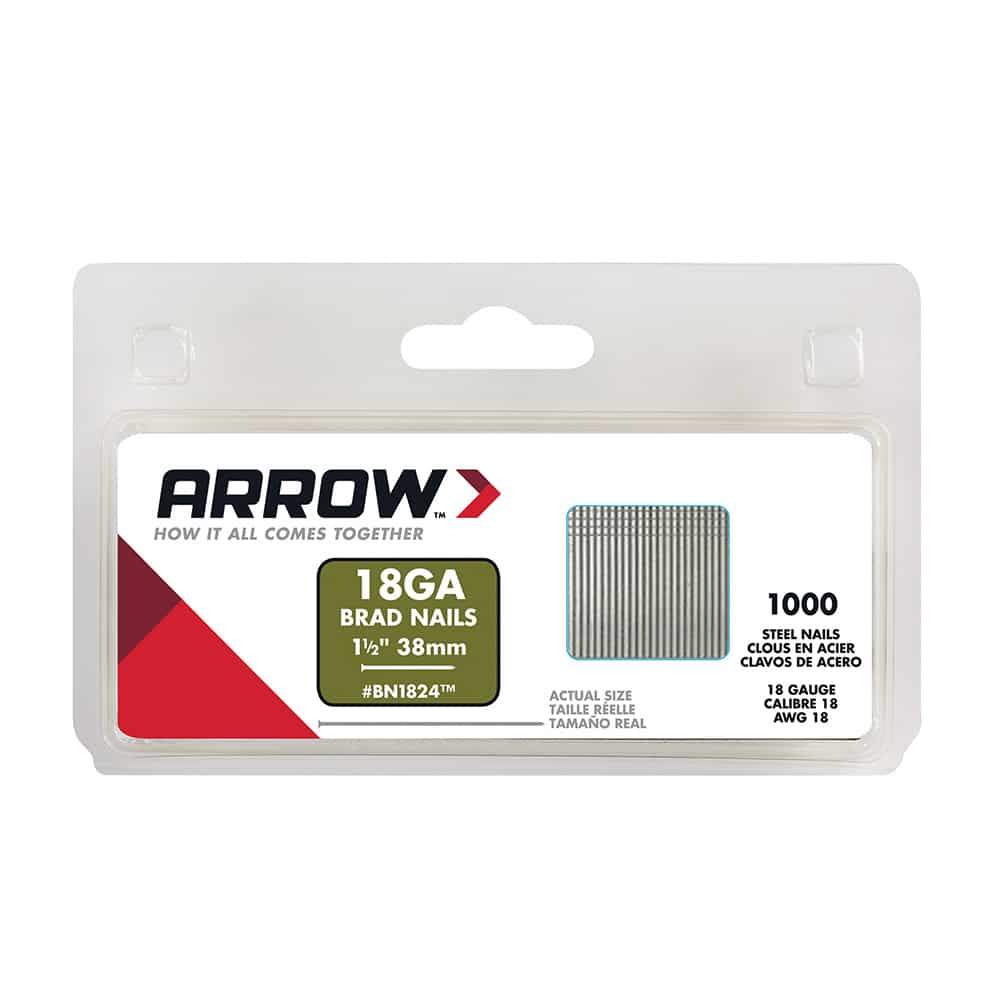
Pneumatic Brad Nailer
Remove all staples and stickers from your wood. Store-bought wood tends to have lots of staples and stickers, so make sure you remove them before you begin the project.
Remove all staples and stickers from your wood. Store-bought wood tends to have lots of staples and stickers, so make sure you remove them before you begin the project.
Rip your pieces down to size using a table saw, miter saw or circular saw. Sort your cuts so that the best looking three pieces are saved for the faces of the shelves.
Rip your pieces down to size using a table saw, miter saw or circular saw. Sort your cuts so that the best looking three pieces are saved for the faces of the shelves.
You’ll have five pieces per shelf: top, bottom, two sides and a front. Attach your four outside shelf pieces using glue and brad nails. This bond should be more than strong enough for your final shelves, but you can always go back and reinforce with screws later. Note: The total size of your shelf, top to bottom, should be the width of your original lumber, allowing the front face to cover the whole shelf later on in the build.
You’ll have five pieces per shelf: top, bottom, two sides and a front. Attach your four outside shelf pieces using glue and brad nails. This bond should be more than strong enough for your final shelves, but you can always go back and reinforce with screws later. Note: The total size of your shelf, top to bottom, should be the width of your original lumber, allowing the front face to cover the whole shelf later on in the build.
Using some scrap plywood, I marked the interior width of the shelf and cut it down on the miter saw. Then, I test-fitted it. I ripped three of these to 1.25″ on the table saw — one for each shelf.
Using some scrap plywood, I marked the interior width of the shelf and cut it down on the miter saw. Then, I test-fitted it. I ripped three of these to 1.25″ on the table saw — one for each shelf.
Attach the strips using glue and brad nails to the top interior of the shelf. This piece will allow you to anchor the shelves to the wall quickly, cheaply and in a hidden manner.
Attach the strips using glue and brad nails to the top interior of the shelf. This piece will allow you to anchor the shelves to the wall quickly, cheaply and in a hidden manner.
Optional Step: I cut down 1/2” dowels from a single 48” dowel piece, drilled pilot holes with my Forstner bit, and glued and hammered them into the tops and bottoms of the shelves. This is for reinforcement, but not totally necessary. Each shelf had eight dowels (two on each side of the top and bottom). Sand down the dowels after to be flush with the shelves. You can use a belt sander, orbital sander or a flush trim saw.
Optional Step: I cut down 1/2” dowels from a single 48” dowel piece, drilled pilot holes with my Forstner bit, and glued and hammered them into the tops and bottoms of the shelves. This is for reinforcement, but not totally necessary. Each shelf had eight dowels (two on each side of the top and bottom). Sand down the dowels after to be flush with the shelves. You can use a belt sander, orbital sander or a flush trim saw.
Clean off all the surfaces using mineral spirits or acetone ahead of finishing. Apply a pre-stain conditioner and let it sit for 20 minutes on the wood, but no longer than two hours. Then, apply the finish of your choice.
Clean off all the surfaces using mineral spirits or acetone ahead of finishing. Apply a pre-stain conditioner and let it sit for 20 minutes on the wood, but no longer than two hours. Then, apply the finish of your choice.
Using the door hinge hardware of your choice (I recommend using soft-close hardware), attach the face of the shelf to the interior of the shelf. This will allow the face of the shelf to open and close. I did not use soft-close hardware for this, but I recommend it. However, countersinking the hardware properly will require a bit more effort.
Using the door hinge hardware of your choice (I recommend using soft-close hardware), attach the face of the shelf to the interior of the shelf. This will allow the face of the shelf to open and close. I did not use soft-close hardware for this, but I recommend it. However, countersinking the hardware properly will require a bit more effort.
Using 2.5” screws, anchor your bottom shelf to your studs. Mine are 16” on center, but the small strip you attached to your shelves to anchor them to the wall allows you to drill holes wherever your studs are located. It helps to use spacers to then add subsequent shelves on top (if you build multiple ones).
Using 2.5” screws, anchor your bottom shelf to your studs. Mine are 16” on center, but the small strip you attached to your shelves to anchor them to the wall allows you to drill holes wherever your studs are located. It helps to use spacers to then add subsequent shelves on top (if you build multiple ones).
Once you’re done, admire your work and enjoy decorating your new setup. That's how you build floating shelves to add storage space in your bathroom, or in any room.
Get Arrow tips, tricks, projects and promos in your inbox!
Hey there! We’ve updated our Privacy and Cookie Policies at the request of some of our friends in Europe. Click Accept to let us know you’re okay with the updates. Thanks!
View Cookie Policy Accept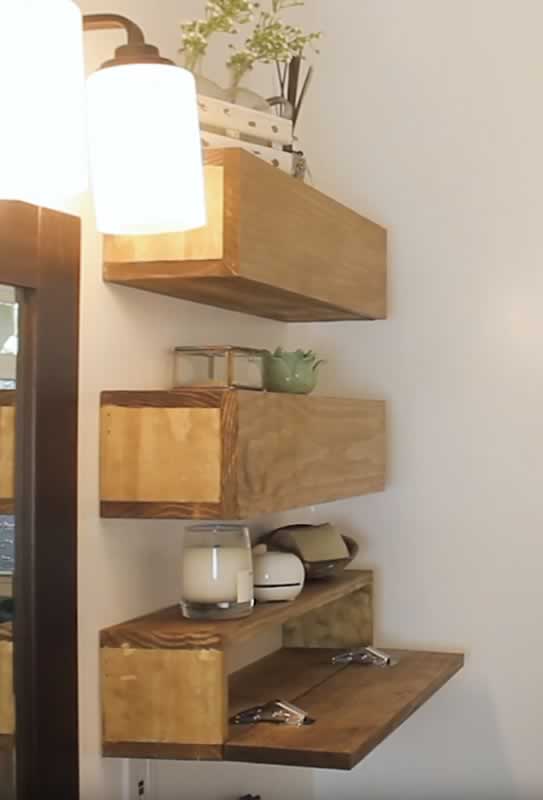