or Call Us at 1-800-776-2228
or Call Us at 1-800-776-2228
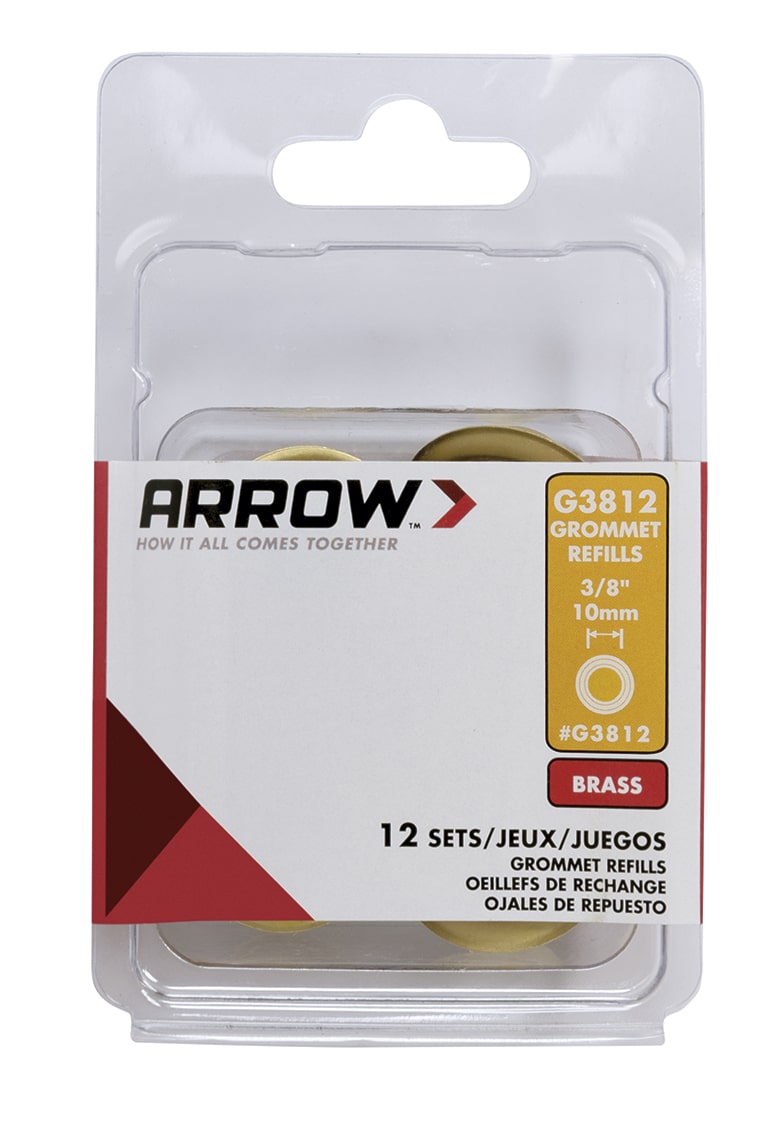
Shower curtains can be purchased from any home improvement or home decor center, but sometimes it’s hard to find exactly what you’re looking for. If you’ve got sewing skills – great! However, if you’re lacking in sewing skills, you can still create a custom DIY no-sew shower curtain for your bathroom. With a few tools, including the Arrow Fastener Grommet Tool Kit, iron-on “no sew” tape, and your favorite fabric, you can create your own shower curtain.
If you haven’t already removed your old shower curtain, remove it now and set it aside. Using your tape measure, measure the width and height of your shower curtain. Remember to add in an additional 6” to the height measurement and 4” to the width measurement to account for seam allowances. Record the measurements on a slip of paper.
If you haven’t already removed your old shower curtain, remove it now and set it aside. Using your tape measure, measure the width and height of your shower curtain. Remember to add in an additional 6” to the height measurement and 4” to the width measurement to account for seam allowances. Record the measurements on a slip of paper.
You’ll need plenty of space to lay out your fabric. Find a table or workspace (or even the floor) that has a sturdy, even surface.
Cutting fabric evenly is difficult, even for experienced crafters! Here’s a tip for getting an even cut every time, especially when working with woven fabrics: Make a small cut in the fabric and pull apart the split fibers. The fibers in the middle of the cut will be exposed. When pulled, they’ll create a run in the fabric that will be precise and even. Keep pulling until the run has reached the end of the fabric. This run will represent the cutting line. Use your scissors or rotary cutter and cut along the even, straight run in the fabric. You now have a straight edge! This method can be used vertically in woven fabric, as well as horizontally. Just be sure that the run you create is accurate for the measurements you need.
You’ll need plenty of space to lay out your fabric. Find a table or workspace (or even the floor) that has a sturdy, even surface.
We’ll start with creating the top finished edge of the shower curtain. Turn down the top edge ⅝” and press with the iron.
We’ll start with creating the top finished edge of the shower curtain. Turn down the top edge ⅝” and press with the iron.
Now that the top edge is turned and pressed ⅝”, fold the edge again down another 3” and press. Be sure to check with your tape measure or other measuring tool that the top seam is 3”. Open back up your 3” seam.
Now that the top edge is turned and pressed ⅝”, fold the edge again down another 3” and press. Be sure to check with your tape measure or other measuring tool that the top seam is 3”. Open back up your 3” seam.
With the shiny side down, place the iron-on tape along the ⅝” pressed seam. Use the iron on medium and glide the iron over the tape, securing it to the seam.
Next, peel off the white paper backing of the iron-on tape, leaving the rubbery adhesive in place.
With the shiny side down, place the iron-on tape along the ⅝” pressed seam. Use the iron on medium and glide the iron over the tape, securing it to the seam.
Cut a strip of fabric about 2.5” in thickness the length of the top of the shower curtain. This will help to reinforce the top of the shower curtain so when it’s hanging in place, the top doesn’t get floppy.
Fold the 3” seam down and use the iron on a high-setting (if you’ve got thick fabric) over the seam of the fabric, melting the iron-on tape to create a secure seam.
Keep in mind that the thicker the fabric, the more heat that will be required, but watch your fabric to make sure you’re not burning it. Also, the seams may appear to not be holding, but you’ll need to let the iron-on tape cool down before testing the strength of the seams.
Once the top seam is cooled down and you’ve checked that there are no gaps in the seam, you’re ready to create the side seams. They’ll be created the same exact way. First, fold in the sides 1” and press.
Apply the iron-on tape, then fold over onto itself another 1”, and press. With the top and sides constructed, it should look like this:
Again, let the fabric and iron-on tape completely cool down and test the seams to make sure there are no gaps. If there are gaps where the iron-on tape didn’t quite melt to create the seam, apply more heat and then test again when it’s cooled.
Once the top seam is cooled down and you’ve checked that there are no gaps in the seam, you’re ready to create the side seams. They’ll be created the same exact way. First, fold in the sides 1” and press.
Button holes on shower curtains (when sewed with a machine) or grommets on a shower liner, are generally about 6” apart. I placed the grommets 6” apart and then made adjustments in order to make sure they were all fairly evenly placed.
Using a marker, I marked the center of each grommet location with a dot.
Place the fabric over the backer block and use the 3/8” hole punch and a hammer to create a hole. Depending on how thick your fabric is, you may not get a clean hole, so use scissors to clean up the hole.
Place the fabric over the backer block and use the 3/8” hole punch and a hammer to create a hole. Depending on how thick your fabric is, you may not get a clean hole, so use scissors to clean up the hole.
Place a ⅜” grommet on the two-sided anvil (use the size that holds the ⅜” grommet). The “right side” of your fabric hole will go over the grommet (“right side” is the patterned side of your fabric). A round grommet piece will go over the grommet, sandwiching the fabric in between.
Use the ⅜” punch head screwed into the universal punch body and tap it with a hammer to secure the grommet. If the grommet feels loose, give it a few more taps with the hammer to tighten it against the fabric. Each of your holes should be completed the same way.
Place a ⅜” grommet on the two-sided anvil (use the size that holds the ⅜” grommet). The “right side” of your fabric hole will go over the grommet (“right side” is the patterned side of your fabric). A round grommet piece will go over the grommet, sandwiching the fabric in between.
Save the bottom hem for last in order to decide exactly how much of a hem you’ll need (or if you’ll need to trim some fabric from the bottom). “Test hang” the curtain from your shower curtain rod to see what length you’d like the fabric to be. Fold up your fabric and measure how many inches your hem will be.
For my shower curtain, folding up the fabric 1”, applying no-sew iron-on tape, and folding again 1” to create a hem was the perfect fit.
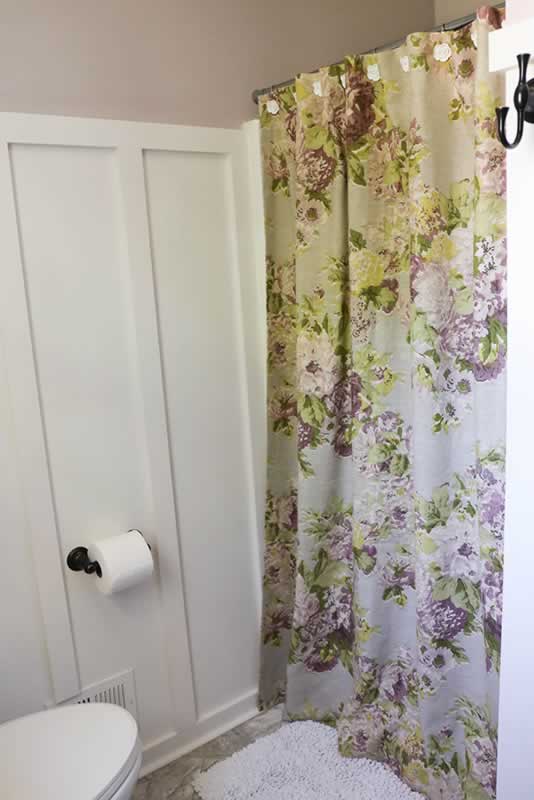
You’ve got a fabulous DIY no-sew shower curtain now!
Save the bottom hem for last in order to decide exactly how much of a hem you’ll need (or if you’ll need to trim some fabric from the bottom). “Test hang” the curtain from your shower curtain rod to see what length you’d like the fabric to be. Fold up your fabric and measure how many inches your hem will be.
For my shower curtain, folding up the fabric 1”, applying no-sew iron-on tape, and folding again 1” to create a hem was the perfect fit.
You’ve got a fabulous DIY no-sew shower curtain now!
It’s really easy to create a custom no-sew shower curtain without sewing skills! All you need is pretty fabric, the Arrow Fastener Grommet Tool Kit, iron-on tape, and a few other supplies!
Get Arrow tips, tricks, projects and promos in your inbox!
Hey there! We’ve updated our Privacy and Cookie Policies at the request of some of our friends in Europe. Click Accept to let us know you’re okay with the updates. Thanks!
View Cookie Policy Accept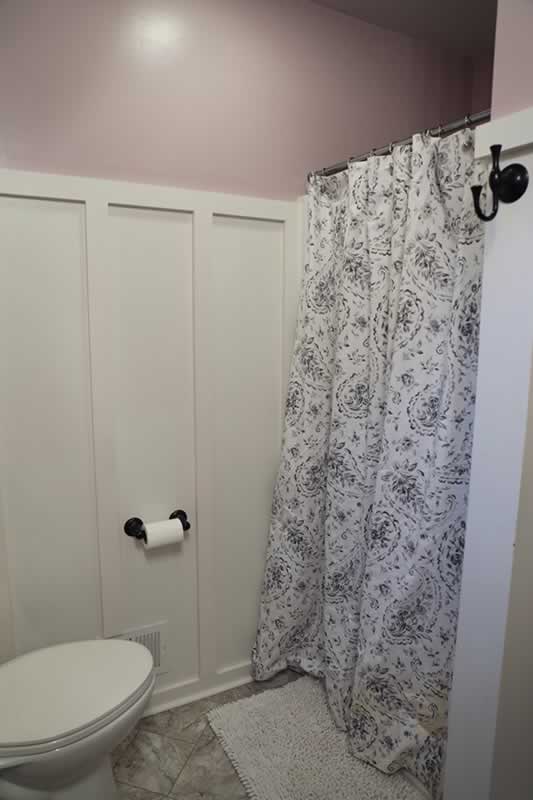