or Call Us at 1-800-776-2228
or Call Us at 1-800-776-2228
Are you bored with conventional picture frames? Give them some rustic charm by using a glue gun to attach sticks and twigs to a picture frame.
For this craft, we chose Arrow’s TR400DT Dual Temperature Glue Gun and its accompanying glue sticks. The high temperature setting was ideal for this project because the twigs needed completely liquid glue to be securely fastened. In addition, the integrated safety fuse and rubber safety nozzle of the TR400DT provided extra security while working with the irregular shapes of the sticks.
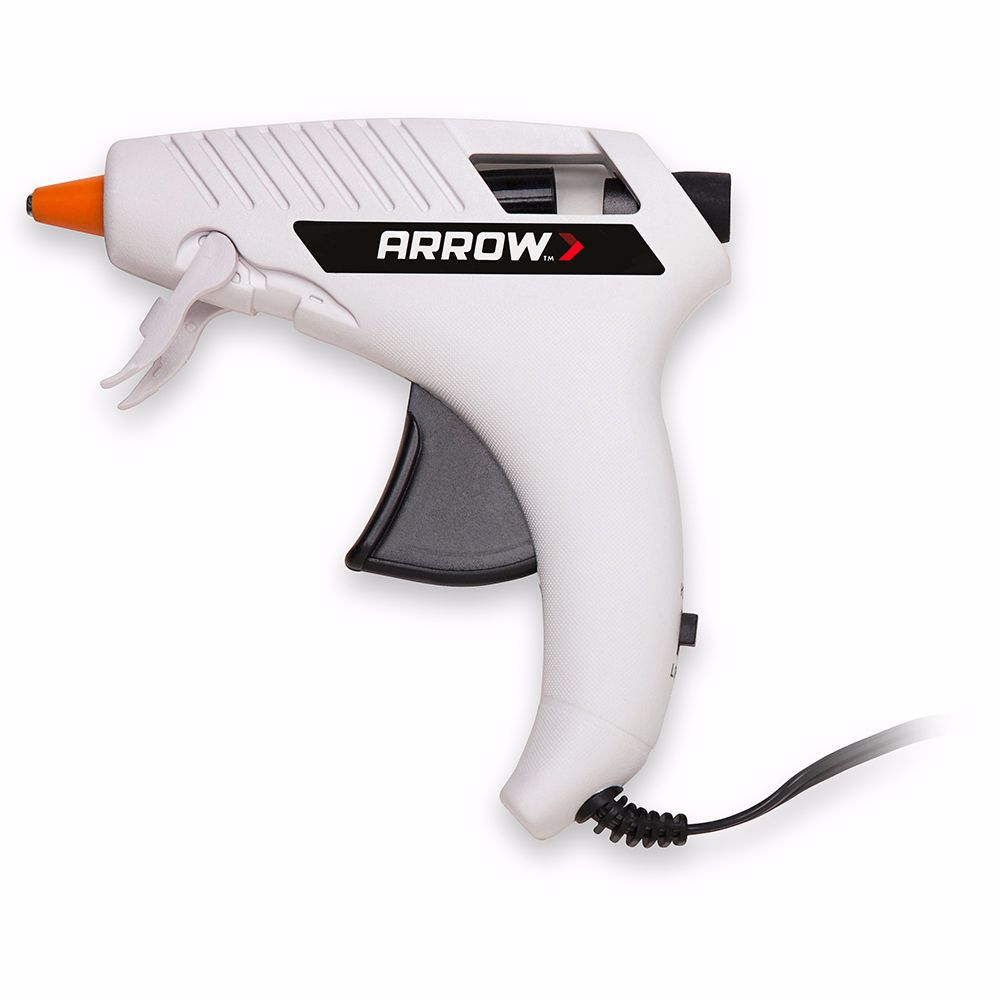
Dual Temperature Glue Gun
First, remove the glass and backing from the frame and set it to the side. If you’re repurposing an old frame, use a slightly damp cloth to clean off all dust or grime. This will help the glue, sticks and twigs adhere to the frame’s surface better.
First, remove the glass and backing from the frame and set it to the side. If you’re repurposing an old frame, use a slightly damp cloth to clean off all dust or grime. This will help the glue, sticks and twigs adhere to the frame’s surface better.
Eye up the frame and decide what type of design you want. It can be symmetrical by lining up the sticks vertically around the outside of the frame (below left), or it could have a wreath feel by stacking the twigs in a more circular shape (below right). There’s no right design, so let your creative juices flow. Once you’ve decided on the look, you’ll know what length the sticks and twigs need to be.
Eye up the frame and decide what type of design you want. It can be symmetrical by lining up the sticks vertically around the outside of the frame (below left), or it could have a wreath feel by stacking the twigs in a more circular shape (below right). There’s no right design, so let your creative juices flow. Once you’ve decided on the look, you’ll know what length the sticks and twigs need to be.
Plug your glue gun in and let it warm up for 3 to 5 minutes. When the frame is completely dry and the glue gun is warm, glue one twig in each corner at a 45-degree angle. Put the glue directly onto the stick, and then press and hold it on the frame for 15 to 30 seconds. The low temperature setting of the TR400DT is ideal for working with fragile materials like lace. Since we’re working with sticks and twigs, we pushed the switch on the back upward to enable the TR400DT’s high temperature setting, which provides a more liquid glue that works best for heavier items.
Plug your glue gun in and let it warm up for 3 to 5 minutes. When the frame is completely dry and the glue gun is warm, glue one twig in each corner at a 45-degree angle. Put the glue directly onto the stick, and then press and hold it on the frame for 15 to 30 seconds. The low temperature setting of the TR400DT is ideal for working with fragile materials like lace. Since we’re working with sticks and twigs, we pushed the switch on the back upward to enable the TR400DT’s high temperature setting, which provides a more liquid glue that works best for heavier items.
After the corners are done, start in the middle of the frame and work outward. Remember to hold each twig in place for 15 to 30 seconds so the glue sets completely!
After the corners are done, start in the middle of the frame and work outward. Remember to hold each twig in place for 15 to 30 seconds so the glue sets completely!
When you reach the corners, fill in the gaps with twigs cut horizontally or vertically, depending on your preference.
When you reach the corners, fill in the gaps with twigs cut horizontally or vertically, depending on your preference.
Once the glue has fully dried and the frame is done, spray it with a clear sealant for a long-lasting finish. Clean the glass thoroughly, and reassemble the frame. Hang it up and enjoy!
Once the glue has fully dried and the frame is done, spray it with a clear sealant for a long-lasting finish. Clean the glass thoroughly, and reassemble the frame. Hang it up and enjoy!
We’d love to see how your Woodland Picture Frame turned out! Share your results with us on Facebook, Instagram or X by tagging #MadeWithArrow.
Get Arrow tips, tricks, projects and promos in your inbox!
Hey there! We’ve updated our Privacy and Cookie Policies at the request of some of our friends in Europe. Click Accept to let us know you’re okay with the updates. Thanks!
View Cookie Policy Accept