or Call Us at 1-800-776-2228
or Call Us at 1-800-776-2228
Want a fun way to add character to your kitchen or living space? Here’s a step-by-step guide for building and installing a sliding plywood barn door in your home using Arrow’s PT23G Pneumatic Pin Nailer. Let’s get started.
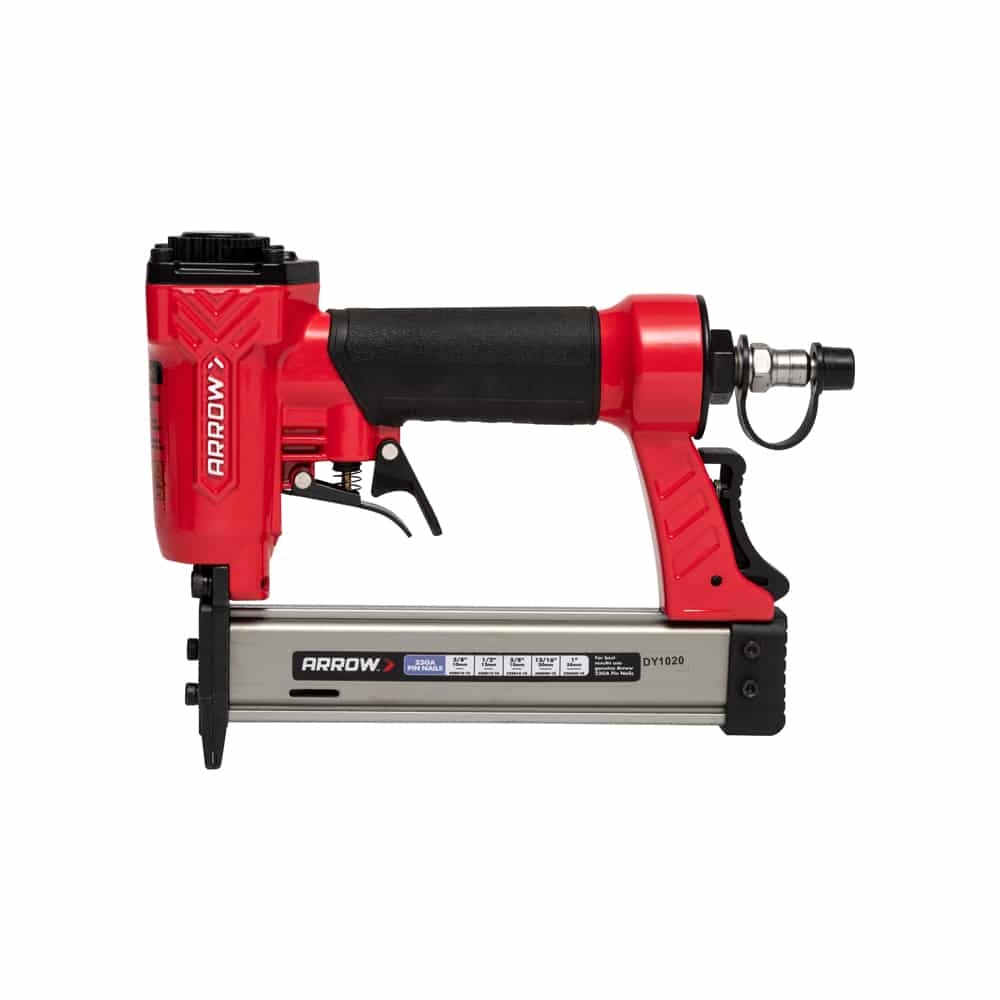
Pneumatic Pin Nailer
I tried to design this project to only use one sheet of plywood, but to achieve the “double X” look, it required additional plywood. My recommendation is to plan another project in addition to your barn door that can use about ⅞” of a sheet of plywood, as you’ll have that left over. The first step was to break down the first sheet of plywood into all of my pieces, as well as cut down my barn door base to size.
I tried to design this project to only use one sheet of plywood, but to achieve the “double X” look, it required additional plywood. My recommendation is to plan another project in addition to your barn door that can use about ⅞” of a sheet of plywood, as you’ll have that left over. The first step was to break down the first sheet of plywood into all of my pieces, as well as cut down my barn door base to size.
The barn door was built so that there would be a solid plywood base, with a bunch of strips sitting on top and attached, using glue and pin nails to form a specific design. How you design your door is up to you. I chose a design that divided the door into six grids. My raised pieces were all 3” wide so as to not make a clunky looking design.
The barn door was built so that there would be a solid plywood base, with a bunch of strips sitting on top and attached, using glue and pin nails to form a specific design. How you design your door is up to you. I chose a design that divided the door into six grids. My raised pieces were all 3” wide so as to not make a clunky looking design.
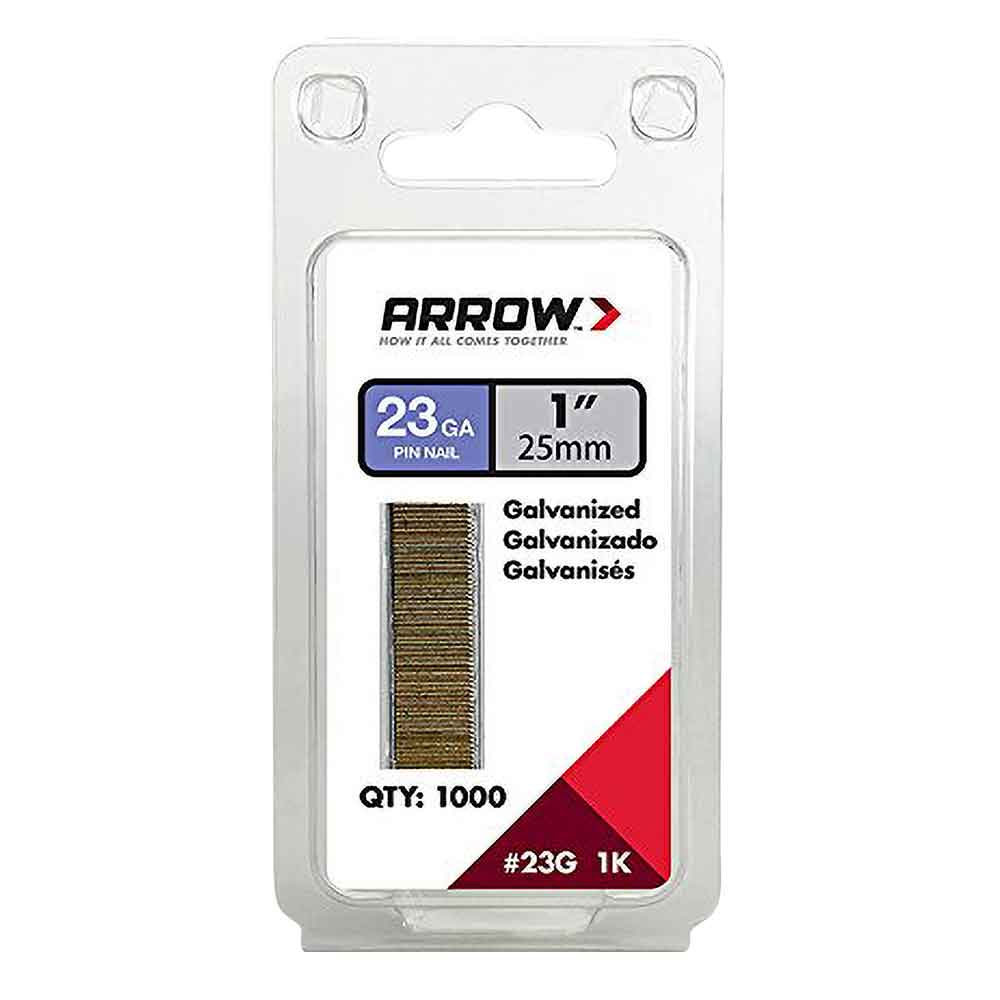
After creating the square framing, I used strips that I had ripped down to 1¼” wide to add an “X” between each of the six quadrants. This involved cutting pieces at a specific angle on the miter saw. Then, I cleaned the edges up on my sander (this is not necessary if you can accurately cut your angles). I followed that with gluing them down and attaching with more pin nails. Pin nails were perfect for this project as they can be inserted and basically leave no hole on the outer surface of the door.
After creating the square framing, I used strips that I had ripped down to 1¼” wide to add an “X” between each of the six quadrants. This involved cutting pieces at a specific angle on the miter saw. Then, I cleaned the edges up on my sander (this is not necessary if you can accurately cut your angles). I followed that with gluing them down and attaching with more pin nails. Pin nails were perfect for this project as they can be inserted and basically leave no hole on the outer surface of the door.
I sanded down the edges of my raised pieces, as the corners were quite sharp from the table saw. After that, I cleaned off the surface, applied a pre-stain conditioner, and then applied my dark walnut stain to both sides of the door. I let it cure overnight.
I sanded down the edges of my raised pieces, as the corners were quite sharp from the table saw. After that, I cleaned off the surface, applied a pre-stain conditioner, and then applied my dark walnut stain to both sides of the door. I let it cure overnight.
The next day, I routed in a rabbet to the bottom of the door that would later accept a small piece of hardware to keep my door plum to the wall. I then measured and attached the hanging hardware to the door. This is relatively straightforward. Each set of hardware will have its nuances, so just make sure to follow the directions of your kit when measuring and drilling.
The next day, I routed in a rabbet to the bottom of the door that would later accept a small piece of hardware to keep my door plum to the wall. I then measured and attached the hanging hardware to the door. This is relatively straightforward. Each set of hardware will have its nuances, so just make sure to follow the directions of your kit when measuring and drilling.
Off camera, I ripped down a strip 3” wide and stained a caul to attach to the wall and studs. This allows you to anchor your hardware to the wall without necessarily having to drill into studs. Although, I still recommend you do your best to anchor your track hardware into studs for the sturdiest build. Then, I hung the track to the wall and made sure everything was level in the process; this is very important! Make sure your track is high enough so that your door will hang from the track without touching the ground.
Off camera, I ripped down a strip 3” wide and stained a caul to attach to the wall and studs. This allows you to anchor your hardware to the wall without necessarily having to drill into studs. Although, I still recommend you do your best to anchor your track hardware into studs for the sturdiest build. Then, I hung the track to the wall and made sure everything was level in the process; this is very important! Make sure your track is high enough so that your door will hang from the track without touching the ground.
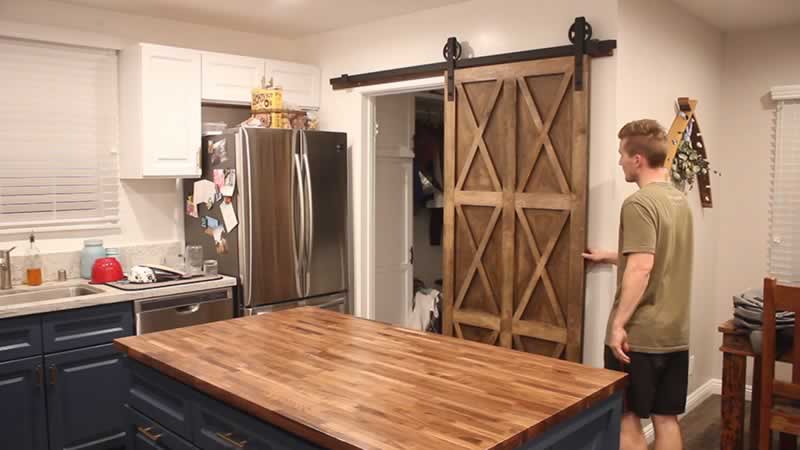
Last up was to mount the door to the track. I lifted the door onto the track and attached a small piece of hardware to each side of the track to prevent the door from sliding off the tracks on the sides. I also attached small pieces from the kit on top of the door to prevent the door from bumping off the track. Lastly, I added the ground piece for the rabbeted bottom to travel on; this just attaches with screws to your floor.
Last up was to mount the door to the track. I lifted the door onto the track and attached a small piece of hardware to each side of the track to prevent the door from sliding off the tracks on the sides. I also attached small pieces from the kit on top of the door to prevent the door from bumping off the track. Lastly, I added the ground piece for the rabbeted bottom to travel on; this just attaches with screws to your floor.
Finished! I slid my door back and forth and admired my work. Remember that the style of your barn door is only limited by your own design preferences. You can design and build it however you want, to fit wherever you want. Hope you enjoyed the build!
Get Arrow tips, tricks, projects and promos in your inbox!
Hey there! We’ve updated our Privacy and Cookie Policies at the request of some of our friends in Europe. Click Accept to let us know you’re okay with the updates. Thanks!
View Cookie Policy Accept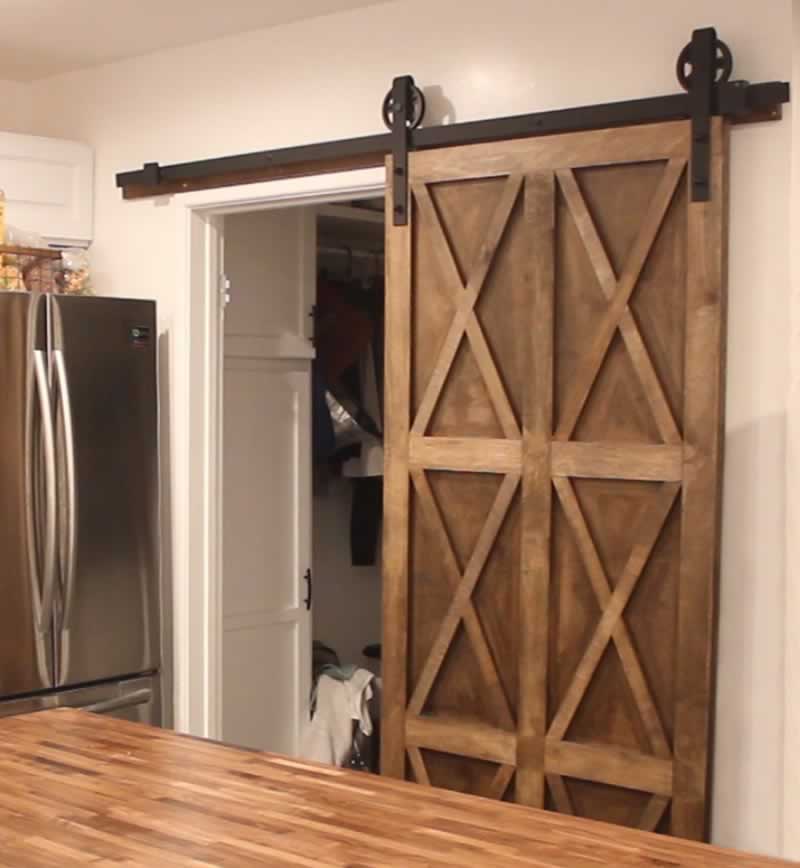