or Call Us at 1-800-776-2228


or Call Us at 1-800-776-2228


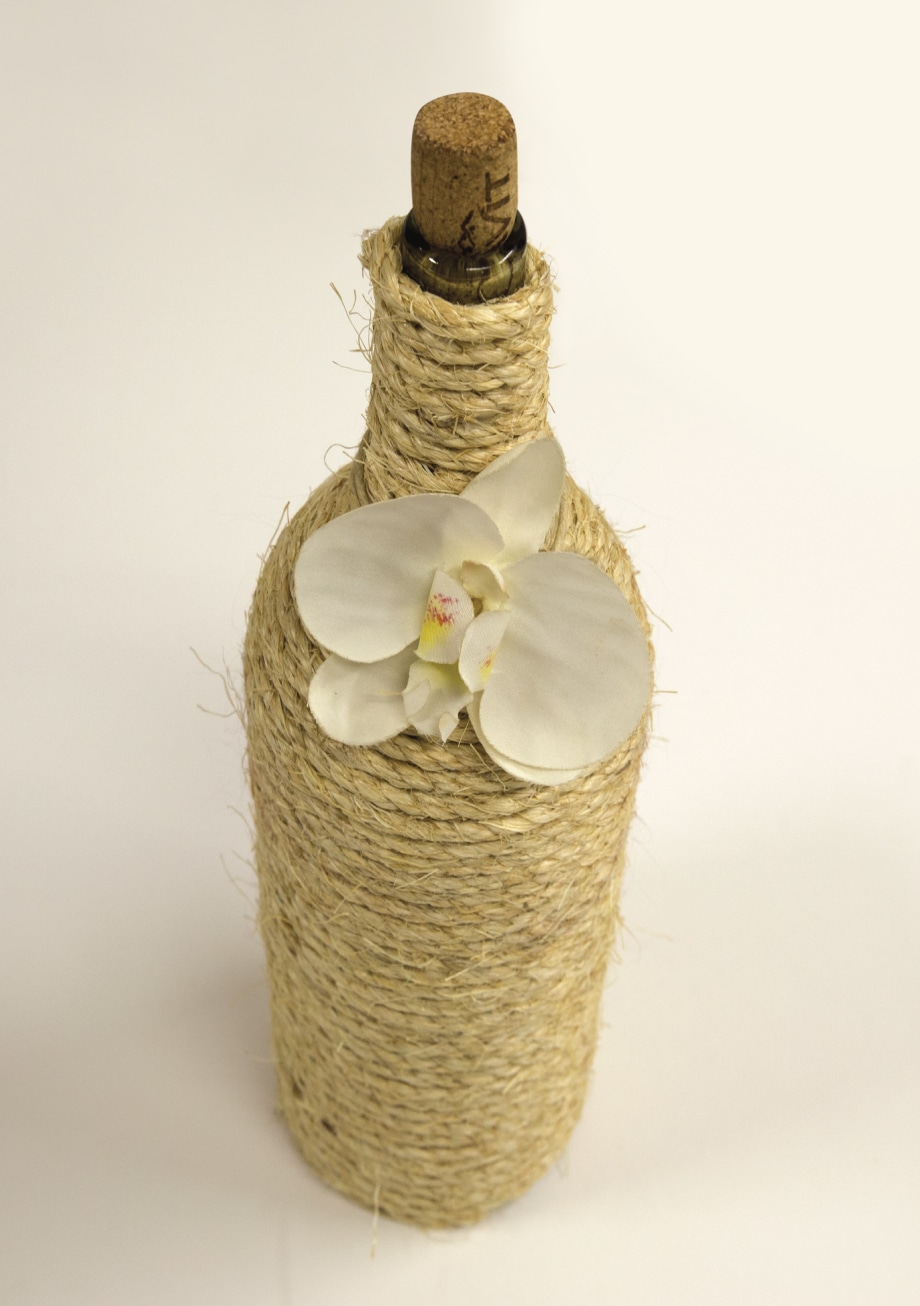
Instead of throwing out empty wine and glass bottles, use your glue gun for this quick upcycling project that transforms old bottles into lovely decorative vases or centerpieces.
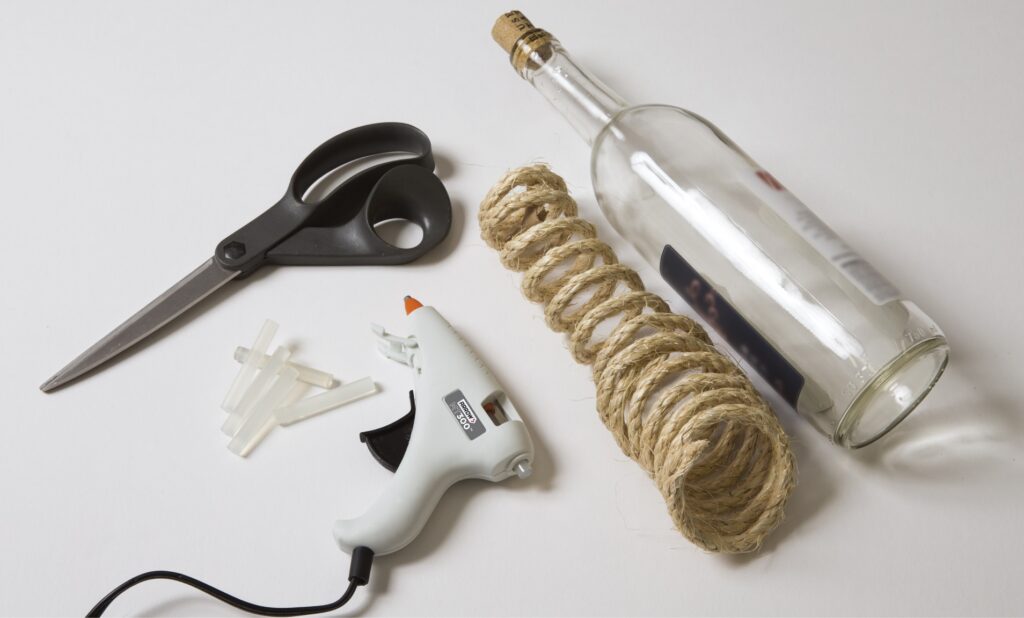
For this craft, we chose Arrow’s MT300 Mini Glue Gun and its accompanying glue sticks. Its compact nature makes this glue gun perfect for a wide range of DIY projects. Plus, the MT300 has a handy retractable stand and an integrated safety fuse, which are huge pluses for regular crafters.

The first step of any upcycling project is to make sure the item you’re working with is clean. Thoroughly wash and rinse the wine bottle to eliminate any unpleasant odors. You can get started once the bottle has dried.
The first step of any upcycling project is to make sure the item you’re working with is clean. Thoroughly wash and rinse the wine bottle to eliminate any unpleasant odors. You can get started once the bottle has dried.
Since the bottle will be completely covered, you don’t have to remove that pesky wine label. Take the sisal rope, twine or yarn and begin to wrap it horizontally, starting at the top, directly under the lip of the bottle. To ensure a strong hold, glue the starting strand and hold it for 15 to 30 seconds or until the glue is set. We recommend using an old spatula or a finger guard while pressing the string to protect your hands from the hot glue. After the first string is secure, add a line of glue and wrap the bottle one line at a time. With every layer, double-check that the rope is lined up with the previous layer, and continue holding each string for 15 to 30 seconds. Stop when you reach the shoulder of the bottle.
Since the bottle will be completely covered, you don’t have to remove that pesky wine label. Take the sisal rope, twine or yarn and begin to wrap it horizontally, starting at the top, directly under the lip of the bottle. To ensure a strong hold, glue the starting strand and hold it for 15 to 30 seconds or until the glue is set. We recommend using an old spatula or a finger guard while pressing the string to protect your hands from the hot glue. After the first string is secure, add a line of glue and wrap the bottle one line at a time. With every layer, double-check that the rope is lined up with the previous layer, and continue holding each string for 15 to 30 seconds. Stop when you reach the shoulder of the bottle.
At the top of the bottle’s shoulder, adjust the string if needed and continue to glue one row at a time until you reach the body of the bottle. Once there, again adjust the string if needed and continue the process by wrapping the rest of the bottle. Finally, trim the string as needed and glue the end. Remember to hold each section for 15 to 30 seconds to ensure a strong hold!
At the top of the bottle’s shoulder, adjust the string if needed and continue to glue one row at a time until you reach the body of the bottle. Once there, again adjust the string if needed and continue the process by wrapping the rest of the bottle. Finally, trim the string as needed and glue the end. Remember to hold each section for 15 to 30 seconds to ensure a strong hold!
Use any ribbon, silk or burlap flowers, etc., to embellish if you desire.
Use any ribbon, silk or burlap flowers, etc., to embellish if you desire.
We’d love to see how your DIY Vase project turned out! Share your results with us on Facebook, Instagram or X by tagging #MadeWithArrow.

Get Arrow tips, tricks, projects and promos in your inbox!
Hey there! We’ve updated our Privacy and Cookie Policies at the request of some of our friends in Europe. Click Accept to let us know you’re okay with the updates. Thanks!
View Cookie Policy Accept